File Into Existing Docket
The File Into Existing Docket feature allows Tier 2 users to submit new documents or pleadings into an existing Docket within the Docket Management System.
This function ensures that all filings related to a docket are centralized under the correct Docket record.
1. Access the Filing Option
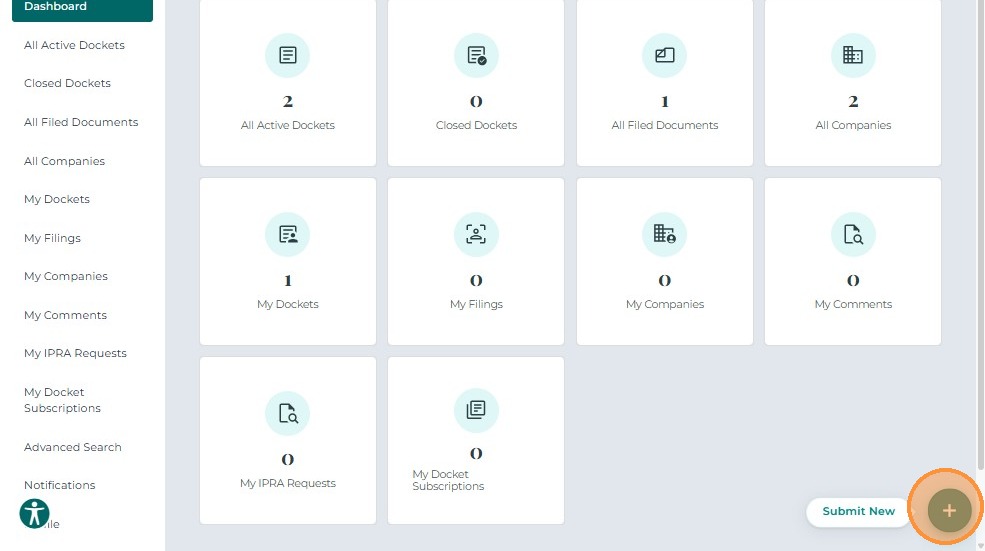
After logging in, the Tier 2 user navigates to their Dashboard.
Click the +Submit New button located at the bottom-right corner of the screen.
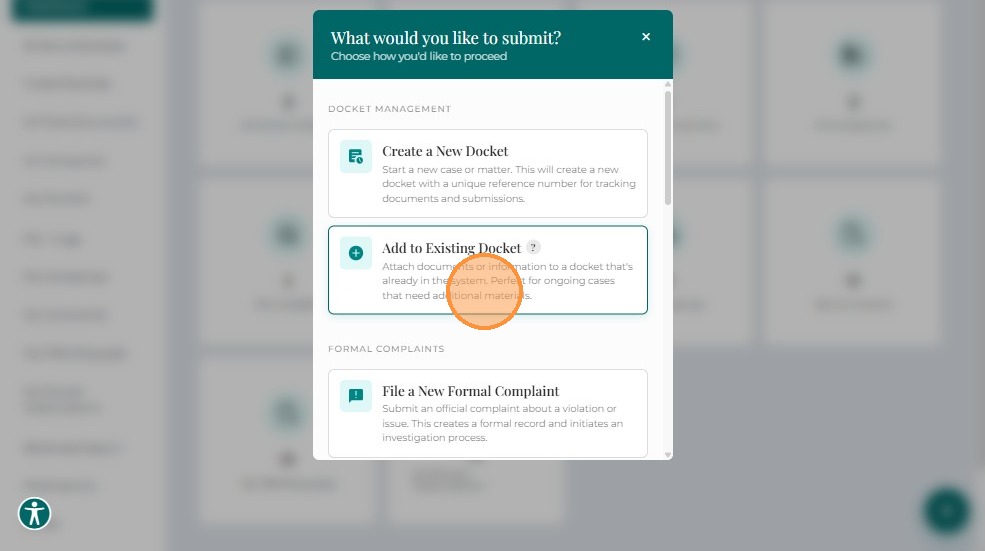
When the pop-up menu appears, select File Into Existing Docket.
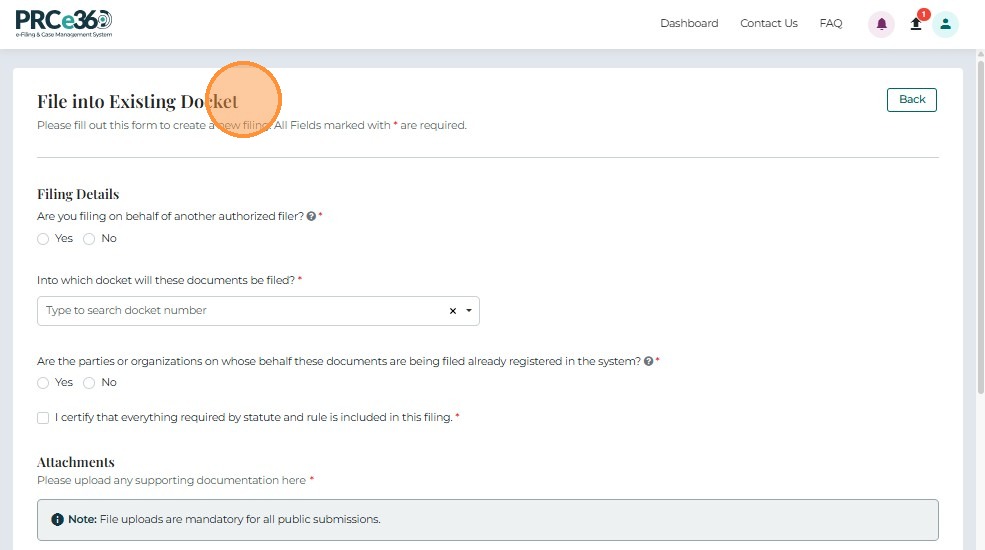
After selection, the system navigates to the File Into Existing Docket screen.
This screen allows users to upload and submit documents into a selected docket.
All fields marked with an asterisk (*) are mandatory.
2. Filing Details
The Filing Details section collects key information about the filing.
-
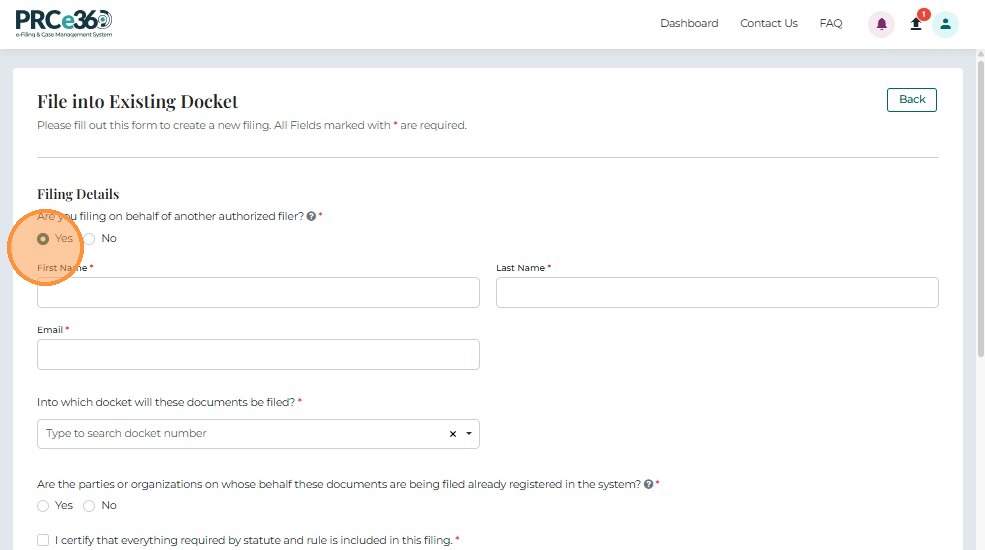
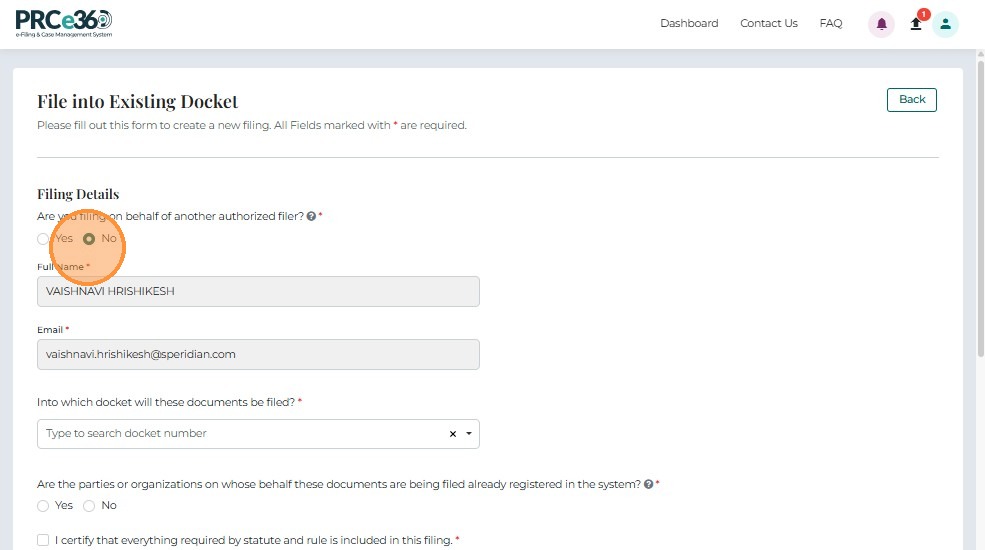
Are you filing on behalf of another authorized filer? *
Radio buttons (Yes / No) allow users to specify whether they are submitting on behalf of another filer. -
If Yes is selected, the system displays text fields to capture the authorized filer's details.
- If No is selected, the system will auto fill the users details.
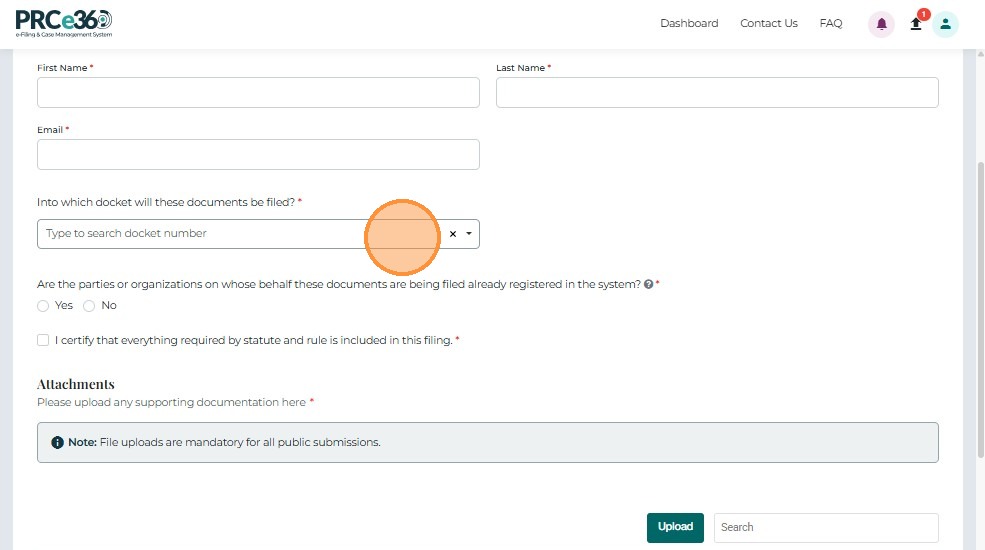
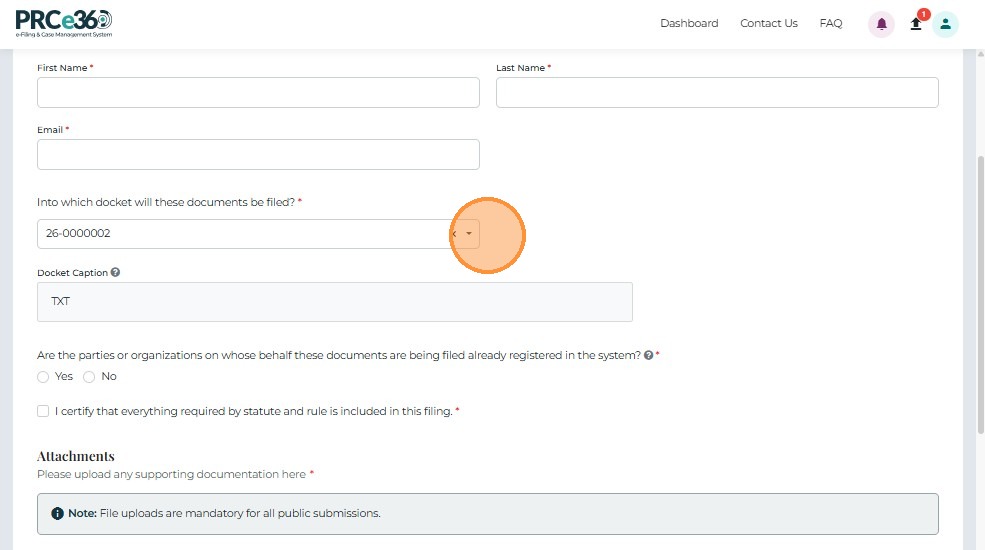
- Into which Docket will these documents be filed? *
Search-enabled dropdown for selecting the docket number of the existing Docket. Once selected, the docket caption of the Docket will be displayed
-
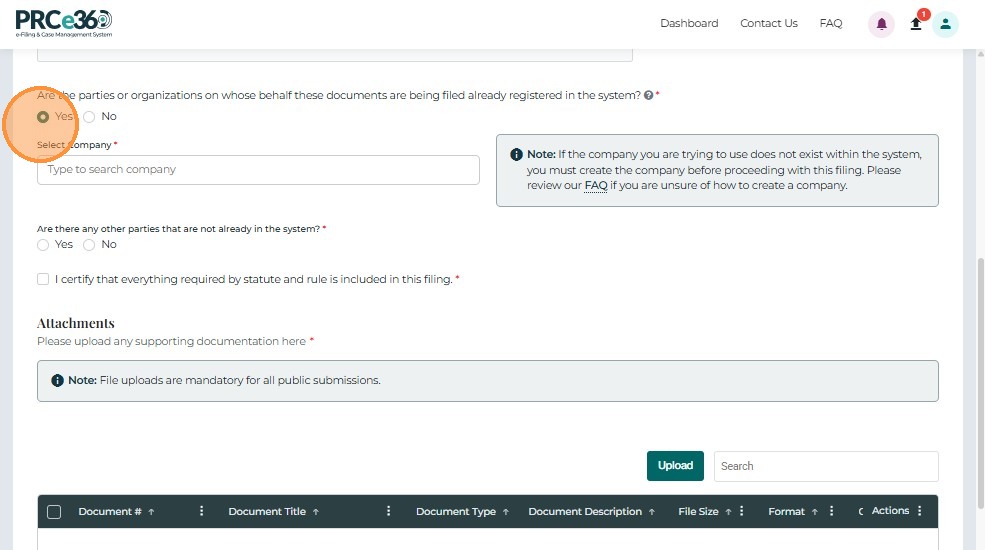
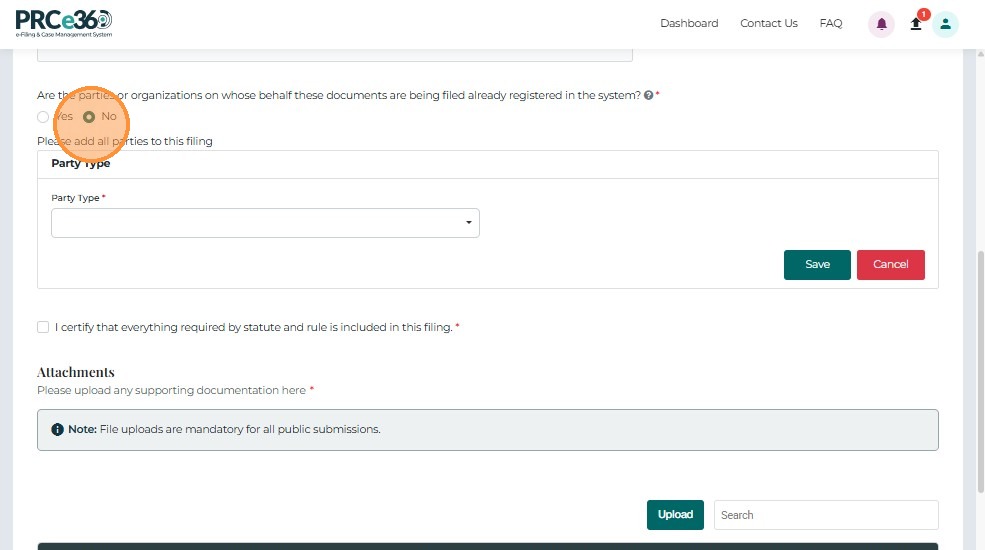
Are the parties on whose behalf these documents are being filed existing companies in the system? *
Radio buttons (Yes / No) control whether to select from existing company records or manually enter new party details.- If Yes, a company search field appears.
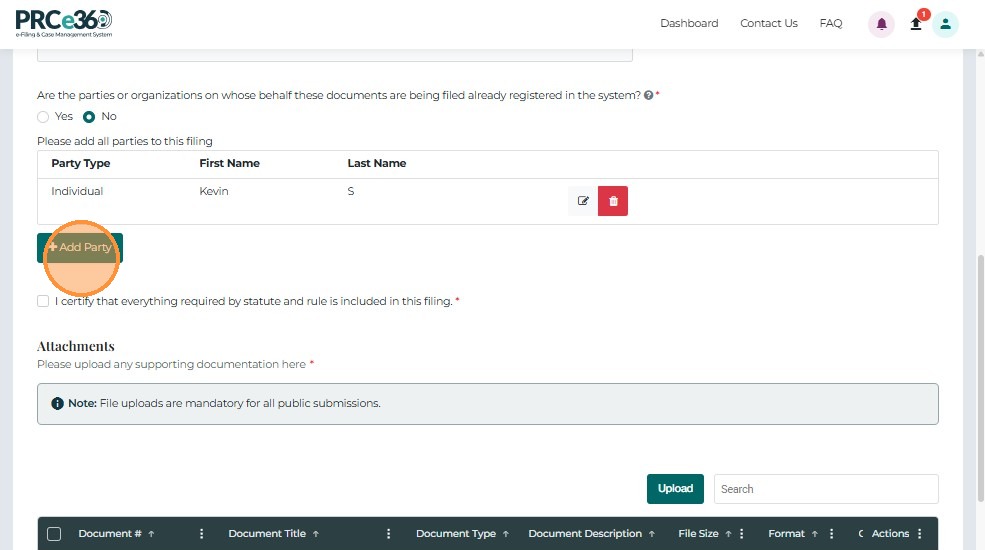
- If No, text fields display to add new party details.
Note: If there is more than one party, click the +Add Party button to include additional party information.
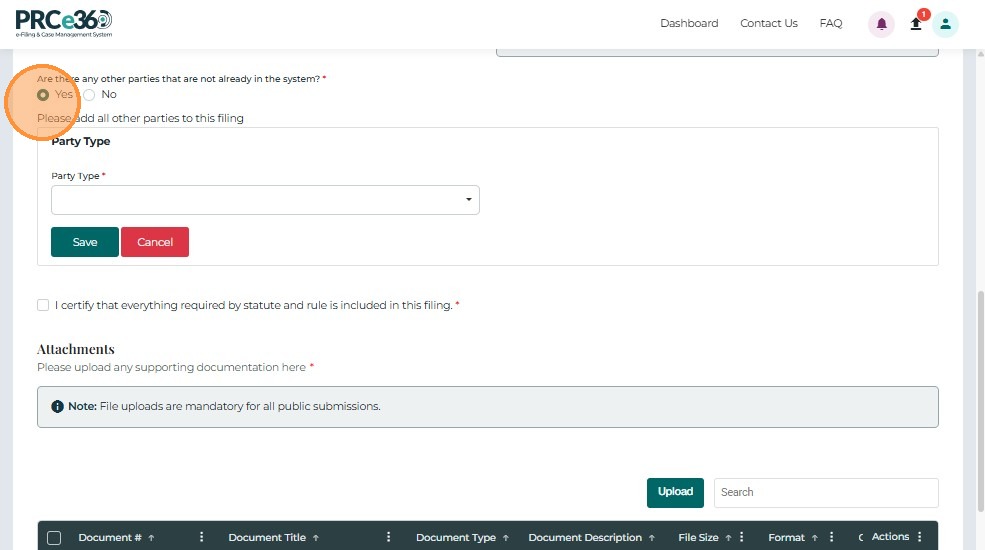
- Are there any other parties that are not already in the system? Radio buttons (Yes / No) control whether to manually enter new party details or continue the form.
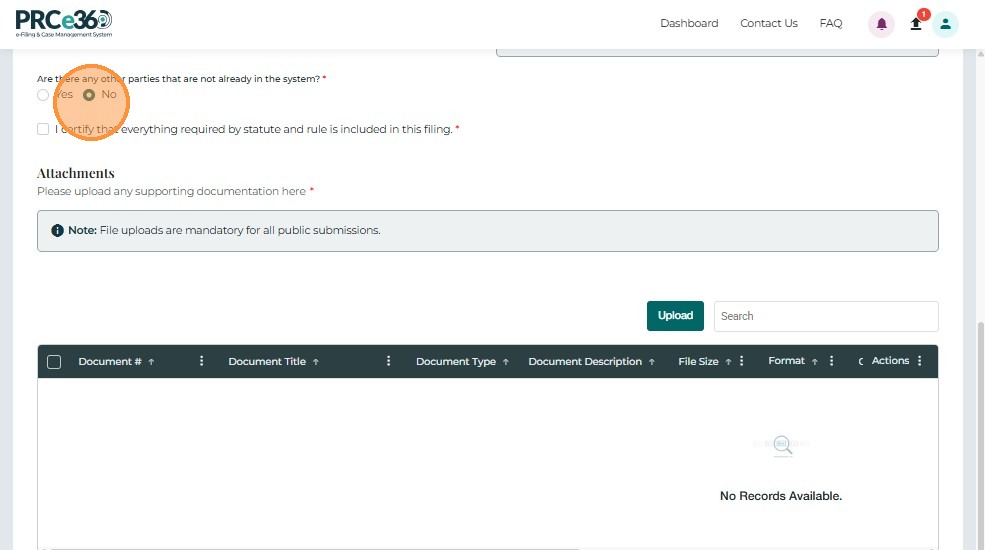
- Certification Checkbox *
Users must confirm that all required information is included by checking:
"I certify that everything required by statute and rule is included in this filing."
3. Upload Documents
The Attachments section allows users to upload all documents relevant to the filing.
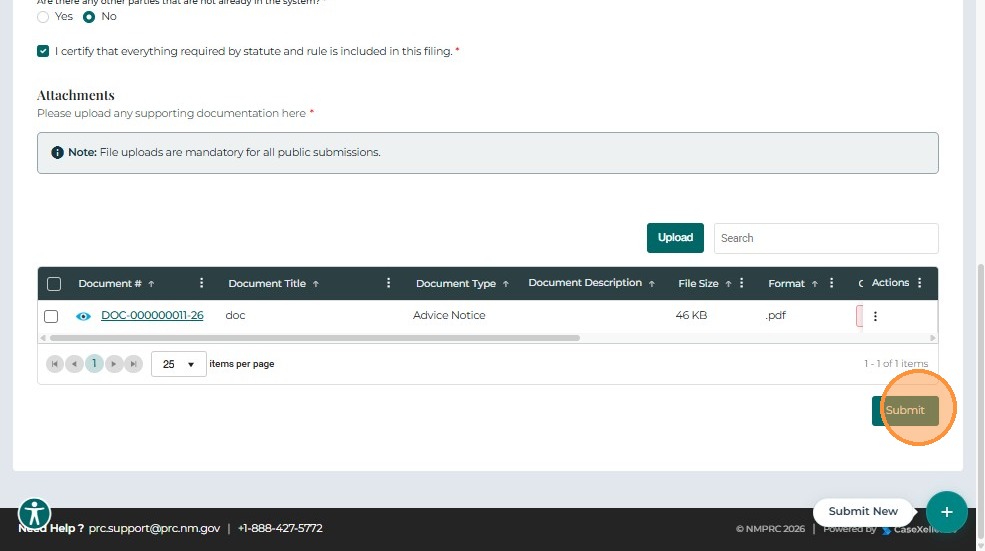
Grid Columns
The uploaded documents grid includes the following columns:
- Document # – Auto-generated unique document identifier (clickable link opens document viewer).
- Document Title – Name assigned to the document.
- Document Type – Classification (e.g., Advice Notices, Affidavits, Applications, Briefs).
- Document Description – Short description of the document's contents.
- File Size – Displays the file size.
- Format – File type (e.g., PDF, DOCX).
- Confidential – Indicates whether the file is confidential.
- Uploaded – Displays upload status.
- Actions – The three-dots menu provides options to link or remove the document. Selecting Link allows association with an existing Docket ID.

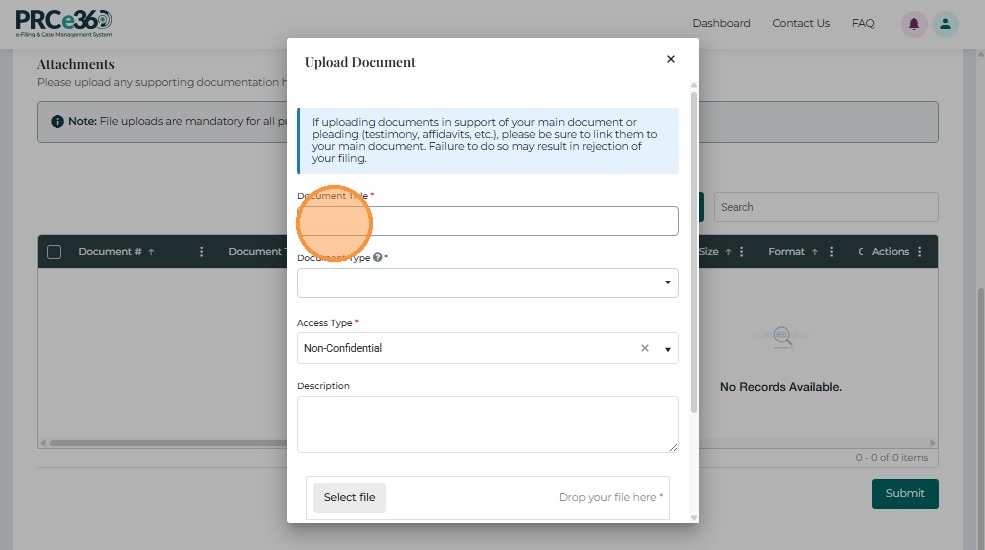
4. Upload Document
Click Upload to open the document submission form.
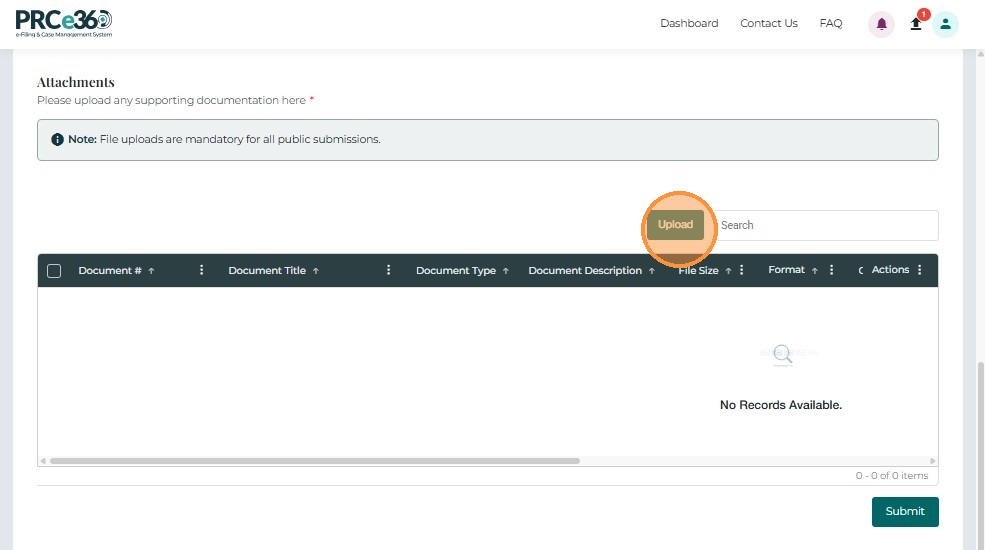
The pop-up allows users to enter details and attach a file.
Form Fields:
- Document Title* – Required name of the document.
- Document Type* – Select the type from the dropdown.
- Access Type* – Choose confidentiality level (Non-Confidential / Confidential).
- Description – Optional text area for additional details.
- Select File* – Browse or drag-and-drop to upload the document.
- Save – Uploads and adds the document to the grid.
- Cancel – Closes the form without saving.
5. Submit Filing
After completing all required fields and uploading documents, click Submit to file into the selected docket.
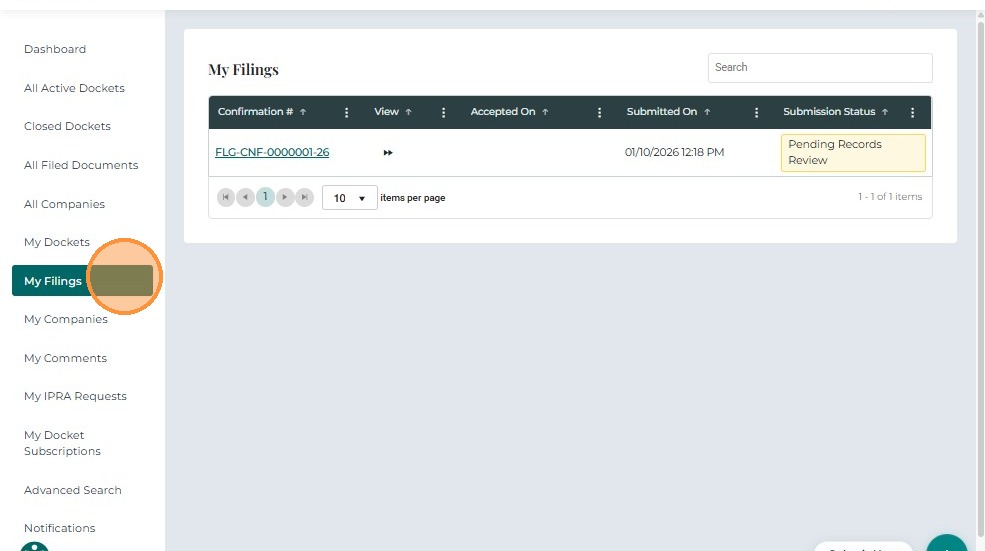
A confirmation message will display once submission is successful.
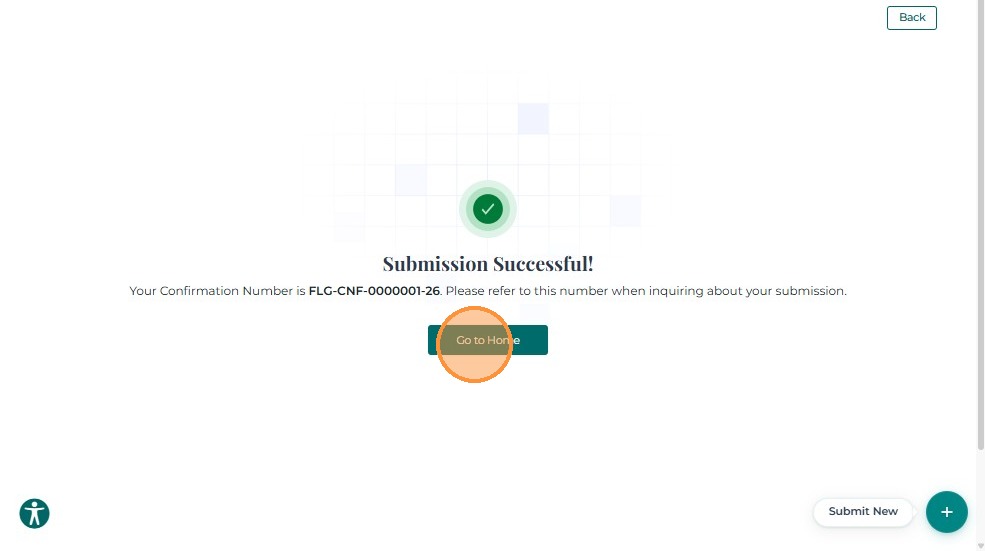
You can view your filing details under the My Filings section. Once the filing is acceoted, the status will display as Accepted