Case 360 – Case Details
The Case 360 view provides authorized Records Staff and other users with a complete, centralized overview of a case after it has been submitted, assigned a docket number, and officially filed. This page acts as the main workspace for reviewing and managing all information and activities associated with the case.
Before You Begin
Prerequisites:
- A case must already be created and assigned a docket number
- You must have appropriate permissions to view the case (varies by role and division)
- The case should be in "Active" status to access all features
What You Can Do:
- View and edit case details, dates, and milestones
- Manage documents (upload, link, annotate, redact)
- Add and manage parties and service notifications
- Create assignments and tasks
- View and add comments
- Track payments and notes
- View legacy data (if available)
Note: Available features depend on your role and the case's current status.
Once a case is created, users can access it from the All Active Dockets or My Dockets list. Selecting a docket number opens this Case 360 screen.
This interface consolidates essential case information—such as company name, submission details, filing date, and case status—while providing navigation tabs to access documents, parties, comments, service notifications, assignments, tasks, and other related actions
Header Section
-
Docket Number: A unique identifier automatically generated for each case. This number helps track and reference the case throughout its process.
-
Case Status: Displayed next to the docket number (e.g., Active). Indicates the current stage of the case. The status can be updated using the Set To button.
-
Company: Displays the company name associated with the case.
-
Submitted On: Shows the exact date and time the case was submitted into the system.
-
Filed By: Identifies the user who submitted or created the case.
-
Filed Date: Indicates the official filing timestamp of the case. This may match or closely follow the Submitted On time, confirming system logging.
-
A Back button is also available to return to the previous page.
Action Buttons
-
Back: Allows the user to exit the Case 360 view and return to the previous page (usually All Active Dockets). No changes are saved if this is clicked.
-
Docket Status: Enables users (with appropriate permissions) to change the case's current status, such as setting it to Closed or Compliance Monitoring. When clicked, a dialog box appears prompting the user to select a new status and confirm the change.
Navigation Tabs
The following tabs are displayed horizontally below the case header, allowing quick access to detailed case components:
-
Docket Details – Displays essential docket information and key milestones.
-
Documents – Lists all documents uploaded or generated for the case.
-
Party – Shows the company and related parties linked to the case.
-
Service Notification – Captures and manages service-related notifications.
-
Assignments – Shows assigned staff members and their roles in the case.
-
Comments – Displays all recorded comments associated with the docket.
-
Payment Details – Provides payment information and transaction records.
-
Notices – Lists system-generated or user-created notices for the case.
-
Orders – Displays official orders linked to the docket.
-
Tasks – Shows pending and completed tasks tied to the case workflow.
-
Notes – Allows users to record internal notes for reference.
-
Legacy Data – Contains any migrated or historical data related to the case.
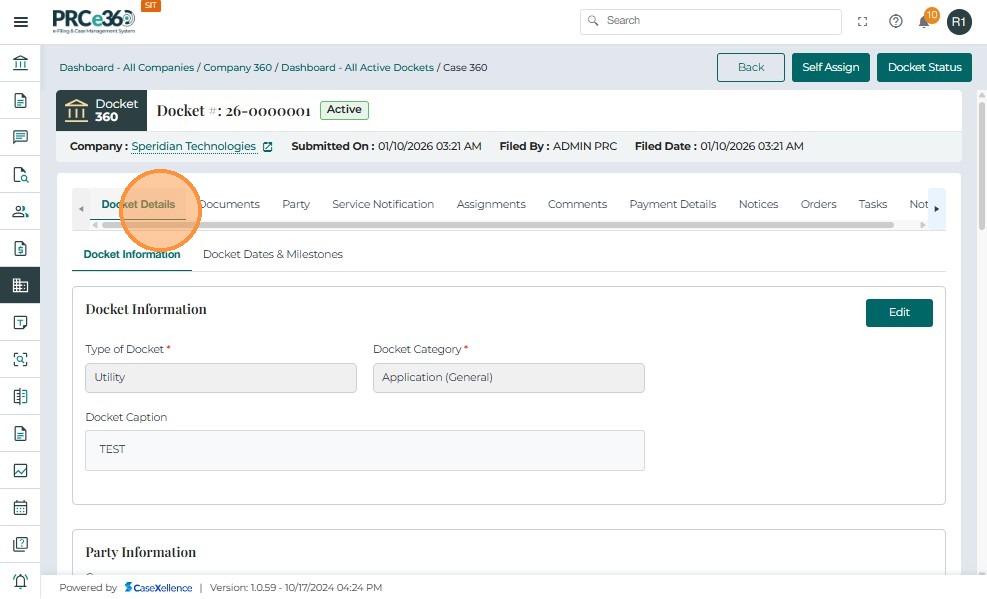
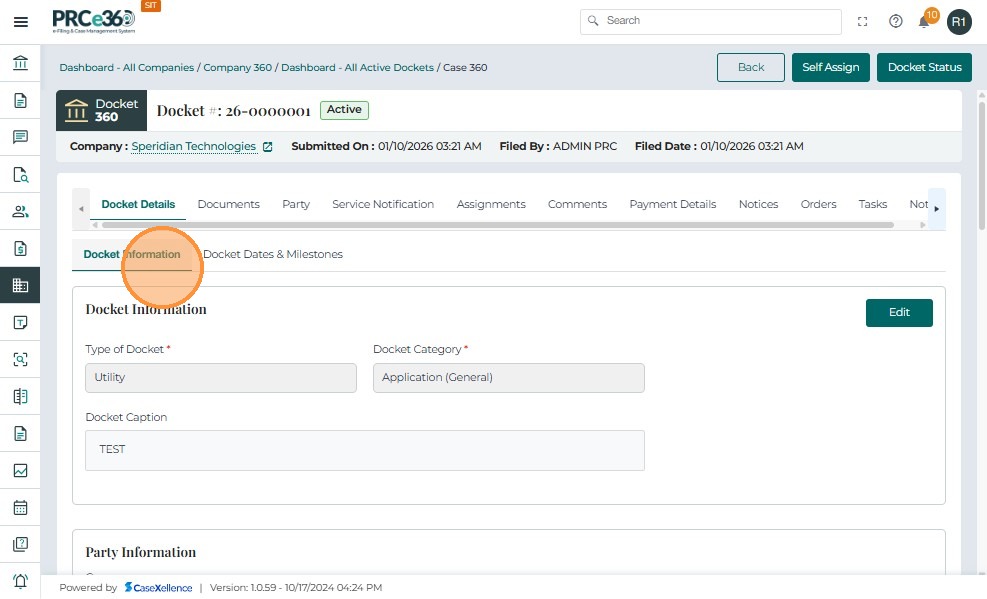
Docket Details Tab
The Docket Details tab displays the main information related to the selected case. It contains two sub-sections — Case Information and Case Dates & Milestones.
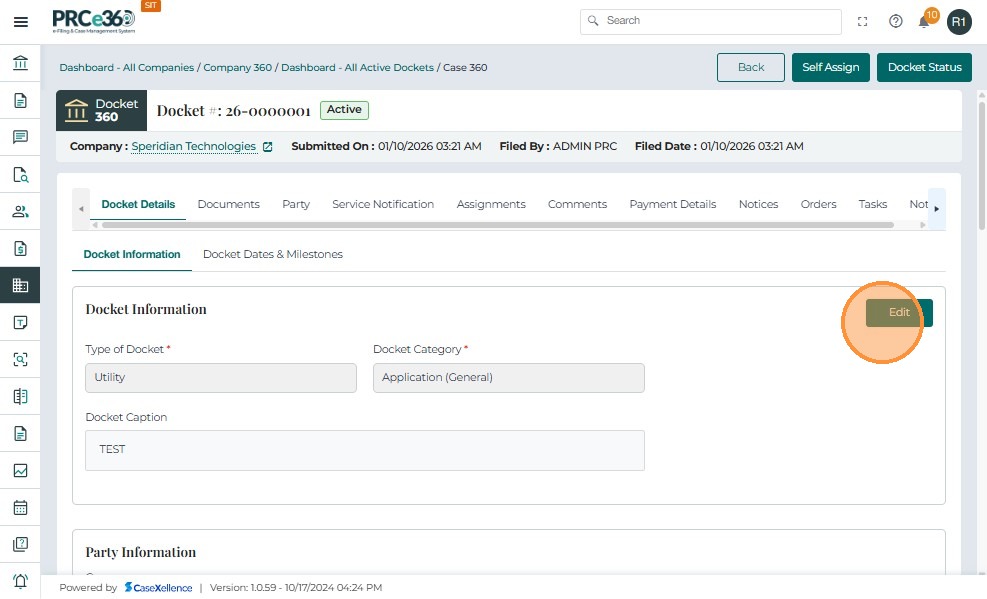
Docket Information Section
-
Type of Docket:
-
Displays the classification of the case (e.g., Pipeline, Telecommunications, Utility).
-
This determines the case's handling process and associated workflow.
-
-
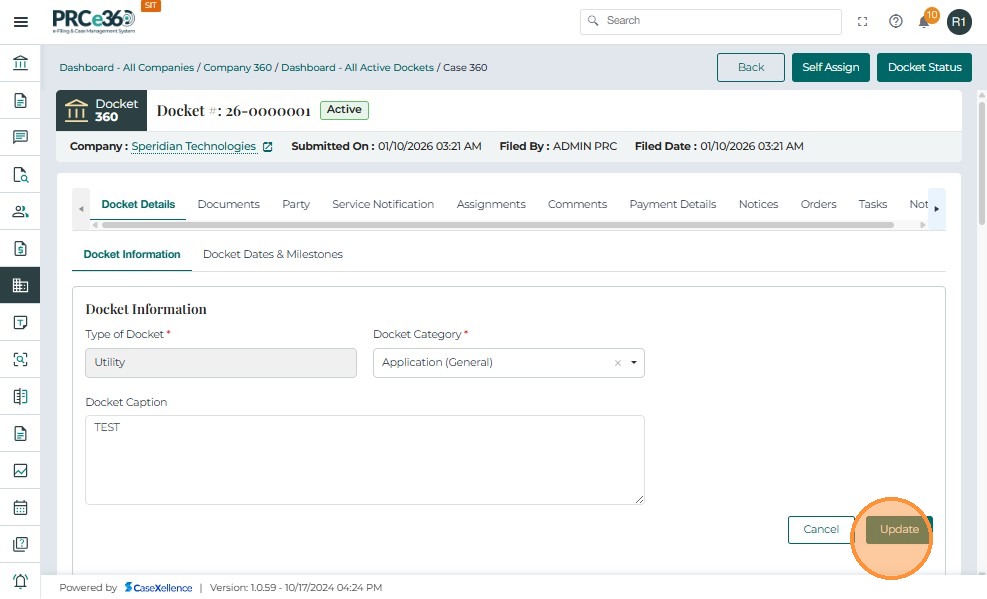
Edit Button:
-
Allows authorized users to modify case-type information.
-
After editing, select Update to apply changes.
-
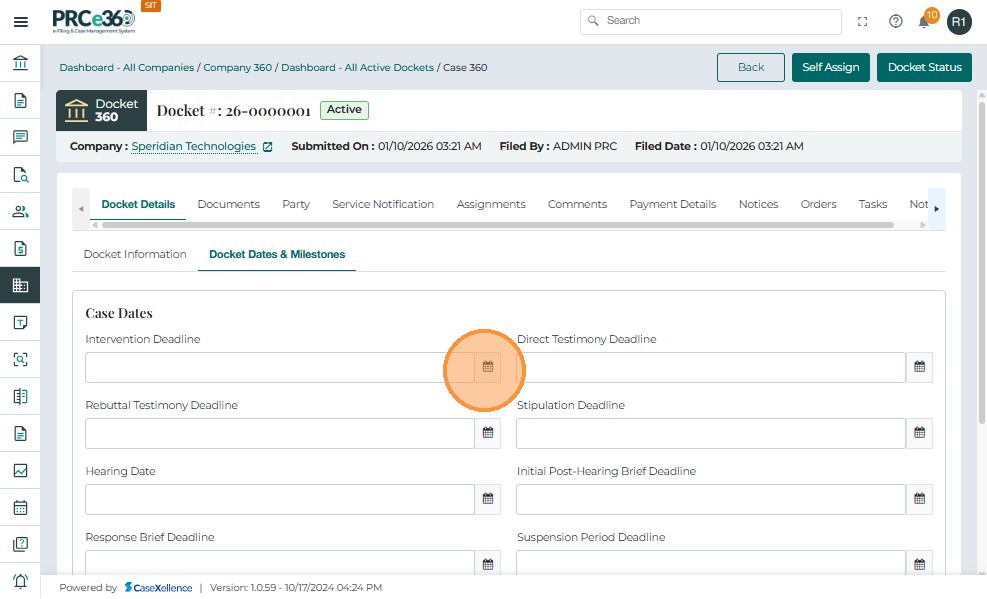
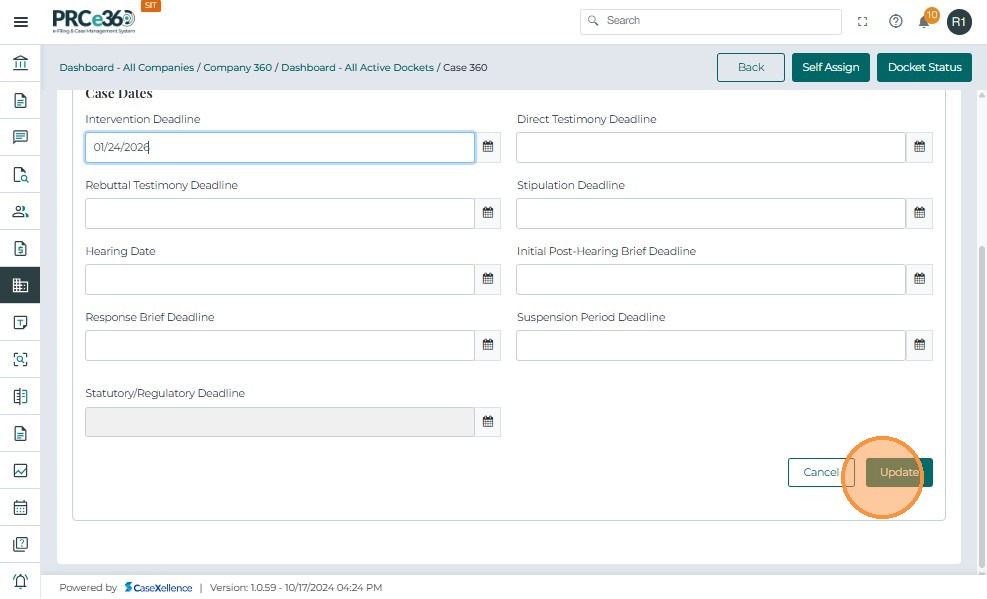
Docket Dates & Milestones Section
-
Displays key dates related to the case, such as submission, approval, and closure milestones.
-
Tracks the case's progress through its lifecycle.
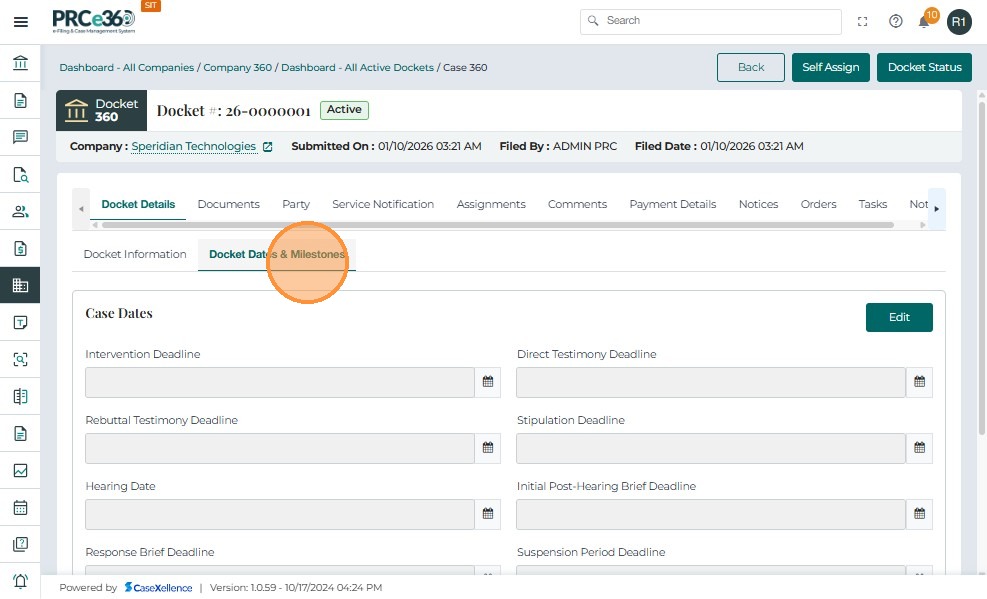
-
Dates are automatically populated by the system when actions are performed.
-
Click Edit Button.
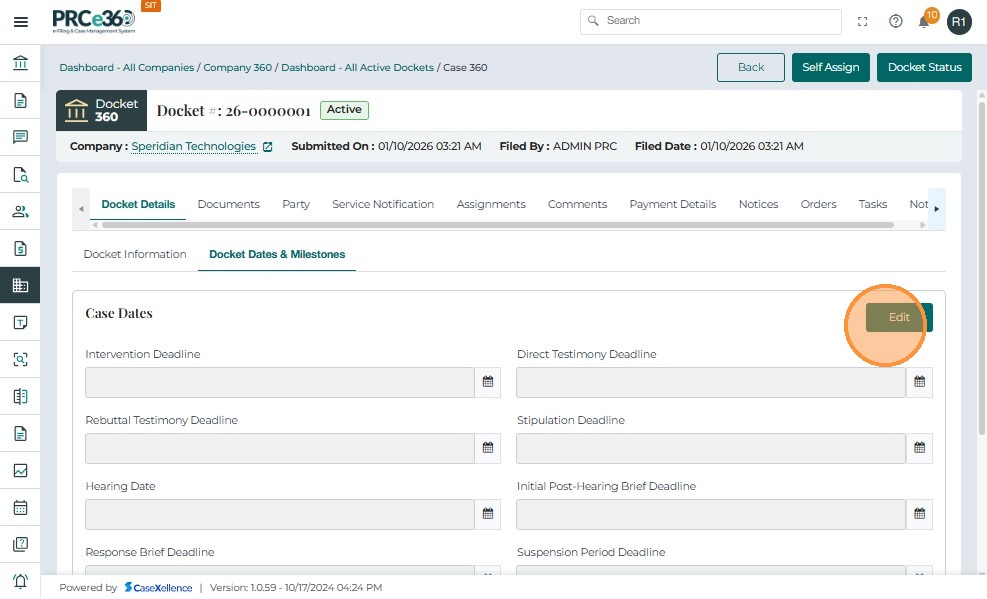
- Enter the details
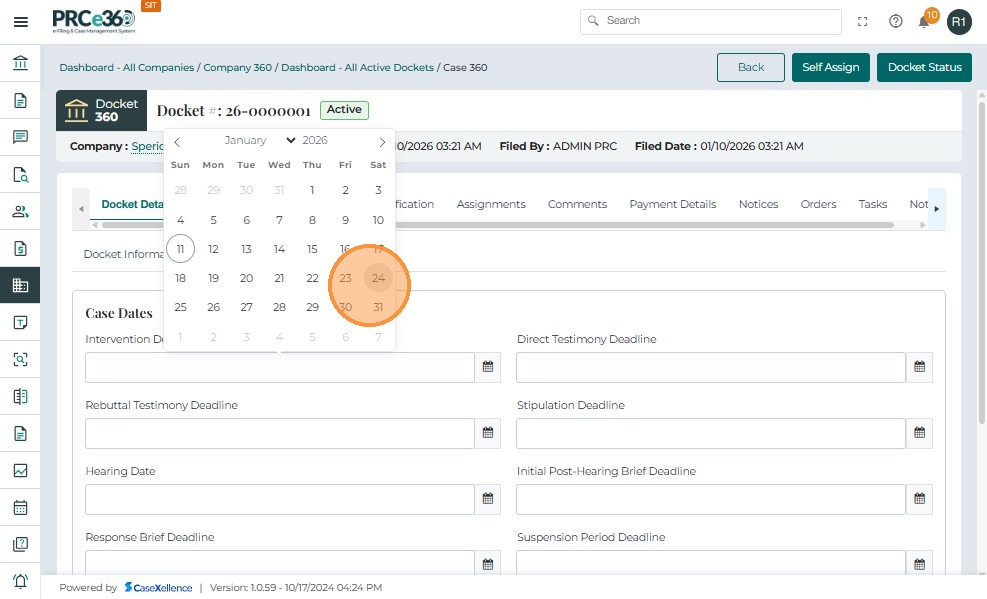
- Click "Update"
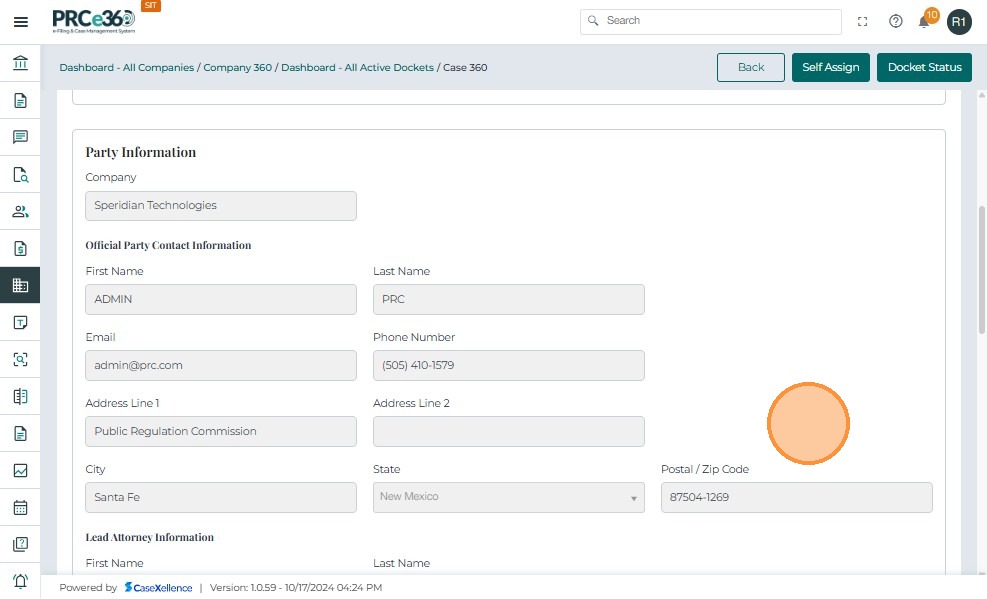
This section displays the details entered during the case submission process. It includes the primary party, lead attorney, and filer information.
-
Party Type: Indicates whether the filer is an Applicant/Petitioner, Respondent, or other.
-
Company: Displays the company name associated with the filing.
-
Contact Information: Shows the filer's name, email, phone number, and mailing address as entered during submission.
-
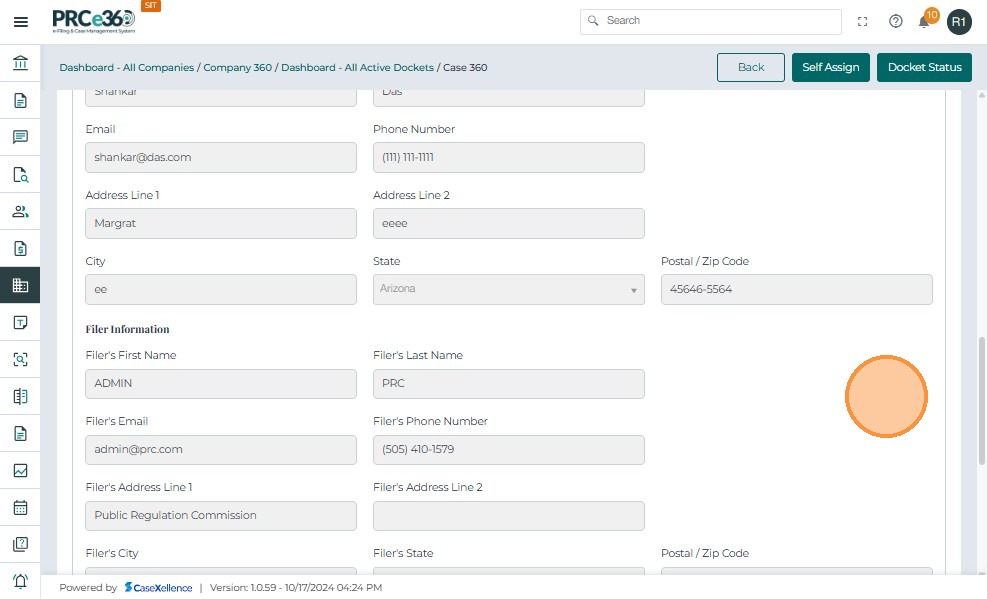
Lead Attorney Information: Lists the attorney's contact and address details provided during case creation.
-
Filer Information: Displays the Records Staff or user details of the person who submitted the case on behalf of the filer.
-
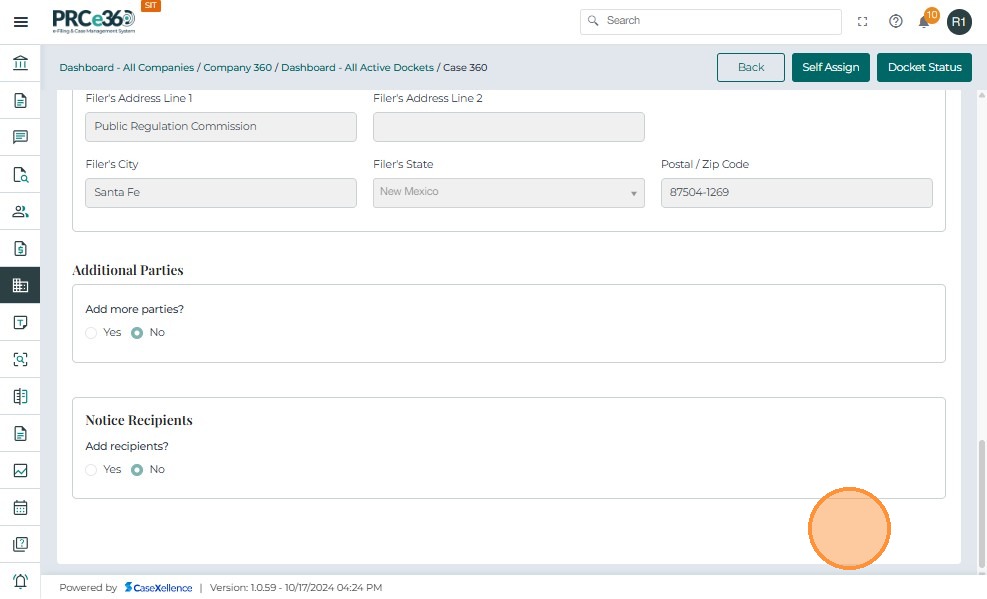
Additional Parties & Notice Recipients: Indicates if any extra parties or recipients were added for notifications during submission.
Documents Tab
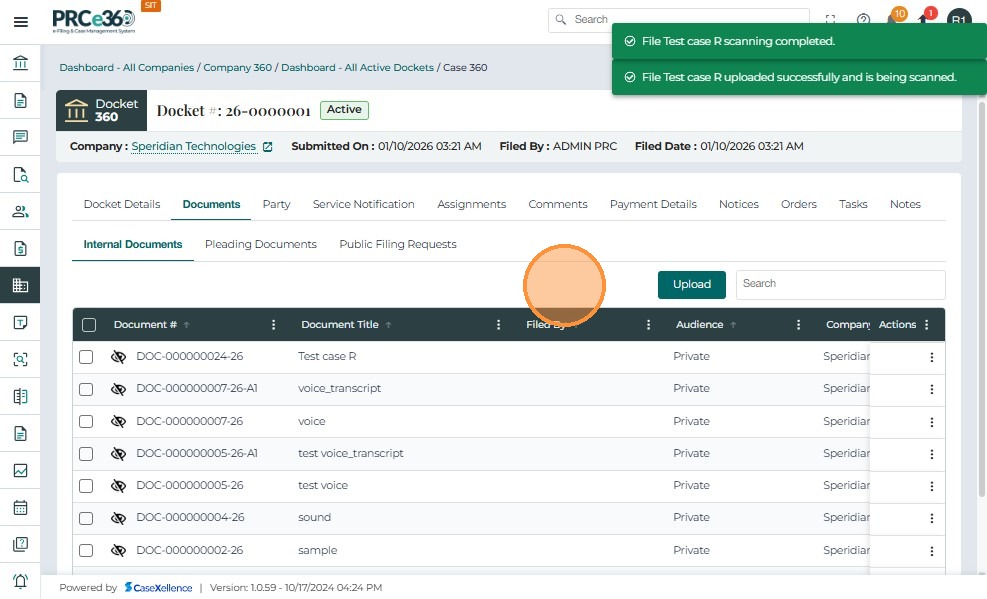
The Documents tab in the Case 360 view displays all documents associated with the selected docket. This section enables Records Staff and authorized users to view, upload, and manage both public and confidential documents related to the case.
The Documents tab is divided into three sub-sections:
-
Internal Documents – Displays documents uploaded internally by Records Staff or other authorized users.
-
Pleading Documents – Contains formal pleadings or filings associated with the case.
-
Public Filing Requests – Displays documents that are awaiting Records review before being made public.
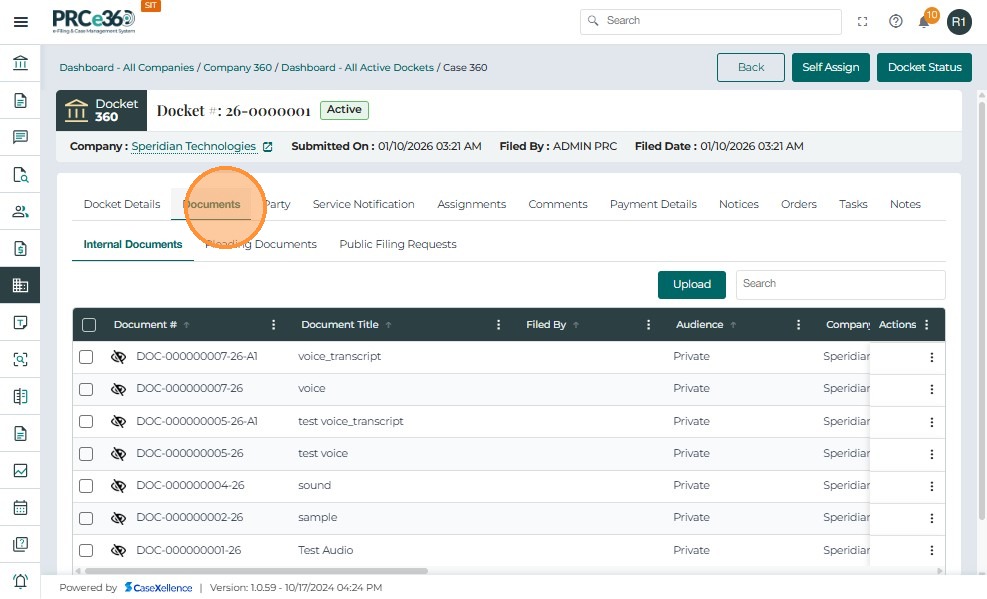
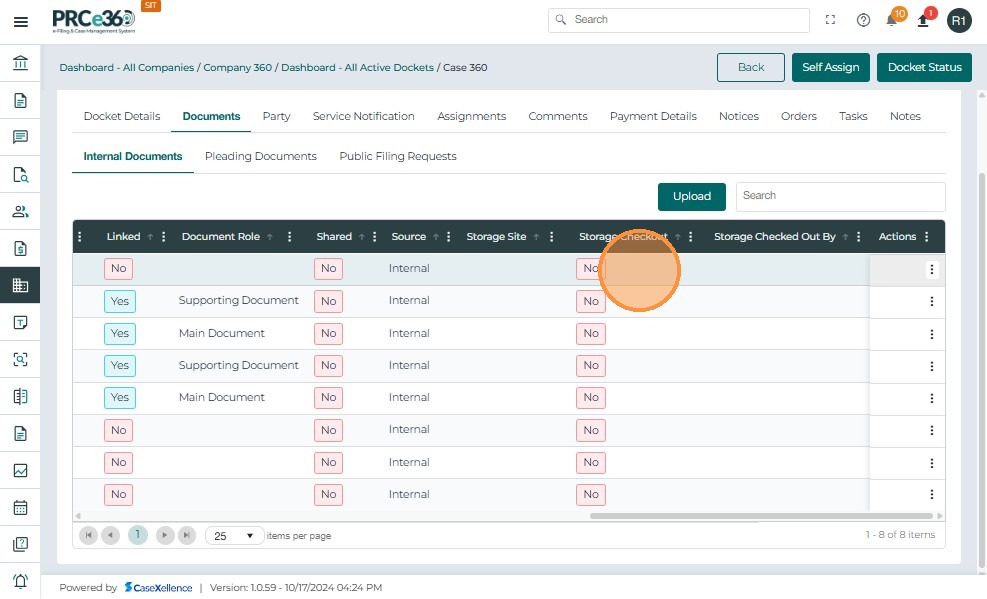
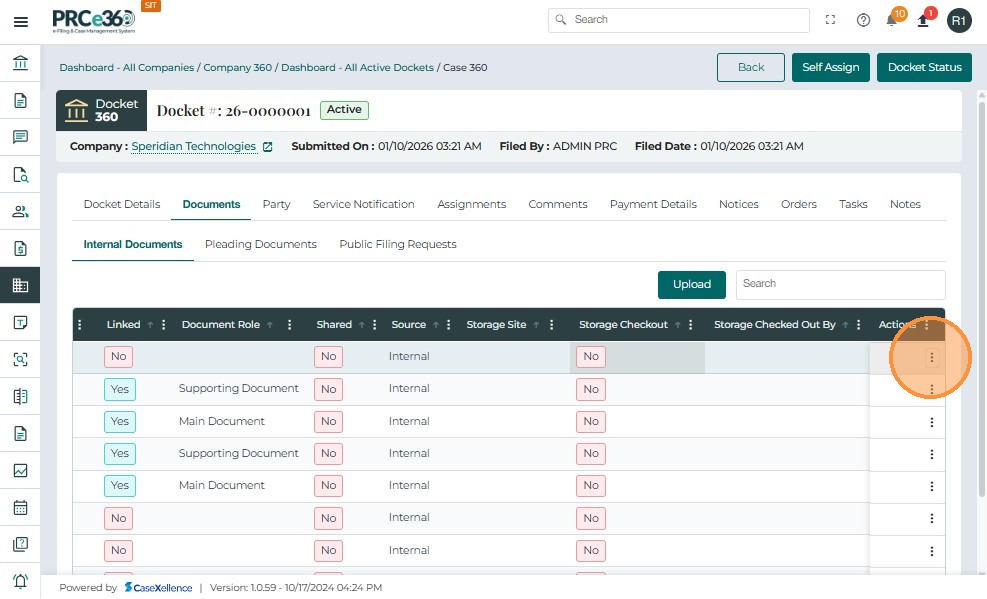
Internal Documents Tab
The Internal Documents tab allows Records Staff and authorized users to view, upload, and manage all internal case-related files. These documents are typically used for tracking, internal communication, or confidential references that support case processing but are not visible to public users. Records users also have the ability to upload new documents, mark them as confidential, make internal copies, or delete them when necessary.
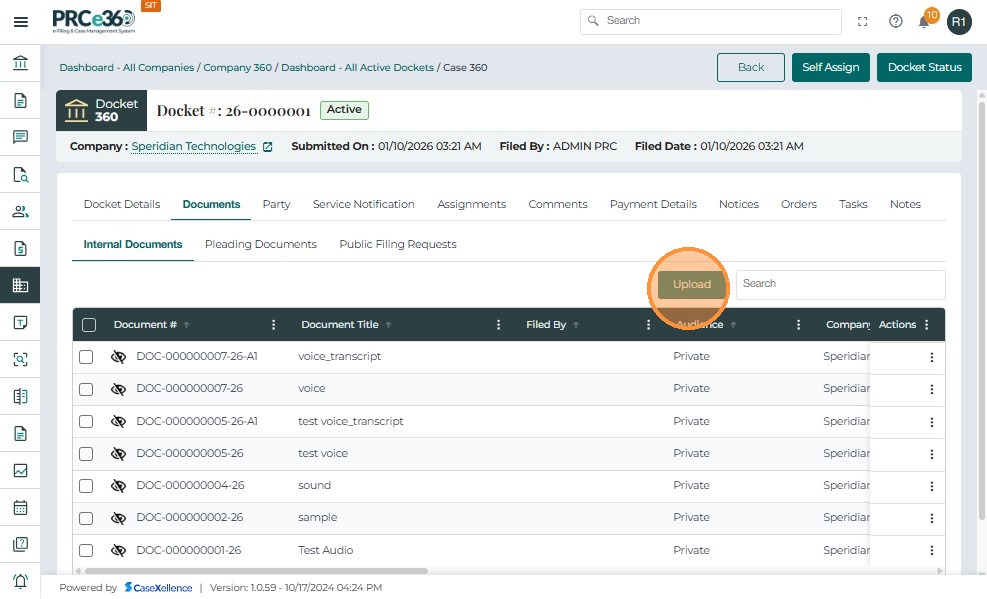
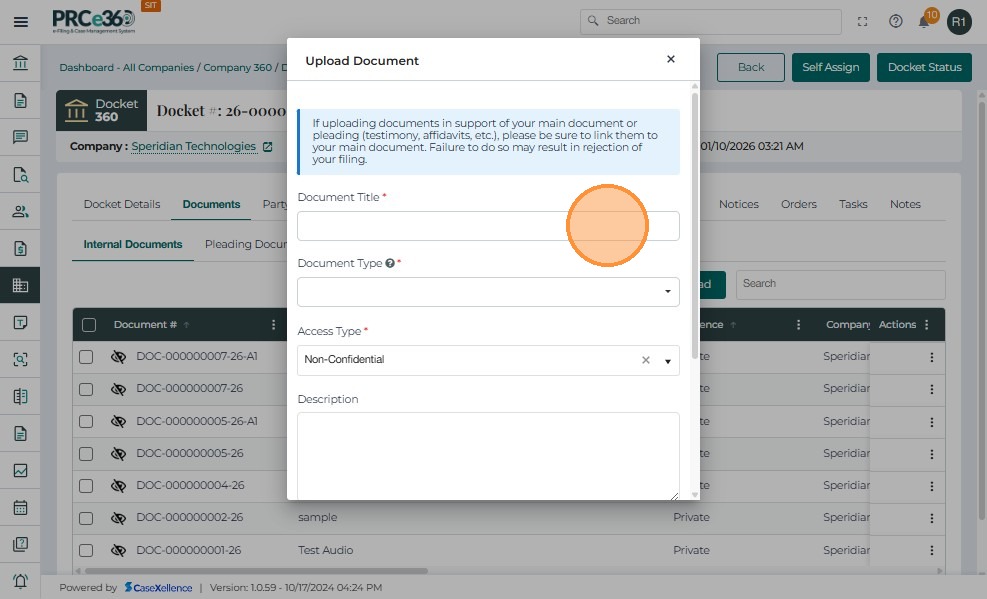
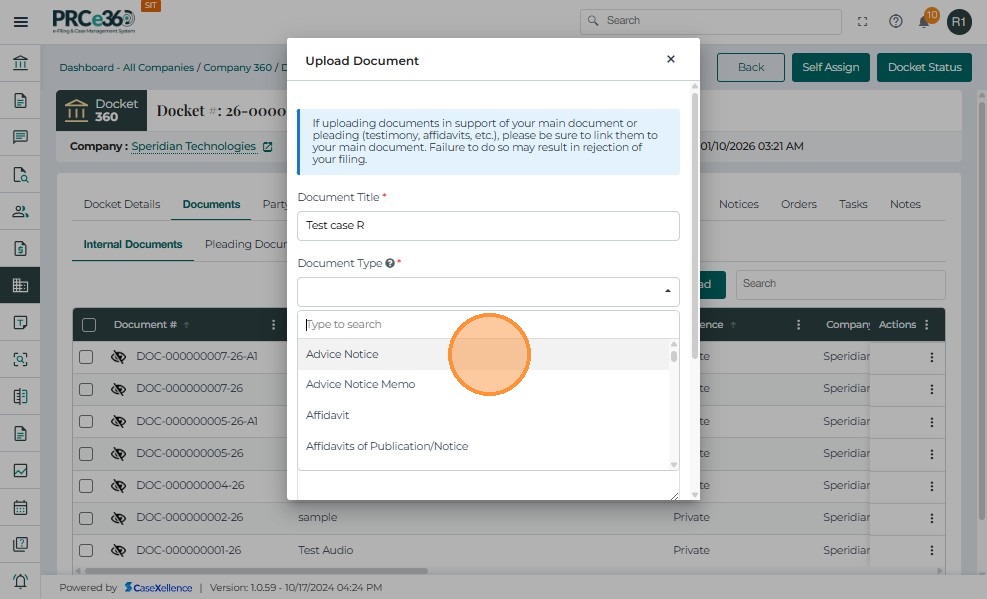
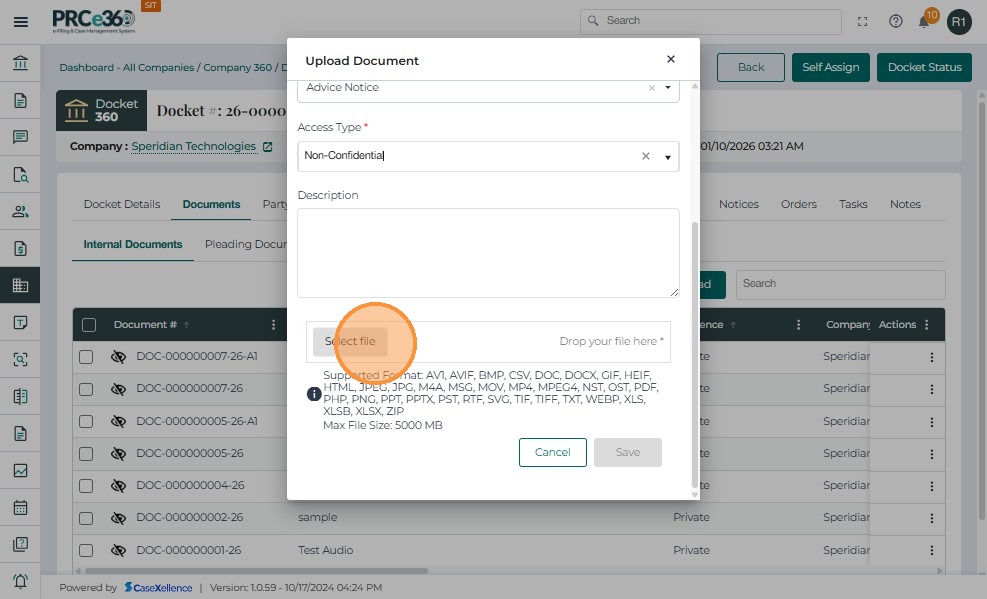
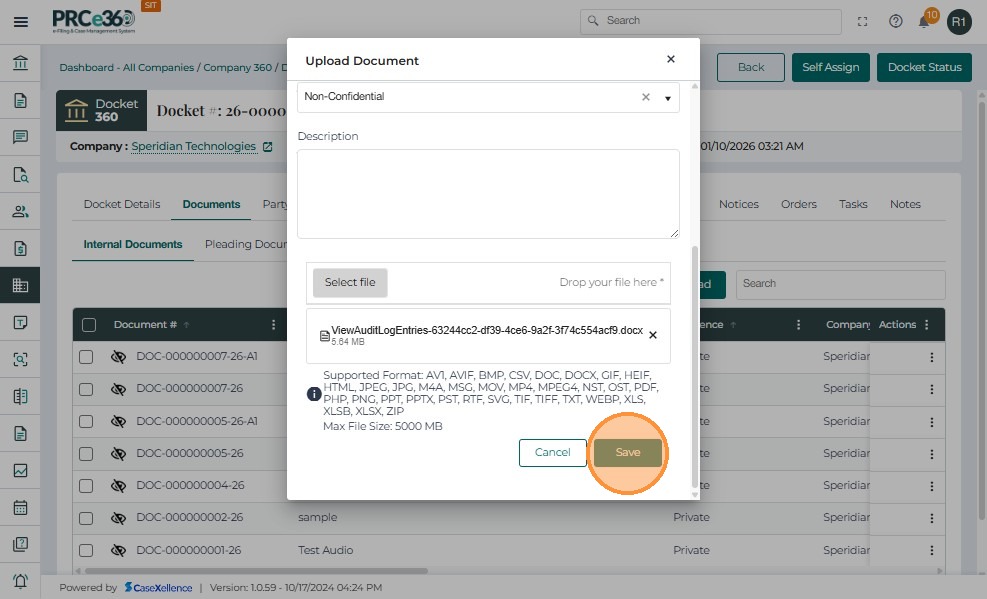
Uploading a Document
-
Click the Upload button to add a new document.
-
Enter the Document Title, Document Type, and Description.
-
Upload the file (supported formats: PDF, DOC, DOCX, JPEG, JPG; maximum size 10 MB).
-
Click Save to complete the upload.

Document Table Fields
- The uploaded documents are displayed in a table with the following columns:
| Field | Description |
|---|---|
| Document # | Displays a system-generated unique identifier for each uploaded document. |
| Document Title | Shows the name entered by the filer during document upload. |
| Filed By | Displays the name of the individual or staff member who submitted the document. |
| Audience | Indicates whether the document is Public or Private. |
| Document Type | Specifies the nature or classification of the document (e.g., Advice Notices, Filings). |
| Document Description | Provides a brief explanation or summary of the document's content. |
| Confidential | Displays "Yes" if the document is confidential or "No" if it is public. |
| Linked | Indicates whether the document is linked to another case or related filing. |
| Shared | Displays whether the document has been shared with other authorized users. |
| Source | Identifies where the document originated (e.g., Internal, External, or Online). |
| Actions | Provides a dropdown menu with available management options for each document. |
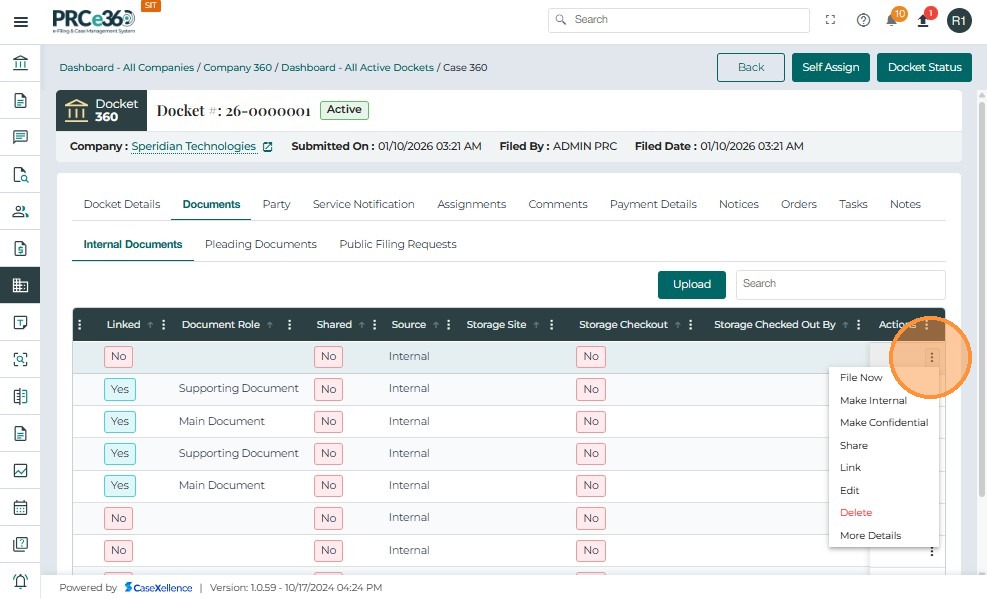
- The Actions button (three vertical dots) provides multiple management options for each uploaded document:
| Action | Functionality |
|---|---|
| File Now | Immediately files the document into the case record. |
| Make Confidential | Allows Records Staff to mark a document confidential if the filer forgot to do so. Confidential documents display the title publicly but restrict access to the content. |
| Share | Enables sharing of the document with authorized internal users. |
| Link | Links the document to another related case or filing. |
| Delete | Deletes the document from the system (Records Staff only). |
| CheckIN/Out | Makes document edtable for users |
| Edit | Allows to edit the document |
| More Details | Shows the details of the uploaded document |
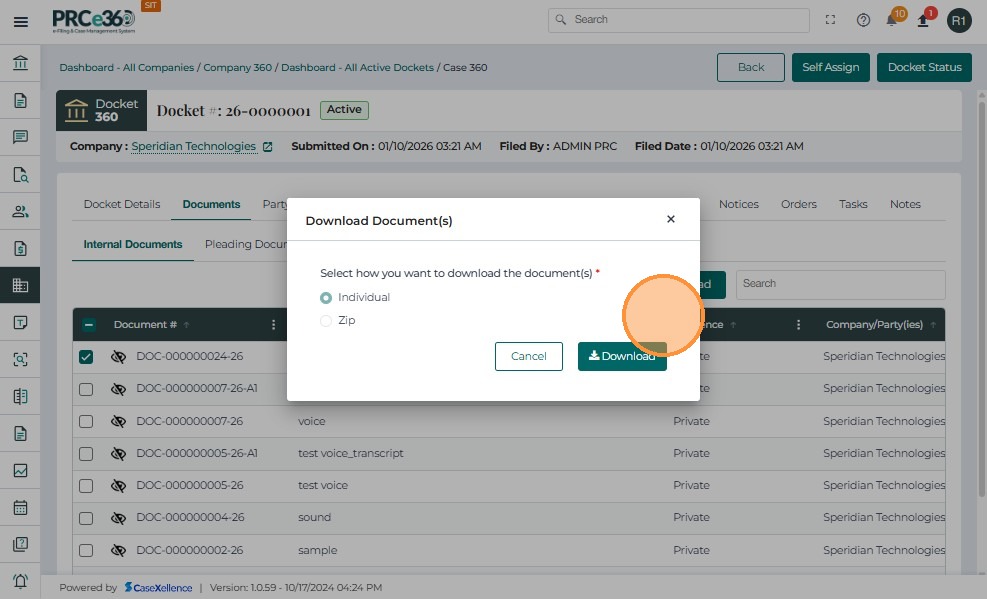
** Downloading a Document **
- Select the documents to download using the checkboxes.
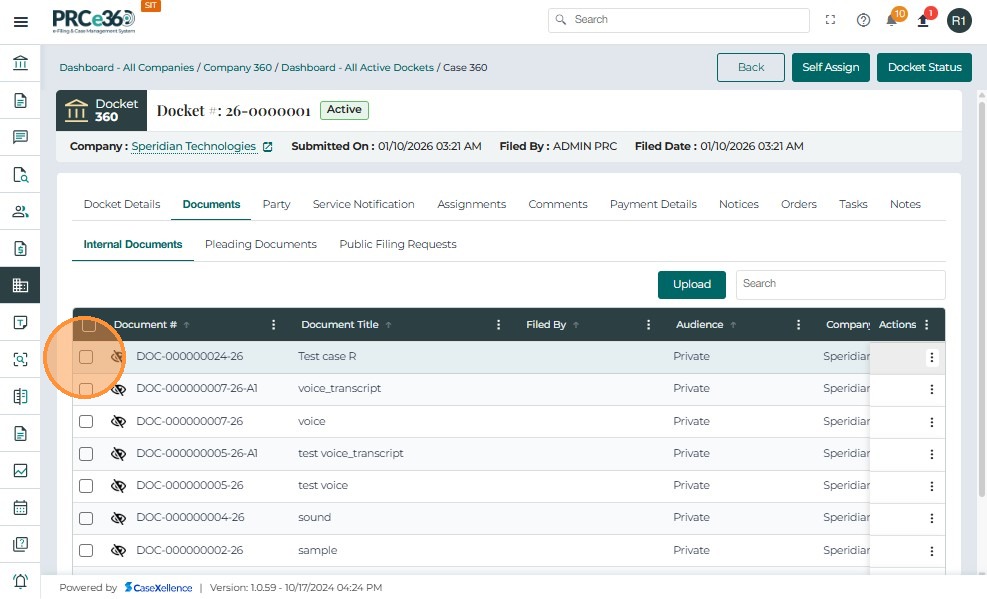
- The ** Download Documents ** button will appear.
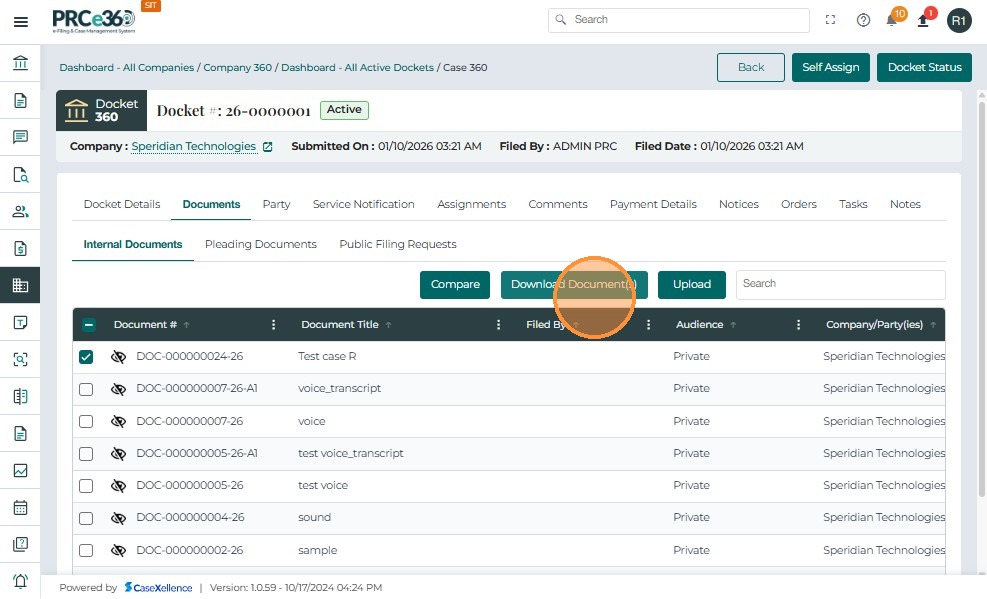
- Choose the appropriate way to download the document.
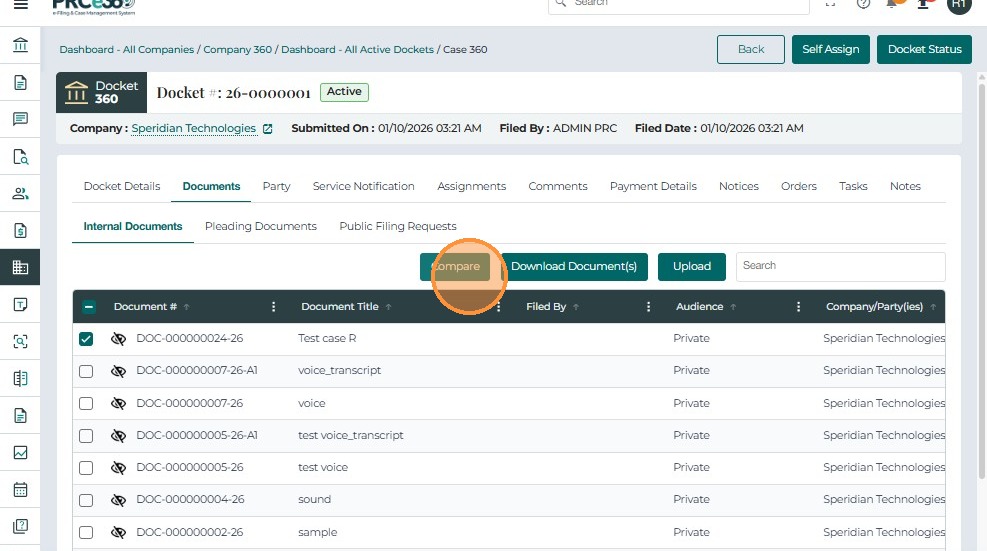
** Compare Document **
- Select two documents and use the option Compare Documents to compare the document.
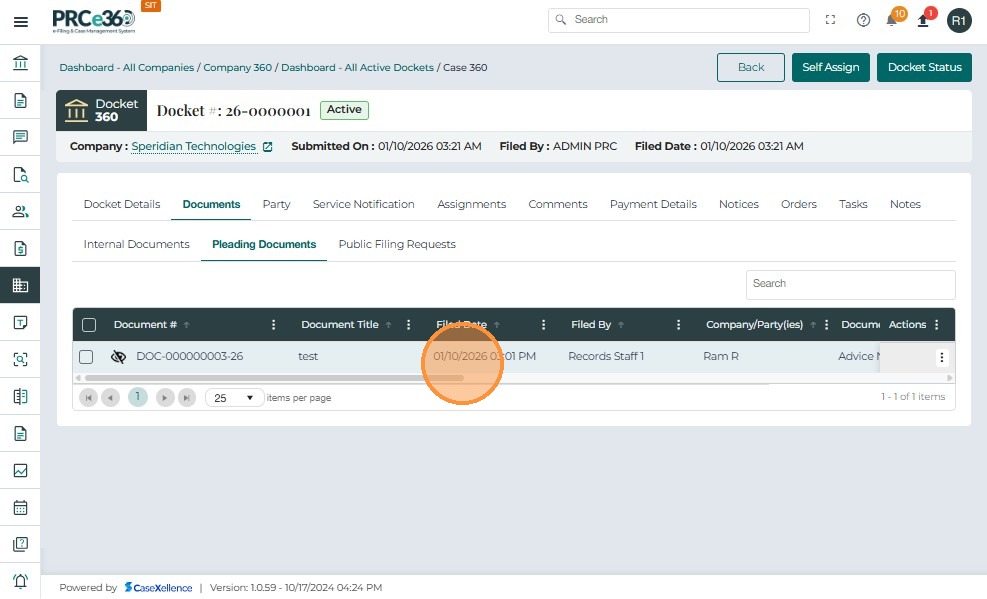
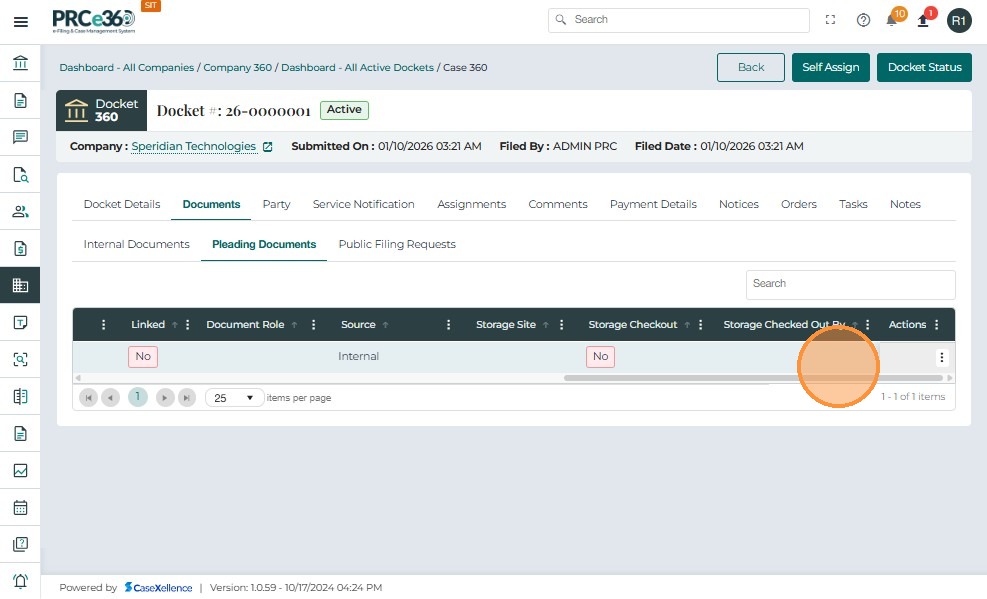
Pleading Documents Tab
The Pleading Documents tab displays all documents submitted as part of the case pleadings, including agreements, motions, or other official filings. These documents are typically added during case submission or uploaded later by Records Staff.
- The documents are displayed in table format as shown below:
| Field Name | Description |
|---|---|
| Document # | Displays the system-generated unique document number. Clicking this number opens detailed document information. |
| Document Title | The name or title of the document (e.g., Confidentiality Agreement). Helps identify the document content. |
| Filed Date | The exact date and time when the document was filed in the system. |
| Filed By | Name of the user or staff member who uploaded or filed the document. |
| Company/Party | Displays the name of the company or party associated with the pleading document. |
| Document Type | Indicates the type of document, such as Notice, Agreement, or Motion. |
| Confidential | Displays whether the document is confidential (Yes/No). Confidential files are visible only to internal users with authorized access. |
| Linked | Indicates if the document is linked to another docket or related case (Yes/No). |
| Source | Shows how the document was submitted (e.g., Internal for Records uploads or Portal for public submissions). |
| Actions | Provides additional options for managing the document. |
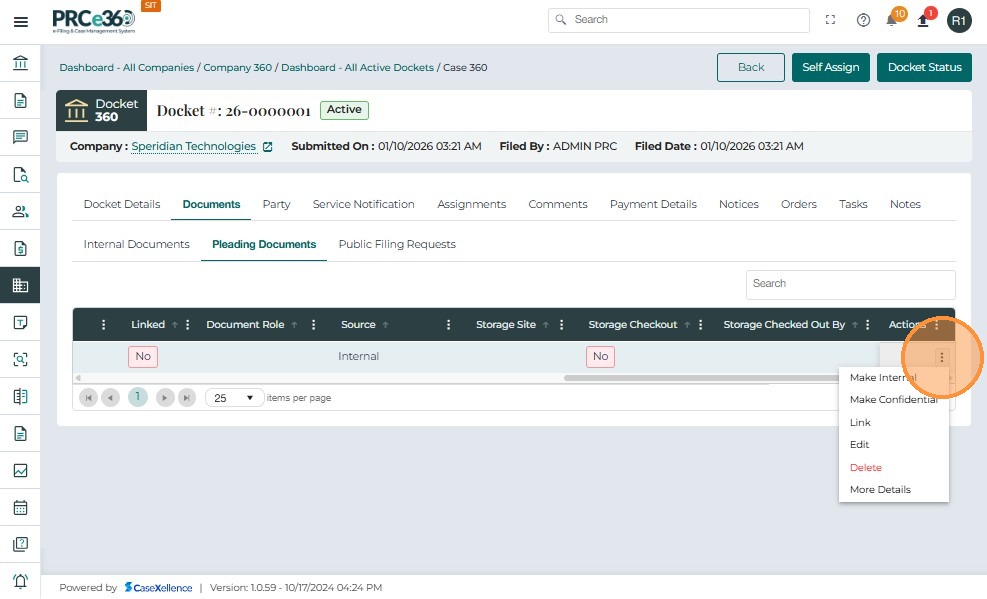
- The Actions button (three vertical dots) provides multiple management options for each uploaded document:
| Action | Description |
|---|---|
| Make Internal | Converts the document's visibility to Internal, making it accessible only to authorized staff. |
| Make Confidential | Marks the document as Confidential if the filer forgot to set it during submission. Restricted to internal and approved users. |
| Link | Links the document to another related docket or case for reference. |
| Delete | Deletes the document if uploaded in error or no longer required. |
| Edit | Allows to edit the document |
| More Details | Shows the details of the uploaded document |
There is a Search Box that allows users to quickly locate a document within the Pleading Documents list by entering keywords such as Document Title, Company Name, or Document Number. This helps users efficiently navigate large sets of filings.
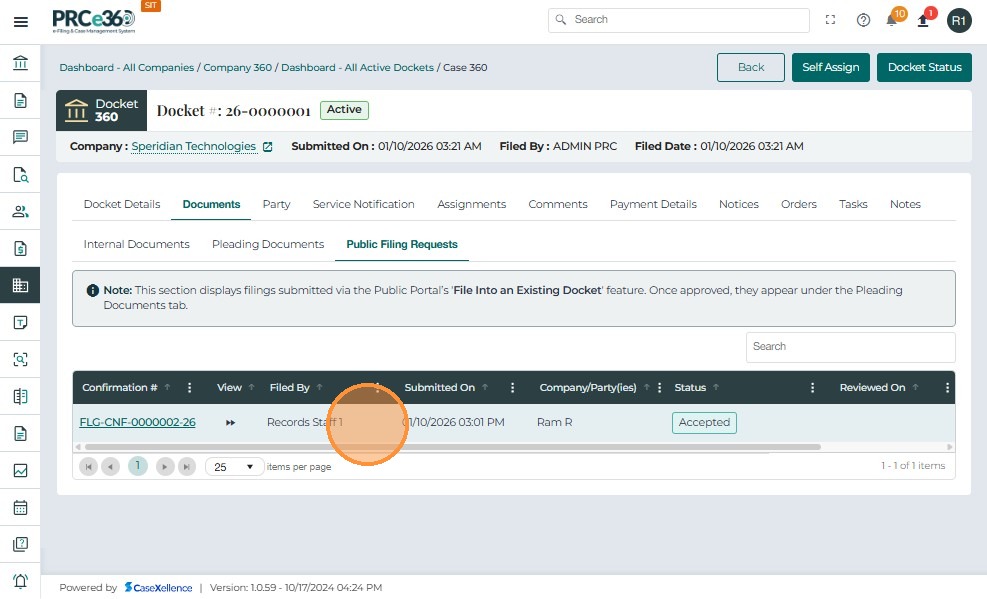
Public Filing Requests Tab
The Public Filing Requests tab allows Records Staff to view, review, and process filing requests submitted either by online (external) users through the public portal or by internal staff users.
All public filing submissions are first routed to this queue for Records review before being added to the official case file.
This ensures every submitted document complies with filing rules and confidentiality requirements before it is made public.
The table displays all public filing requests associated with the selected case. Each record contains essential details to help identify and process submissions.
| Field Name | Description |
|---|---|
| Confirmation # | Displays the unique confirmation number generated when the filing request was submitted. Clicking this number opens the detailed request view. |
| Filed By | Shows the name of the filer (external portal user or internal staff). |
| Submitted On | Indicates the date and time the filing request was submitted. |
| Company/Party | Lists the company or party associated with the request. |
| Status | Displays the current review status of the request (Pending, Accepted, Rejected). |
| Reviewed On | Shows the date and time when Records Staff reviewed the request. |
| Reviewed By | Displays the name of the Records user who processed or reviewed the request. |
Note: If no public filing requests are available, the table displays No Records Available.
A Search Box is available in the upper right of the tab, allowing Records users to quickly locate a specific filing request.
-
Users can search using:
-
Confirmation number
-
Filer name
-
Company name
-
Status
-
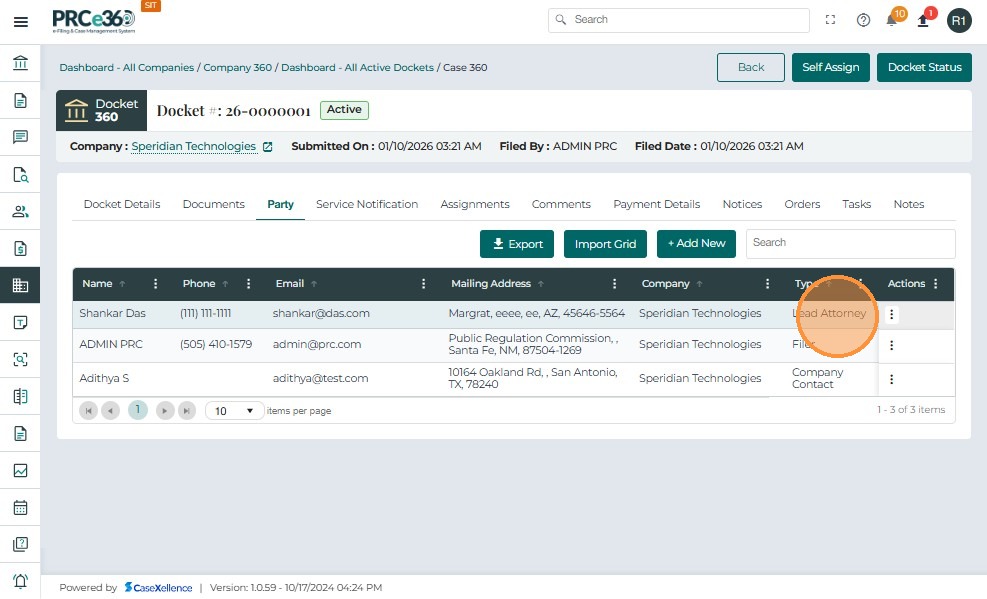
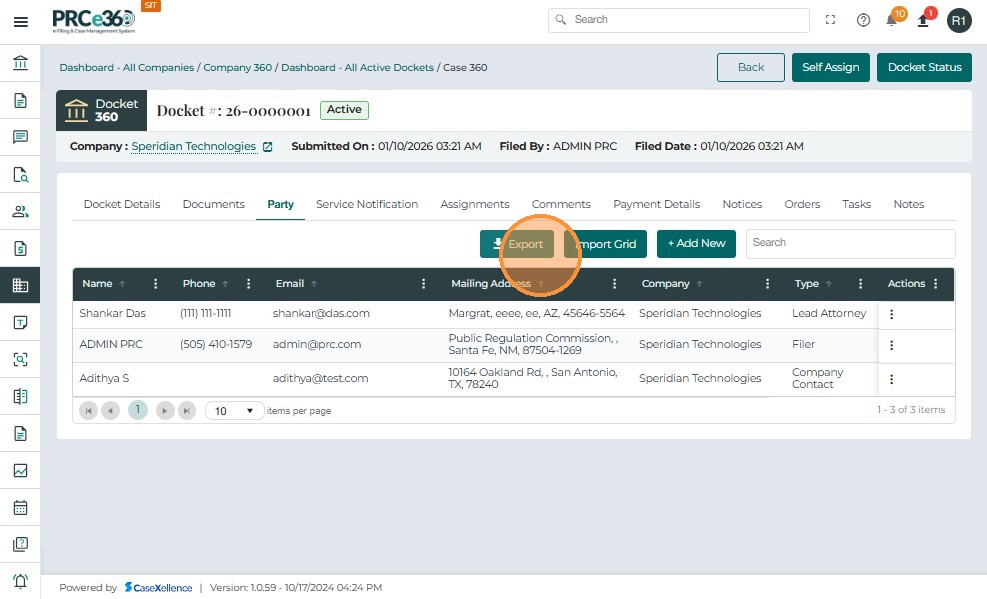
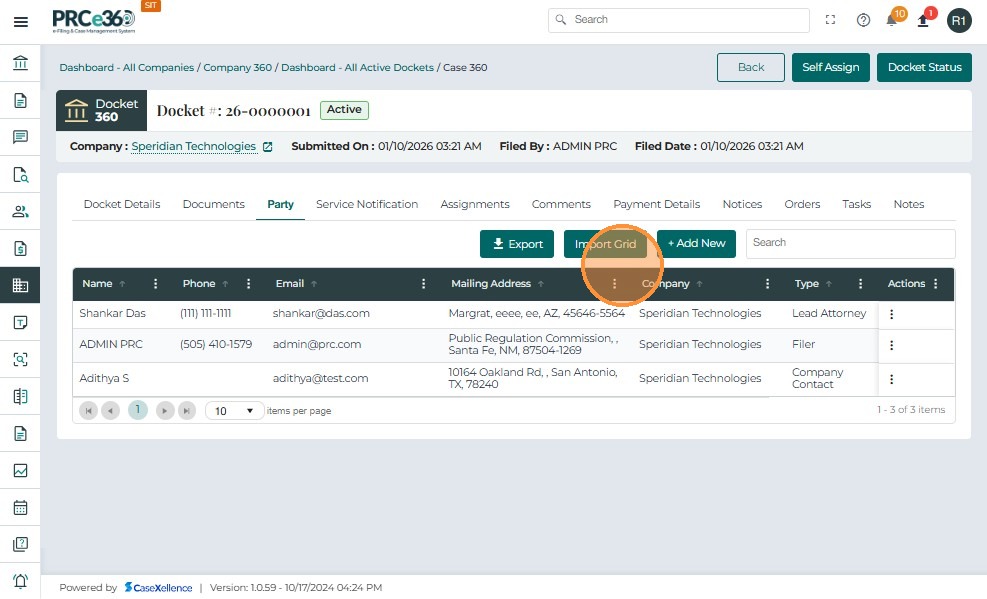
Party Tab
The Party tab under the Case 360 view displays all individuals and entities associated with the selected case. This includes applicants, attorneys, company representatives, and additional parties involved in the case proceedings.
Users can view, add, edit, delete, and export/import party information from this tab.
This section ensures all party details are accurately maintained, supporting case transparency and communication.
Table Overview
The table lists all existing parties linked to the case.
Each record includes basic contact and role information as shown in the following table:
| Field Name | Description |
|---|---|
| Name | Displays the party's full name. |
| Phone | Shows the contact number of the party. |
| Lists the email address associated with the party. | |
| Mailing Address | Displays the party's physical or mailing address, including street, city, state, and postal code. |
| Company | Identifies the organization or company the party is associated with. |
| Type | Indicates the role of the party in the case — examples include Company Associate, Lead Attorney, or Additional Party. |
| Actions | Provides options to manage each record, including Edit and Delete actions. |
The Actions column provides additional control options for managing each party record.
- Click on the + Add New button located above the party list.
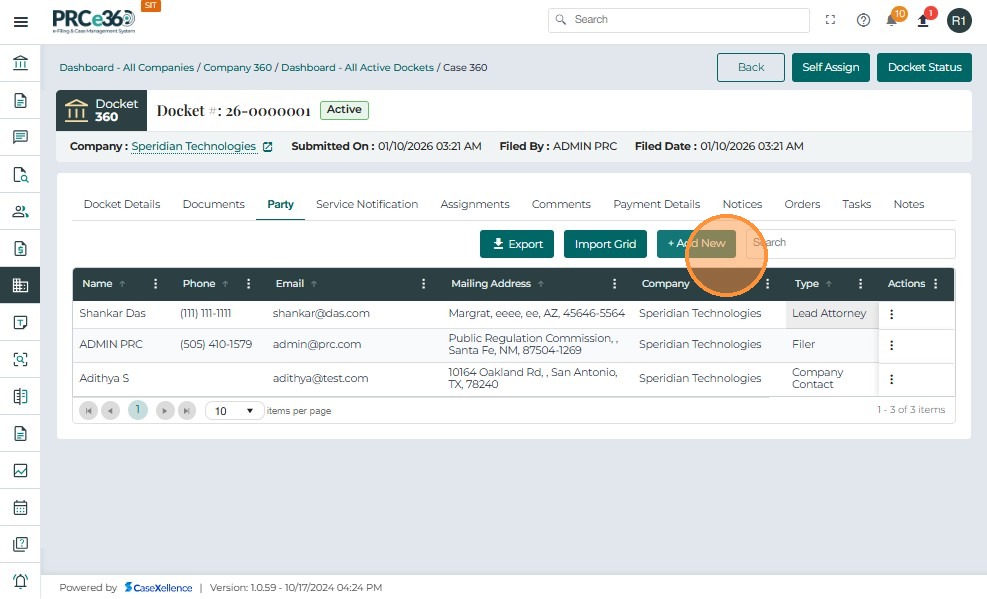
-
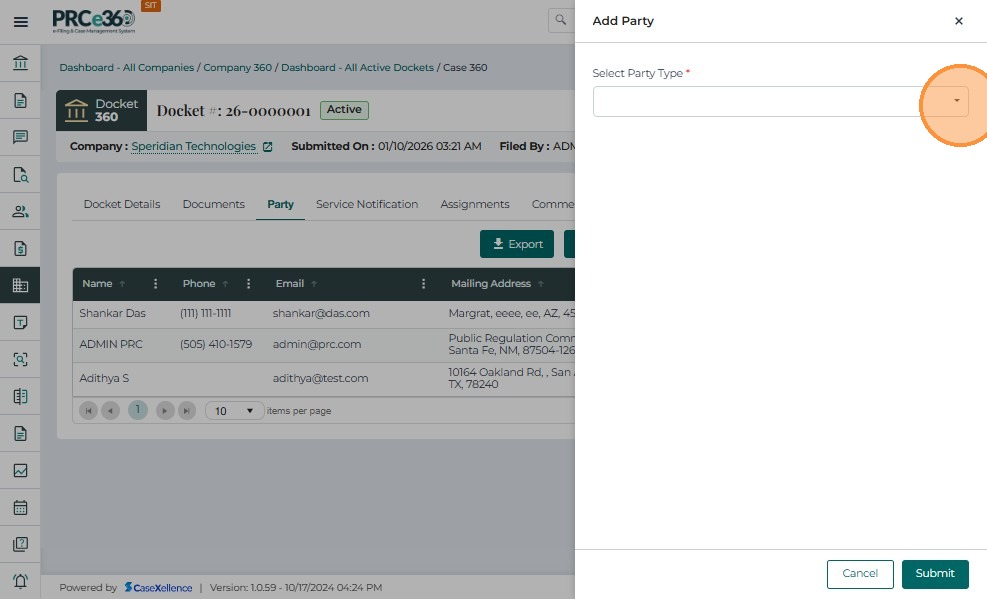
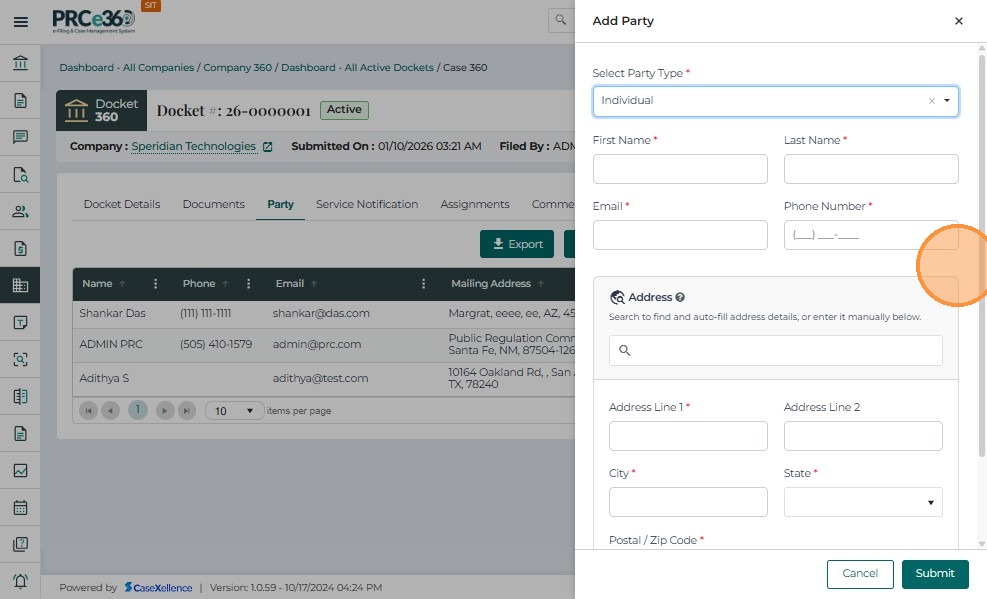
The Add Party window appears, prompting the user to select a Party Type.
-
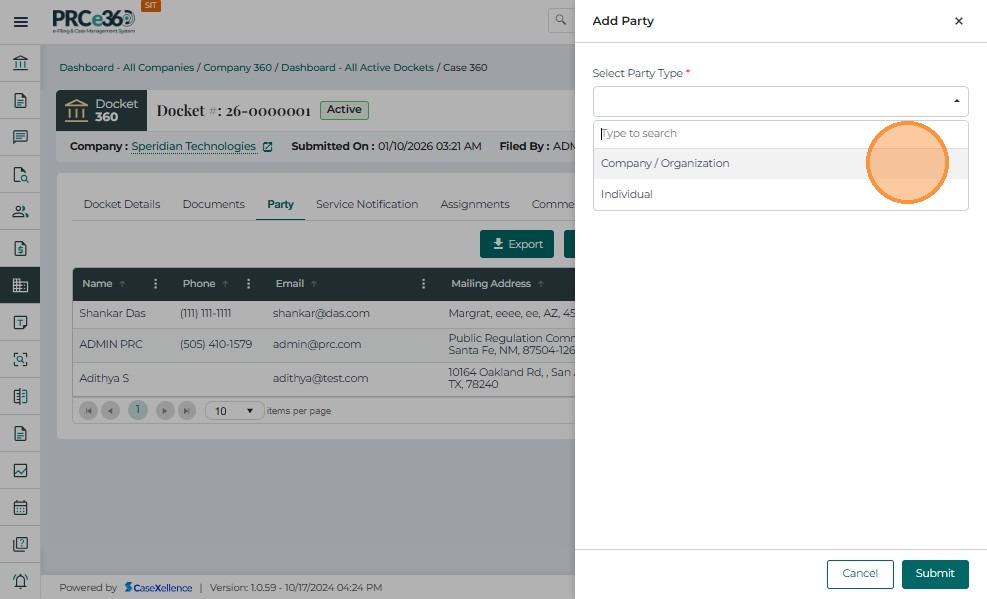
Select Party Type
In the Add Party window, choose the appropriate option under Select Party Type:
| Option | Description |
|---|---|
| Company | Select this option if the party being added represents an organization or business entity. |
| Individual | Select this option if the party is a single person, such as a Lead Attorney or Additional Party. |
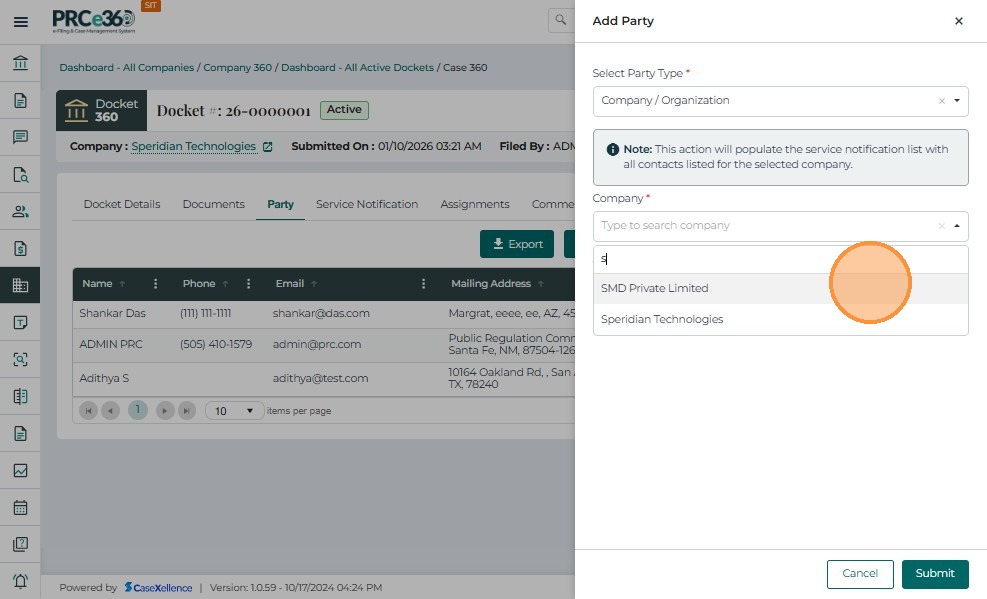
When Company is selected:
-
In the Company field, type to search and select the relevant organization from the available list.
-
The system auto-suggests company names that are already registered within the case or system database.
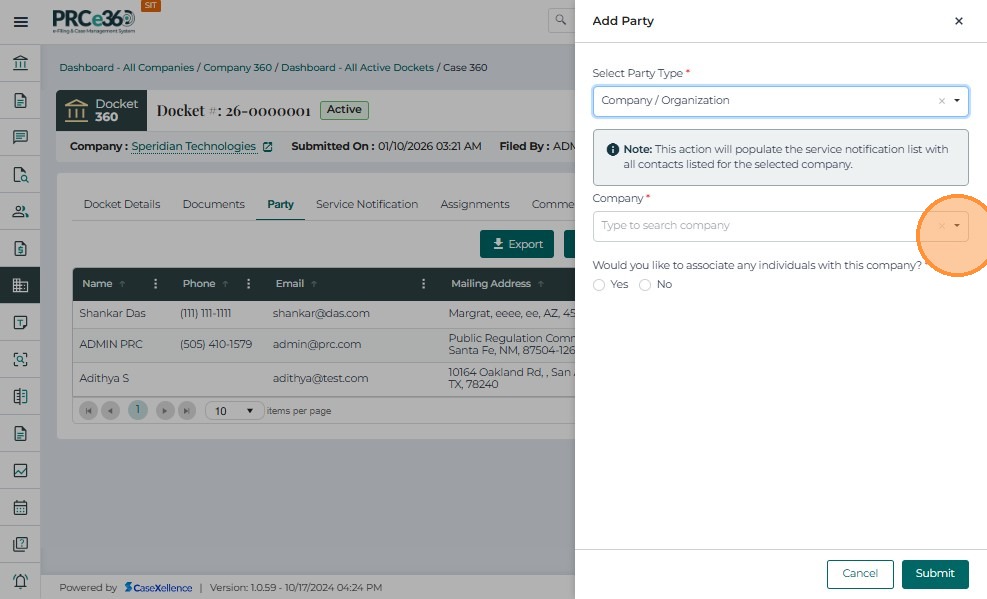
-
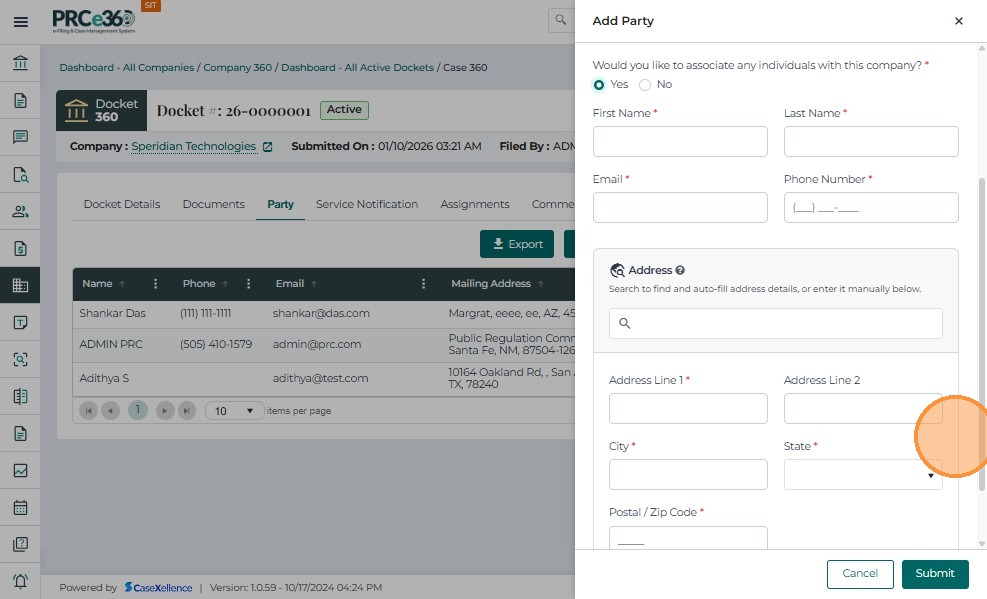
After selecting the Company, answer the question "Would you like to associate any individuals with this company?"
- Select Yes if you need to add individual contact details in the fields (e.g., a company representative).
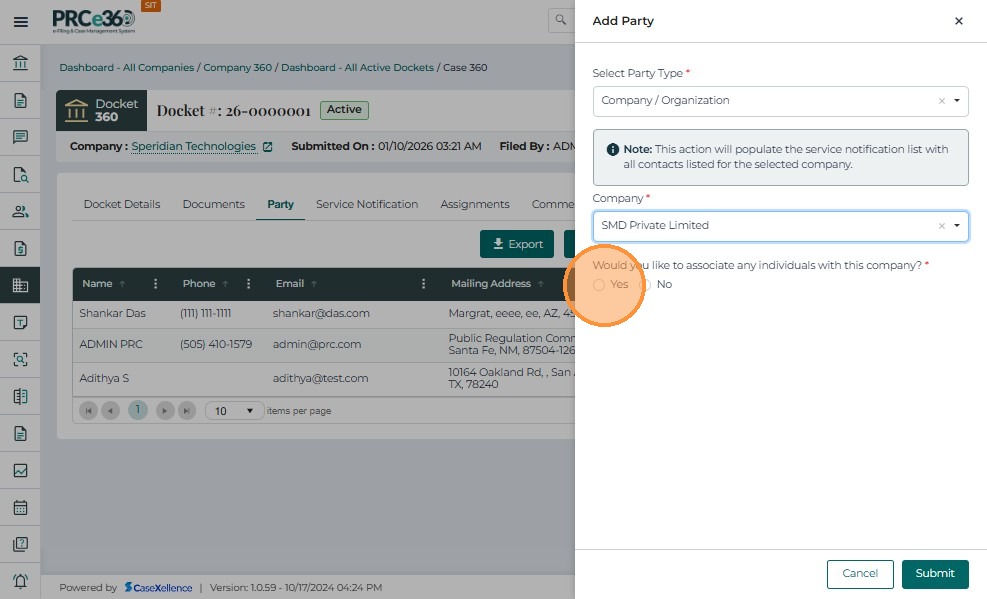
- Select No if no individual association is required.
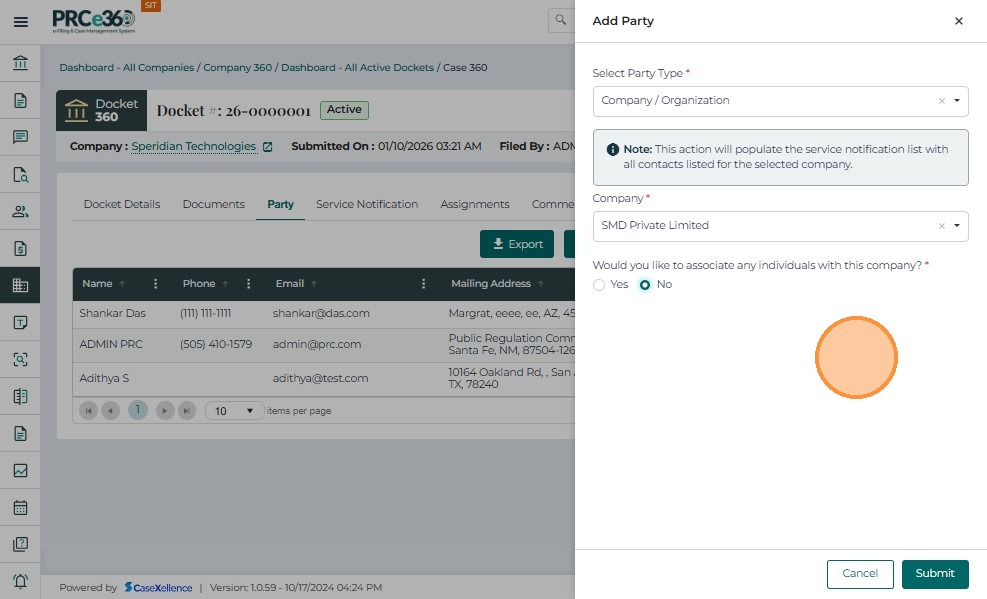
-
Click Submit to save the entry.
-
In the Add Party window, select Individual from the Select Party Type dropdown menu.
-
Enter the required details such as First Name, Last Name, Email, Phone Number, Address, City, State, and Postal/ZIP Code.
-
Review the entered information to ensure accuracy.
-
Click Submit to save the record.
-
The newly added individual will appear in the Party List table, along with their contact and role information.

-
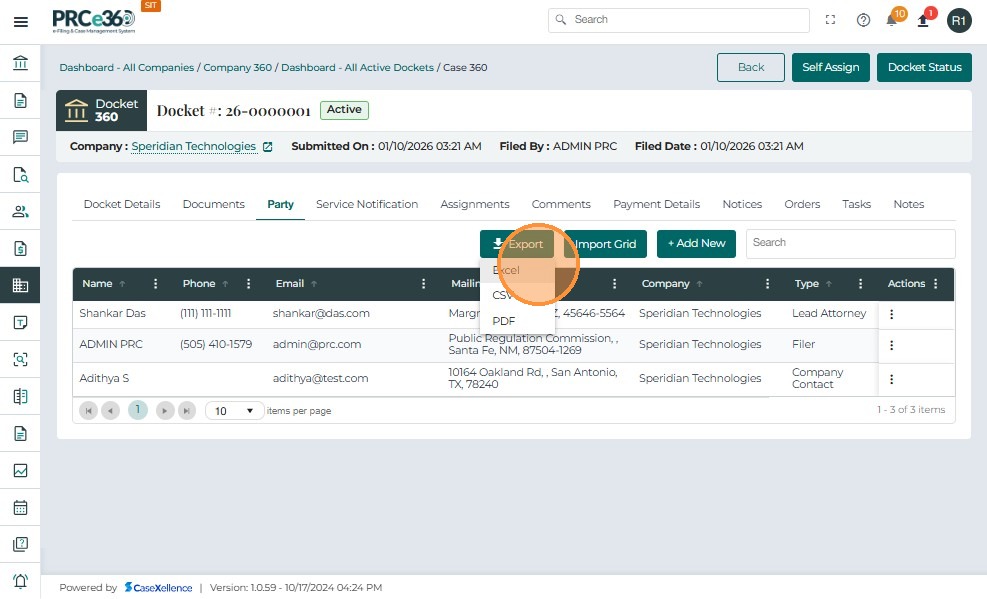
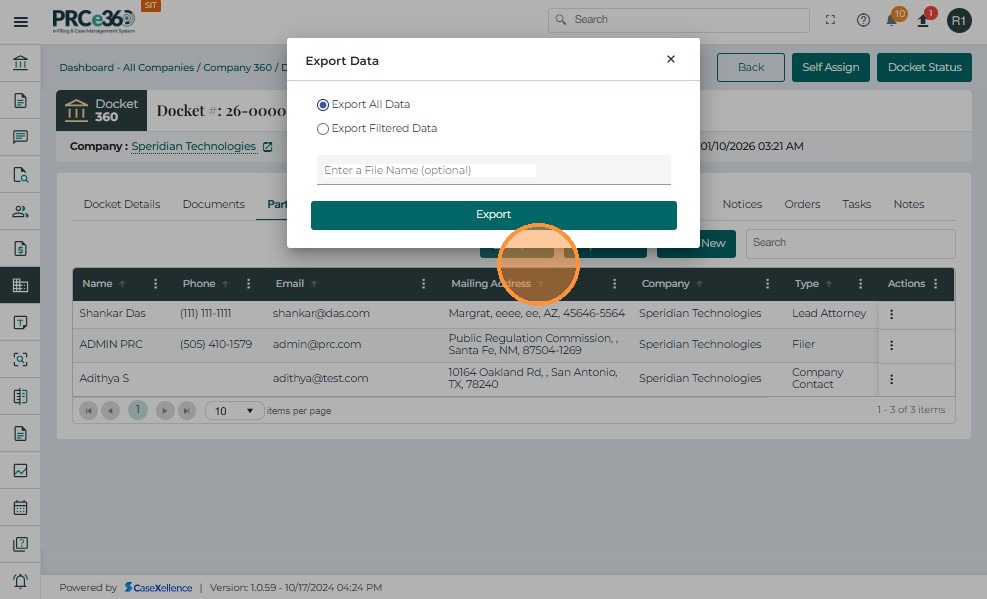
Export: Allows users to export the list of parties into a compatible file format for external review or reporting.
-
Click the Export button located above the party list grid.
-
From the dropdown options, select the preferred export format:
-
Excel – to download the data as an .xlsx file.
-
CSV – to download the data as a .csv file.
-
-
The system will automatically generate and download the file containing all party details displayed in the table.
-
-
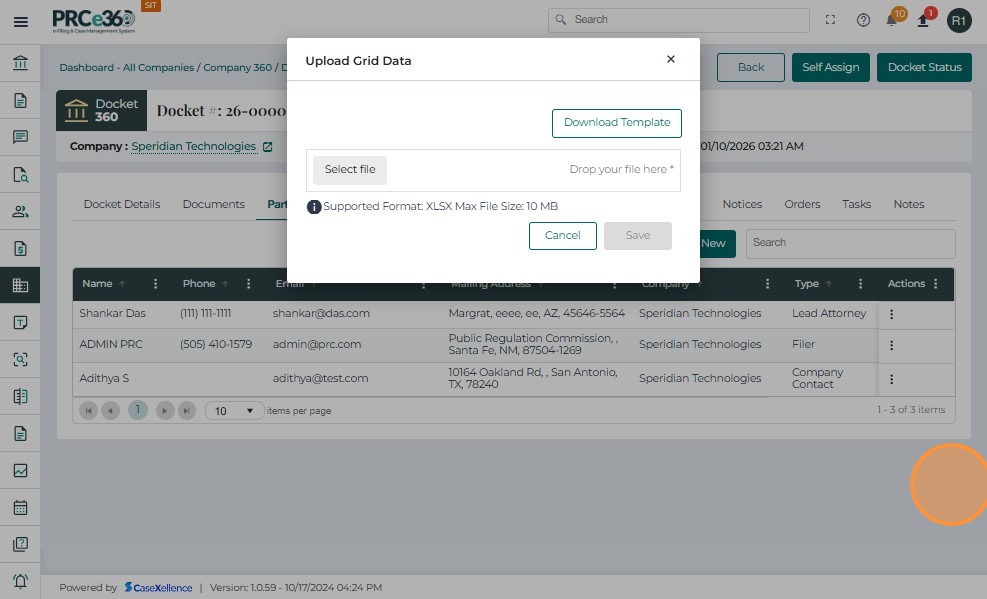
Import Grid: Enables users to upload a list of parties in bulk from a predefined import template or grid. This feature is useful when adding multiple parties at once.
-
Search Box: Provides a quick way to locate a specific party using keywords such as name, email, or company.
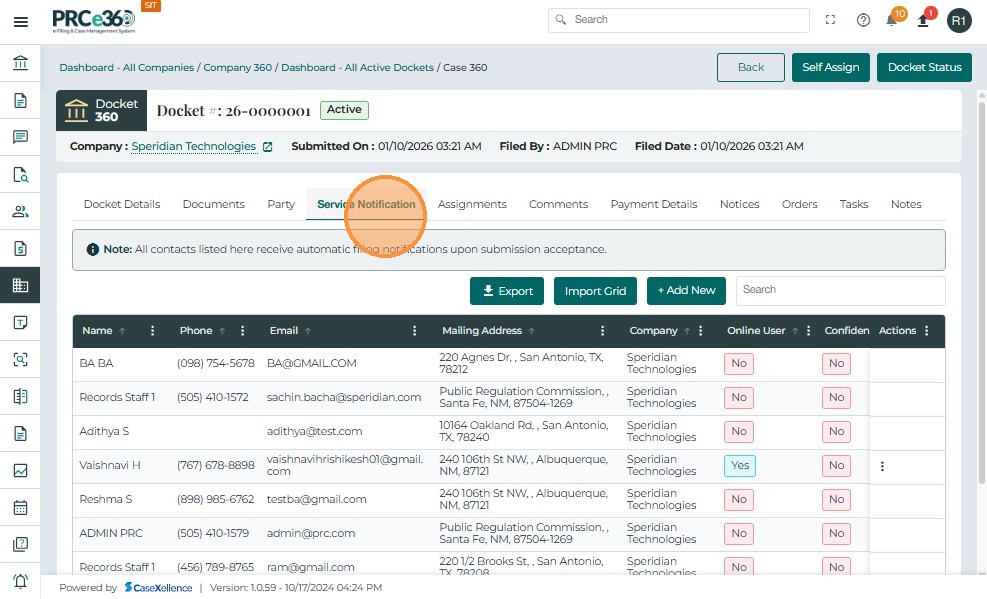
Service Notification Tab
The Service Notification tab allows users to manage individuals and companies who will receive notifications related to the case.
These may include attorneys, company representatives, or other designated parties involved in the service process.
From this section, users can add new recipients, view existing notifications, and manage related details such as contact information and association type.
| Column Name | Description |
|---|---|
| Name | Displays the name of the individual or company added as a notification recipient. |
| Phone | Contact number of the recipient. |
| Email address to which service notifications are sent. | |
| Mailing Address | Official address associated with the recipient. |
| Company | Name of the company (if applicable). |
| Online User | Indicates whether the recipient is an online user (Yes / No). |
| Has Confidential | Indicates if the recipient has access to confidential documents. |
| Type | Role or type of party (e.g., Filer, Lead Attorney, Company Associate). |
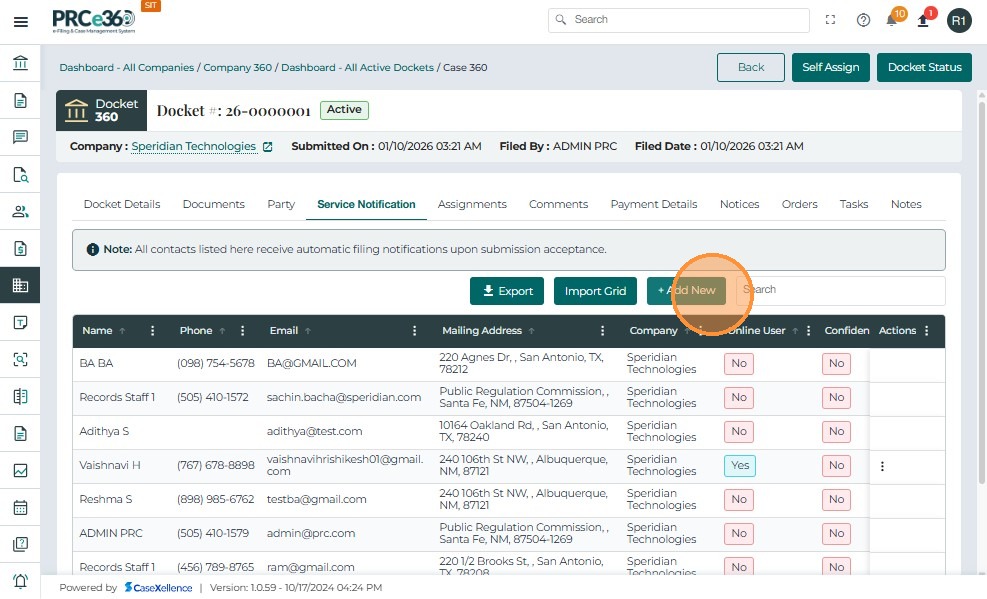
The Service Notification tab also has the Add ,Export and Import Grid buttons which work similar to the party tab :
-
Export – Allows users to download the service notification list in a spreadsheet format for offline reference.
-
Import Grid – Enables users to upload and populate service notification records in bulk using a predefined import template.
-
Add button - To Add Individual or Company.
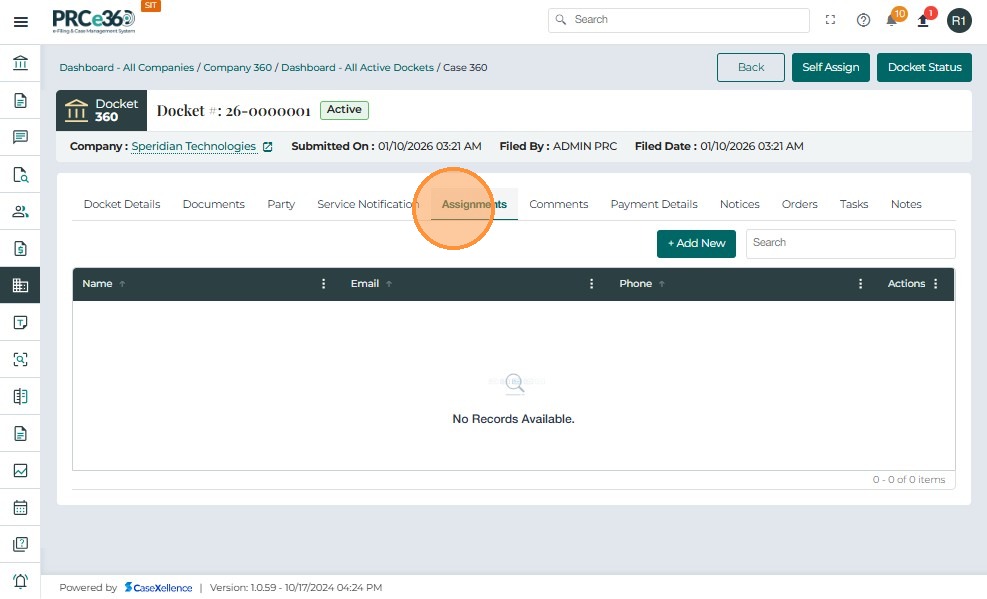
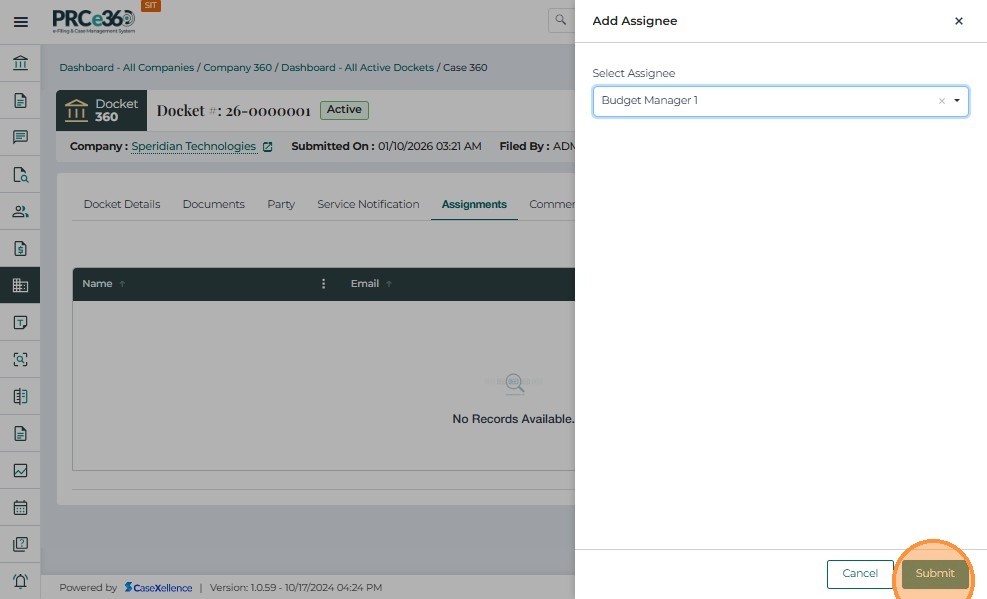
Assignments Tab
The Assignments tab allows users to assign the case to internal staff members or teams responsible for reviewing, managing, or processing the case.
This ensures that all cases are systematically distributed among appropriate personnel for further action and monitoring.
The selected user will be added to the assignment list for the case.
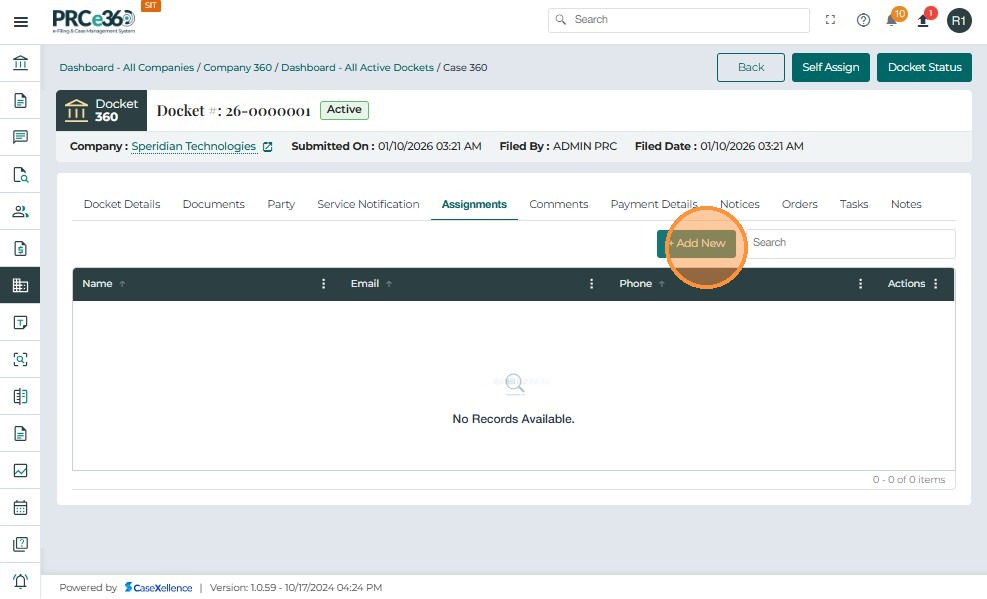
Below are the details for the Assignments table:
| Column Name | Description |
|---|---|
| Name | Displays the full name of the user assigned to the case. |
| The email address of the assigned user. | |
| Phone | The phone number of the assigned user (if available). |
| Actions | Allows removing an assigned user. |
- Click the + Add New button located above the assignment list grid.
- In the Add Assignee pop-up window, click the dropdown menu under Select Assignee.
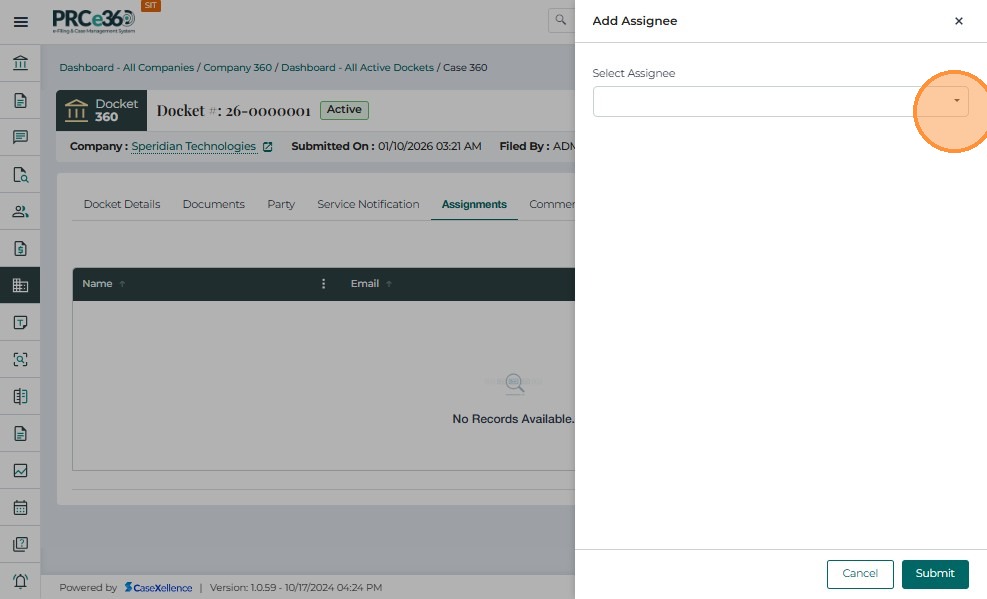
-
Choose the staff member or supervisor to whom the case should be assigned.
-
The dropdown list displays all available internal users such as Records Supervisor, Legal Supervisor, OGC Staff, PIB Staff, and other users.
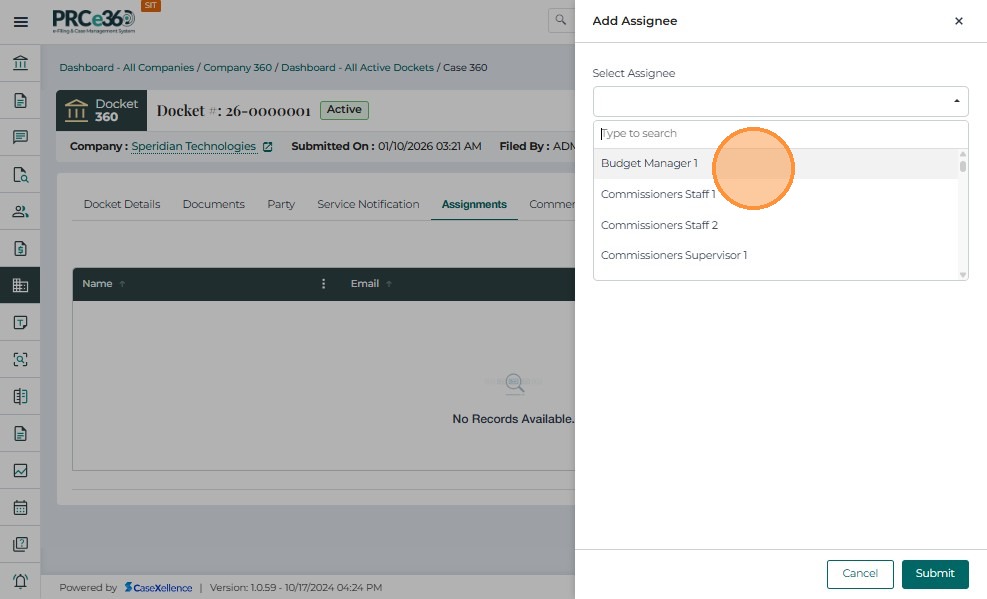
- Once the assignee is selected, click Submit to confirm the assignment.
- If the user needs to delete the assigne Click on Delete button from Actions.

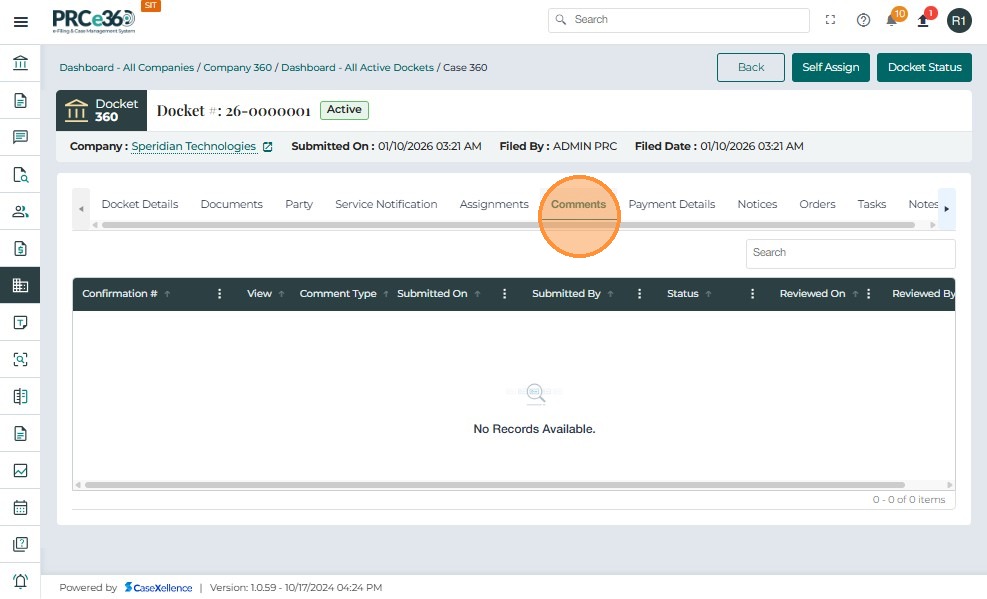
Comments Tab
The Comments tab provides a centralized view of all comments submitted related to a specific case or docket.
This section helps internal users review, monitor, and track public and internal comments efficiently throughout the case process.
All submitted comments—whether from external filers through the public portal or internal staff—are displayed in this section with relevant submission and review details.
Types of Comments Displayed:
Rulemaking Comments
These comments are submitted as part of regulatory rulemaking processes. They are typically provided by stakeholders, organizations, or the public in response to a proposed rule or policy. Such comments are visible to Records Staff for review and inclusion in the case file.
Public Comments
These are comments submitted by the general public via the external portal/CMS. They are automatically linked to the corresponding case once received. Public comments appear in this tab for Records Staff to verify, categorize, and record as part of the case documentation.
Below is the overview for the Comments table:
| Column Name | Description |
|---|---|
| Confirmation # | Displays the unique confirmation number assigned to each comment submission. |
| Comment Type | Indicates the category or nature of the comment (e.g., Public Comment, Rulemaking Feedback). |
| Submitted On | The date and time when the comment was submitted. |
| Submitted By | The name of the filer or staff member who submitted the comment. |
| Status | Shows the current state of the comment (e.g., Pending Review, Accepted, Rejected). |
| Reviewed On | Displays the date when the comment was reviewed by internal staff. |
| Reviewed By | Indicates the reviewer who processed and finalized the comment. |
Functions:
-
Search – The search box located above the grid allows users to quickly locate comments by keywords, filer names, or confirmation numbers.
-
Sorting – Each column in the comments grid can be sorted in ascending or descending order by clicking the column header.
-
Review Access – Authorized users can access detailed comment information by clicking on the Confirmation #.
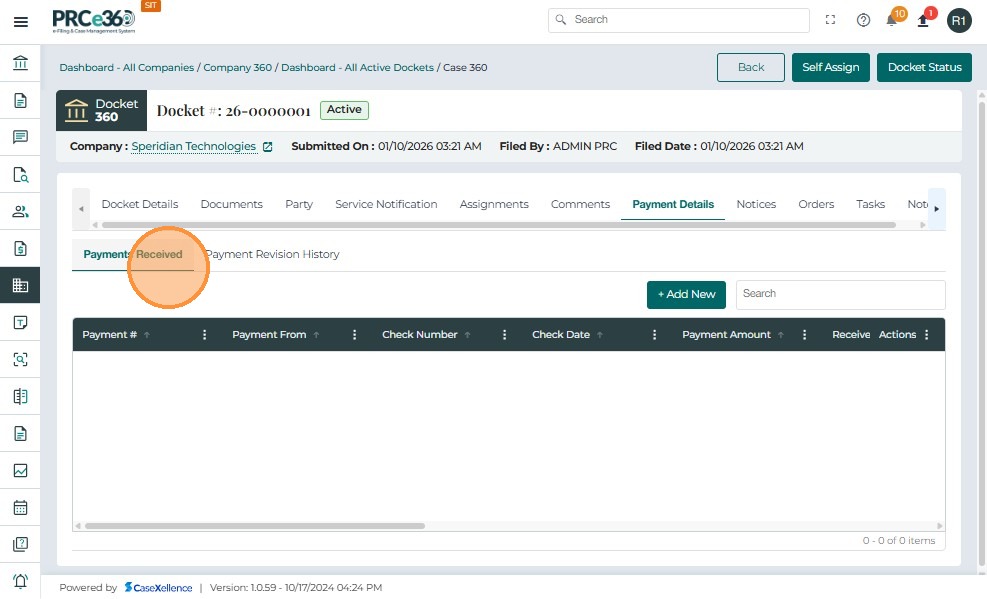
Payment Details
The Payment Details tab allows Records Staff and authorized users to view, add, and edit all payments associated with a docket.
The tab contains two sub-sections:
-Payments Received
-Payment Revision History
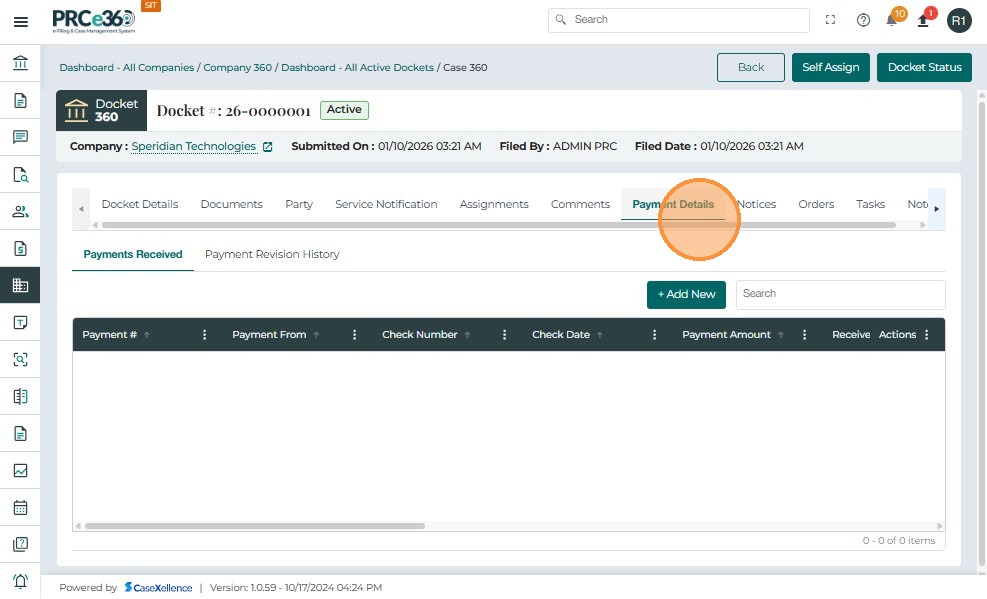
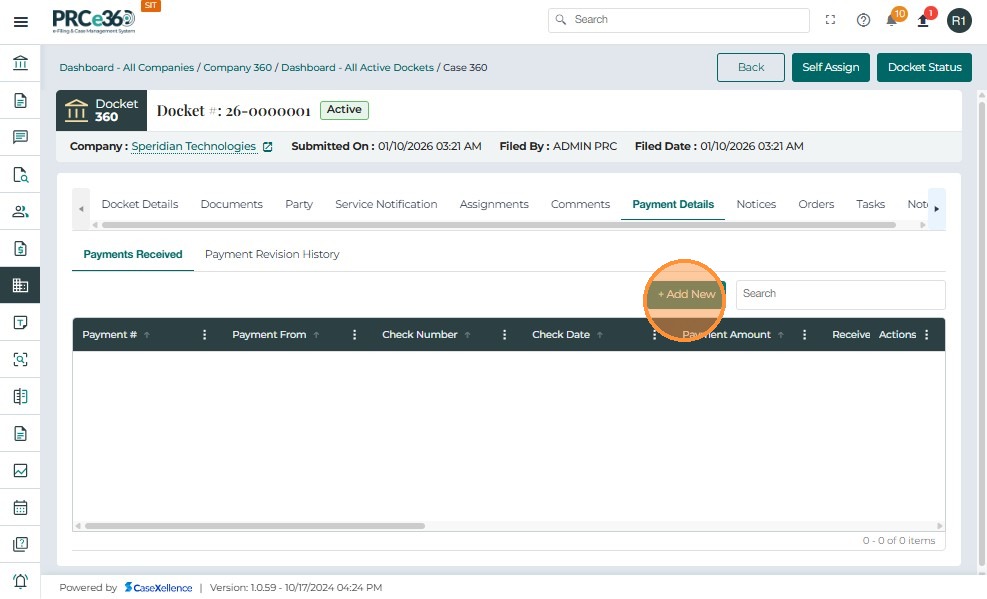
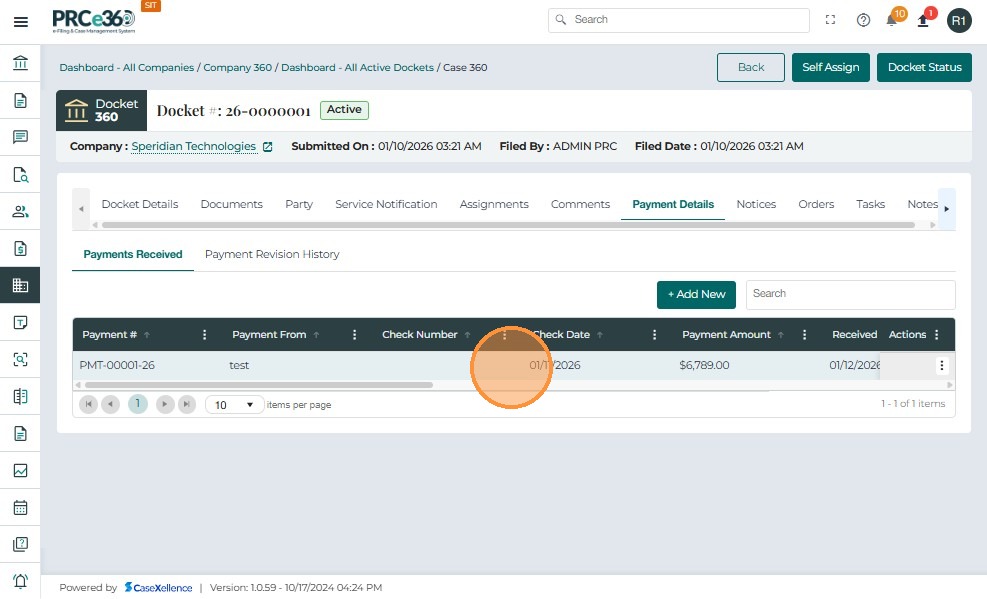
Payments Received
This section displays all payment transactions recorded for the case in a sortable grid. Each payment entry includes:
| Column Name | Description |
|---|---|
| Payment # | System-generated unique payment identifier. |
| Payment From | Name of the individual or entity submitting the payment. |
| Check Number | Reference number printed on the check, if applicable. |
| Payment Amount | Total amount received for the payment entry. |
| Received On | Date the payment was officially received. |
| Notes | Additional comments or details entered by the user. |
| Actions | Allows the user to edit the recorded payment. |
An action menu next to each record allows users to edit existing payment details.
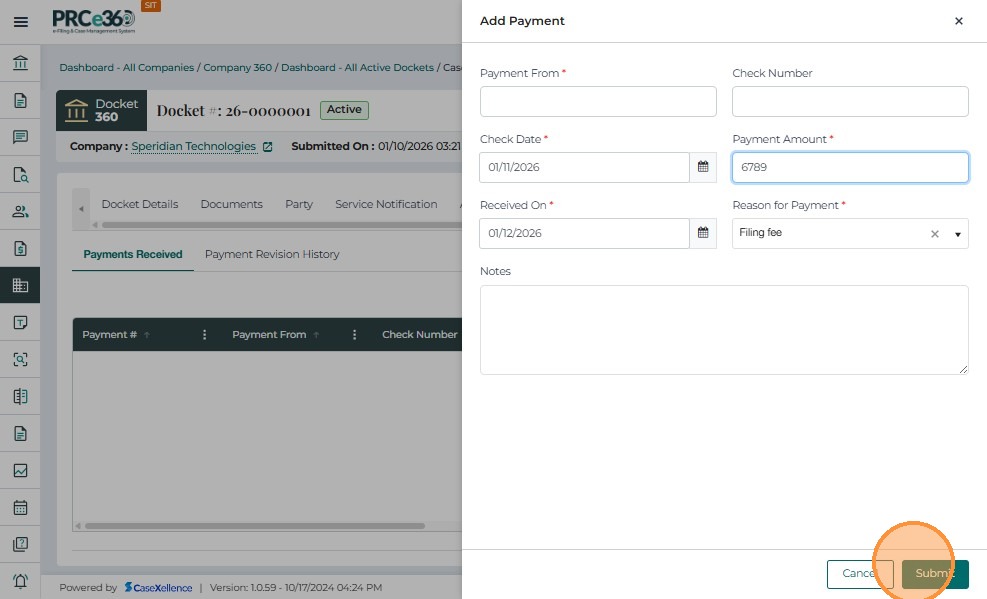
- Clicking the + Add New button opens the Add Payment panel, where users can enter a new payment record.
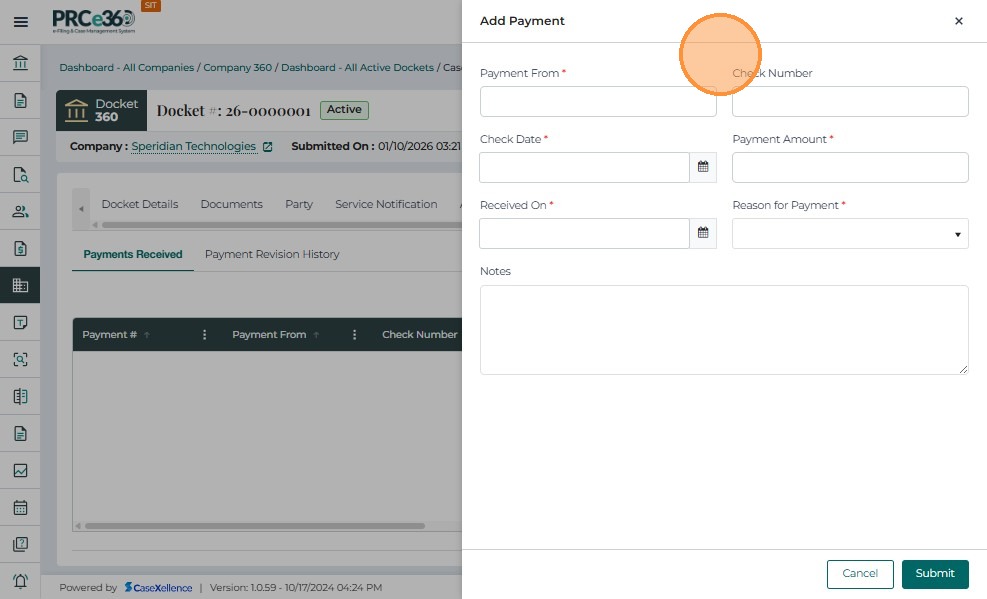
Add Payment Fields:
-
Payment From – Enter the payer name or source of payment.
-
Check Number – Optional check reference number.
-
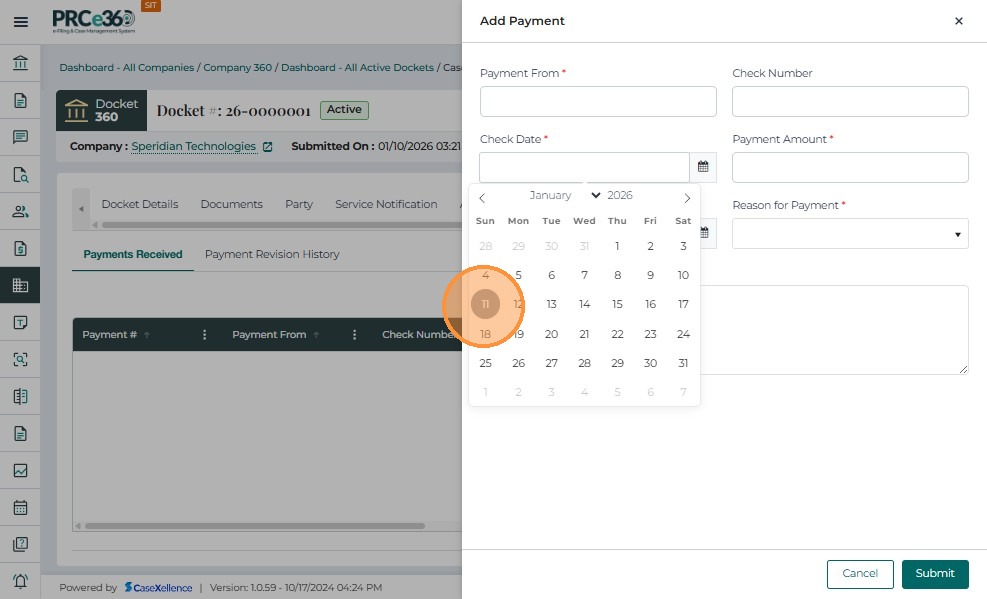
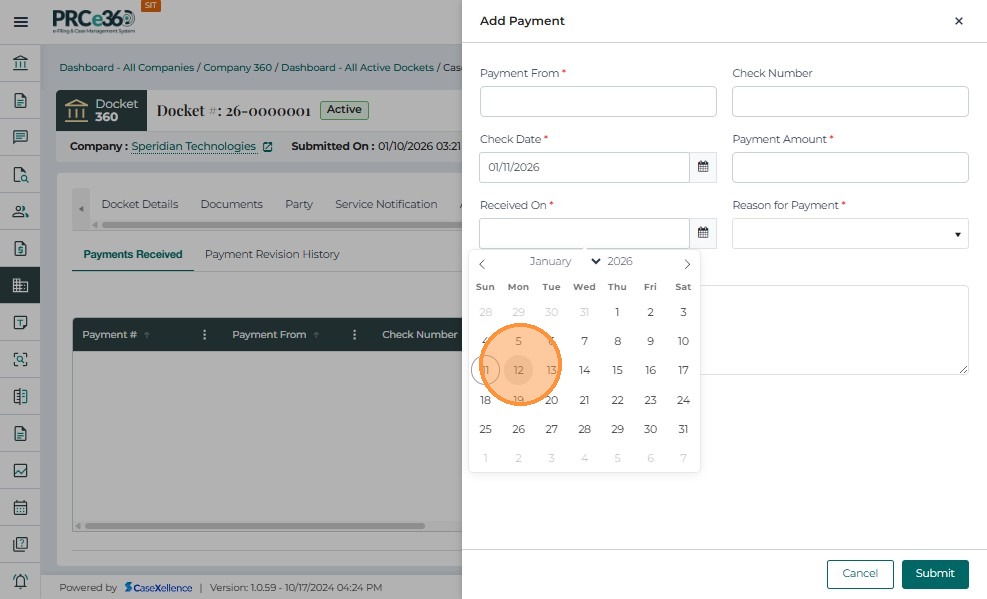
Check Date – Select the date on which the check was issued using the date picker.
-
Payment Amount – Enter the amount paid.
-
Received On – Select the date the payment was received.
-
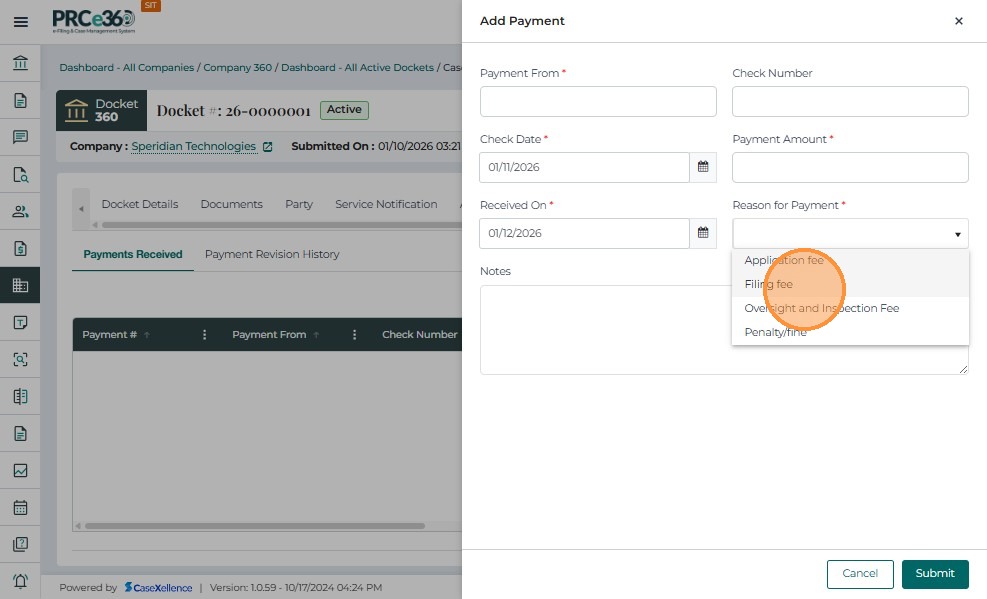
Reason for Payment – Choose the reason from a dropdown list: Application fee,Filing fee,Penalty/Fine
-
Notes – Optional narrative notes related to the payment.
-
Click Submit to add the payment to the Payments Received list.
-
Click Cancel to close without saving.
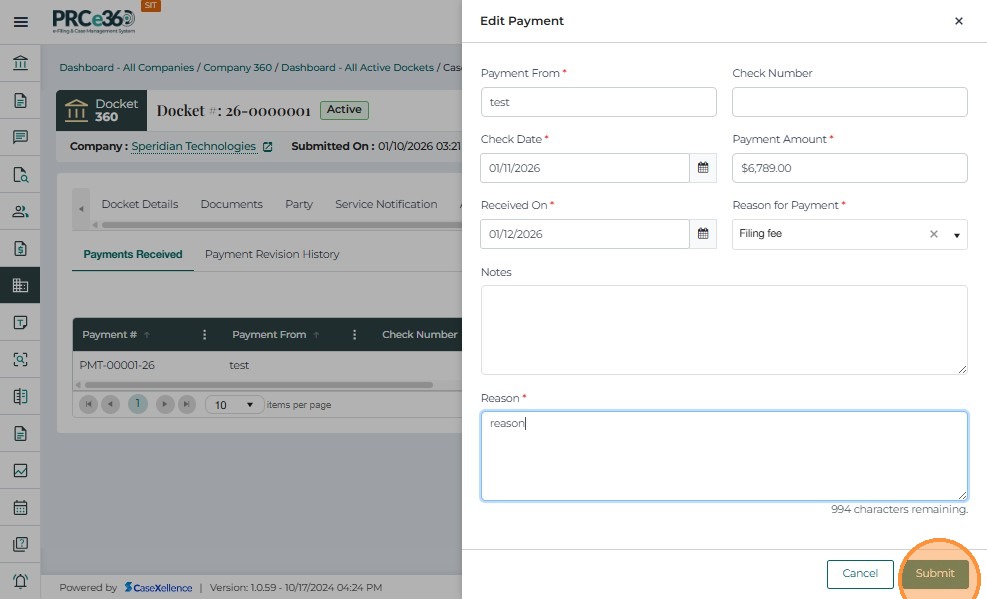
Edit Payment
-
Each payment record includes an Actions menu.
-
Selecting Edit opens the Edit Payment panel.
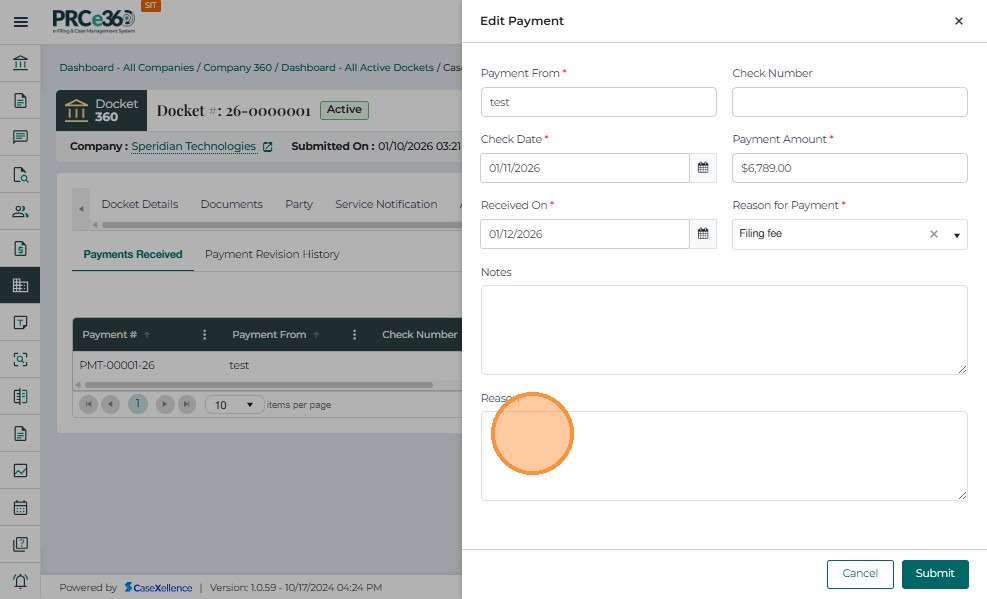
-
Users can update the details.
-
Update the Revision Reason – A mandatory text field added in the Edit screen that captures why the user is modifying the payment.
-
Click Submit to save the updated payment details.
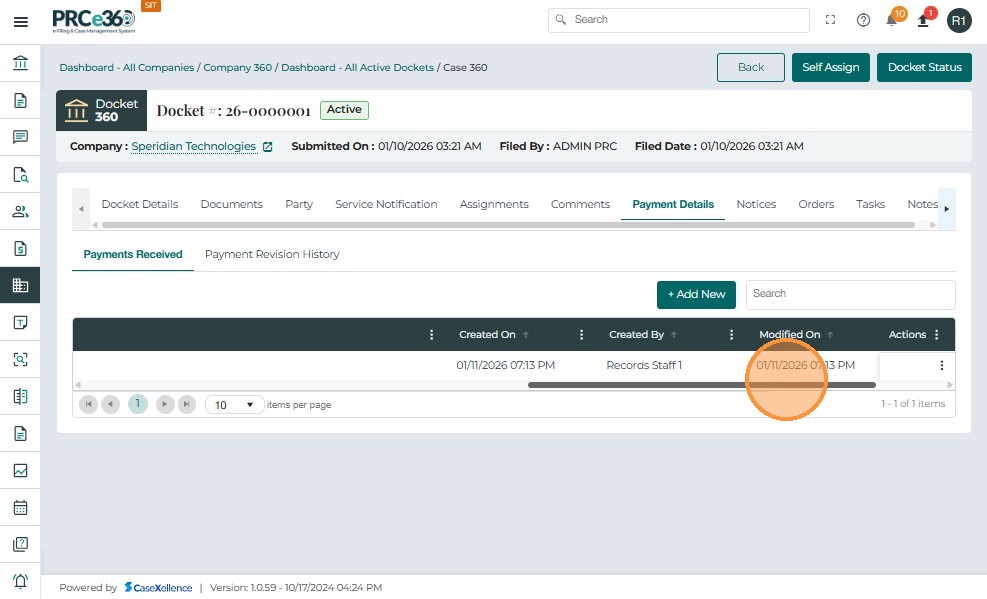
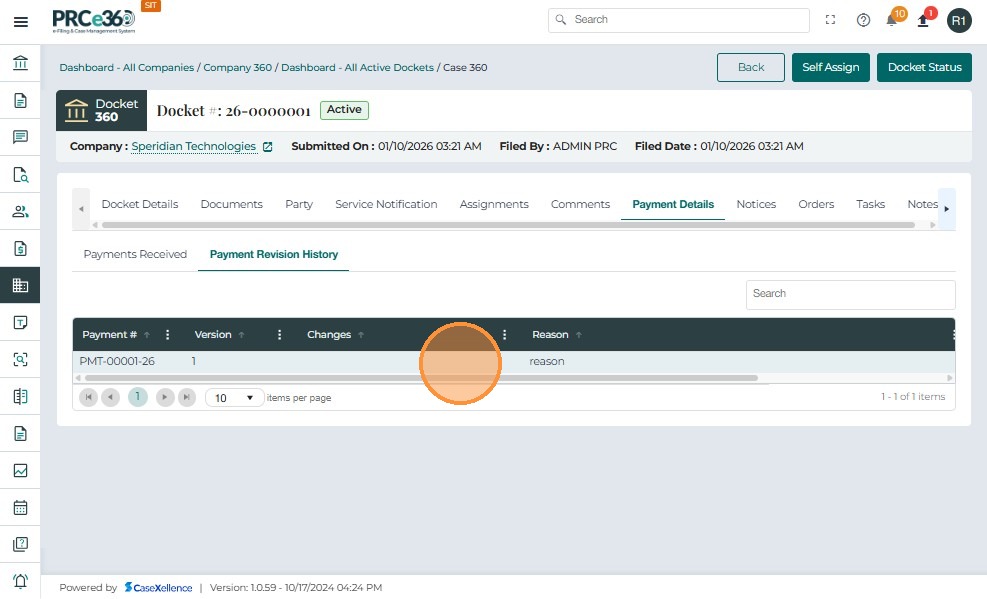
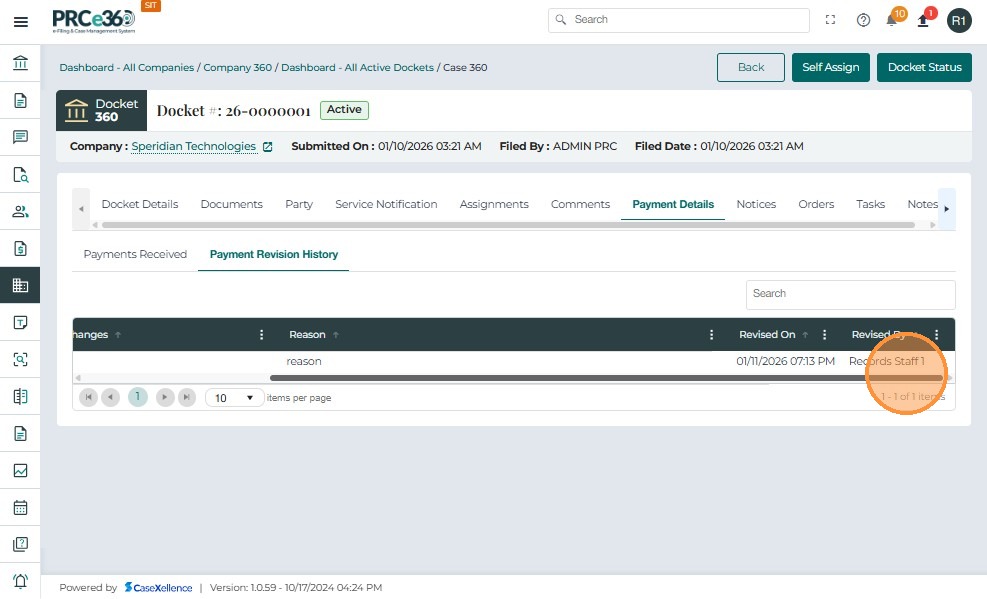
Payment Revision History
Displays a log of all edited payment records, showing each version along with the changes made, the user-provided revision reason, and the date and time of modification.
| Column Name | Description |
|---|---|
| Payment # | Displays the unique payment identifier for which revisions were made. |
| Version | Indicates the version number of the payment record, incrementing with each edit. |
| Changes | Summarizes the fields that were updated in the edited payment entry. |
| Reason | Shows the revision reason provided by the user during the edit process. |
| Revised On | Captures the date and time when the payment record was modified. |
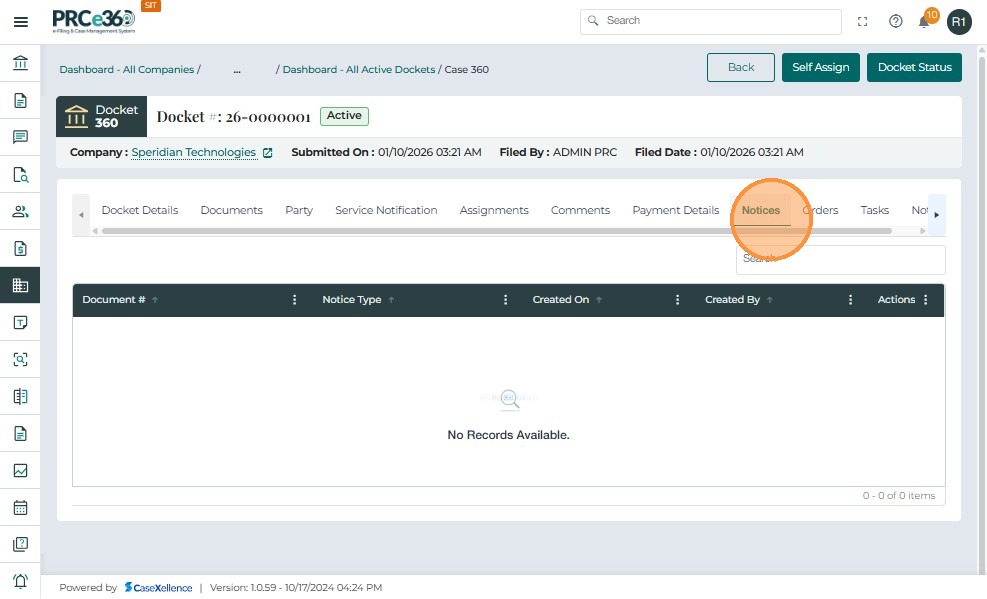
Notices Tab
Displays all notices issued for the docket along with type, creation details, and actions.
| Column Name | Description |
|---|---|
| Document # | Displays the unique reference number of the notice document. |
| Notice Type | Indicates the category or type of notice created for the docket. |
| Created On | Shows the date the notice was generated or uploaded. |
| Created By | Identifies the user who created or uploaded the notice. |
| Actions | Provides options to view or interact with the notice record. |
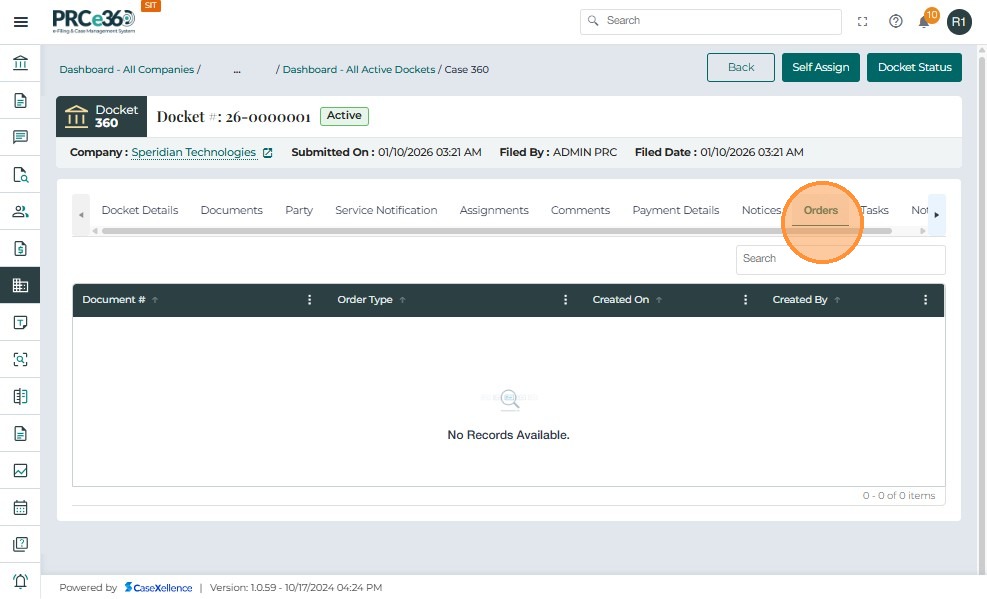
Orders Tab
Lists all orders associated with the docket, including type, creation details, and available actions.
| Column Name | Description |
|---|---|
| Document # | Shows the system-generated identifier for the order document. |
| Order Type | Specifies the type or classification of the order associated with the case. |
| Created On | Indicates when the order was created or filed. |
| Created By | Displays the user who created or uploaded the order. |
| Actions | Allows users to open or take actions on the order record. |
Tasks Tab
The Tasks tab allows internal users to create, assign, and manage tasks associated with a specific case.
This functionality helps ensure that case-related follow-ups, reviews, and actions are properly tracked and completed by designated staff within set timelines.
Each task is linked to a specific case and can be assigned to an internal user for execution.
Below is the overview for the Tasks table:
| Column Name | Description |
|---|---|
| Name | Displays the name or title of the task. |
| Assigned To | Shows the name of the user responsible for completing the task. |
| Due Date | Indicates the deadline by which the task must be completed. |
| Created On | Displays the date the task was created. |
| Created By | Shows the name of the user who created the task. |
| Actions | Allows deleting existing tasks. |

-
Navigate to the Tasks tab under the Case 360 view.
-
Click on the + Add New button located above the task list grid.
-
The Add Task pop-up window will appear.
-
Enter the required information in the fields provided:
-
Assignee: Select the user responsible for completing the task from the dropdown list.
-
Task Name: Enter a short, descriptive name for the task.
-
Task Description: Provide detailed information about the purpose or instructions for the task.
-
Due Date: Choose the deadline by selecting a date from the calendar picker.
-


-
Once all fields are completed, click Submit to save the task.
-
The new task will appear in the task list grid, visible to both the creator and the assigned user.

- If the task was acciidently created the user can delete the task as well from the Actions button.


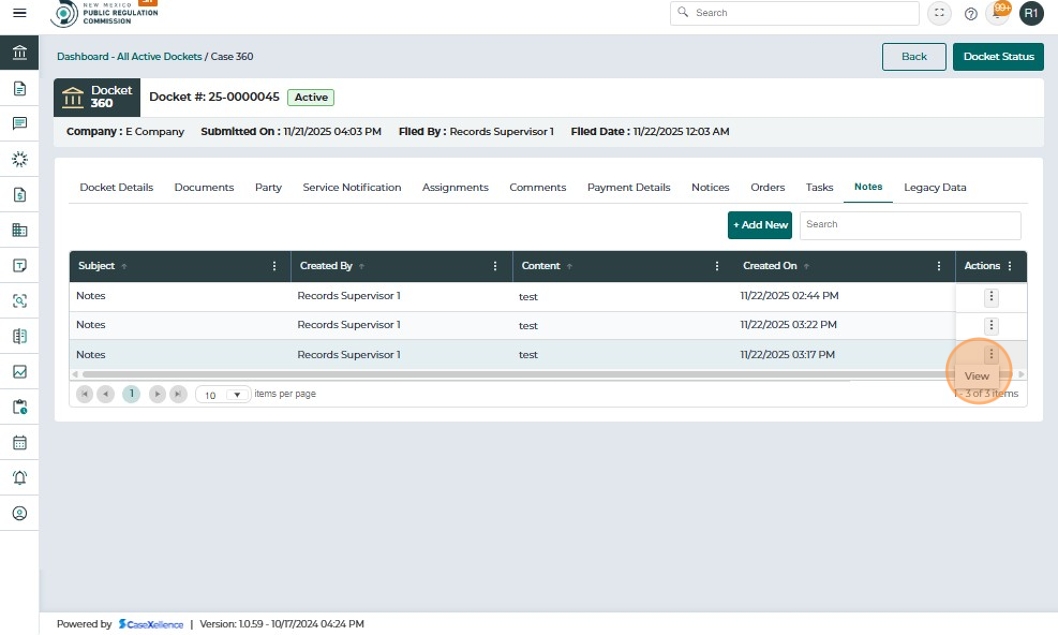
Notes Tab
The Notes tab allows users to record important case-related information, updates, or internal remarks that assist in tracking decisions and maintaining transparency throughout the case lifecycle.
These notes can serve as internal memos or quick references for future review by authorized users.
Each note added is linked to the specific case and can be categorized by type for better organization and accessibility.
Below is the overview for the Notes table:
| Column Name | Description |
|---|---|
| Subject | Displays the title or brief summary of the note. |
| Created By | Identifies the user who created the note. |
| Access Type | Indicates whether the note is public, private, or restricted. |
| Content | Displays a preview of the note content. |
| Created On | Shows the date and time when the note was added. |
| Actions | Provides options to view the note. |

-
Navigate to the Notes tab within the Case 360 view.
-
Click the + Add New button located at the top-right corner of the notes grid.
-
The Add Notes pop-up window will appear.
-
Enter the required details in the following fields:
-
Note Type: Select the appropriate category for the note (e.g., Internal, General, or Confidential).
-
Title: Enter a brief and clear subject for the note.
-
Notes: Provide detailed content using the text editor.
-
-
Once all details are entered, click Save (or Submit, depending on the interface) to record the note.
-
The new note will appear in the notes grid under the same case.

-
Once all details are entered, click Save (or Submit, depending on the interface) to record the note.
-
The new note will appear in the notes grid under the same case.

- If the user wants to view the entered notes , Click on action button , select view.

Legacy Data
The Legacy Data tab displays historical docket information migrated from the previous system, allowing users to reference older case details that were not originally created in Case 360.
- Docket Information
| Field | Description |
|---|---|
| Case # | Shows the legacy system's original case or docket number. |
| Case Type | Displays the classification assigned to the case in the legacy system (e.g., Utility). |
- Notes
This section provides space for any migrated notes or system-generated comments stored from the older platform.
