File A Formal Complaint
This feature enables users to submit formal complaints. The system provides guided input forms to collect details about the complaint, including complainant identity, the utility/provider involved, complaint category, dates, and a description of the issue. Once submitted, the complaint is routed internally to the appropriate staff or division. The complainant receives a confirmation with a tracking number, and the case lifecycle begins for follow-up, investigation, and resolution. The system supports confidential complaint handling, status tracking, and communication with the complainant.
This feature can be used by external users, the Records Division, or the Consumer Advocate.
Divisions and Roles authorized to file a formal complaint
| Division | Eligible Roles | Function in Filing Formal Complaint |
|---|---|---|
| Records Division | Records Staff and Records Supervisor | Can file a formal complaint through the File Formal Complaint button |
| CRD Division | Consumer Advocate | Can file a formal complaint through the File Formal Complaint button |
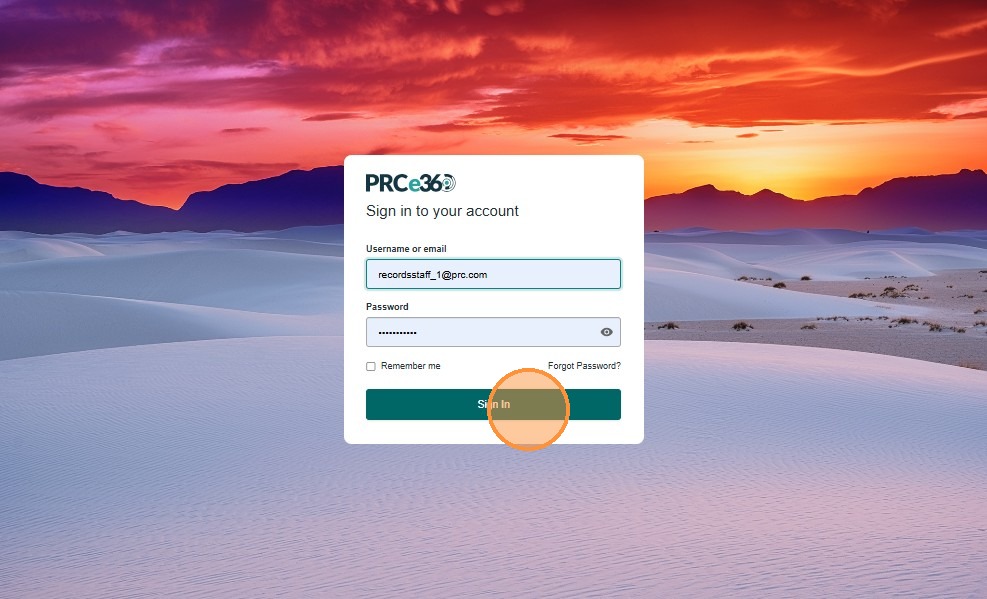
- Sign In
- Enter user credentials.
- Click on Sign In.

Submit New Formal Complaint
- Click on the + Submit New Formal Complaint button on the top right corner of the dashboard.
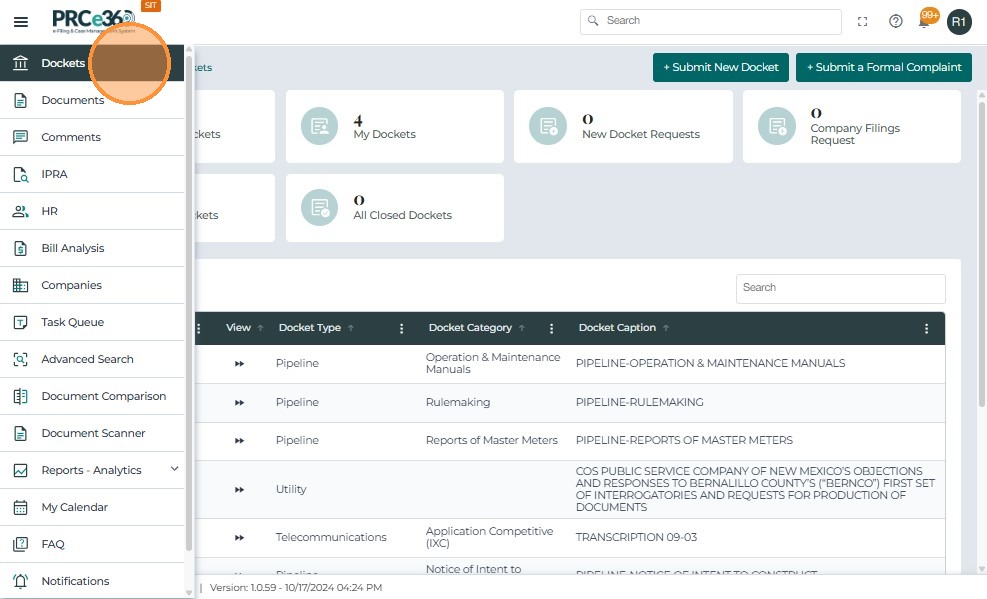

- A form will appear to enter the details of the formal complaint.
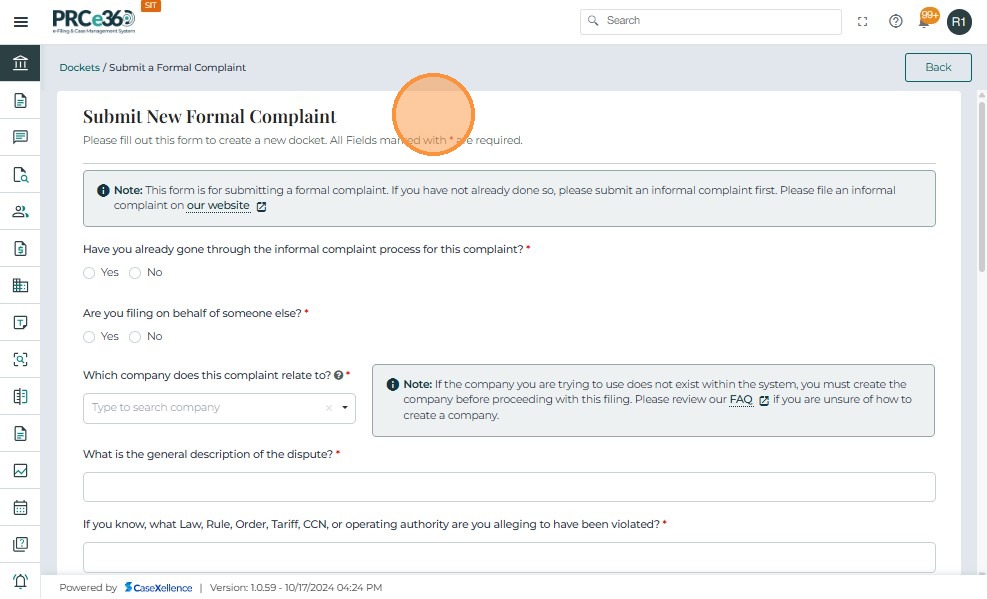
Formal Complaint form
- Enter the details requested in the form and submit to file a formal complaint.
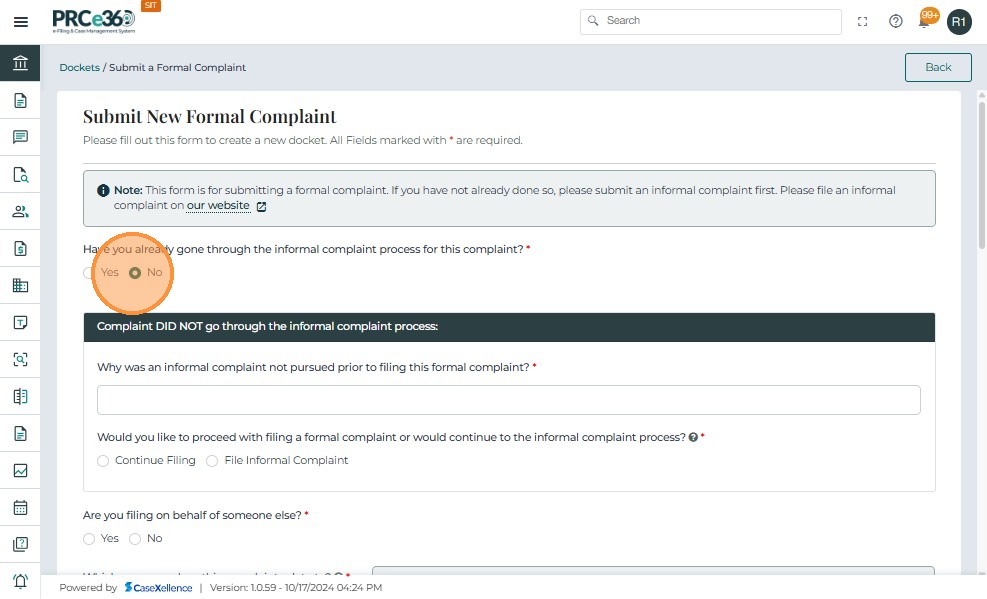
Details on Informal Complaint process
- If the filer has already gone through Informal Complaint process, click Yes
- Enter details about the informal process
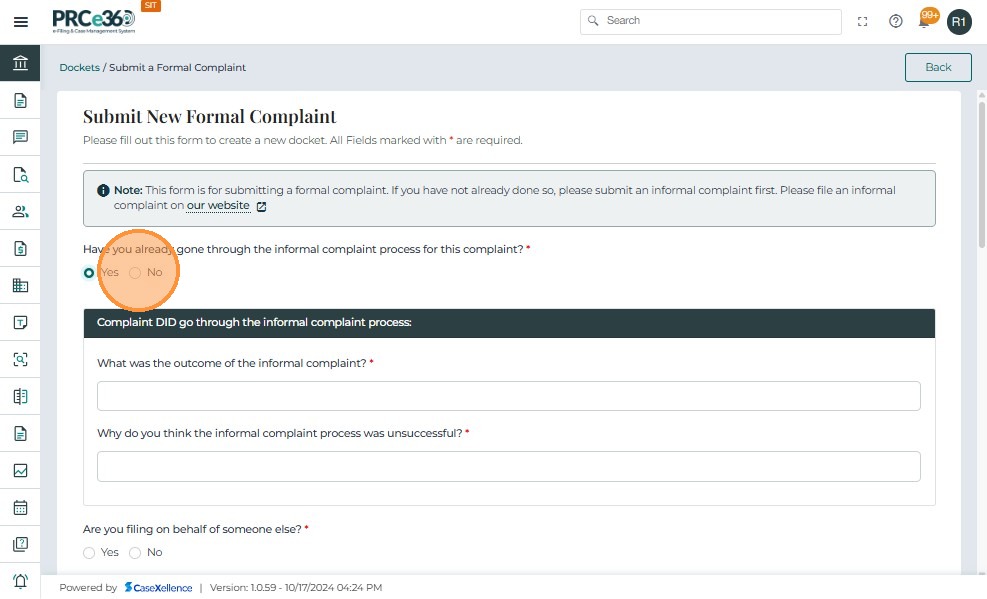
- If the filer has not gone through Informal Complaint process, click No
- Enter details as to why informal process was not done
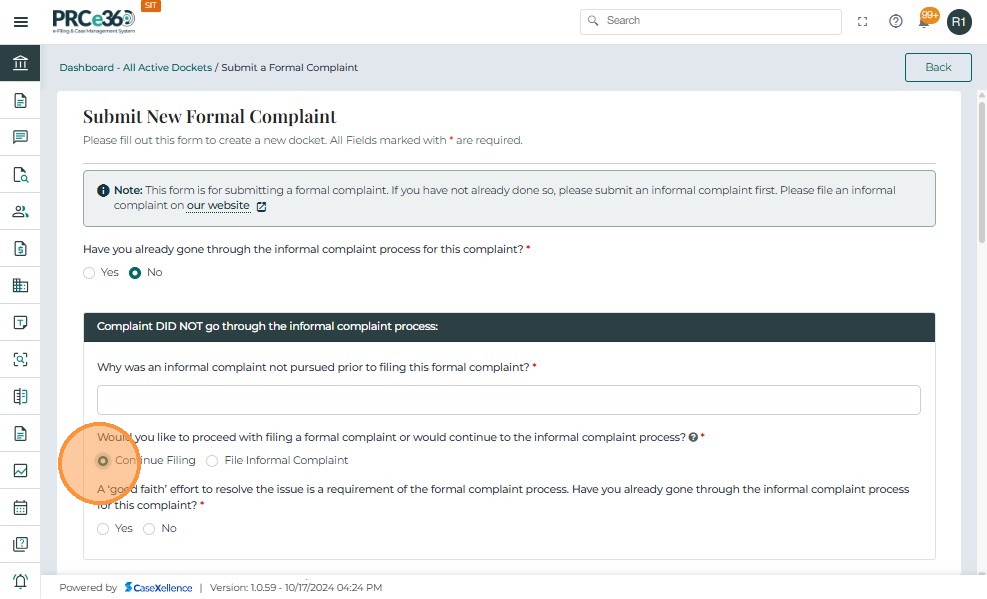
To continue filing for formal complaint
- To proceed with an informal complaint, click on File Informal Complaint.
- A message will appear to submit an informal case from the dashboard.

- To proceed with filing a formal complaint, click on the Continue Filing button.
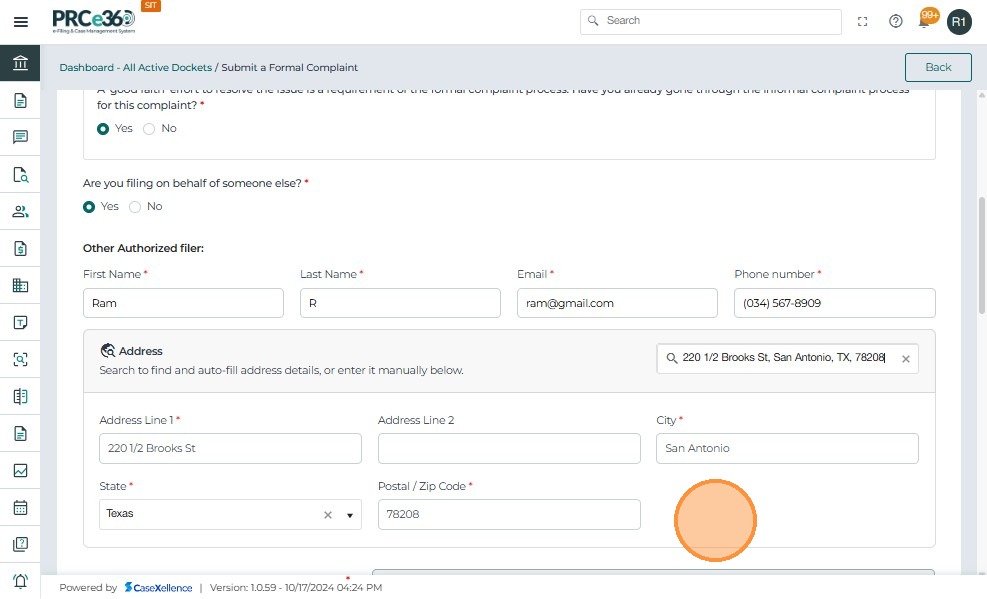
- Click on Yes if filing on behalf of someone else.
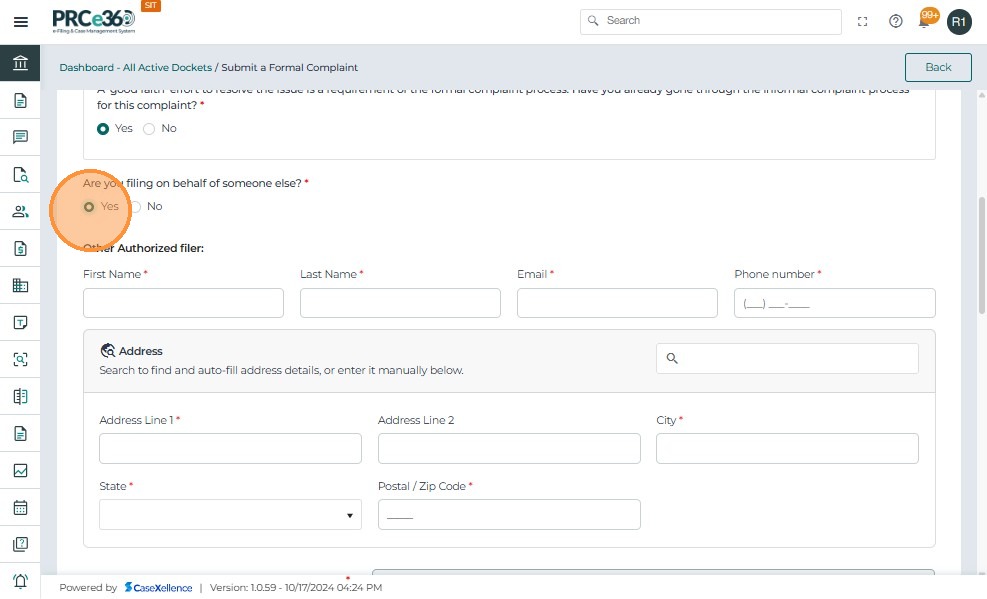
- Enter details of the filer.

- Click on No if you are not filing on behalf of someone else.
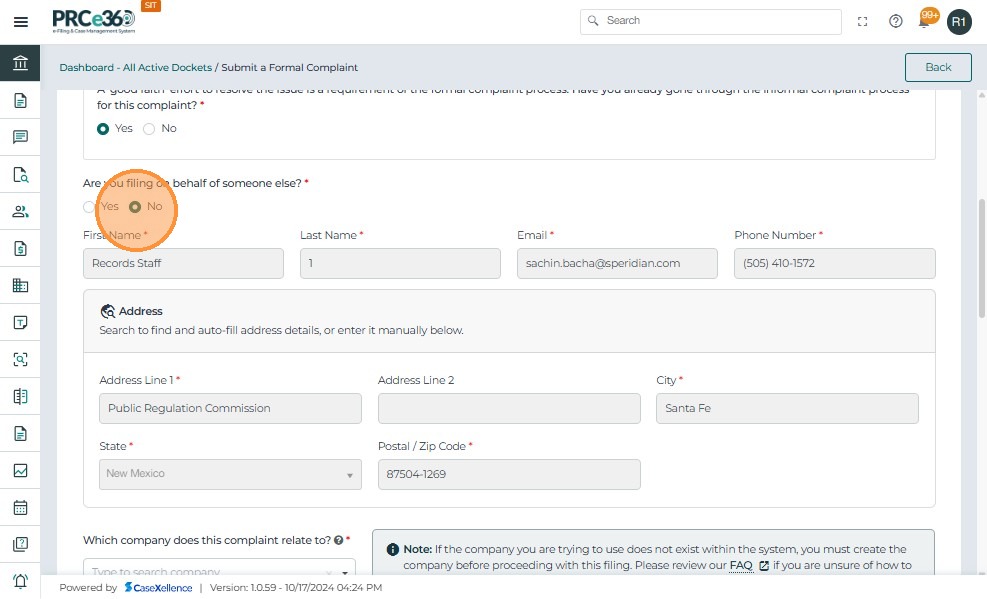
- The details will auto-load once No is clicked.
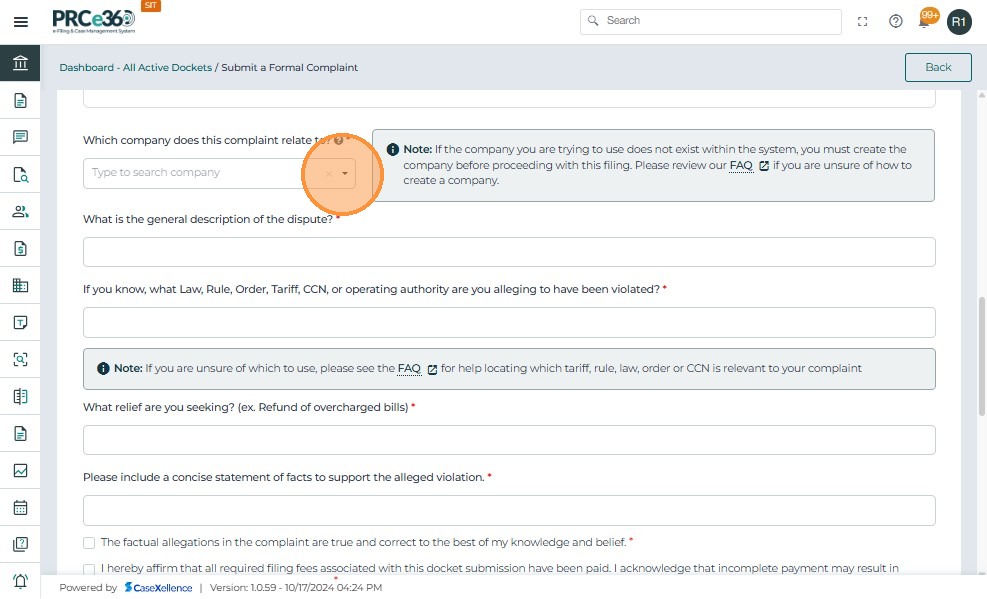
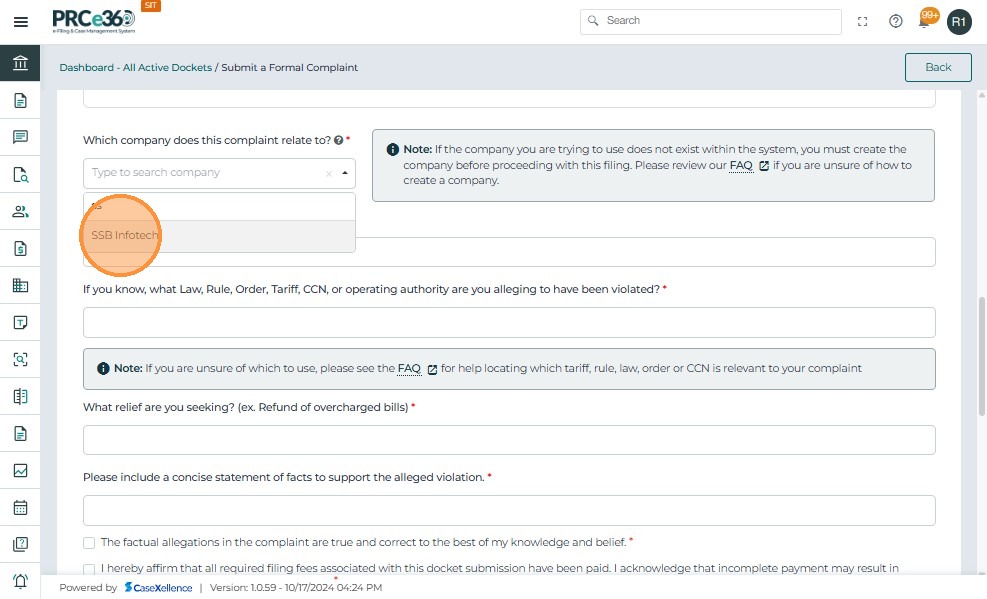
- Enter remaining details such as Company and dispute details.
- If the Company is not shown, then the company should be registered first. To understand the process of registering a company, see Register New Company.
- Enter all the related informations.
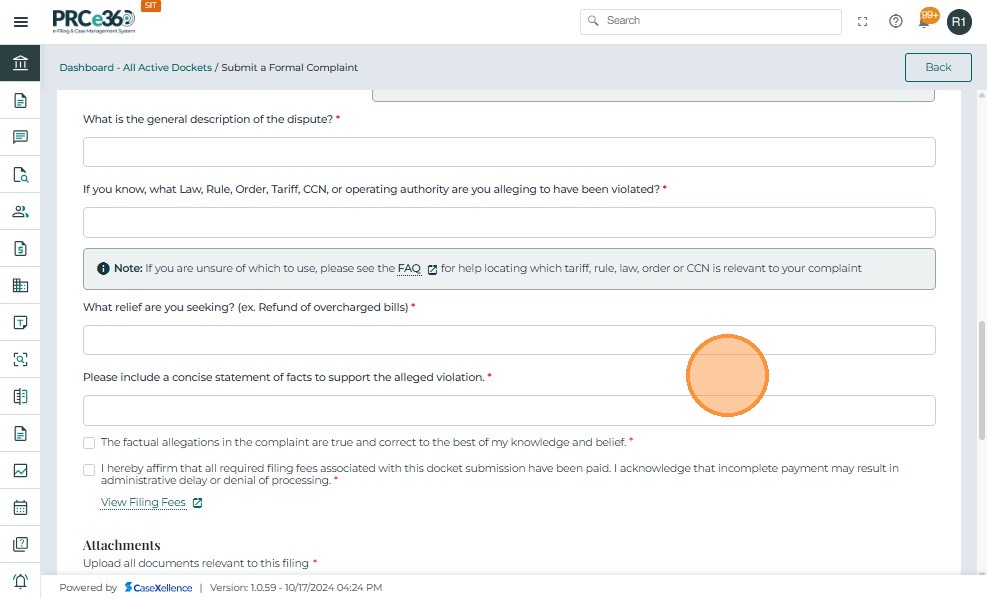
- Check the checkboxes.
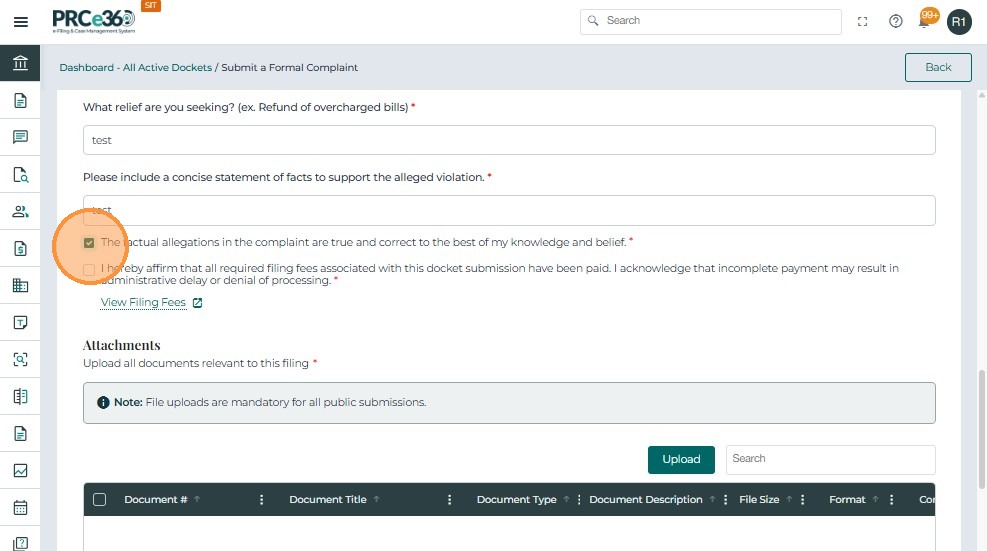
-
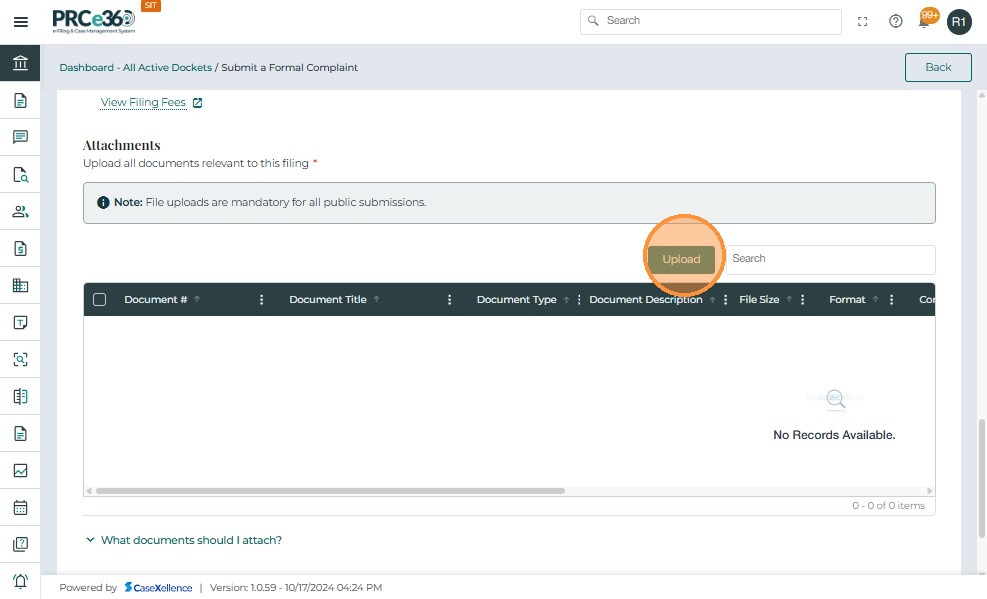
Upload any documents needed.
-
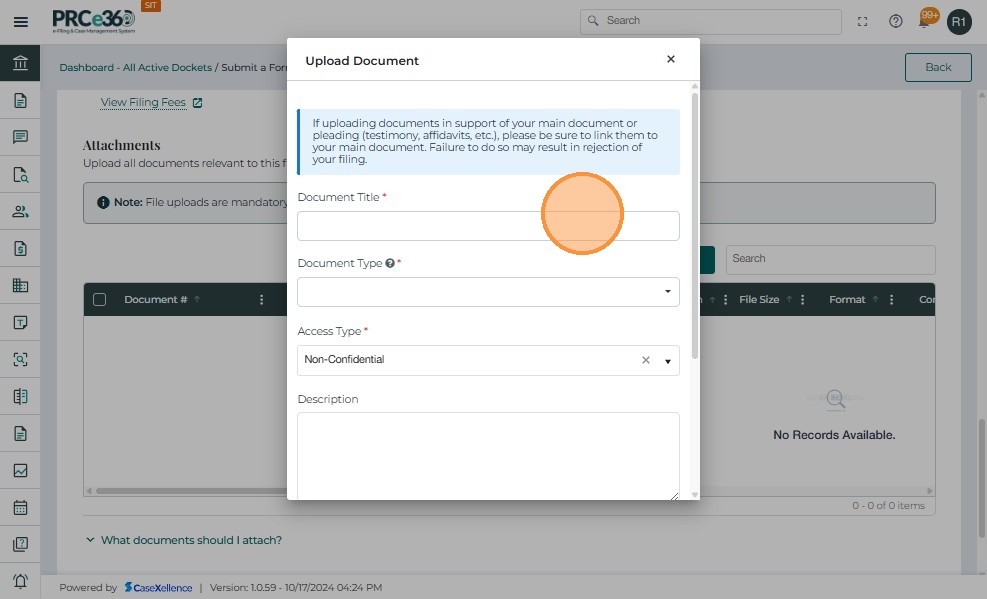
Once the Upload button is clicked, a pop-up will appear to enter document details.
- For documents to be uploaded, complete the following fields in the table:
- Document Title – Provide a clear title.
- Document Type – Select from the dropdown (e.g., Petition, Exhibit, Order, Supporting Document).
- Document Description – Enter a brief description summarizing the contents.
- File Size – Displays automatically after upload.

- Click on Save once all details are entered.
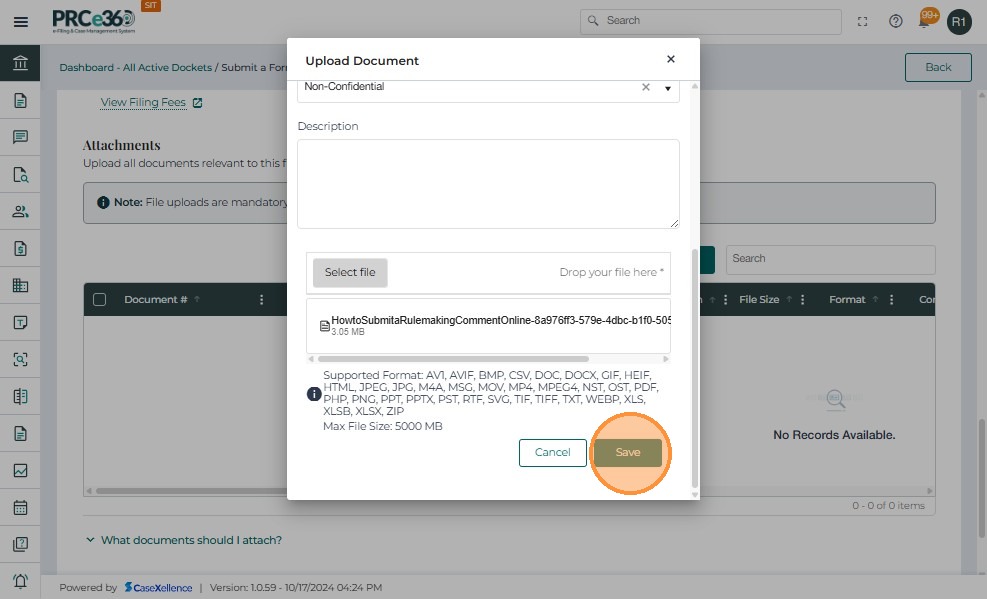
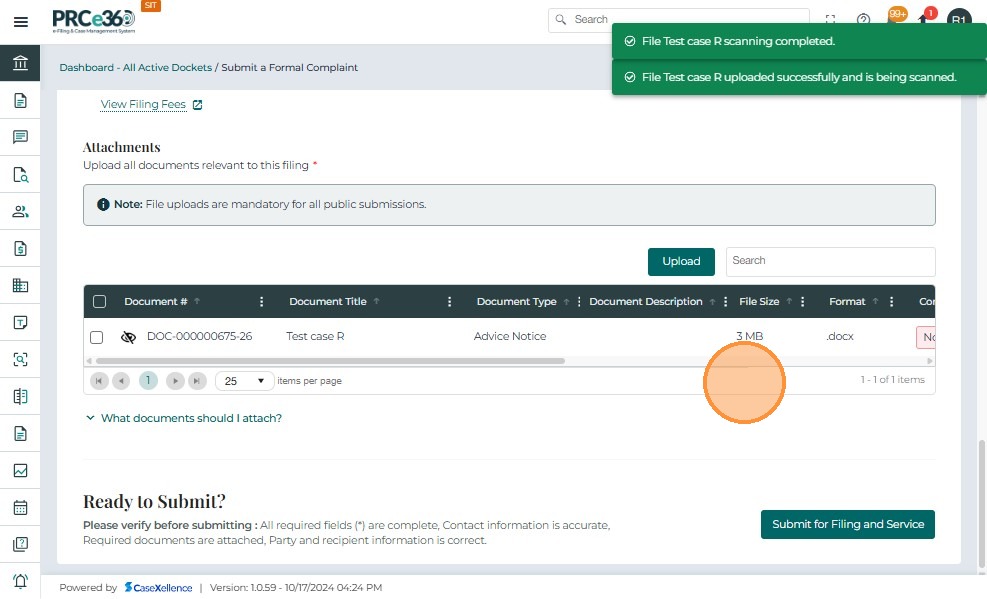
-
The document will be listed with a document number in the grid.
-
This grid includes columns like:
- Document # – A unique reference number assigned to the document.
- Document Title – The name of the document given.
- Document Type – The document type that was selected.
- Document Description – The description that was provided for the document.
- Shared – Whether the document is shared with other users or not.
- Source - Source of the document
- Storage Site - Selected storage site of the document
- File Size - File size of the document
- Format - Format of the document
- Confidential - Whether the document is confidential
- Uploaded On - Date and time when the document was uploaded
- Uploaded By - Name of the role or user that uploaded the document
- Actions – Provides a dropdown menu with available management options for each document.
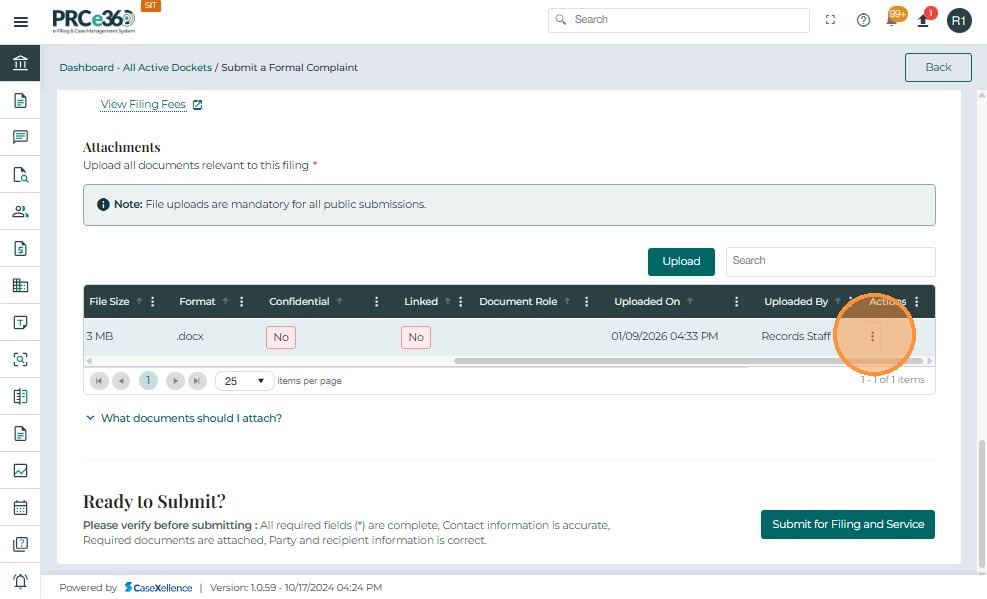
- The Actions button (three vertical dots) provides multiple management options for each uploaded document:
- Link – To link two or more documents
- Remove - To delete the document

- Click on the Submit button once all details are entered and necessary documents are uploaded.
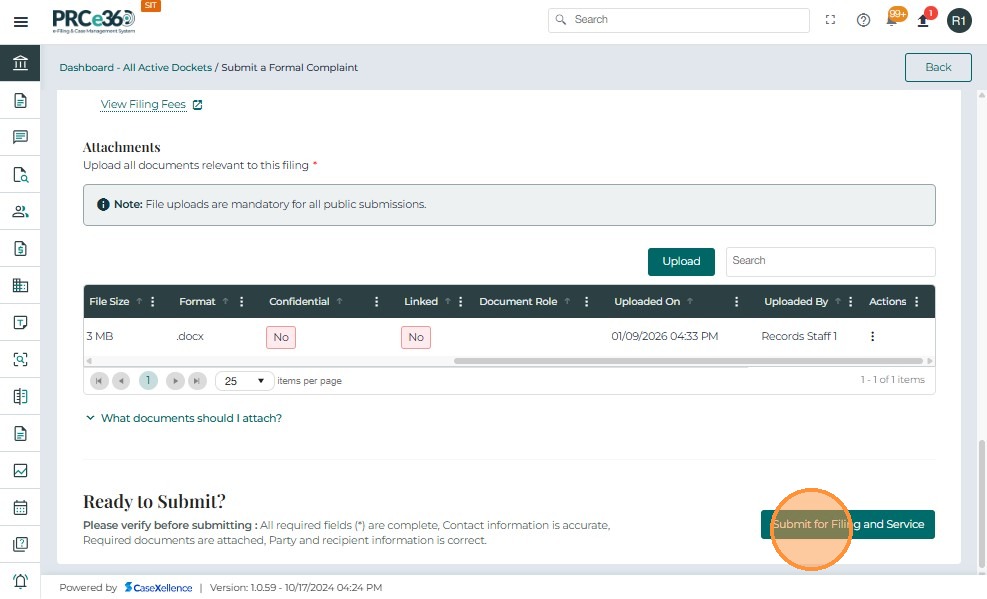
- A message will appear with the confirmation number of the complaint registered.
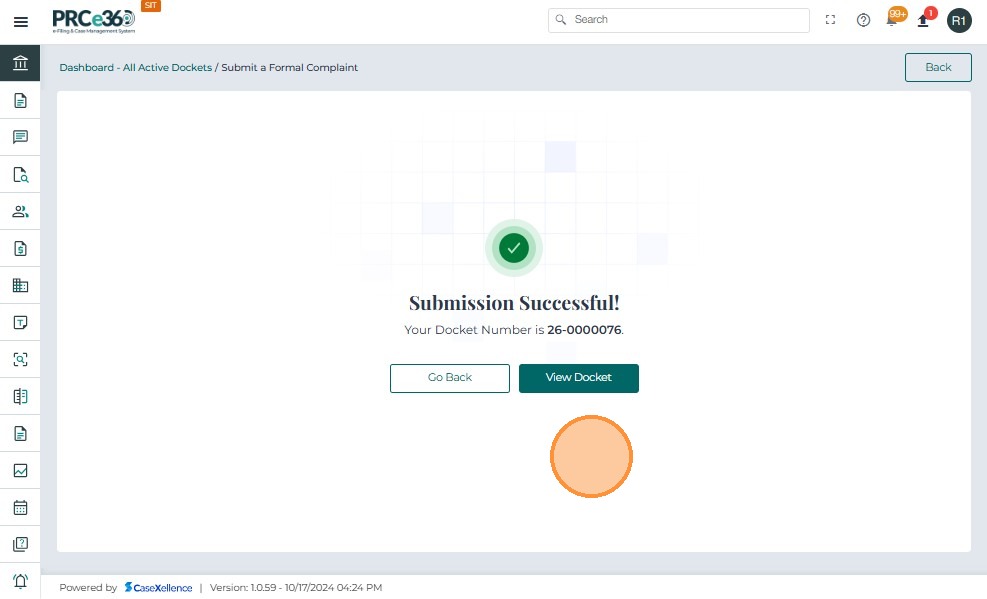
View the formal complaint
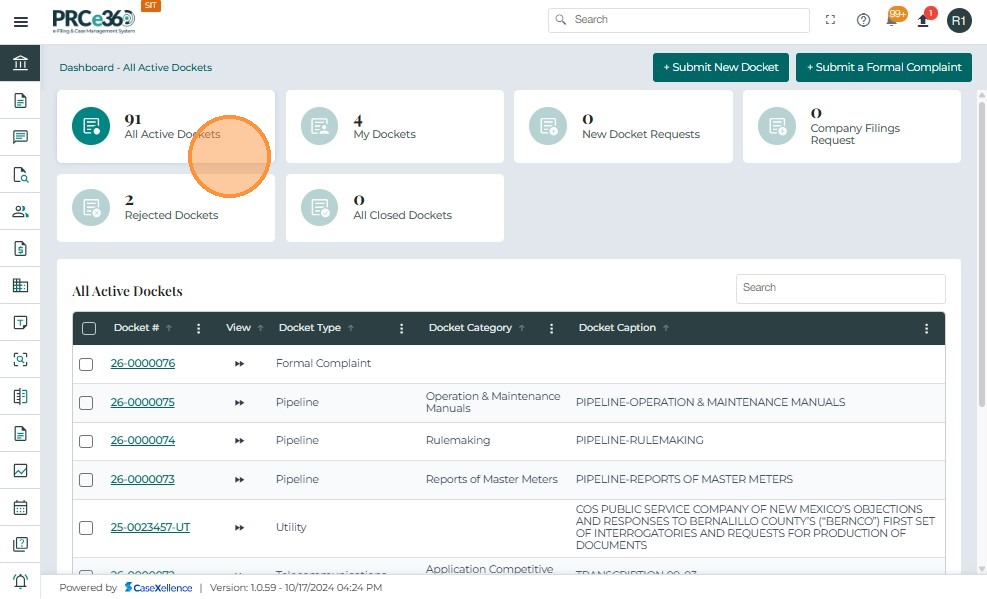
- To view the formal complaint registered, click on the All Active Cases queue or View Docket in the confirmation screen.
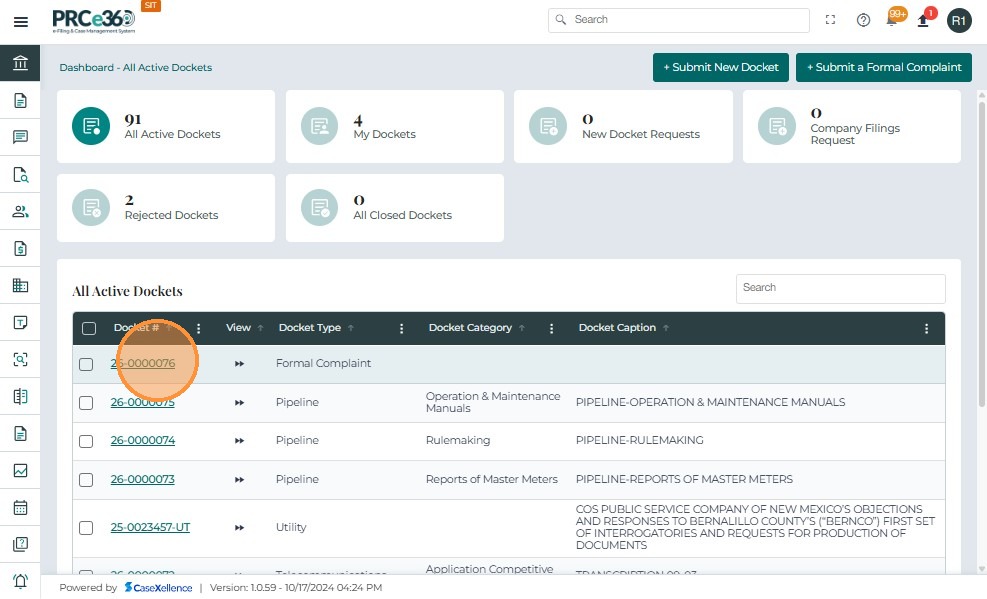
- The registered complaint will show in the listing with the caption Formal Complaint.
- Click on the confirmation number to view further details on the formal complaint.
- This will take the user to the Case 360 view of the case.
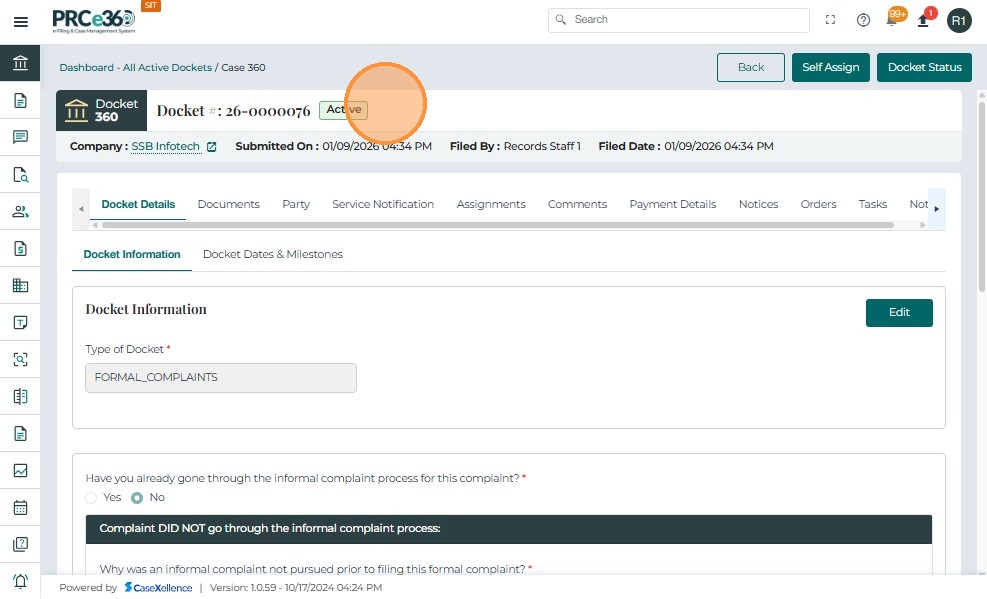
- To understand the features of Case 360, see Case 360 view.