Document Filing Request
The Document Filing Request feature allows authorized internal users in the Records, Legal, and Hearing Examiners divisions to initiate a controlled process that converts confidential or restricted documents into public filings when appropriate.
This supports transparency obligations while ensuring that all necessary approvals, reviews, and redactions are completed prior to public release.
Key Capabilities
-
Initiate Public Filing Request
Authorized internal users can initiate a Request Public Filing action from within the document detail screen. -
Multi-Step Approval Workflow
Filing requests are routed through designated approval roles (e.g., Records Staff) before they are completed. -
Redaction Checkpoint
The system prompts Legal users to review documents and apply any necessary redactions when sensitive content is detected or expected. -
Status Tracking
Each request is tracked with clear statuses, such as:- Pending Review
- Approved for Public Release
- Denied
- Redaction Required
-
Automated Notification
Once approved and processed, the system notifies relevant parties (e.g., filer, Hearing Examiner) and updates the public docket. -
Audit Log
A full audit trail of the request, reviews, approvals, and file actions is retained for transparency and compliance.
This feature ensures that public filings are intentional, policy-compliant, and legally sound, while enabling flexible and traceable publication workflows for case materials.
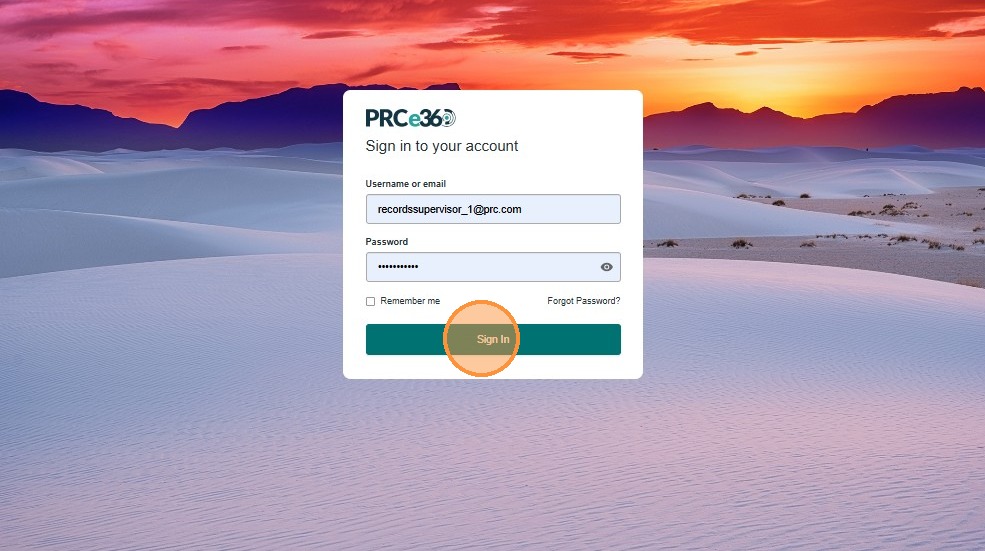
Sign In
- Enter your user credentials to log in to the application.
- Click Sign In.
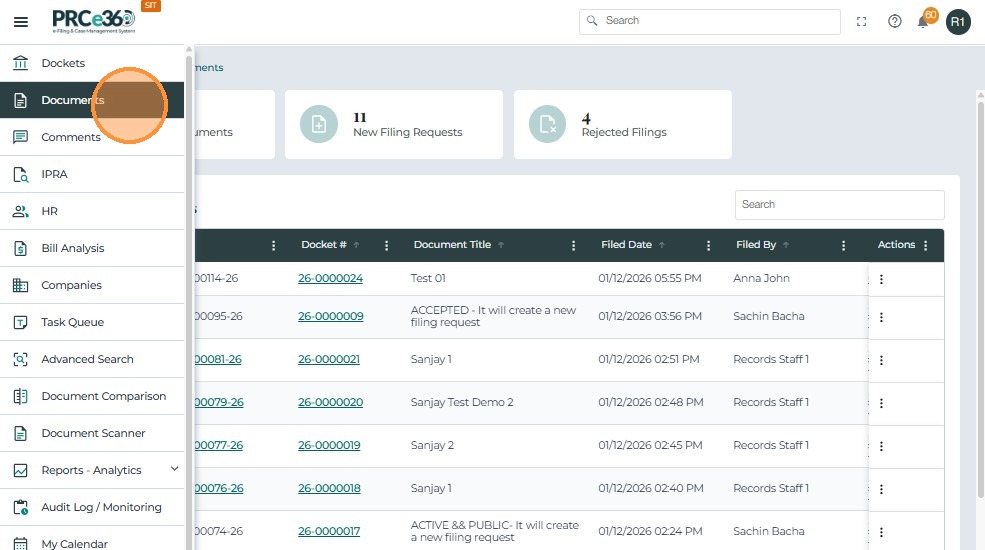
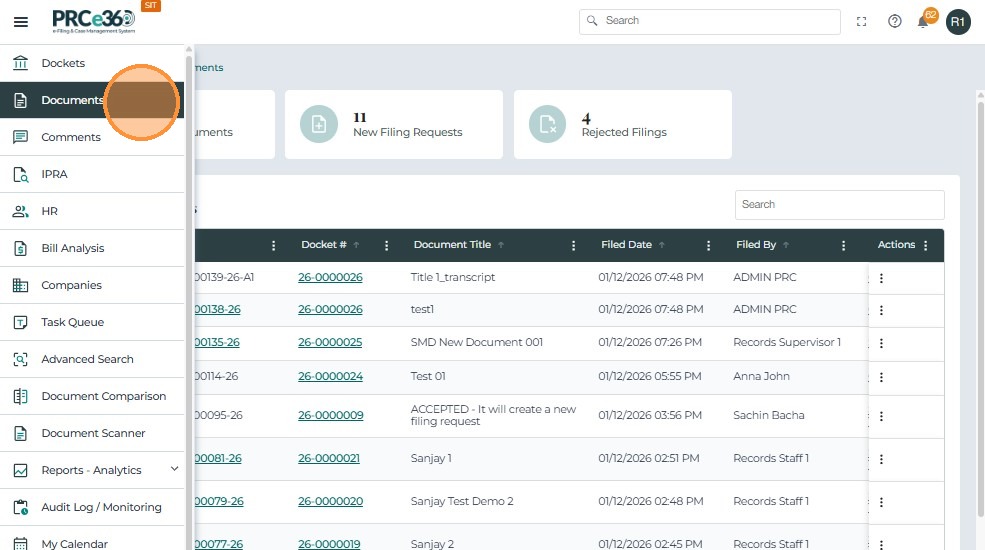
Navigate to Documents Dashboard
- Once logged in, open the side navigation menu from the Dashboard.
-
Click on the Documents tab to navigate to the Documents Dashboard.
-
Click on the New Filing Request tile.
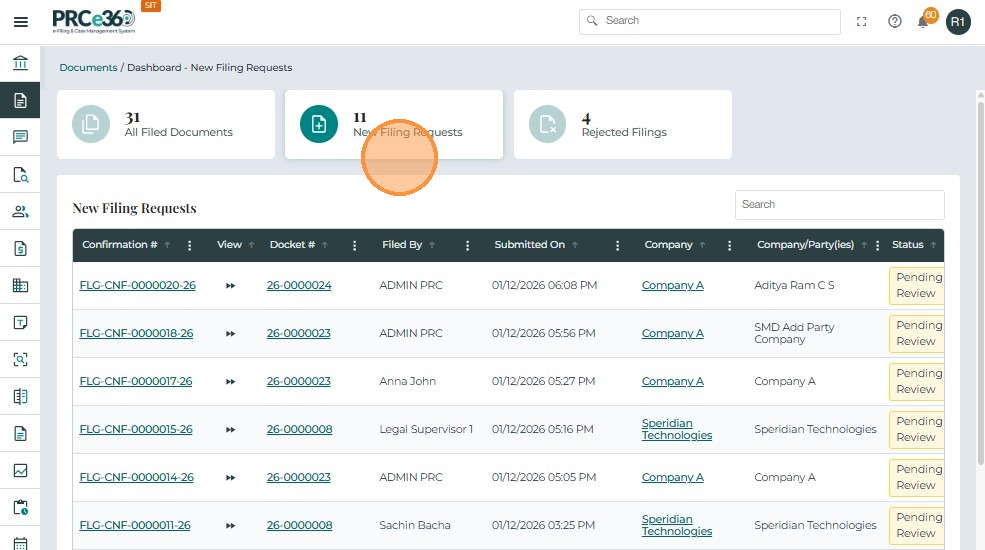
- The listing displays documents that have been uploaded by an external user and require review by the Records division.
This grid includes columns such as:
- Confirmation # – Unique confirmation number generated for the filing request.
- Docket # – The case docket number associated with the filing request.
- Filed By – The person or role who submitted the filing request.
- Submitted On – The date and time when the filing request was submitted.
- Company – The primary organization associated with the filing.
- Company (Party/ies) – The parties (companies/organizations) involved in the case filing.
- Status – The current status of the filing request (e.g., Pending Record Review).
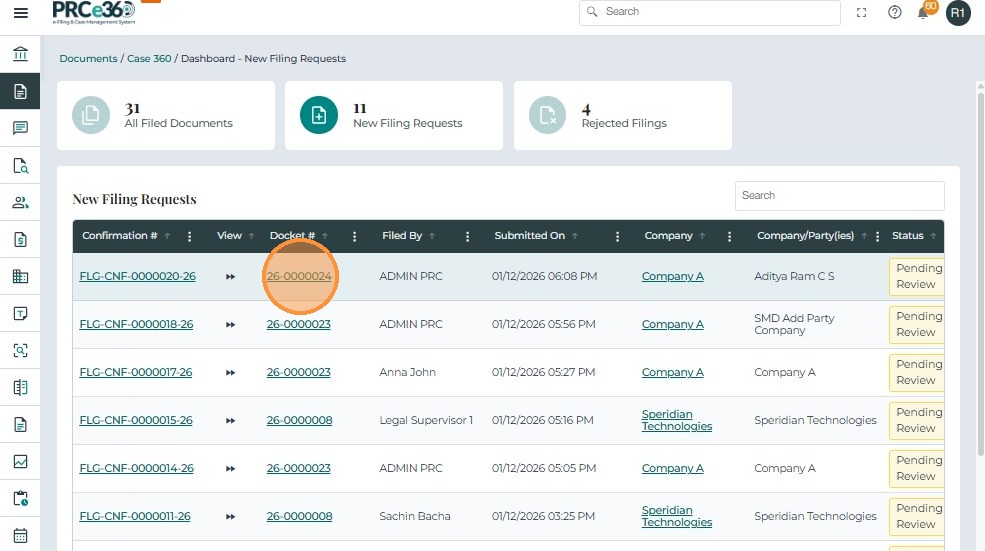
Click on Docket
- Click on the Docket # to navigate to the Case 360 view of the case.
- To learn more about Case 360 features, refer to:
03. Case 360 View
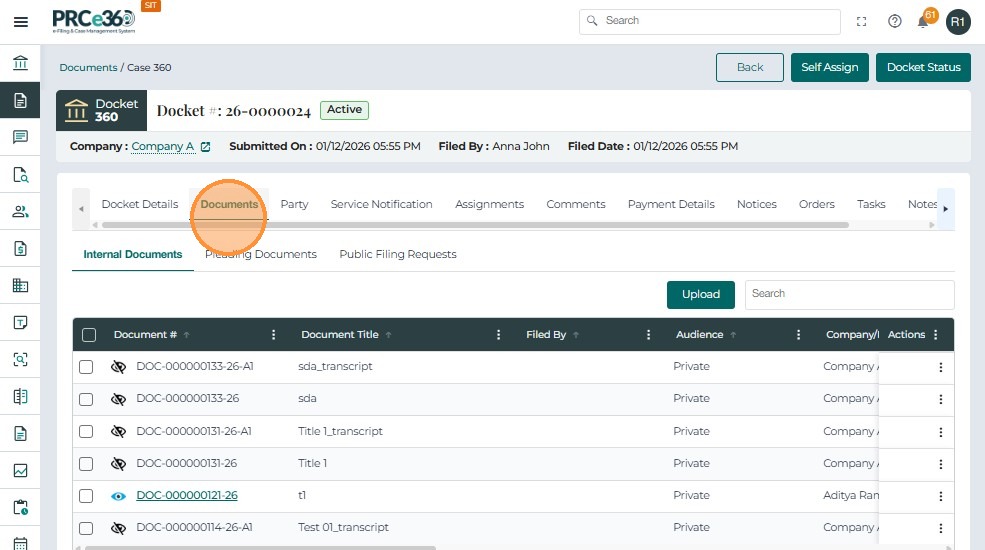
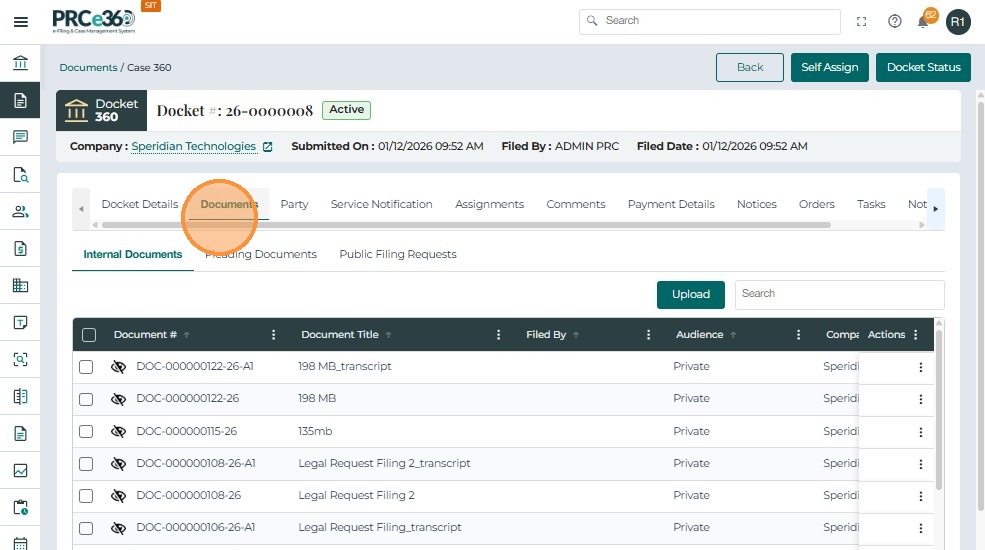
- Click on the Documents tab.
- The Documents tab has three sections:
- Internal Documents
- Pleading Documents
- Public Filing Requests
- The File Now option is available in the Internal Documents tab.
- The Documents tab has three sections:
Filing Request Through File Now Option
- In the Internal Documents tab, all uploaded documents are listed with their current status.
- The user can upload additional documents if needed.
To initiate a filing:
- Click on Actions next to the document and select File Now.
- For Legal division users, the option will appear as Request Public Filing under Actions.
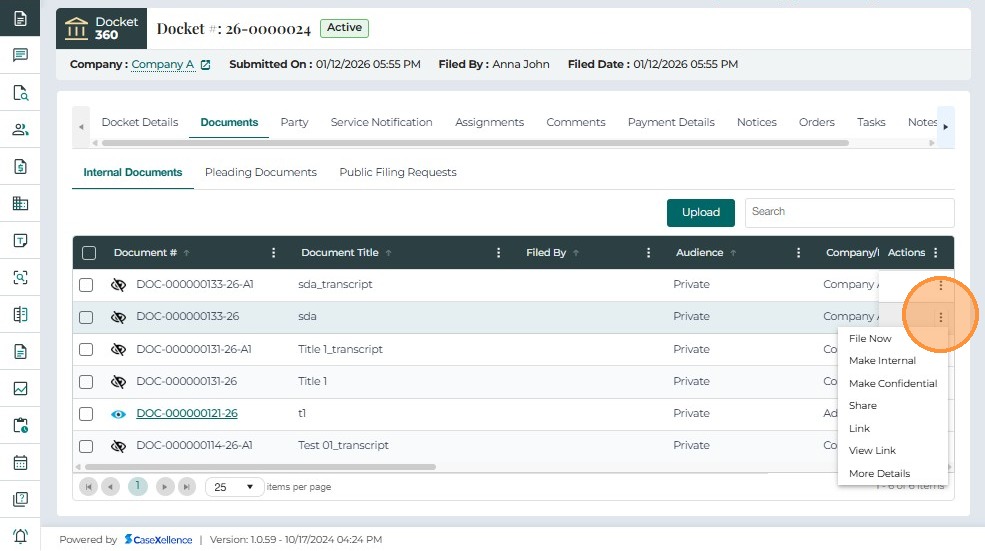
- A side panel opens with the File Now details.
- Enter all mandatory fields in the form.
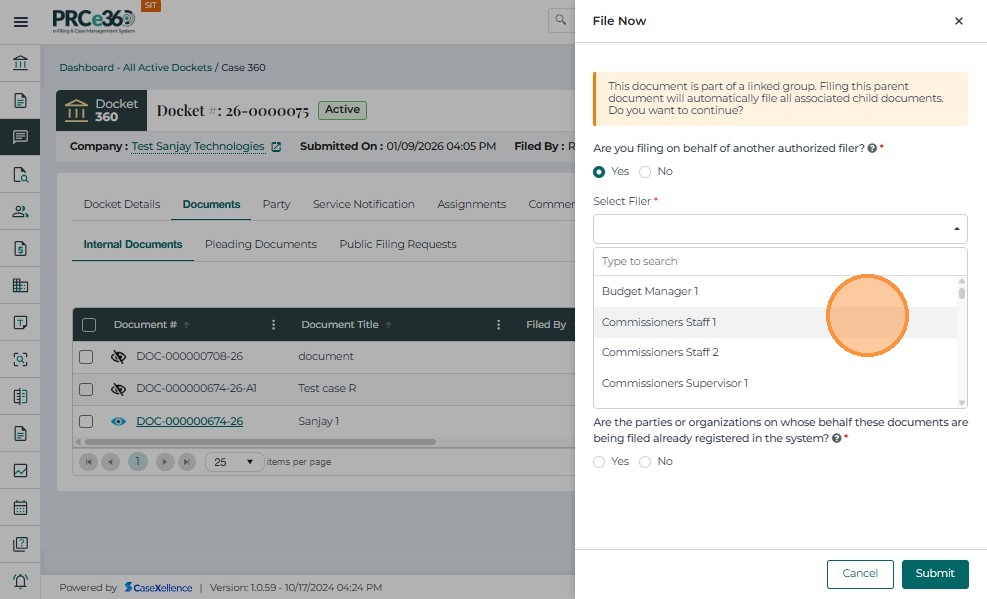
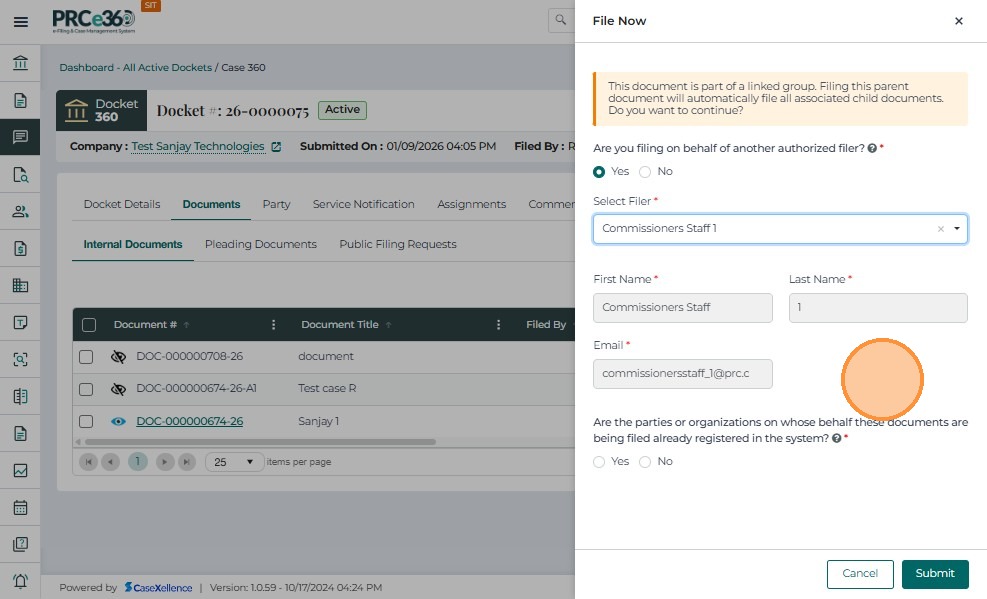
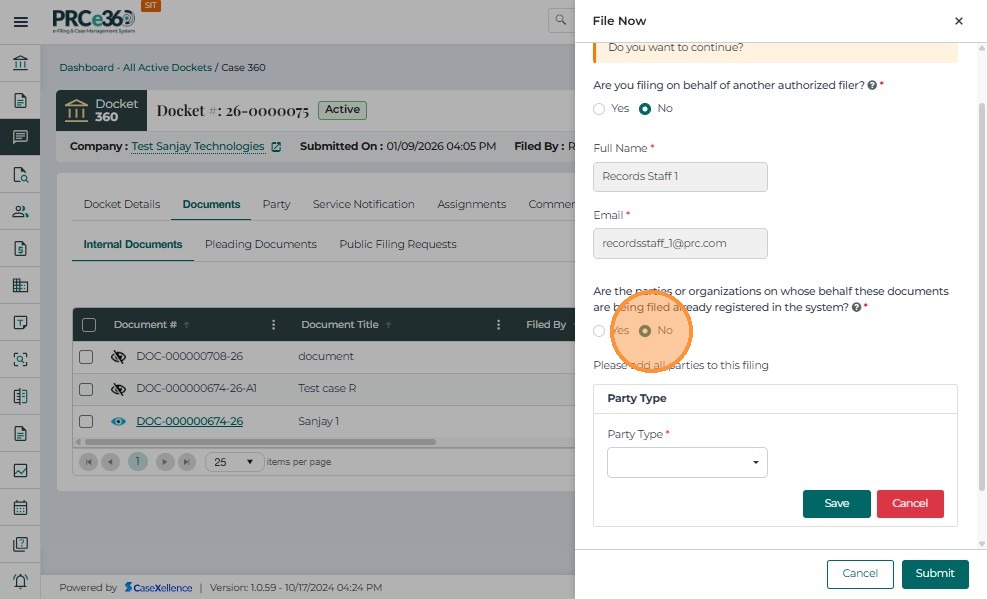
If the user is filing on behalf of another authorized filer:
- Select Yes.
- Enter all required fields such as First Name, Last Name, and Email.
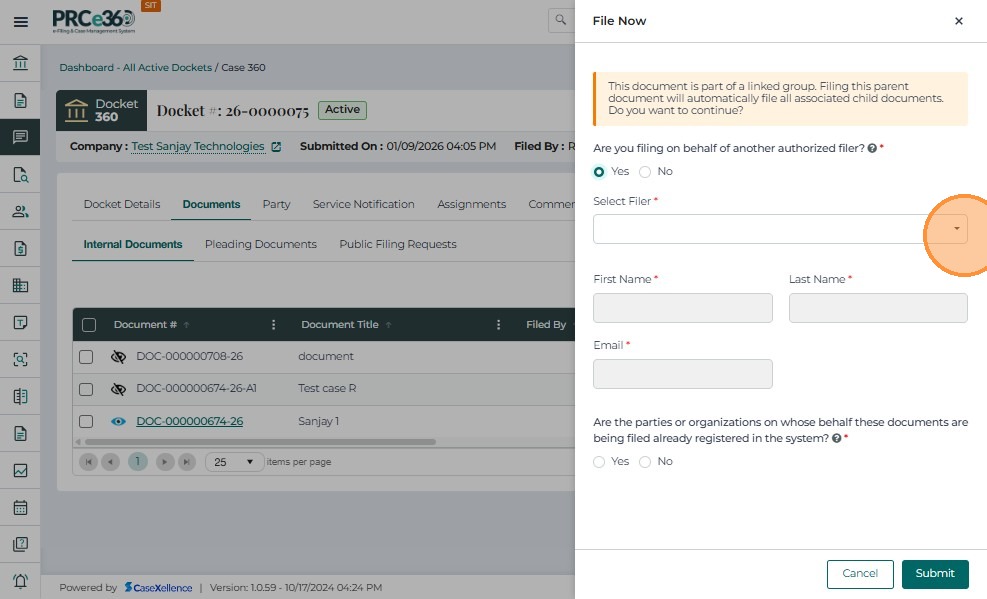
- Select the filer from the dropdown.
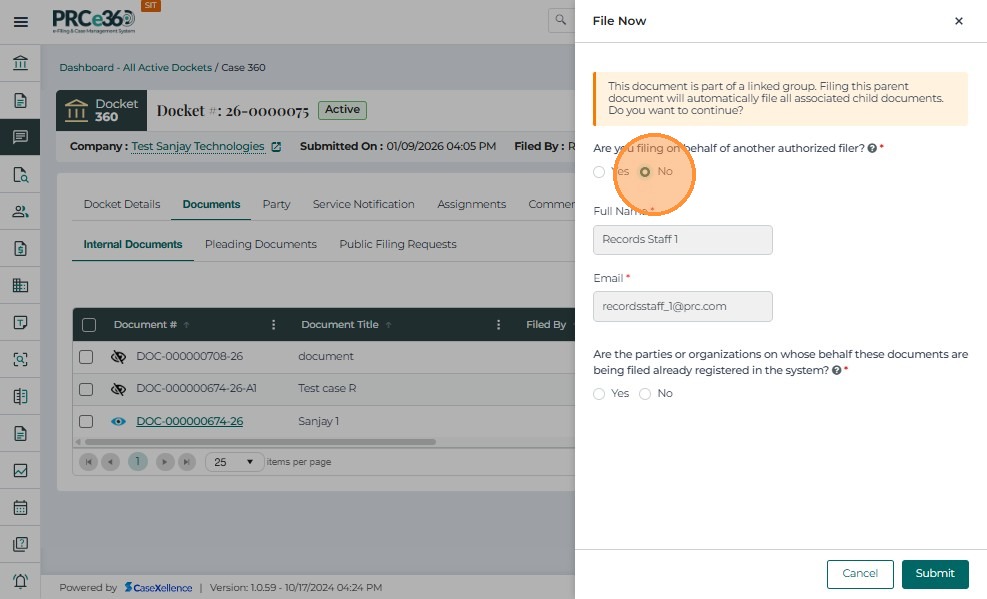
If the user is not filing on behalf of another authorized filer:
- Select No.
- The system will auto-load the user’s details.
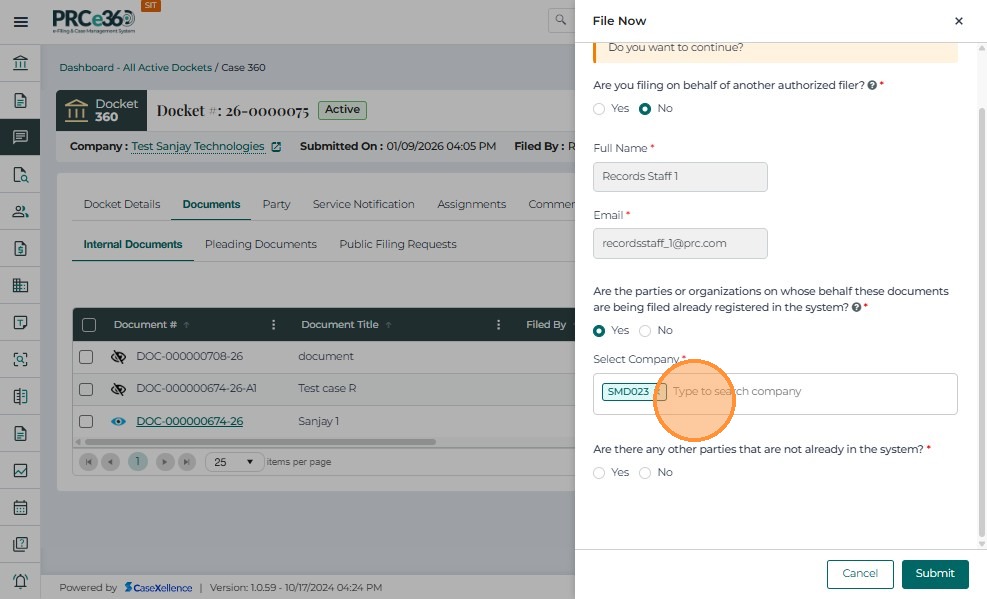
Selecting Parties for the Filing
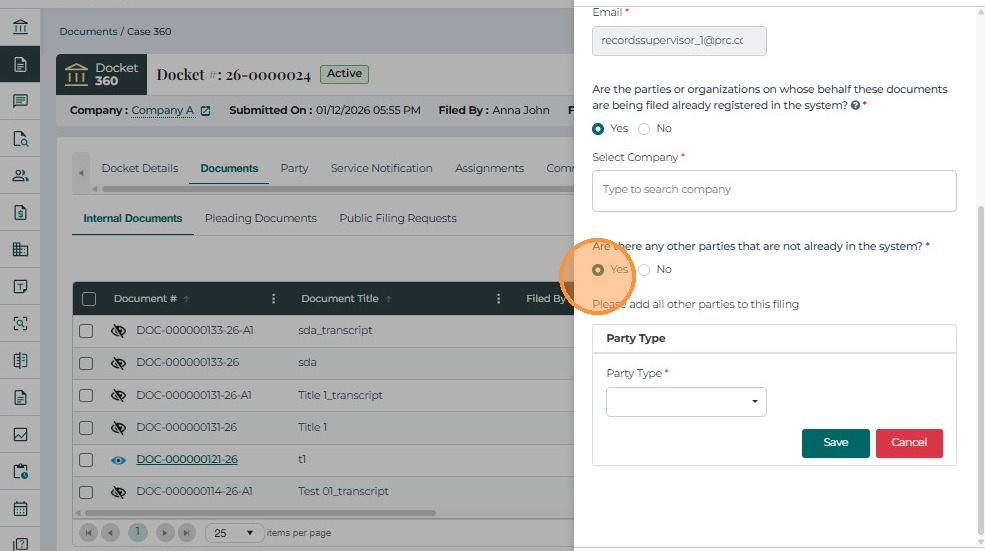
If the party or parties on whose behalf the document(s) are being filed already exist in the system as companies:
- Select Yes.
- Type the company name and select it from the list.

If the party or parties on whose behalf the document(s) are being filed do not exist as companies in the system:
- Select No.
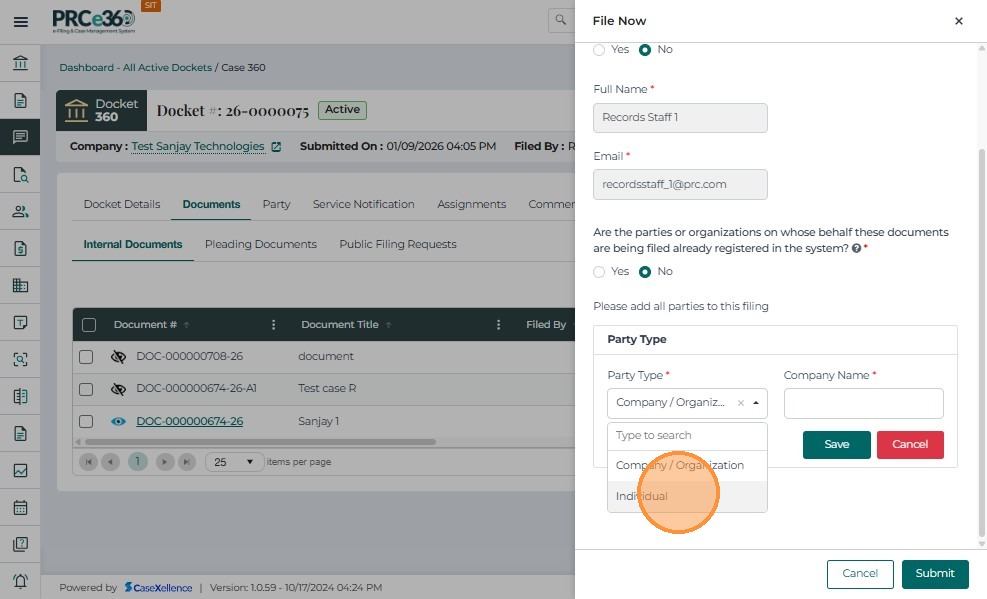
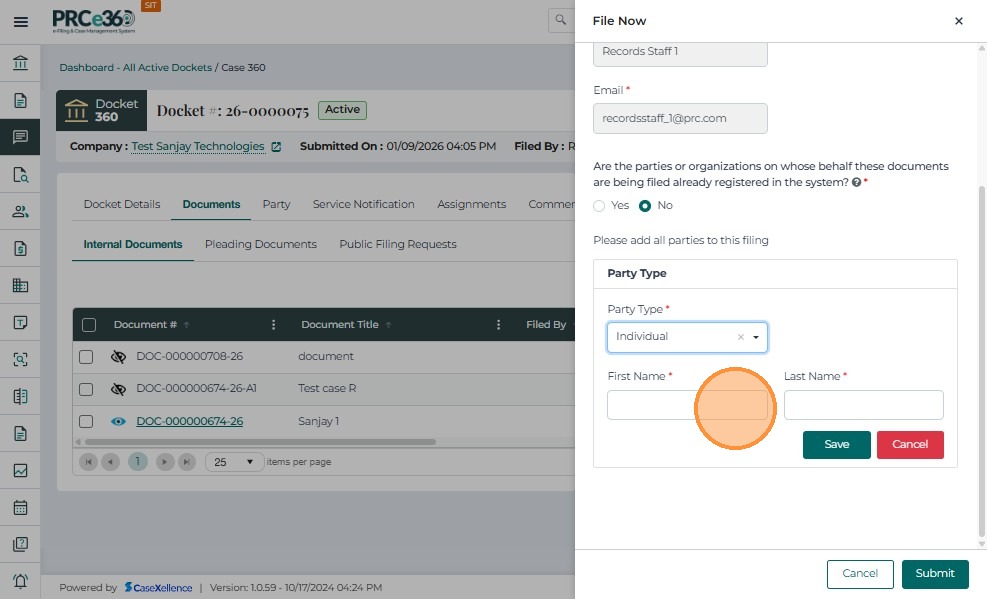
- Choose the party type as Company or Individual.
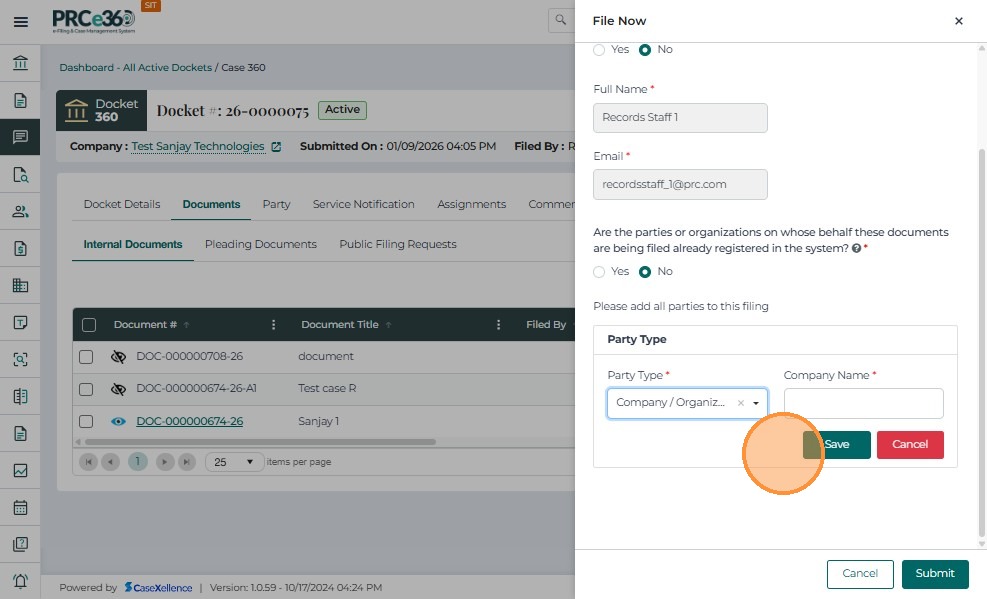
If Company is selected:
- Type the company name and enter all required information.
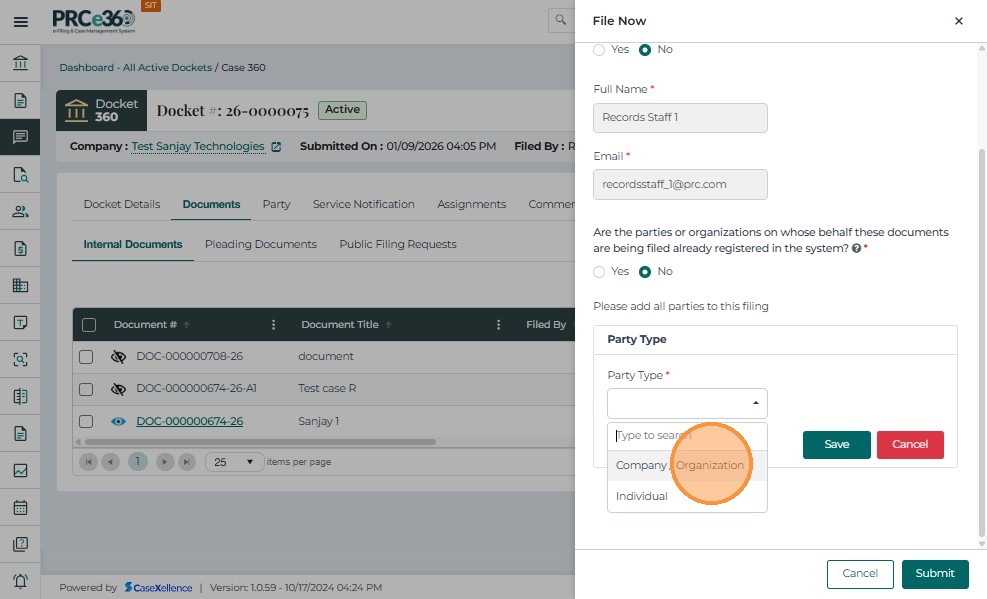
If Individual is selected:
- Enter the mandatory details such as First Name and Last Name.
-
Click Save once all details are entered.
-
Click Cancel to remove an additional party if it is no longer required.
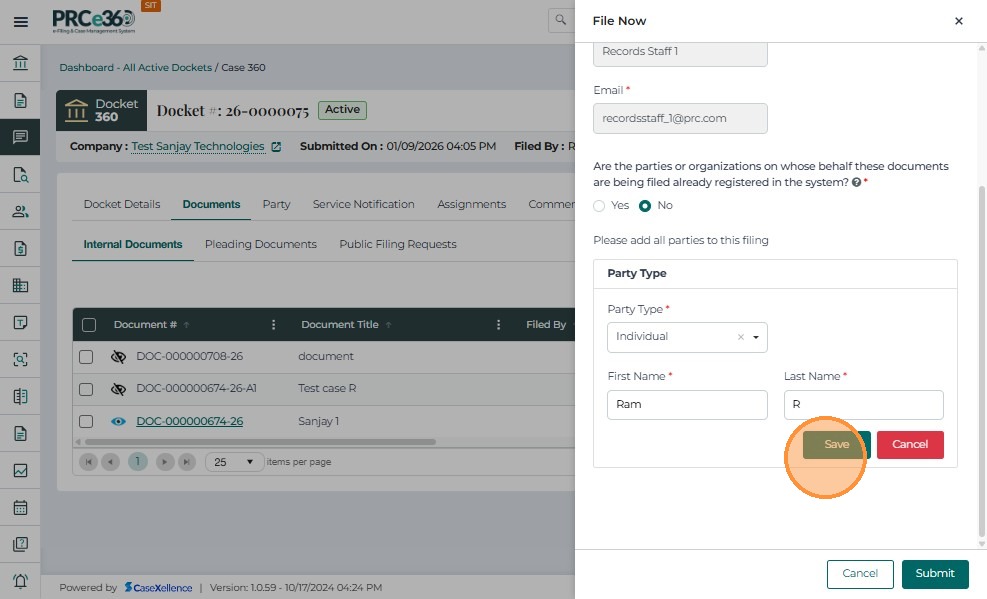
To add more parties:
- Click + Add Party.
- Select the party type and enter all mandatory details.
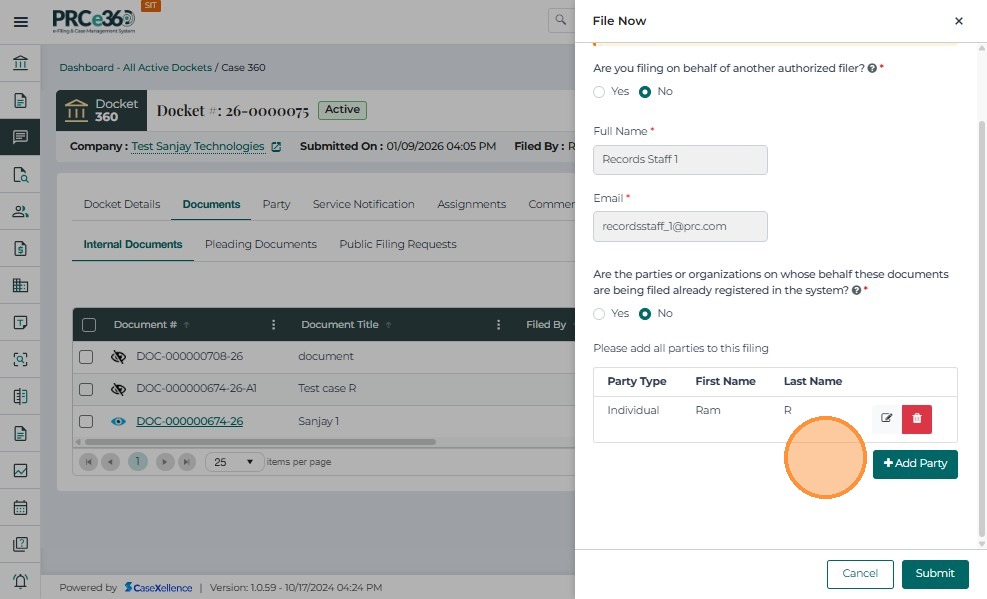
If there are other parties that are not already in the system:
- Select Yes.
- Choose the party type and enter all mandatory details.
If there are no other parties that are not already in the system:
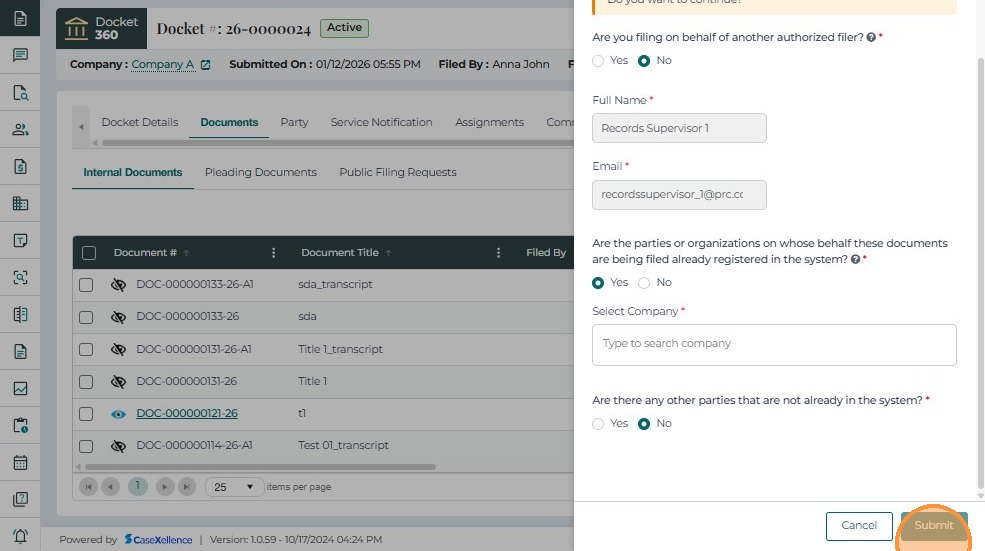
- Select No.
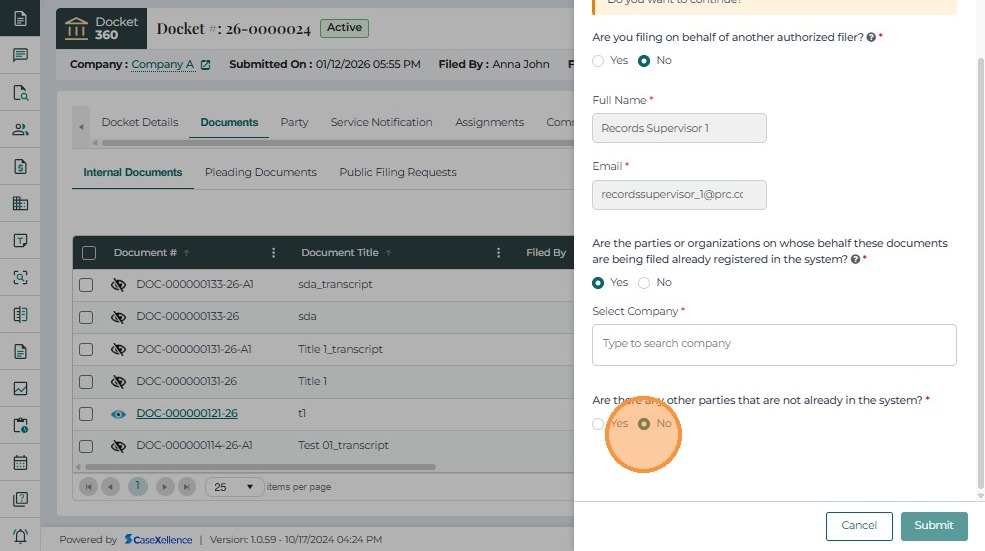
- Click Submit to file the document.
- Click Cancel to cancel the filing operation.
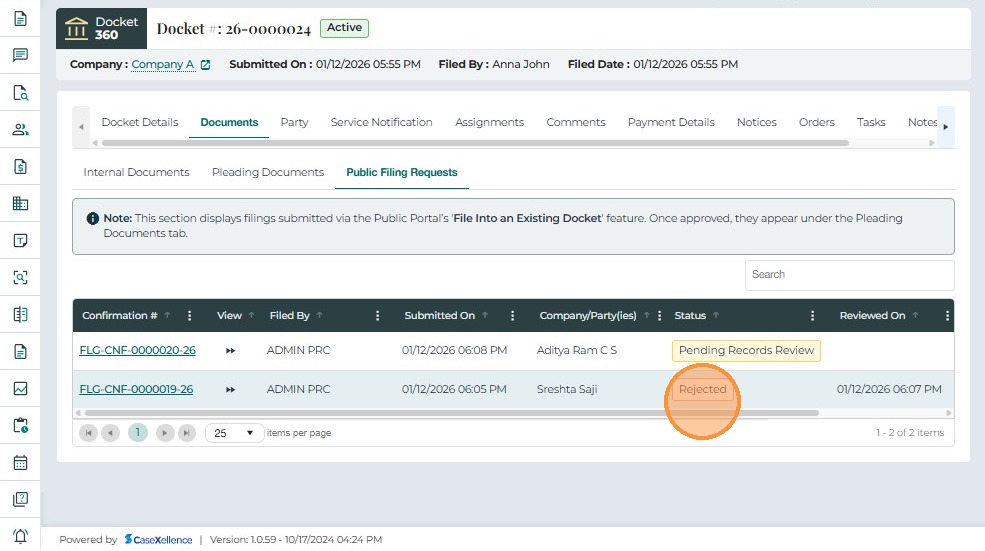
- In the Public Filing Request tab, the filed document will be listed with the status Accepted.
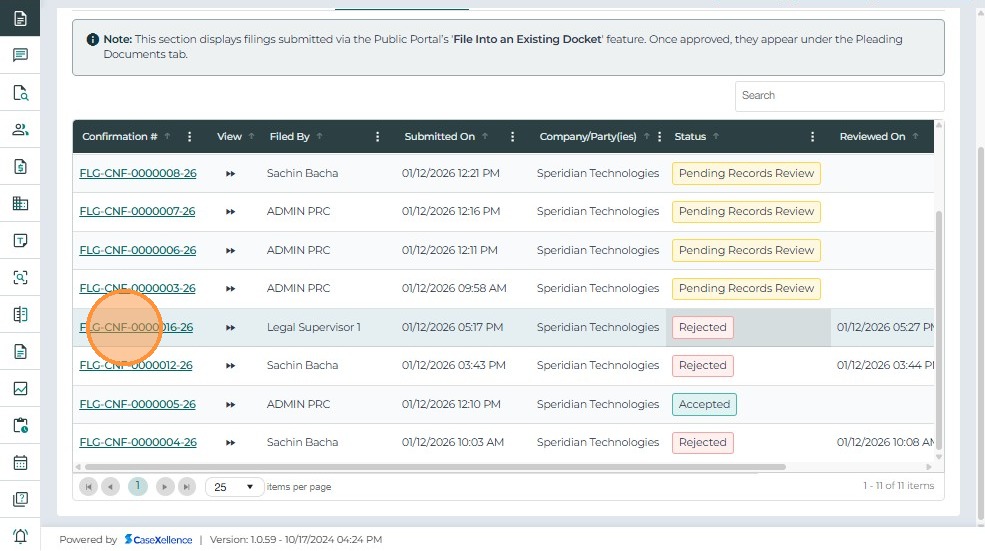
Filing Request Through Public Filing Requests Tab
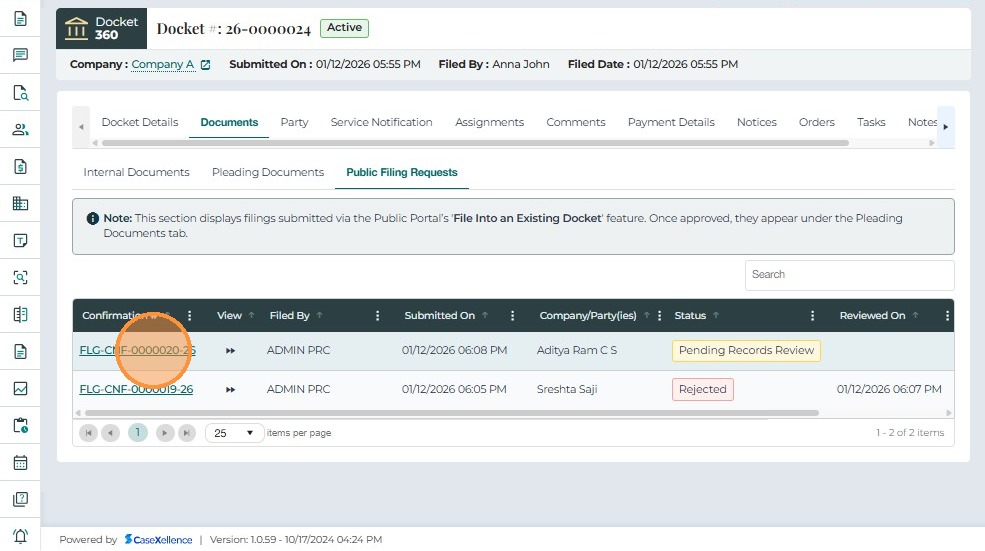
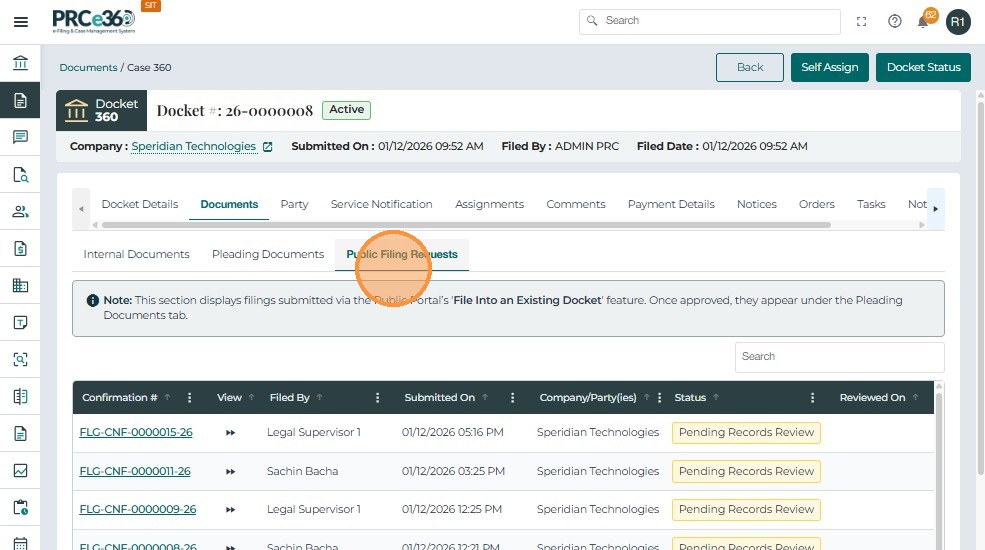
- Click on the Public Filing Requests tab.
- This tab is visible to the Records division only.
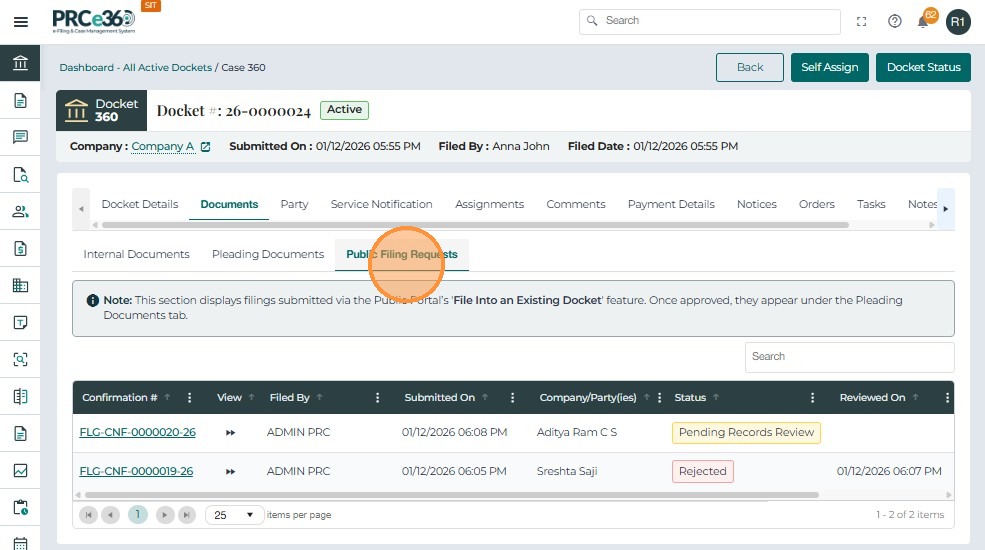
- The documents that need approval will be listed in this grid.
This grid includes columns such as:
- Confirmation # – Unique confirmation number generated for the filing request.
- Filed By – The person or role who submitted the filing request.
- Submitted On – The date and time when the filing request was submitted.
- Company (Party/ies) – The parties (companies/organizations) involved in the case filing.
- Status – The current state of the filing request (e.g., Pending Record Review).
- Reviewed On – The date and time when the request was reviewed.
- Reviewed By – The name of the person or role that reviewed the request.
If needed, users can search for the uploaded document using the Confirmation #.
- Click on the Confirmation # to open the filing request.
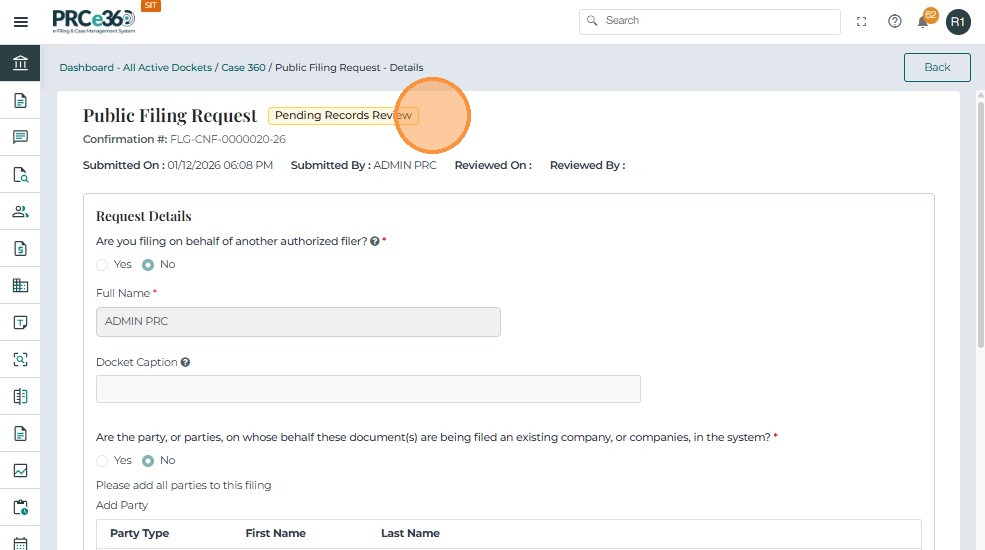
The user can review the request by reviewing all the details displayed on the form.
The header section shows information such as:
- Status
- Confirmation #
- Submitted On
- Submitted By
- Reviewed On
- Reviewed By
The form also displays details provided by the external filer, such as:
- Filer details
- Company details
- Uploaded attachments
The uploaded documents are listed in a grid.
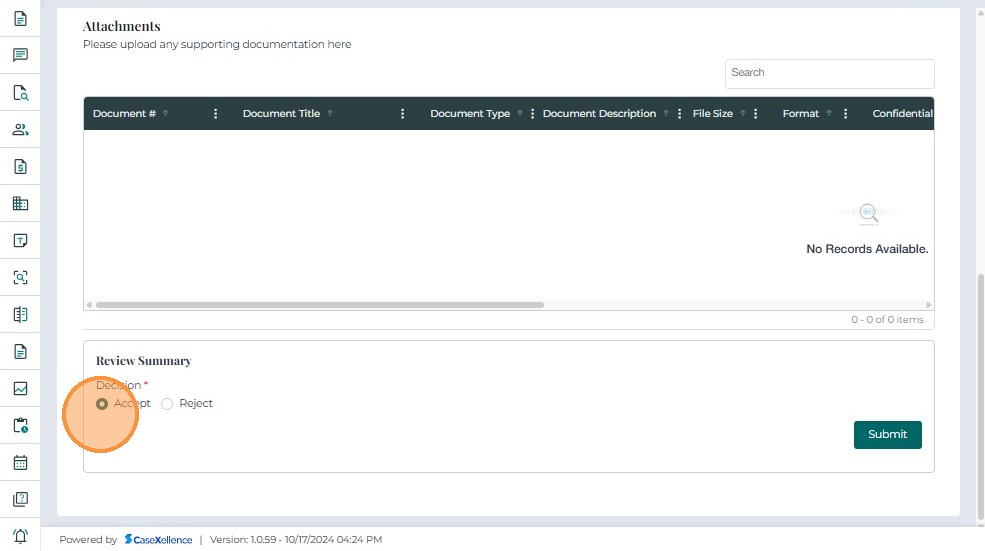
This grid includes columns such as:
- Document # – Unique document number generated for the uploaded document.
- Document Title – Title of the uploaded document.
- Document Type – Category or type of the document.
- Document Description – Description entered for the document.
- File Size – Size of the uploaded file.
- Format – File format (e.g., PDF, DOCX).
- Confidential – Indicates whether the document is marked as confidential.
- Uploaded On – Date and time when the document was uploaded.
- Uploaded By – Name of the user or role who uploaded the document.
Review Summary
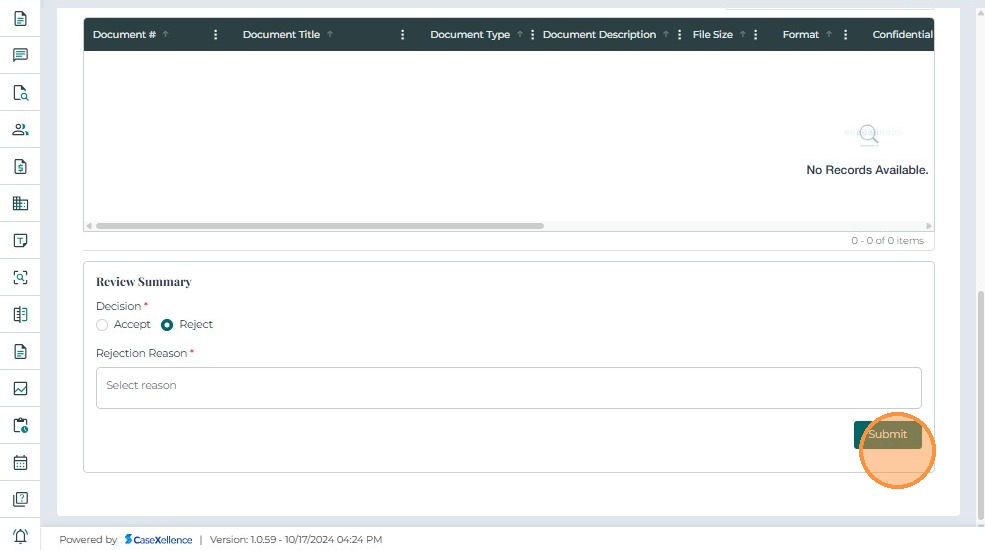
- After reviewing the filing request, the user can choose to Accept or Reject the request.
If the decision is Reject, a reason for rejection must be provided.
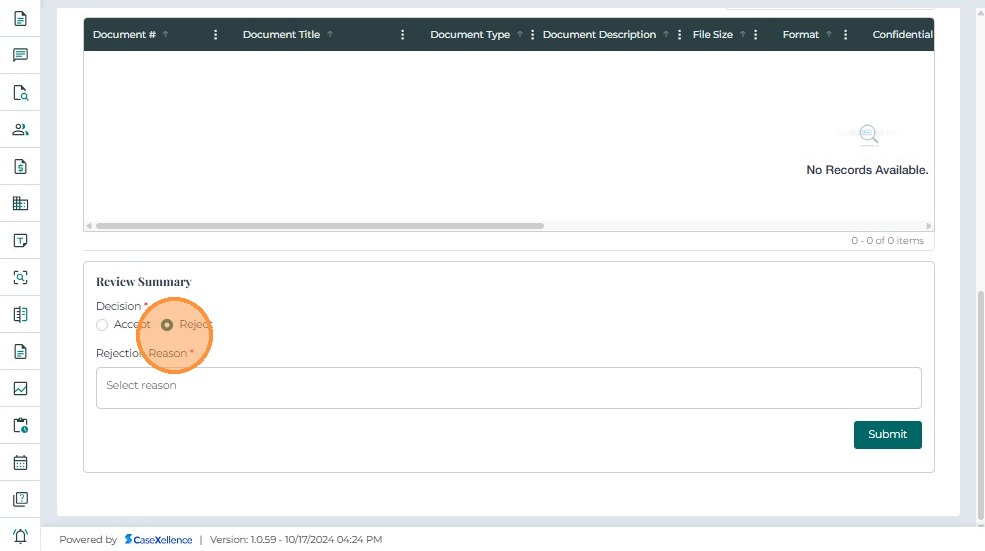
- Click Submit once the review is complete and a decision (Accept or Reject) has been selected.
-
If the decision is Accept, the status will be updated to Accepted.
-
If the decision is Reject, the status will be updated to Rejected.
-
Click the Go Back button at the top right to return to the Case 360 view.
-
Click on the Documents tab and open the Public Filing Request section to view the filing details.
-
The grid will show the updated status as Accepted and display Reviewed On and Reviewed By.
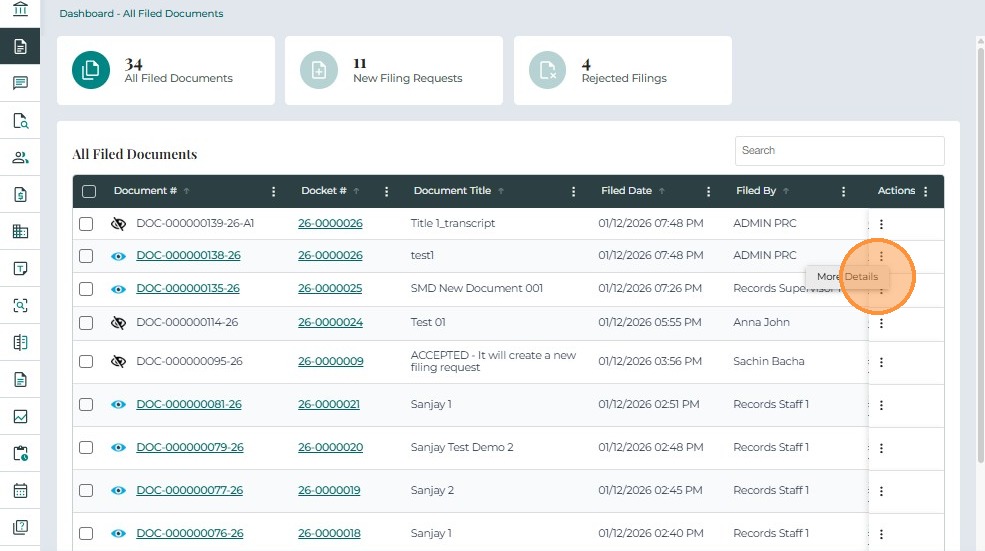
View All Filed Documents
- From the side menu, navigate again to the Documents dashboard.
- In the All Filed Documents queue, the accepted document will be listed.
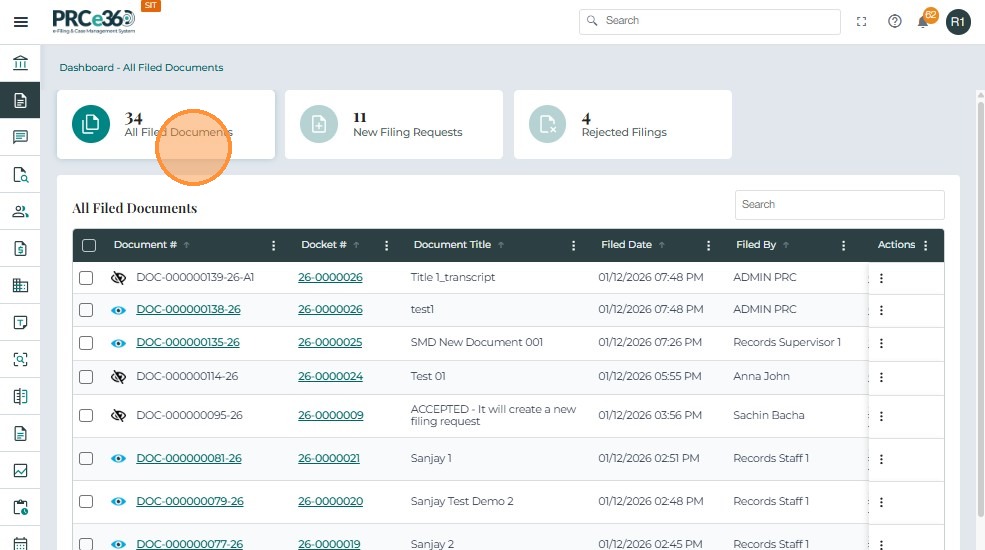
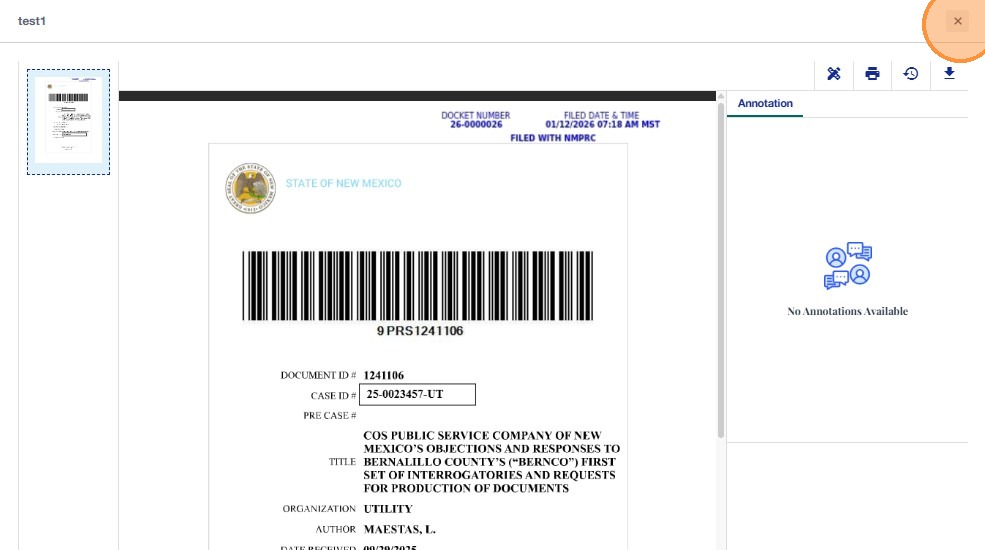
- To view the document, click on the Document # link.
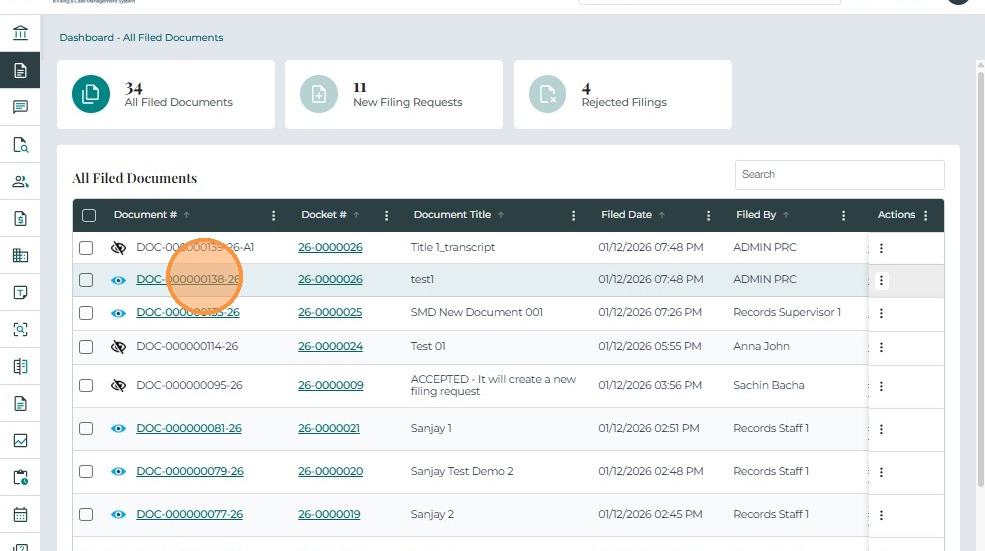
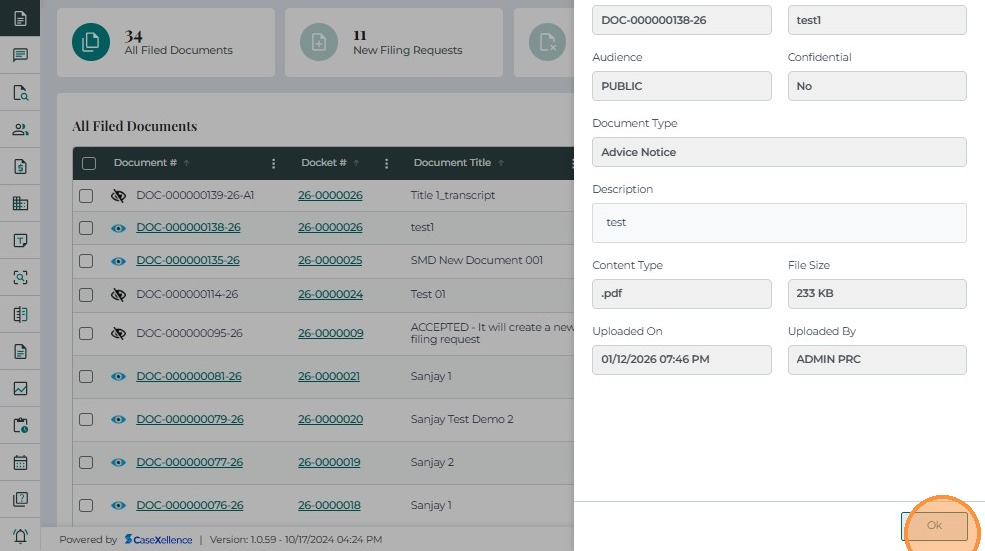
- Under Actions, click More Details to view additional information about the uploaded document.
- Click Ok once the document details have been reviewed.
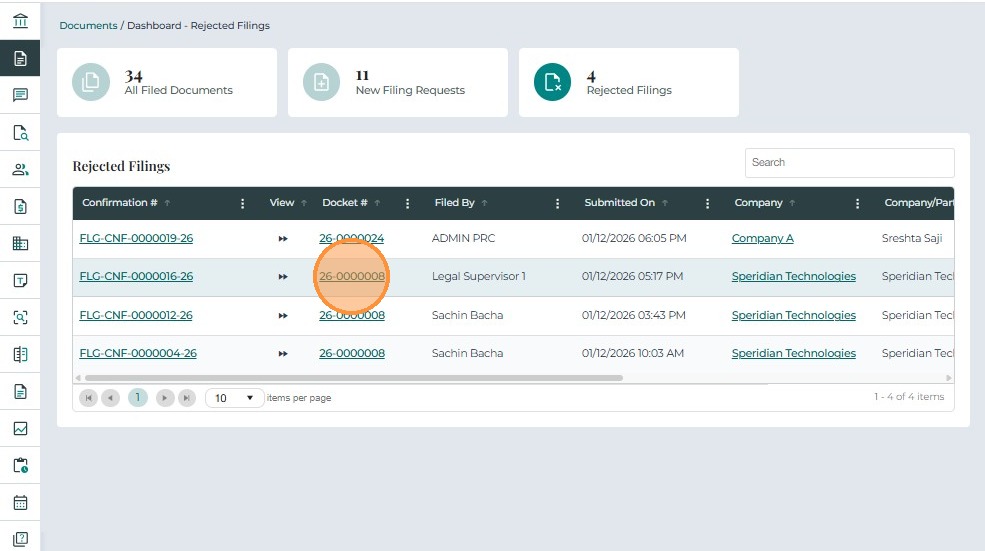
View Rejected Documents
- To view rejected filings, click on the Rejected Filings queue.
- This queue is visible only to the Records division.
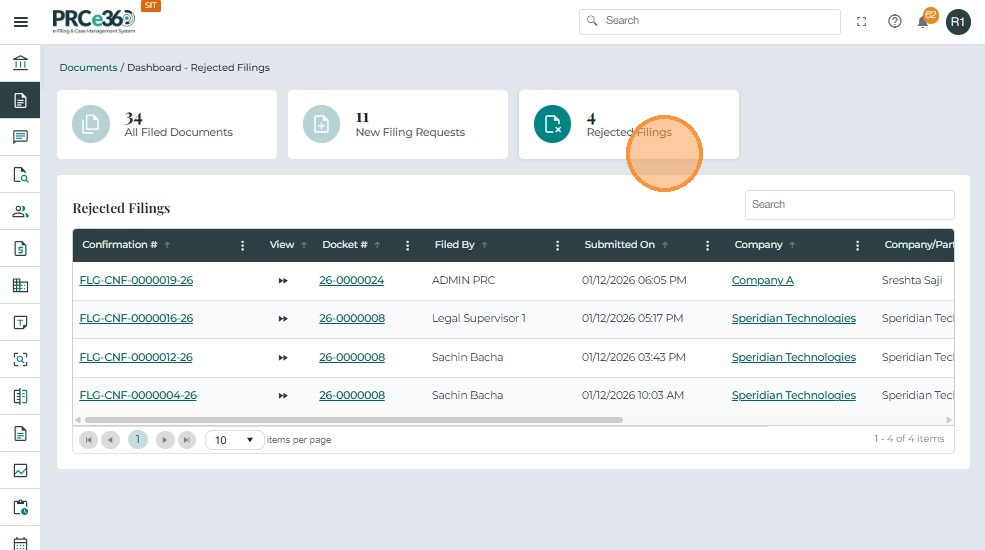
- All rejected documents will be listed in the grid.
This grid includes columns such as:
-
Confirmation # – Unique confirmation number generated for the filing request.
-
Docket # – Case docket number linked to the filing request.
-
Filed By – The person or role who submitted the filing request.
-
Submitted On – Date and time when the filing request was submitted.
-
Company – The main organization associated with the filing.
-
Company (Party/ies) – Parties (companies/organizations) involved in the filing.
-
Status – The current status of the filing request.
-
Rejected By – The name of the person or role who rejected the filing.
-
Rejected On – The date and time when the filing was rejected.
-
Click on the Docket # to view the associated case.
-
This will navigate the user to the Case 360 view.
- Click on the Documents tab and open the Public Filing Requests section.
- The rejected document will be listed with the status Rejected.
- Click on the Confirmation # to open the rejected filing details.
- In the header, the status will be shown as Rejected.
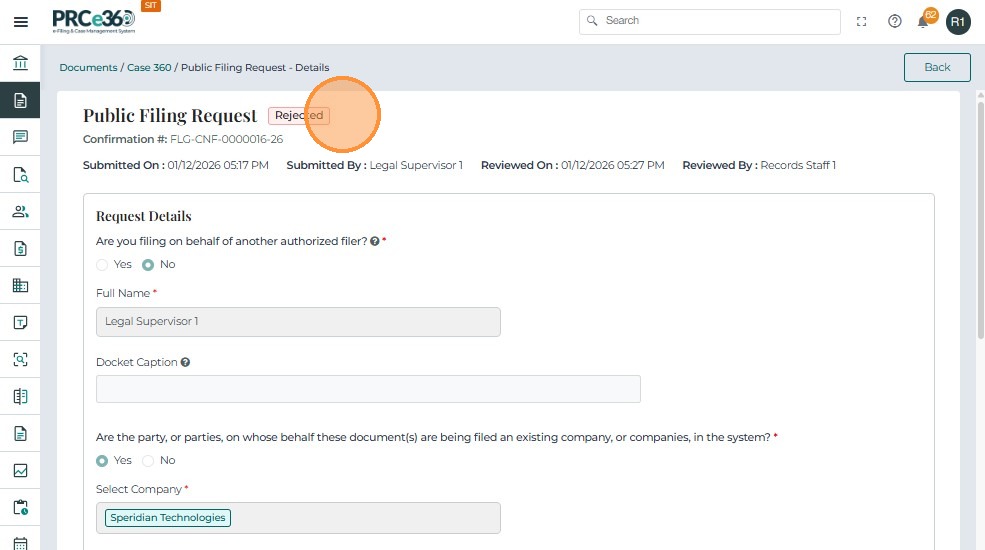
- In the Review Summary section, the reason for rejection will be displayed.