IPRA Documents Management
Documents Tab
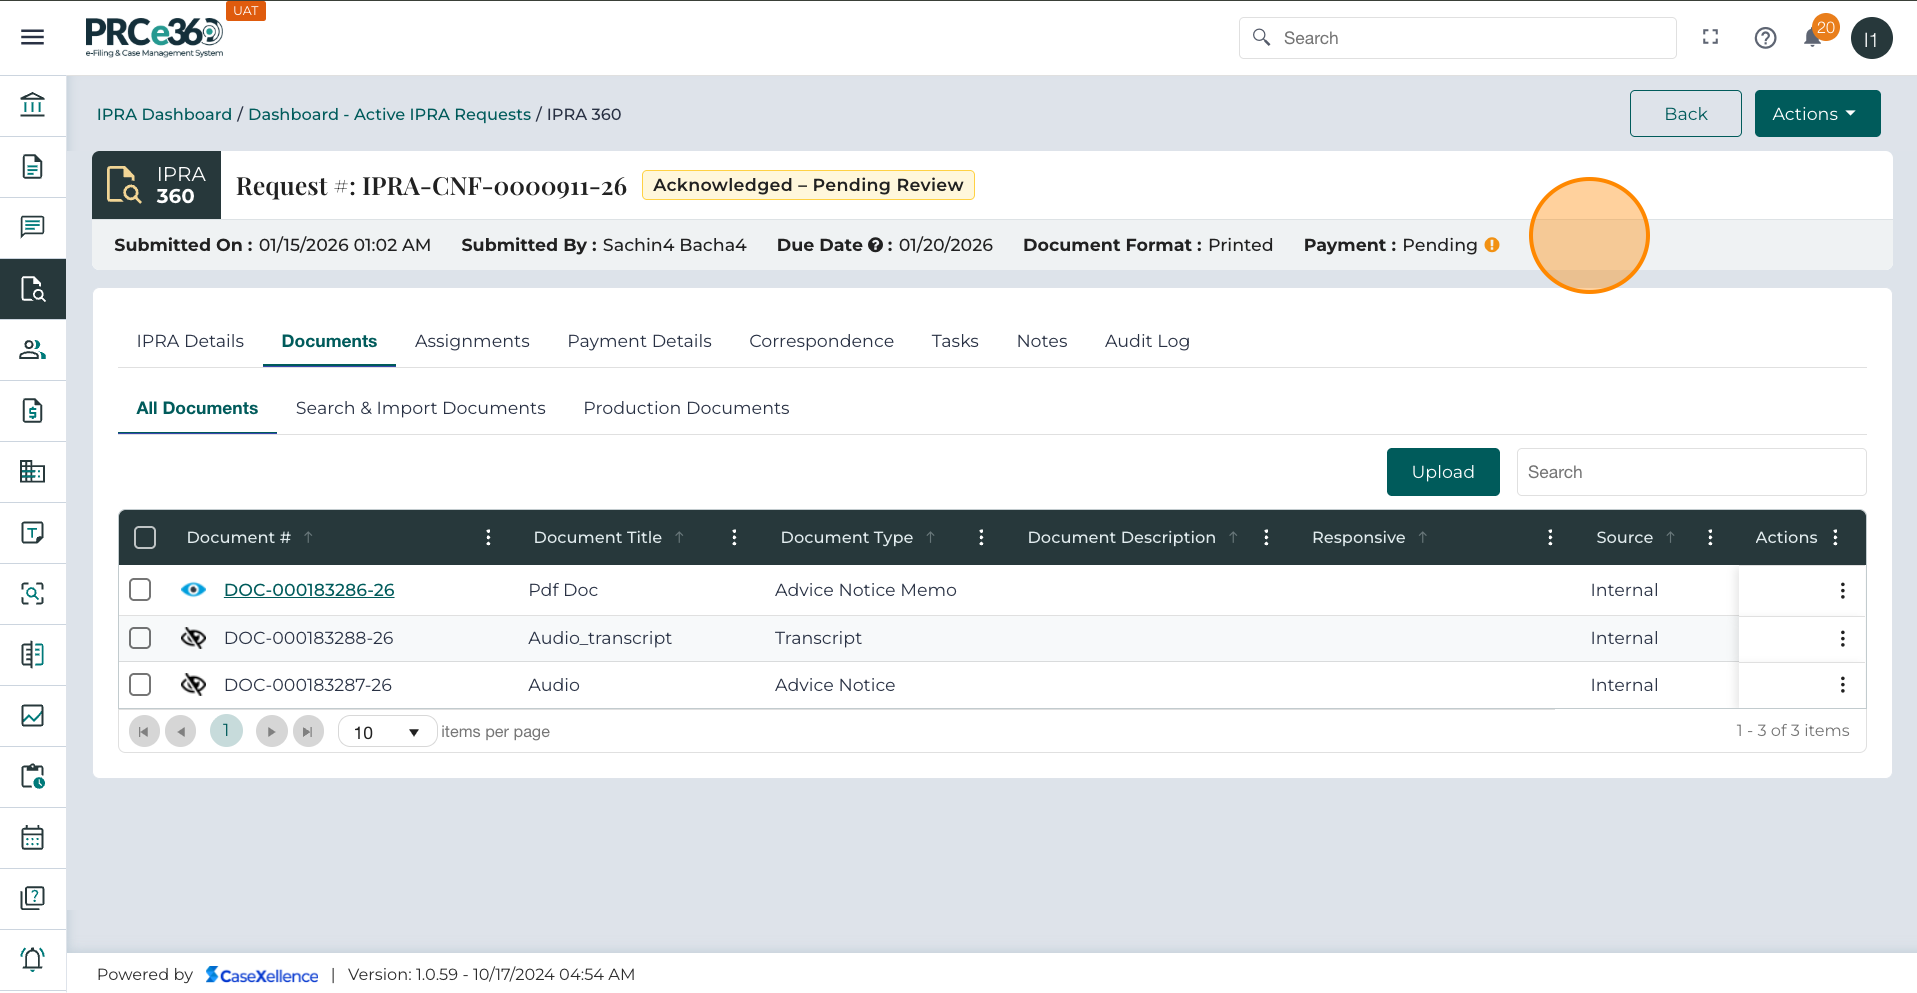
The Documents tab allows authorized internal users to upload, search, import, and manage documents related to an IPRA request.
Actions in this tab are available to:
-
IPRA Legal Counsel
-
Records Supervisor
-
Legal Supervisor
-
Any internal user explicitly assigned to the request
These users can upload, link, and manage documents for the IPRA request.
Tab Sections and Functions
| Section | Description / Function |
|---|---|
| All Documents | Displays all uploaded or linked documents for the IPRA request. Each row includes details such as Document ID, Title, Type, and Description. |
| Search & Import Documents | Allows users to link existing documents already stored in CaseX. Users can search by Document ID, Document Name, Case Name, or Company Name. |
| Production Documents | Used during the fulfillment stage to identify which documents will be included in a Partial or Full Production for delivery to the requester. |
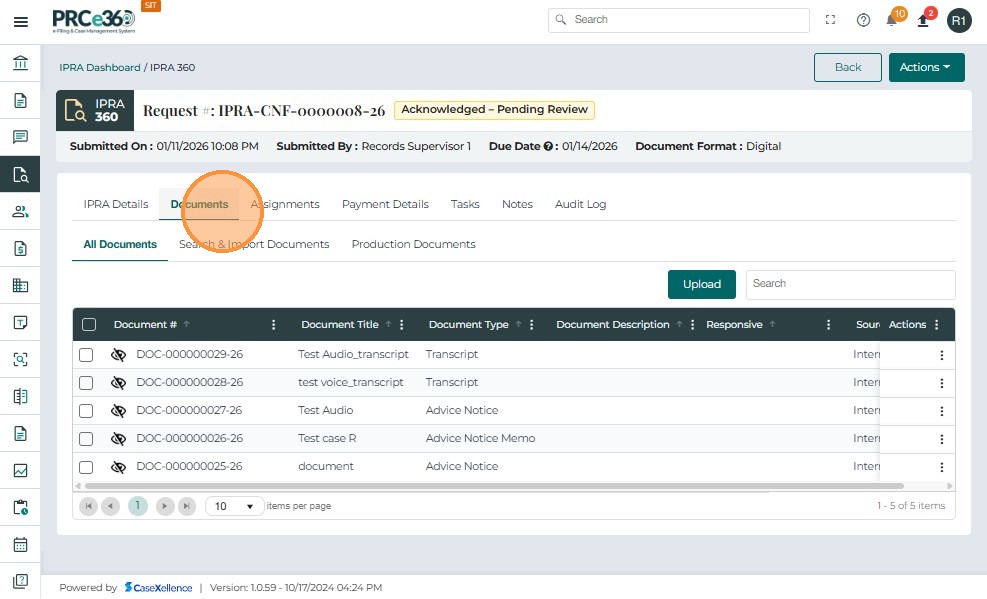
Upload a Document
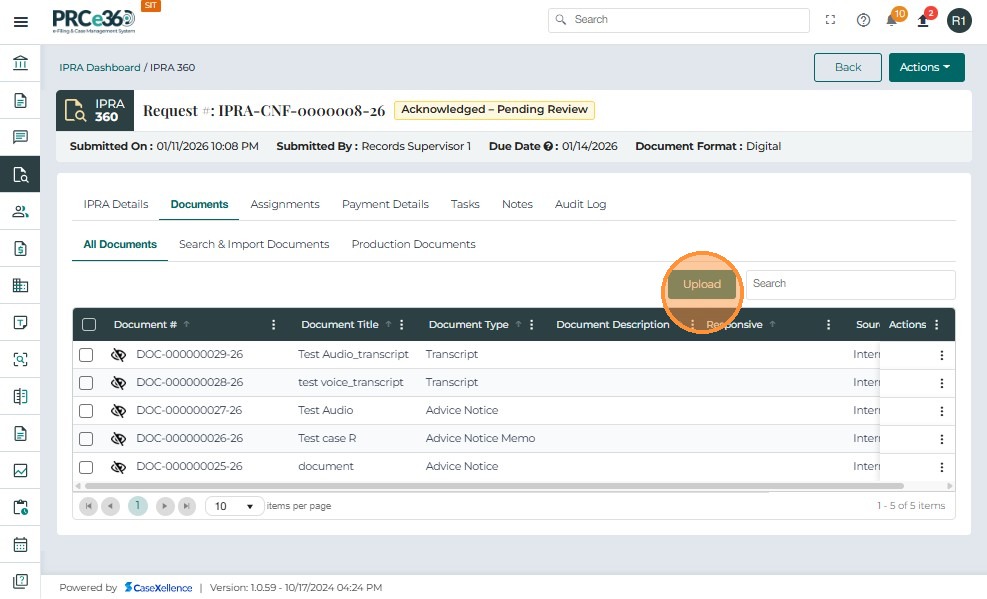
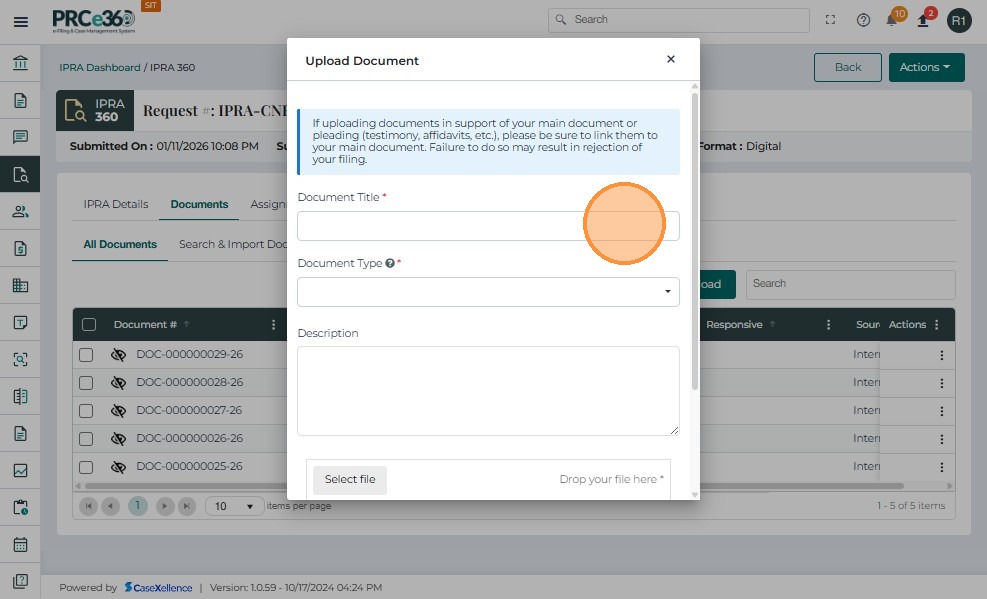
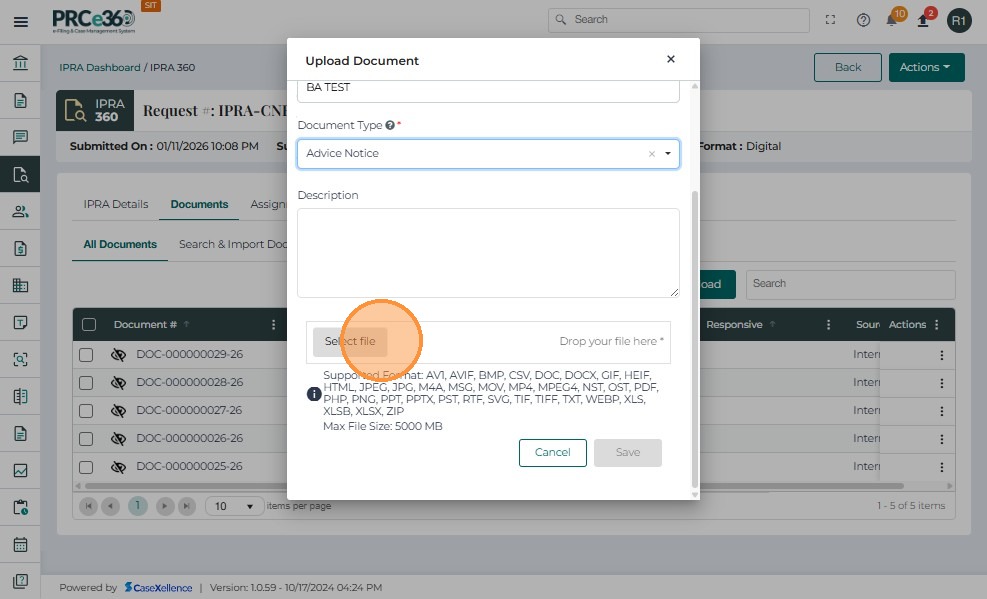
- Click the Upload button to open the document upload dialog.
-
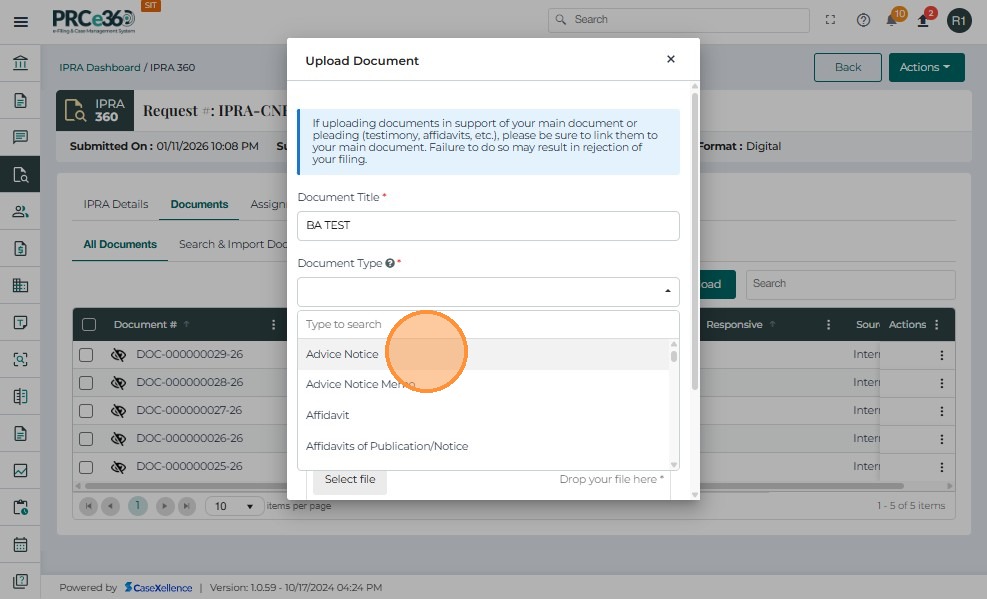
Enter a Document Title (mandatory).
-
Select the Document Type from the dropdown list (e.g., Advice Notices, Affidavits, Applications)
-
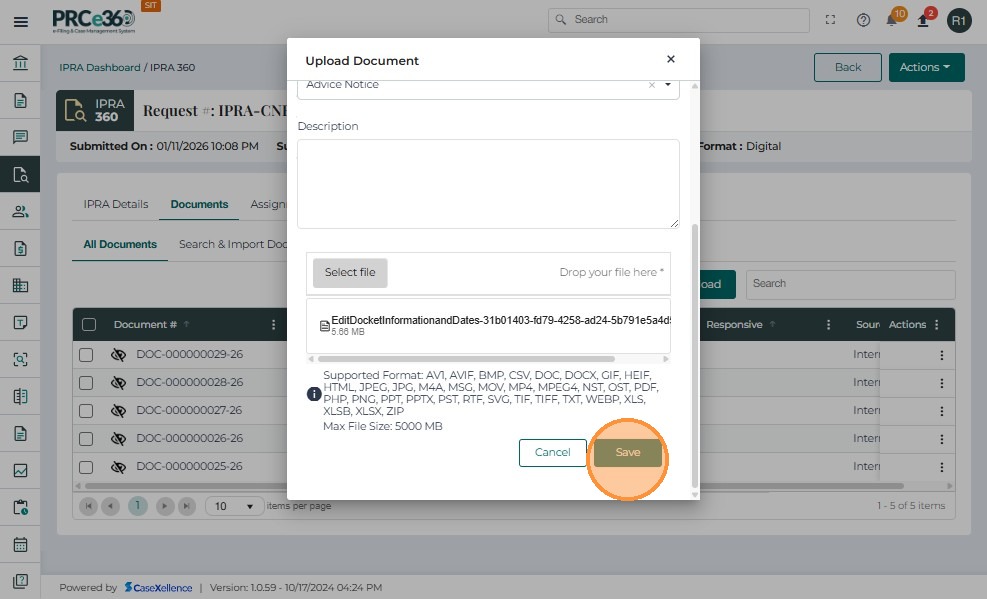
Click Select File or drag and drop your file into the upload area.
-
Click Save to upload the file.
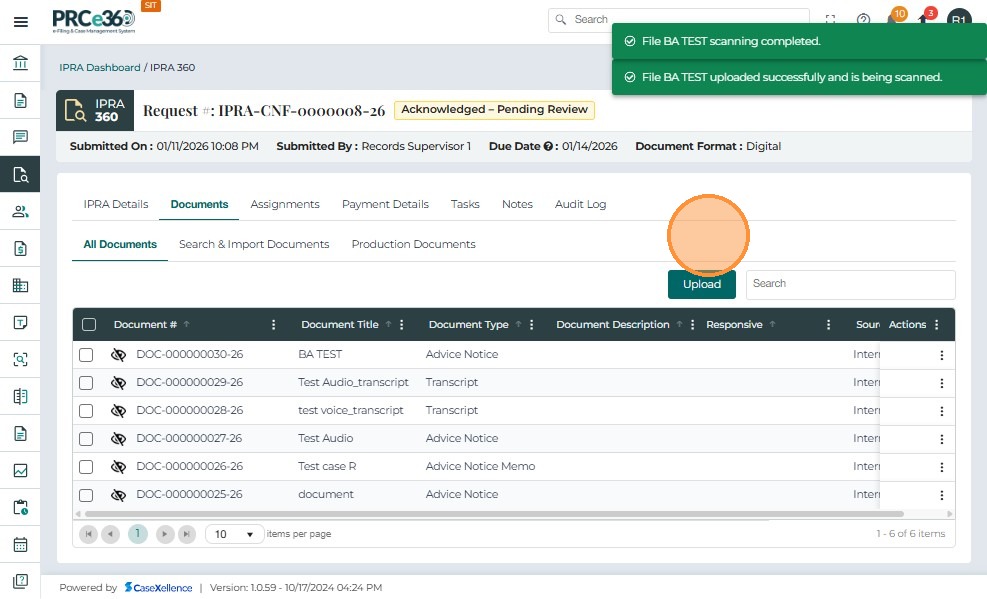
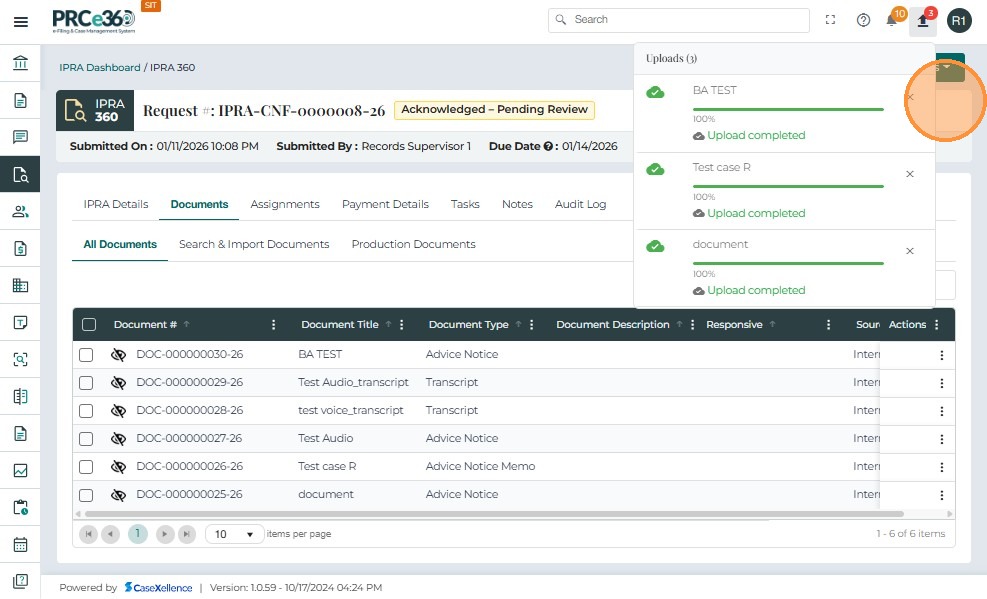
After a successful upload:
-
The system displays confirmation messages:
-
"File title uploaded successfully and is being scanned."
-
"File title scanning completed."
-
-
A unique Document ID is generated.
-
The document appears in the All Documents table.
-
The document becomes visible to all users with access to the IPRA request.
Document Actions
Locate the document to manage and click the three-dot Actions menu on the right-hand side.
Available options include:
-
Check Out – Reserve the document for editing (if applicable).
-
Check IN - return a previously checked-out document back to the system
-
Edit – Modify document metadata (title, type, description, etc.).
-
More Details – View complete document metadata.
-
Remove – Delete the document from the IPRA request.

Edit Document
-
Select Edit from the Actions menu.
-
The Edit Document window opens with editable fields.
-
Update the necessary information.
-
Click Submit to save changes.
-
The system validates entries before saving.


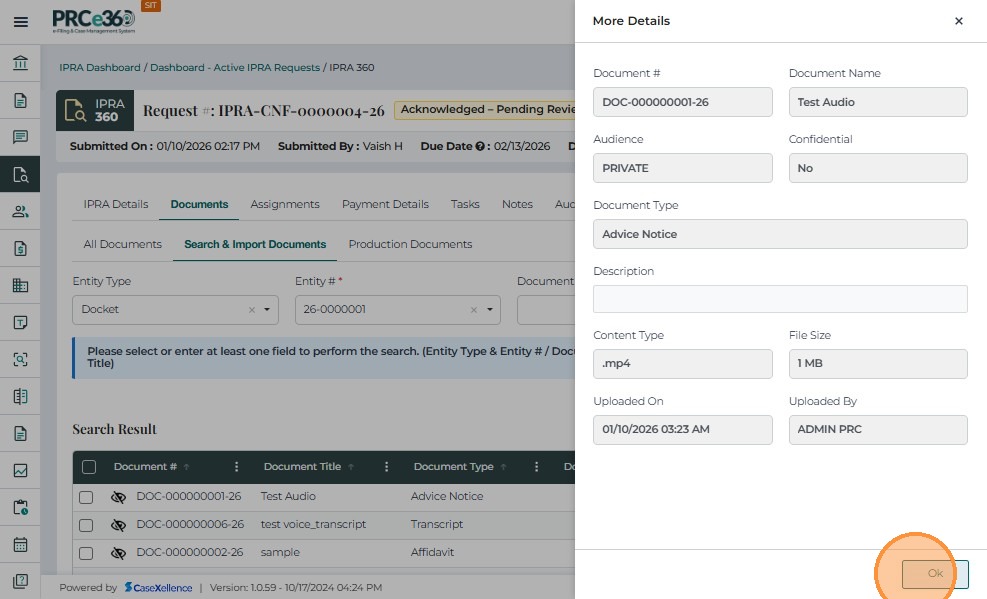
View Document Metadata (More Details)
- Select More Details from the Actions menu.

- A read-only window opens, displaying full document metadata. All fields are non-editable.

Remove a Document
-
Select Remove from the Actions menu.

-
A confirmation pop-up appears: "Are you sure you want to delete this document?"
-
Click Yes to proceed or No to cancel.

Check IN/Out
The Check out option Reserve the document for editing . The Check In option allows internal IPRA users to return a previously checked-out document back to the system.
-
Click the Actions menu next to the document.
-
Select Check In/Out from the dropdown.
-
After selecting Check In/Out, a confirmation popup appears:"Are you sure you want to check in this document?"
-
The user must choose: Yes – to confirm the check-in ,No – to cancel

-
Once confirmed: The system updates the document status.
-
The "Document Checked In/Out successfully" message appears at the top of the screen.
-
The Storage Checkout flags update accordingly.

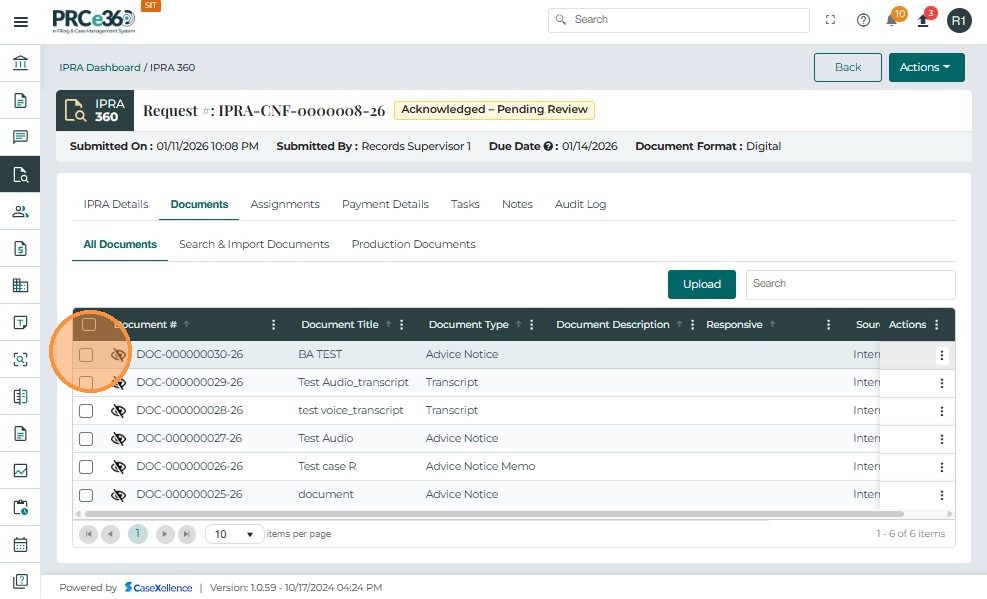
Downloading Documents
To download one or more documents:
-
Click the checkbox next to each document you wish to download.
-
Once multiple documents are selected, additional buttons appear above the table:
-
Download Document(s)
-
Upload
-
-
Select all desired documents by checking their boxes.
-
The Download Document(s) button becomes available once at least one document is selected.
-
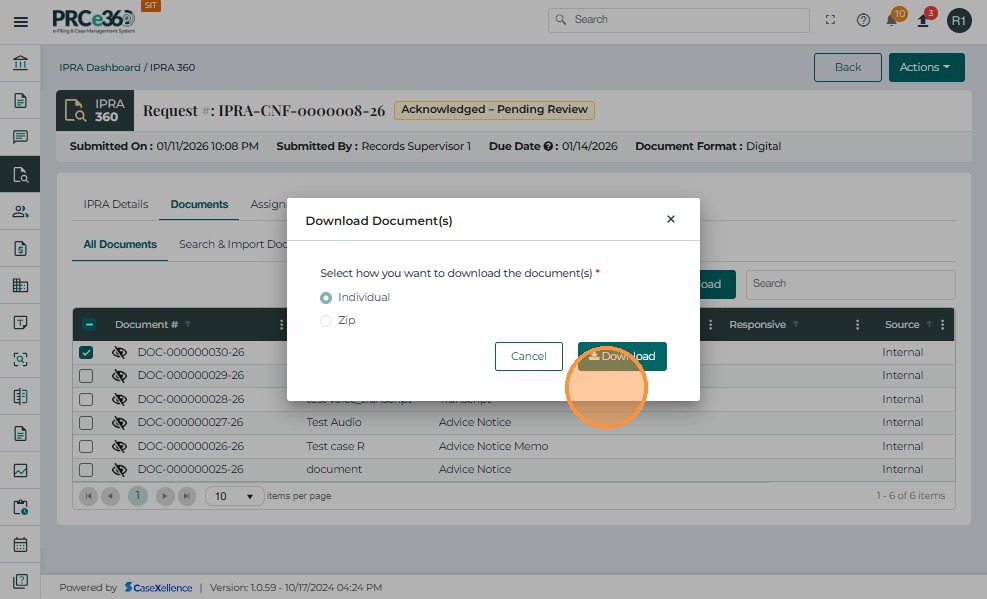
Click Download Document(s).
-
In the Download Document(s) dialog, select your preferred download type:
-
Individual – Downloads each file separately.
-
Zip – Downloads all selected files as a compressed ZIP folder.
-
-
After confirming the download type, click Download.
-
When the download is complete, a green confirmation message appears: "Document downloaded successfully."

-
The top-right corner of the screen shows upload/download progress notifications.
-
Once completed, progress indicators display 100% Upload Completed or Download Completed.
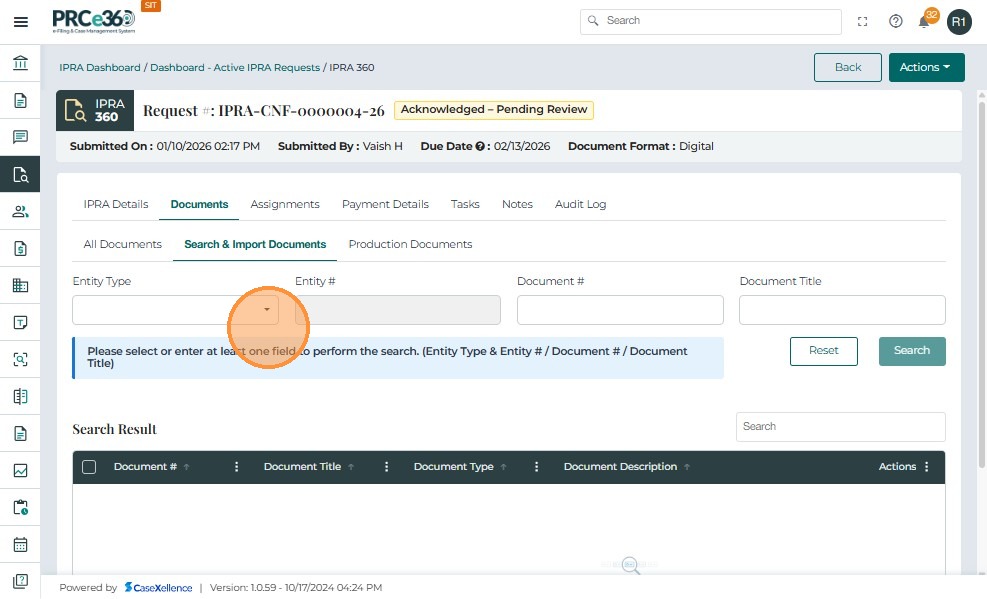
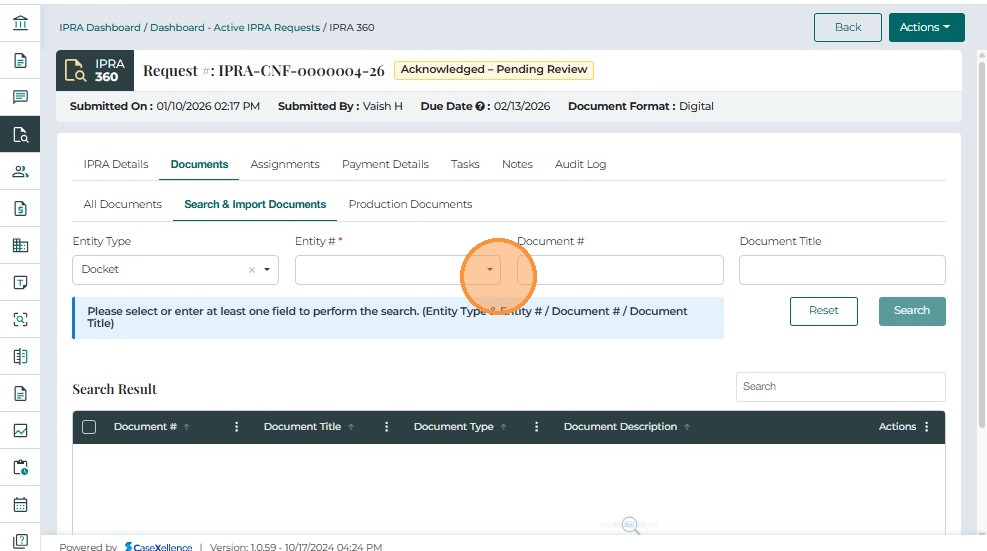
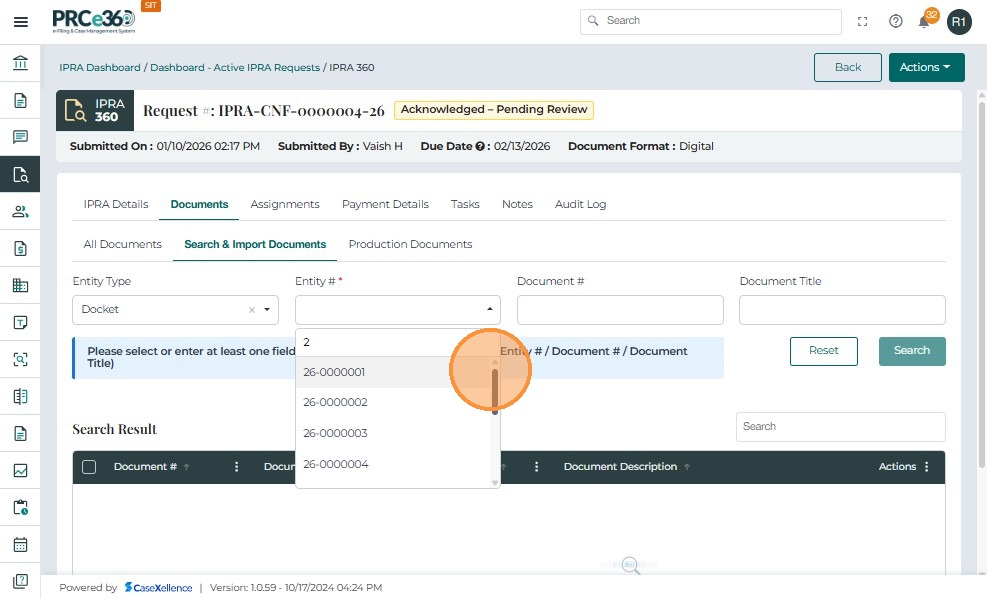
Search & Import Documents (Link Existing Records)
To link existing documents from CaseX:
-
Click Search & Import Documents.

-
Click the Entity Type dropdown to choose where to search (e.g., Case, Company, etc.).

- Select the Docket
-
Enter search details in one or more fields:
-
Entity # – Case or record number
-
Document # – If known
-
Document Title – e.g., "Test case R"
-
-
Click Search.
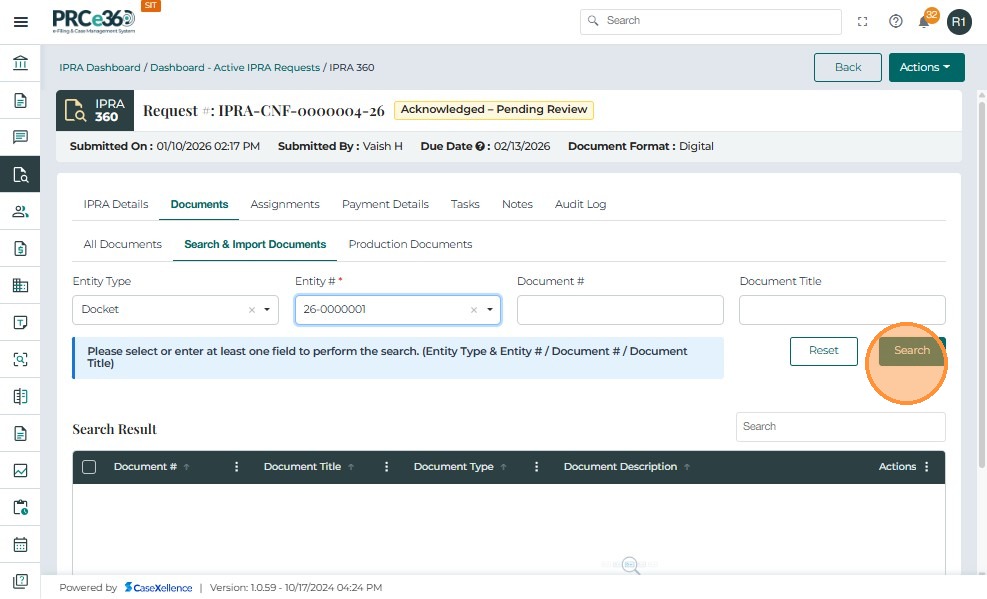
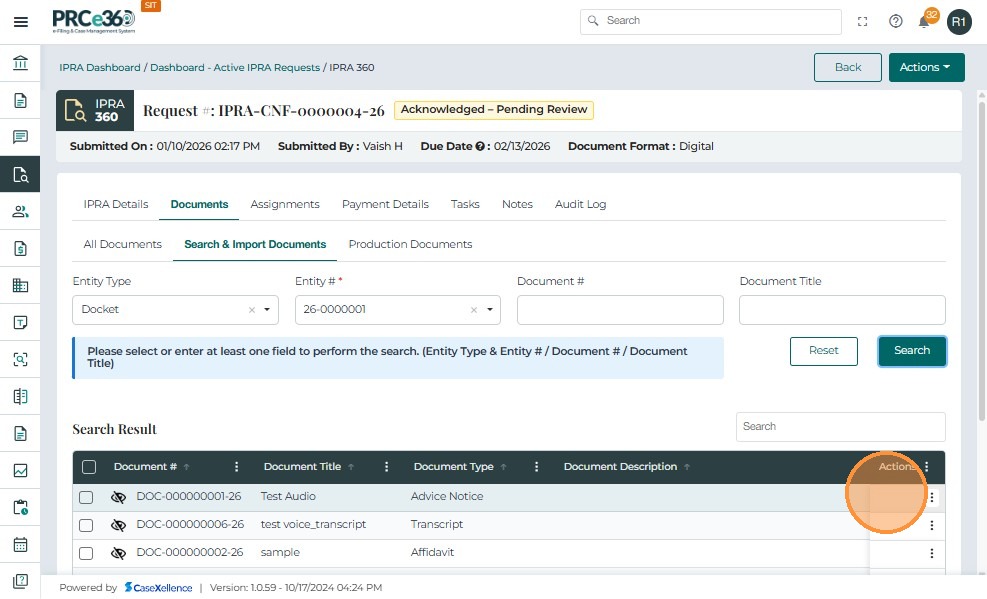
-
Matching documents are displayed under Search Result with columns:
-
Document #
-
Document Title
-
Document Type
-
Document Description
-
Actions
-
-
Click the More Details icon under the Actions column to view metadata.
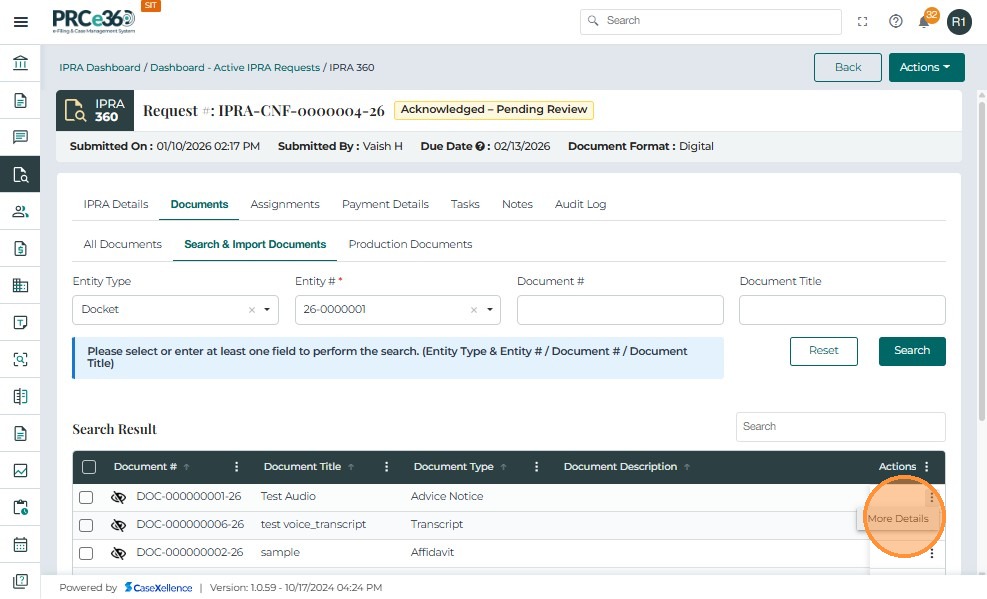
-
A pop-up opens with document metadata for review.
-
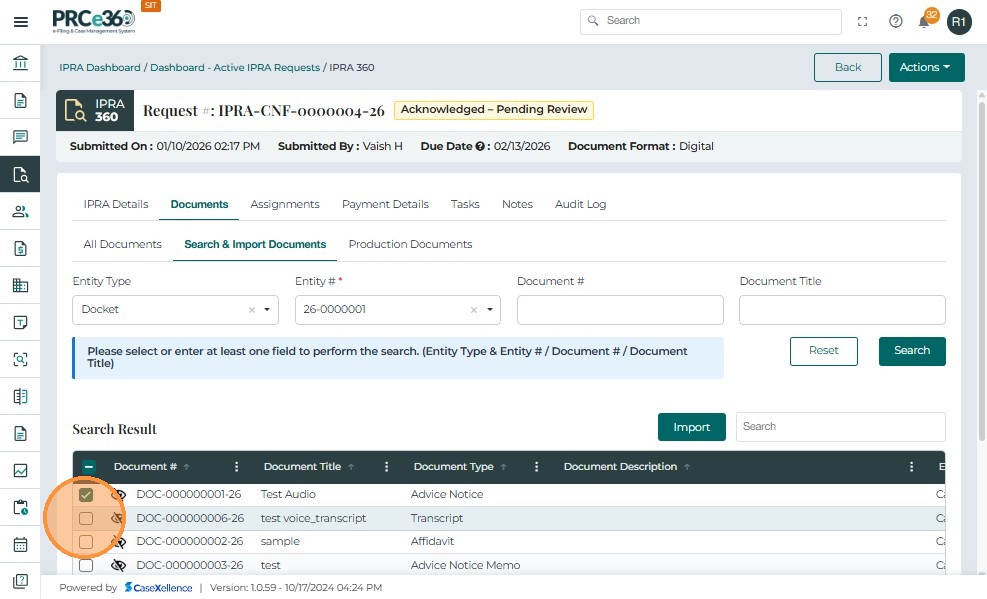
Once verified, select the checkbox next to the desired document.
-
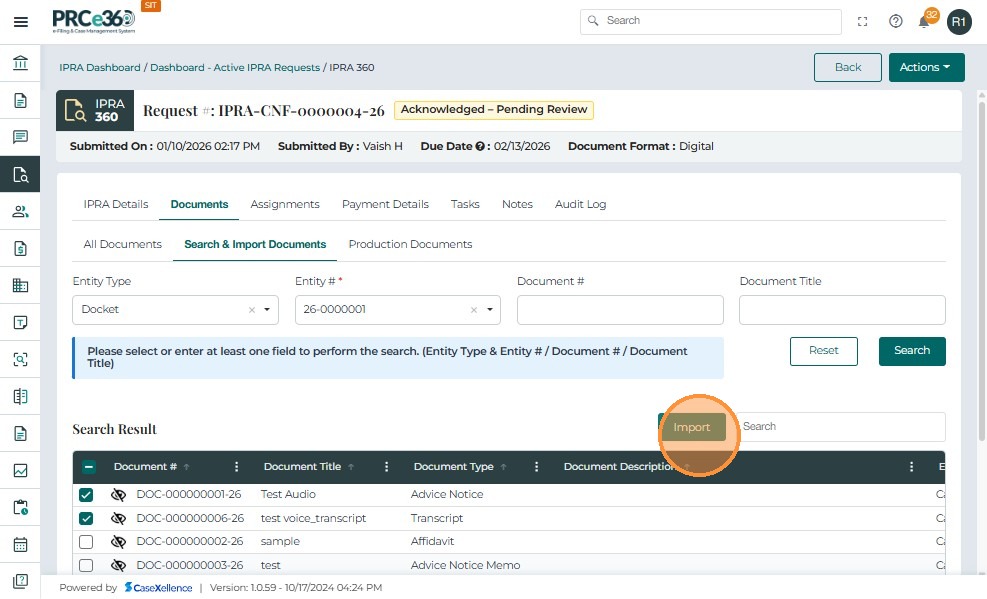
The Import button becomes active once at least one document is selected.
-
Click Import to link the selected document to the IPRA request.
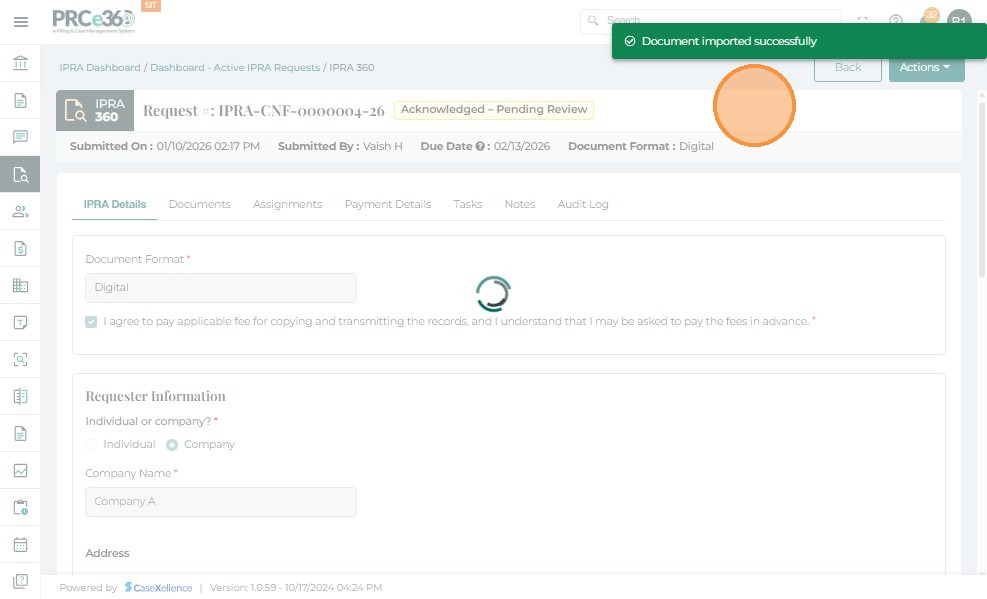
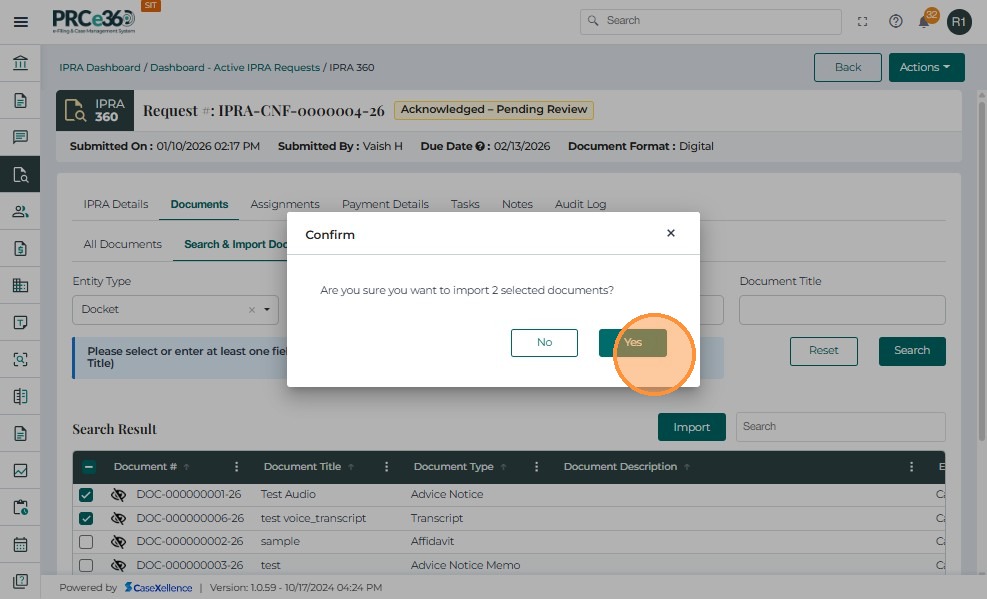
- When prompted "Are you sure you want to import selected documents?", click Yes.
-
When the import is successful:
-
A message appears: "Document imported successfully."
-
The linked document appears under the All Documents tab.
-
A new Document ID is assigned within the IPRA case.
-
The link maintains a reference to the original document in CaseX for version control.
-
All linked documents are visible to authorized internal users and case participants.
-