Bill Analysis
The Bill Analysis module allows the Chief of Staff (COS) Division to digitally manage legislative bill analysis requests from initiation to completion.
It replaces the traditional email-based workflow and provides a centralized system for assigning, tracking, and completing bill analysis activities within the PRC.
Through this module, authorized users can:
- Create and assign bill analysis requests to PRC members.
- Collaborate on reviews and document uploads.
- Receive automated reminders and notifications.
- Upload and manage final analysis documents.
- Maintain a complete historical record for reference.
Note: The Bill Analysis module is an internal-only feature and is not accessible to public or external users.
Users and Functionalities
| User Role | Functionality / Permissions | Description |
|---|---|---|
| COS Supervisor | - Initiate new Bill Analysis requests - Assign requests to staff or other members - Modify due dates - View all requests in the queue - Upload final analysis documents - Mark requests as Closed | Has full administrative access to the Bill Analysis workflow. Oversees all requests, deadlines, and completion activities. |
| COS Staff | - Initiate Bill Analysis requests - Assign requests to internal members - Upload documents - Notify supervisor after completion - Mark requests as Closed | Supports the COS Supervisor in creating, managing, and closing bill analysis requests. |
| Assigned Internal Users (any PRC member assigned by COS) | - View assigned requests in the My Bill Analysis Request queue - Download attached materials - Upload analysis documents - Reassign the request to additional members (where permitted) - Receive automated reminders and notifications | Contribute to the analysis and documentation for assigned bills and collaborate with other assignees as needed. |
Steps to Submit a Bill Analysis Request
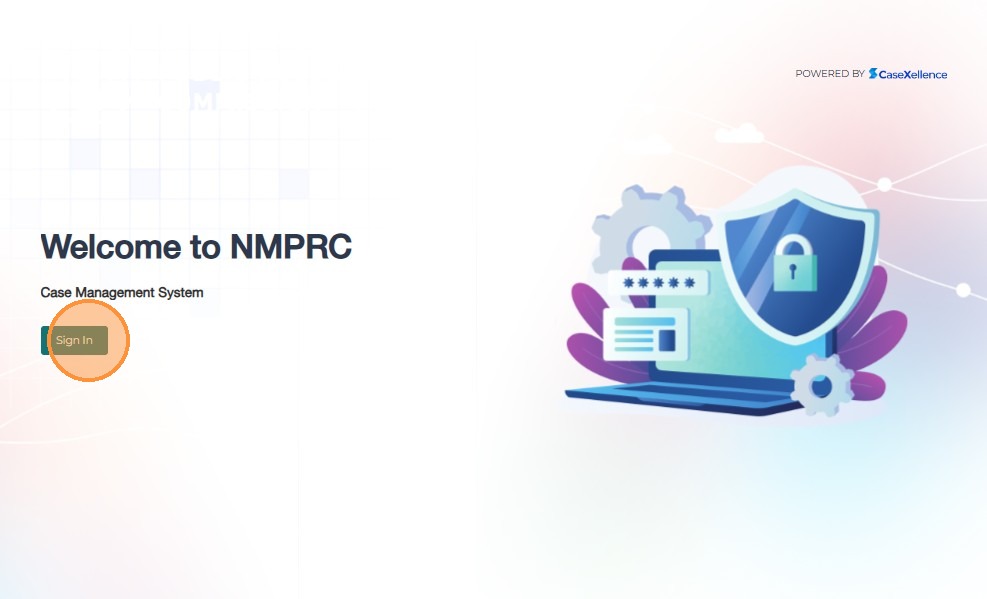
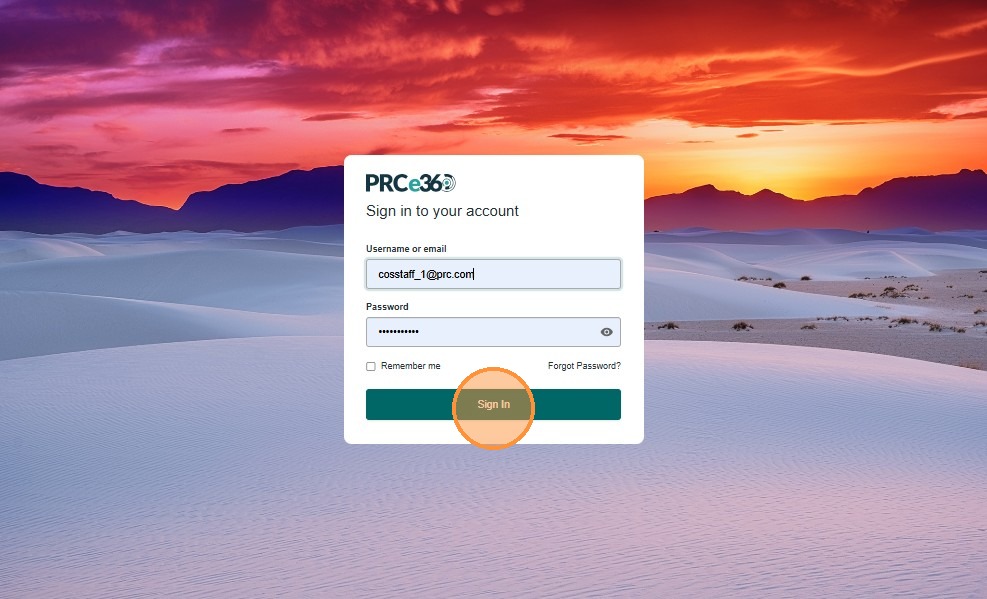
1. Log in to the Case Management System as a COS User
Users with the COS Supervisor or COS Staff role can access the Bill Analysis module by logging into the PRC Case Management System.
- Open the NMPRC Case Management System.
- Enter your Username or Email and Password in the sign-in fields.
- Click Sign In to access your dashboard.
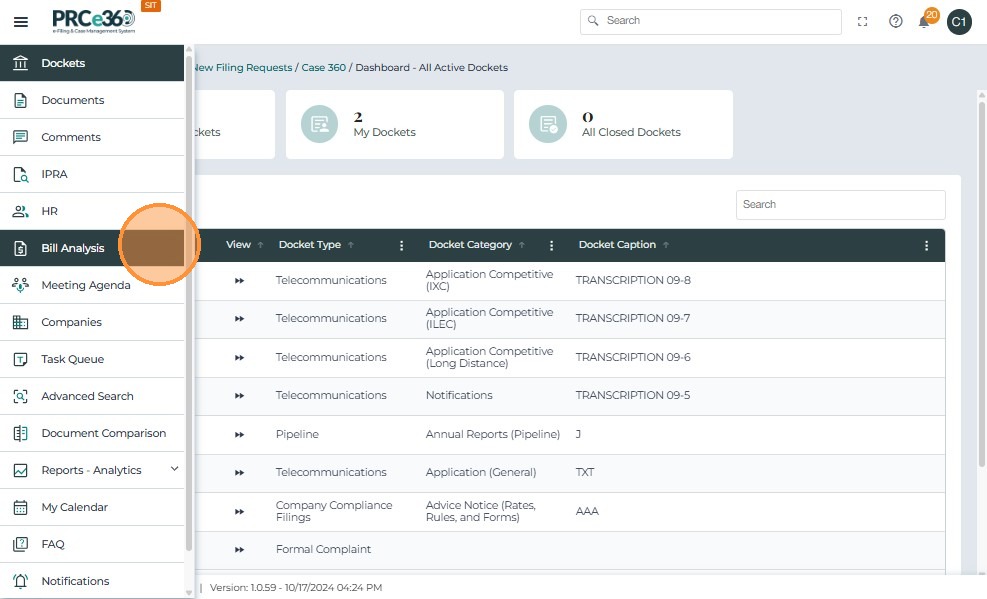
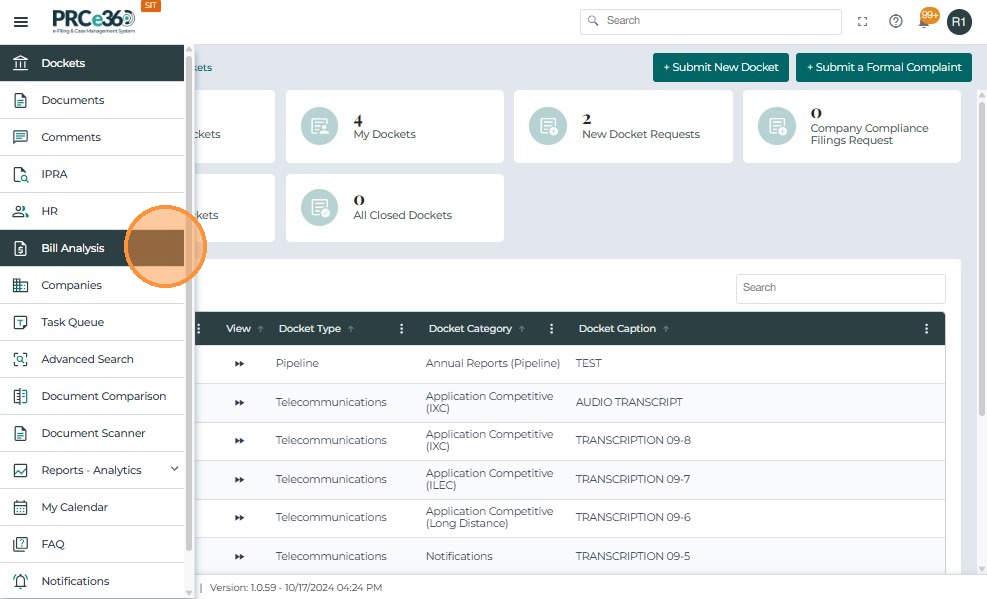
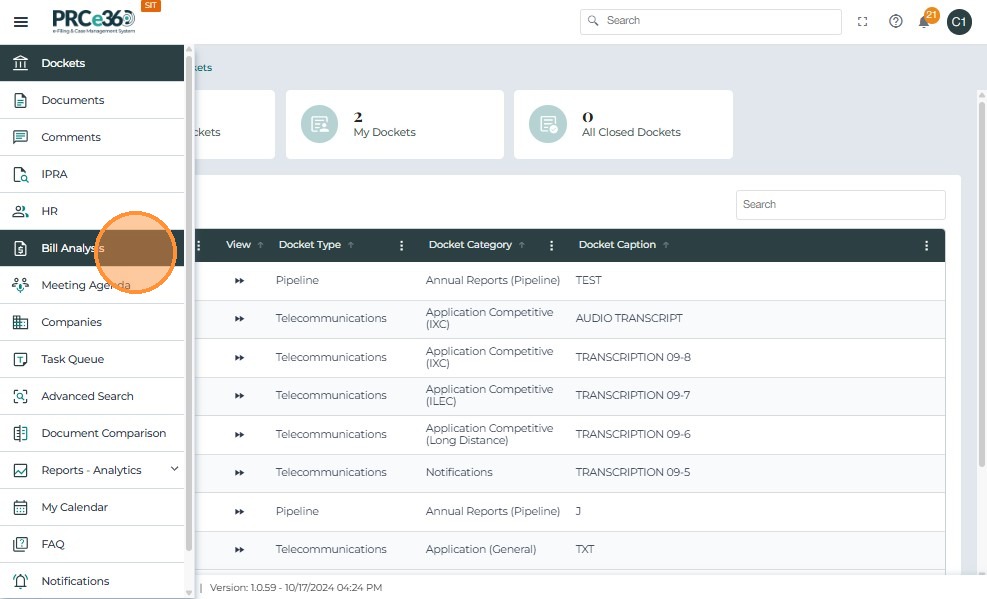
2. Access the Bill Analysis Module
After logging in:
- Use the left-hand navigation panel.
- Click Bill Analysis.
- This opens the Bill Analysis Dashboard, where you can view existing requests or create new ones.
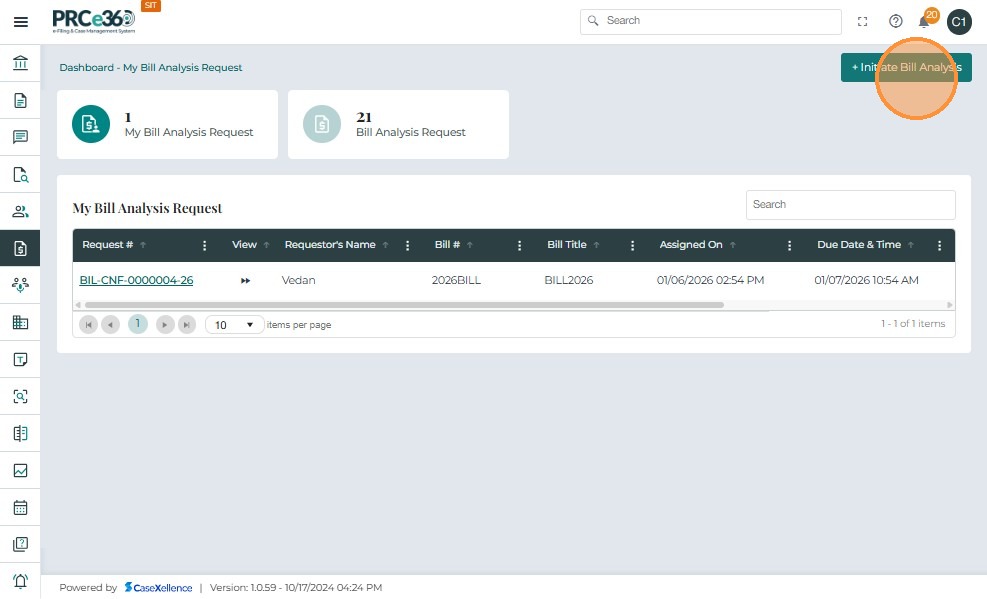
3. Initiate a Bill Analysis Request
Users with the COS Supervisor or COS Staff role can initiate a new Bill Analysis Request directly from the Bill Analysis Dashboard.
This replaces manual email requests and centralizes all analysis work in a single digital queue.
The Initiate Bill Analysis button is visible only to COS Supervisors and COS Staff.
- From the Bill Analysis Dashboard, click + Initiate Bill Analysis at the top-right of the screen.
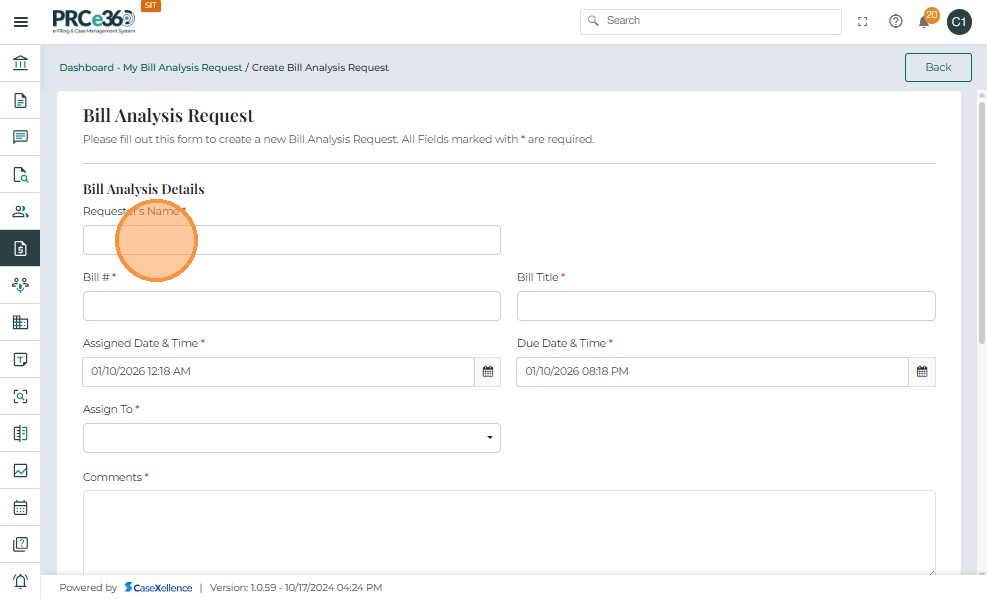
The Bill Analysis Request Form allows COS Supervisors and COS Staff to capture all key details of a legislative bill request, assign responsible users, set deadlines, and attach supporting documents.
- Enter the Request Details, completing all mandatory fields.
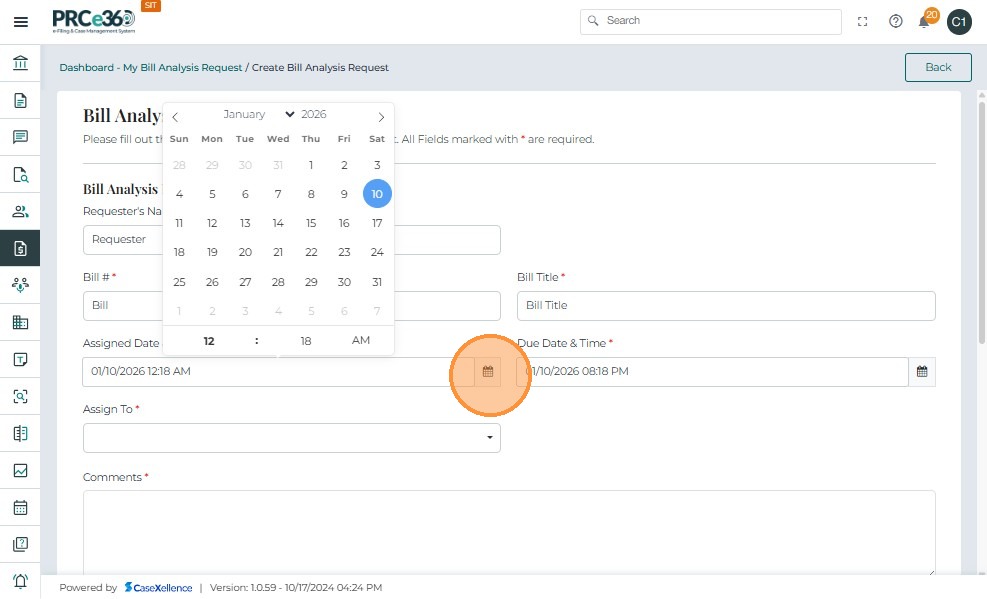
- Assigned Date is automatically recorded as the date and time of request creation.
- Due Date is automatically set to 20 hours after assignment but can be modified if needed.
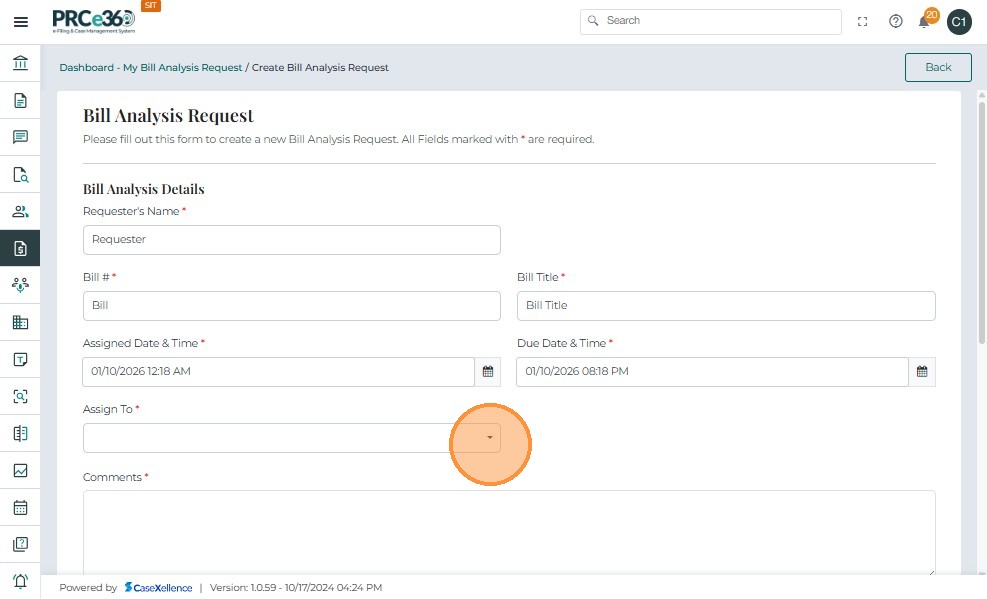
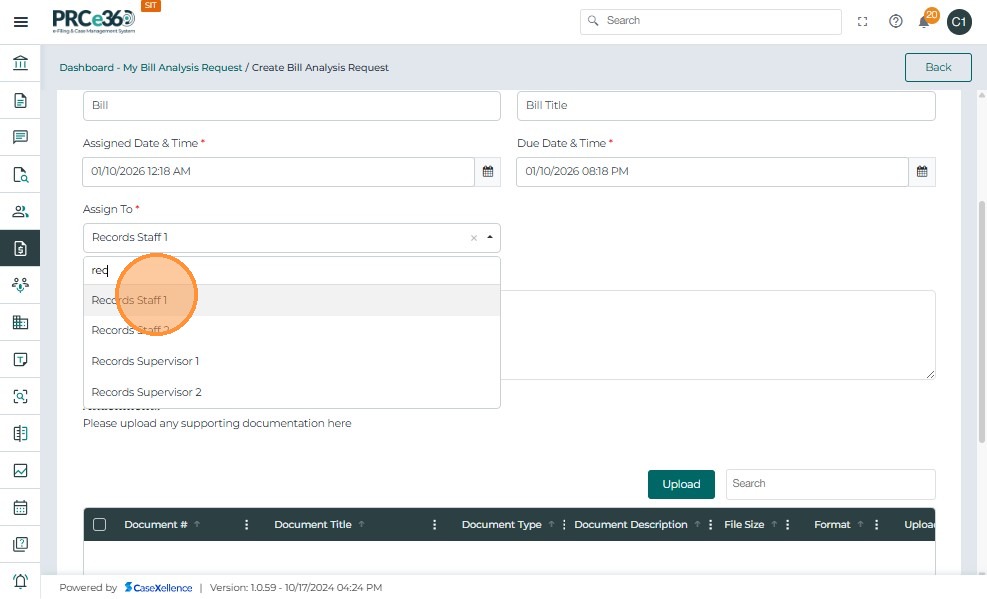
- In the Assign To dropdown, select one or more internal PRC members who will perform the bill analysis.
- You can search for users by name or role (e.g., Records Staff 1, HE Supervisor 1).
- Assigned users automatically receive in-app and email notifications.
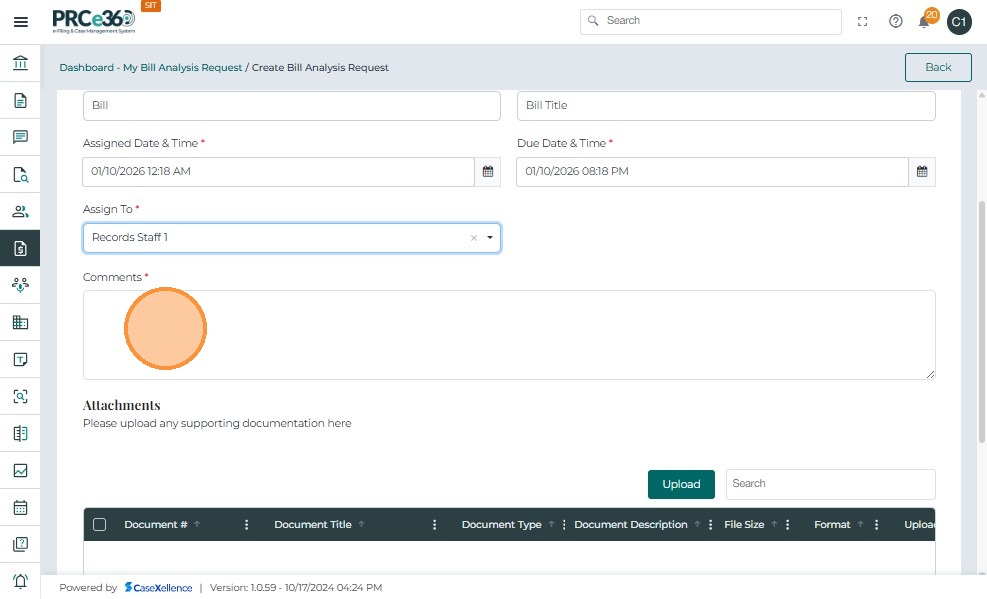
- Enter any specific Comments or instructions for the assigned users.
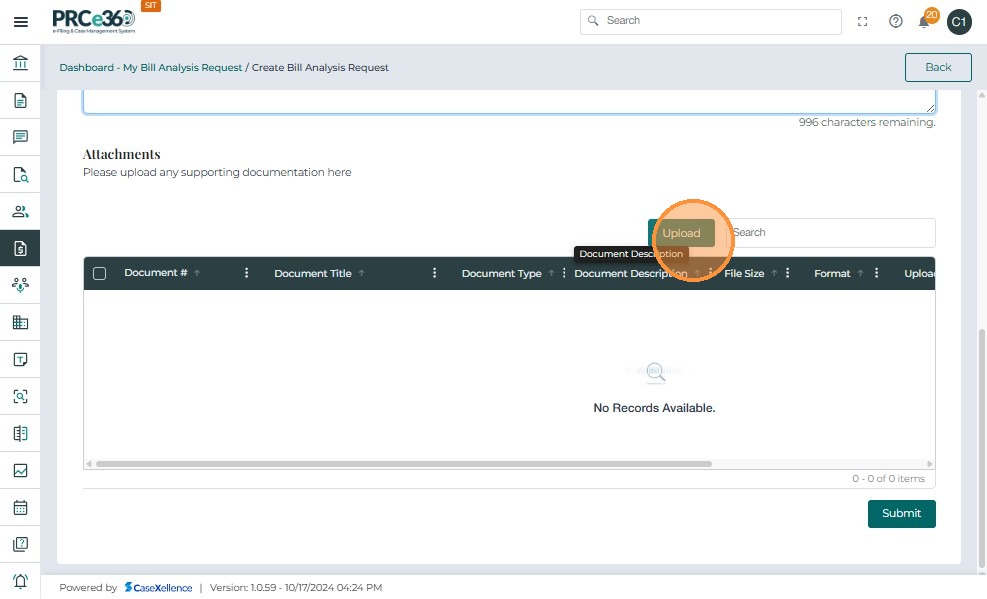
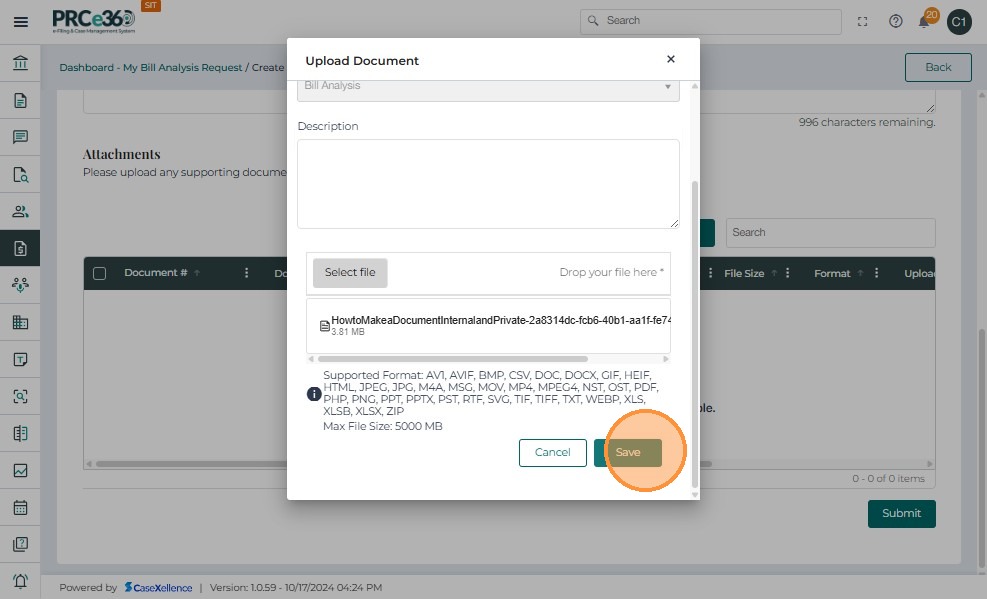
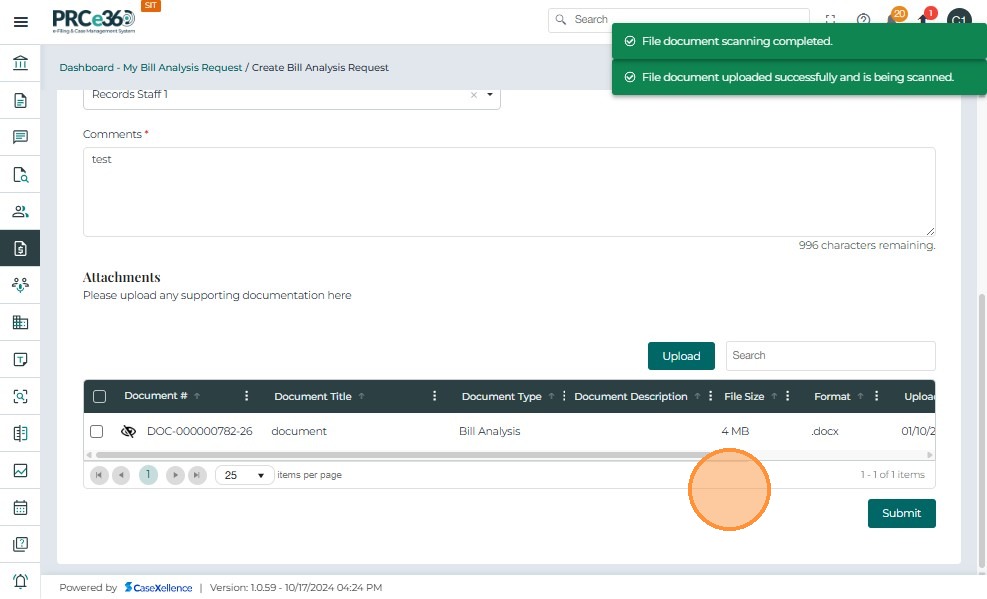
- To upload supporting documents, click Upload under the Attachments section.
- In the pop-up window, provide:
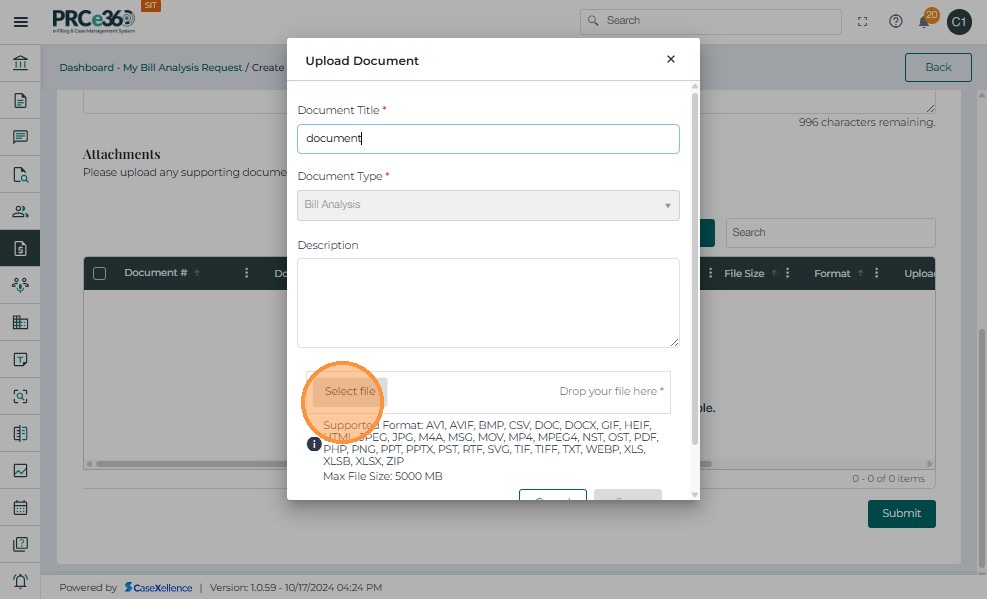
- Document Title
- Document Type (automatically set to Bill Analysis)
- Description
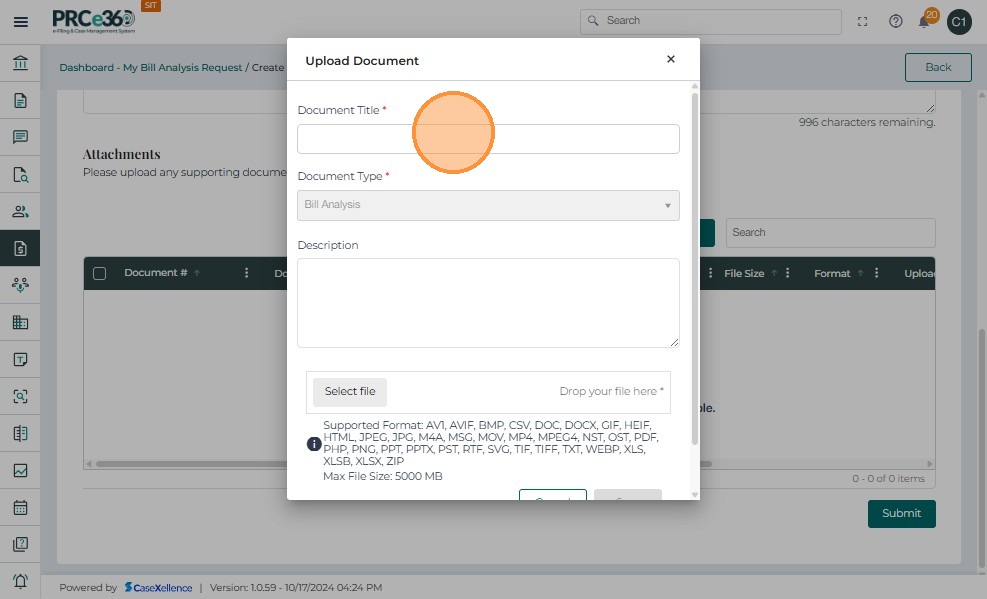
- Click Select File to choose a document from your computer.
- Click Save to upload.
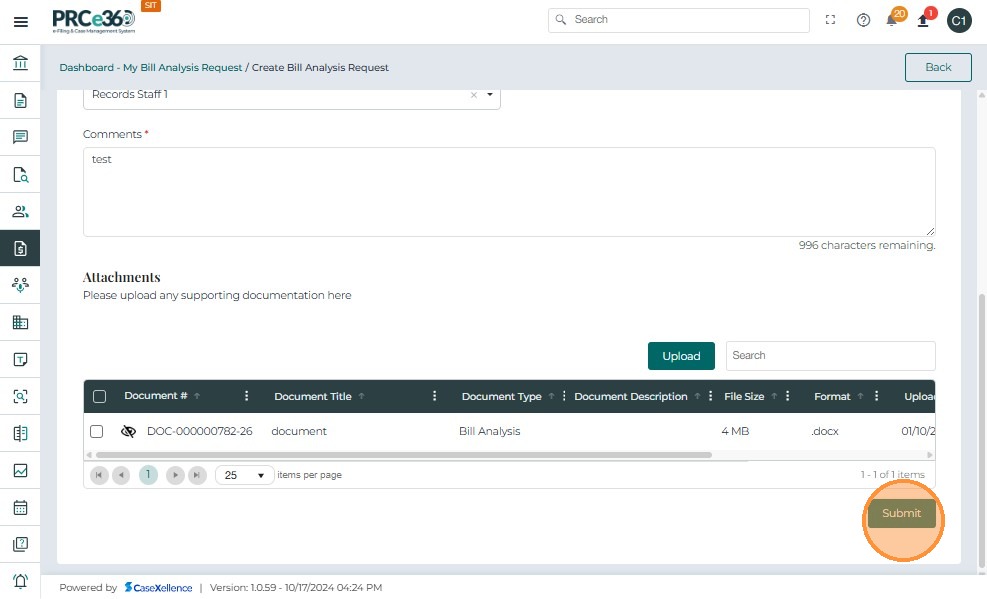
- Click Submit at the bottom of the screen.
- The system validates all required fields and attachments.
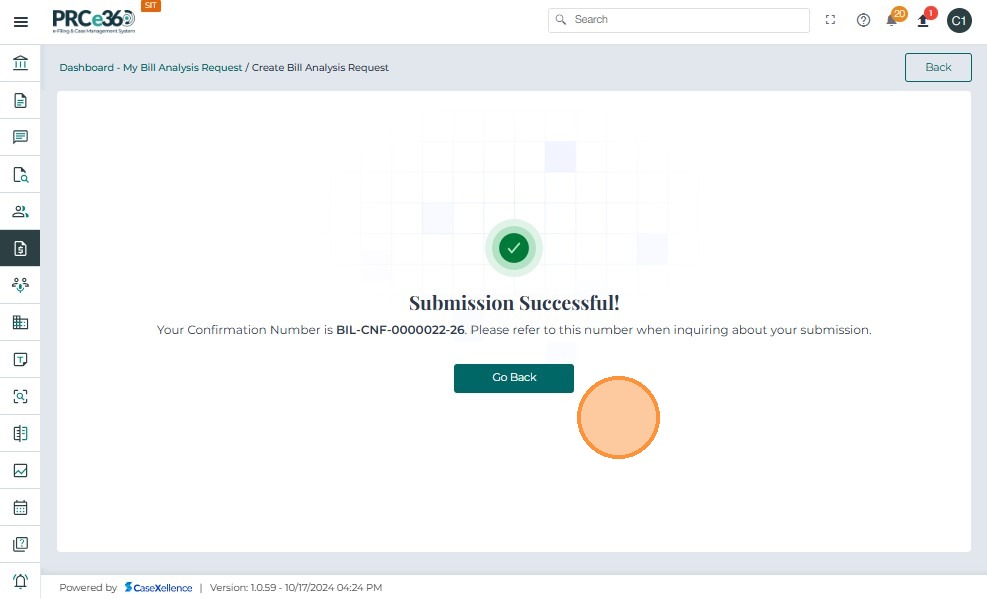
- If all validations pass, the request is successfully submitted.
- After submission, a success message confirms that the request has been created.
- The system generates a unique Confirmation Number in the format:
BIL-CNF-0000001-25 - This number can be used to reference the submission in future communications.
- Assigned users immediately receive email and in-app notifications.
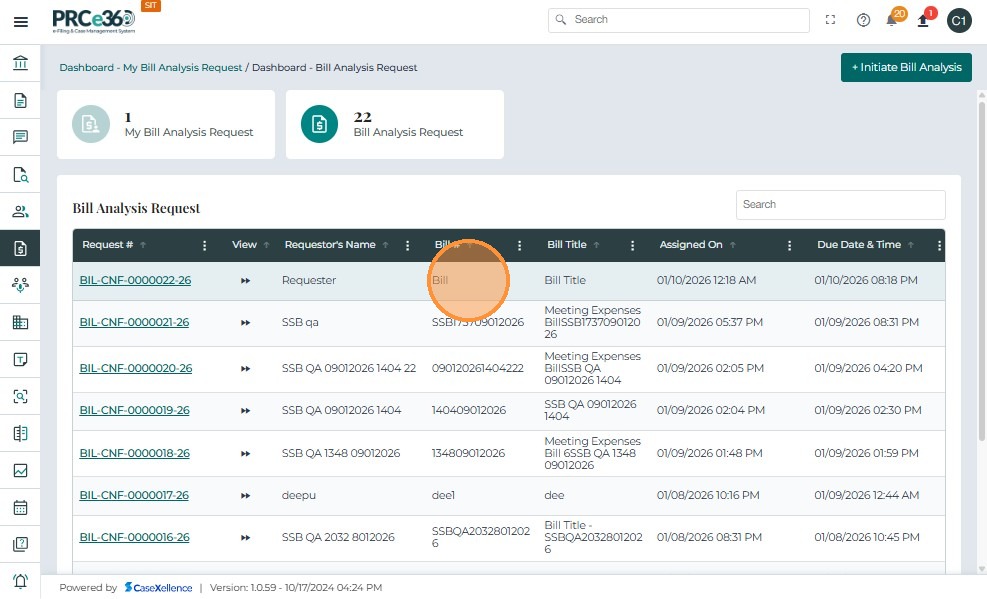
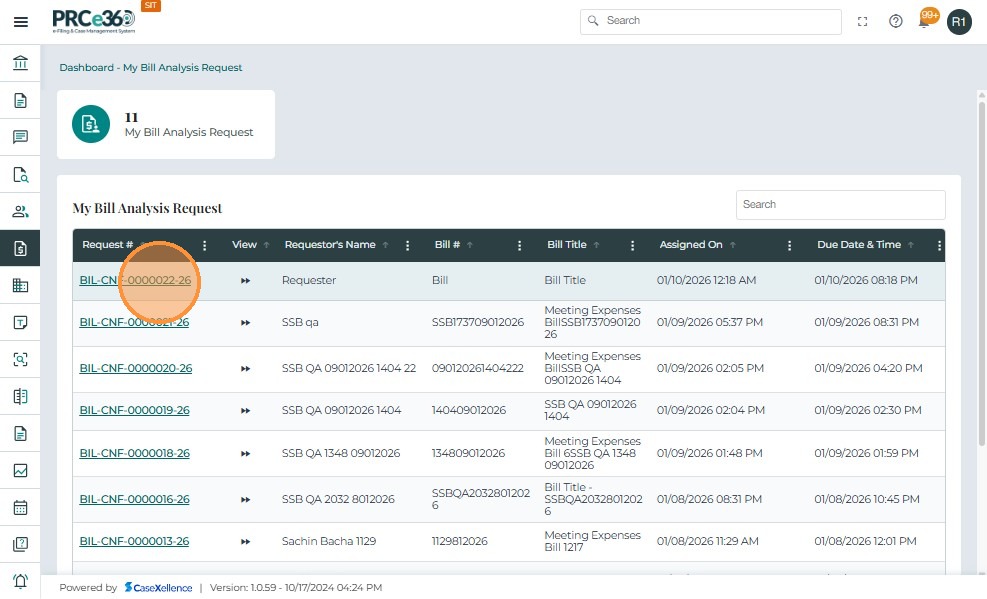
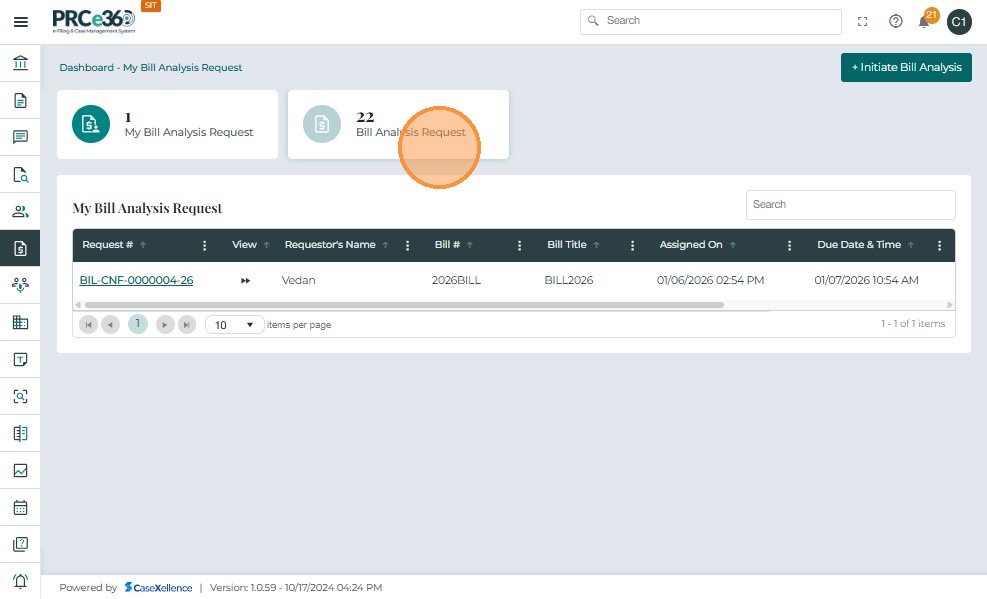
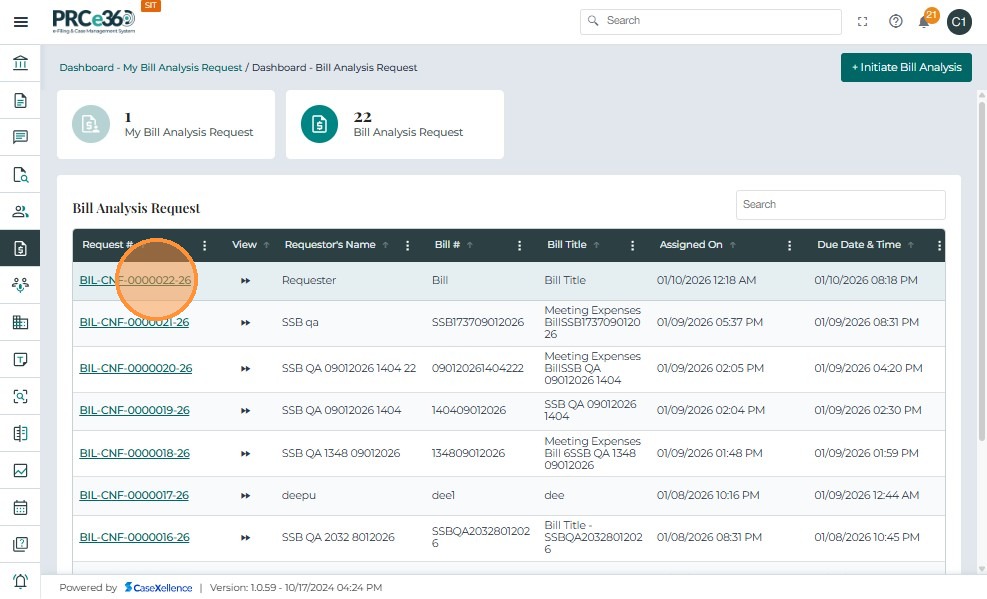
View Bill Analysis Requests
Once a Bill Analysis Request is submitted, it appears in the Bill Analysis Dashboard under the Bill Analysis Request queue.
This view allows COS Supervisors and COS Staff to monitor all requests, assigned users, due dates, and statuses.
The dashboard displays two key sections:
- My Bill Analysis Request – Requests assigned to the currently logged-in user.
- Bill Analysis Request – All bill analysis requests created or managed by COS Supervisors and COS Staff.

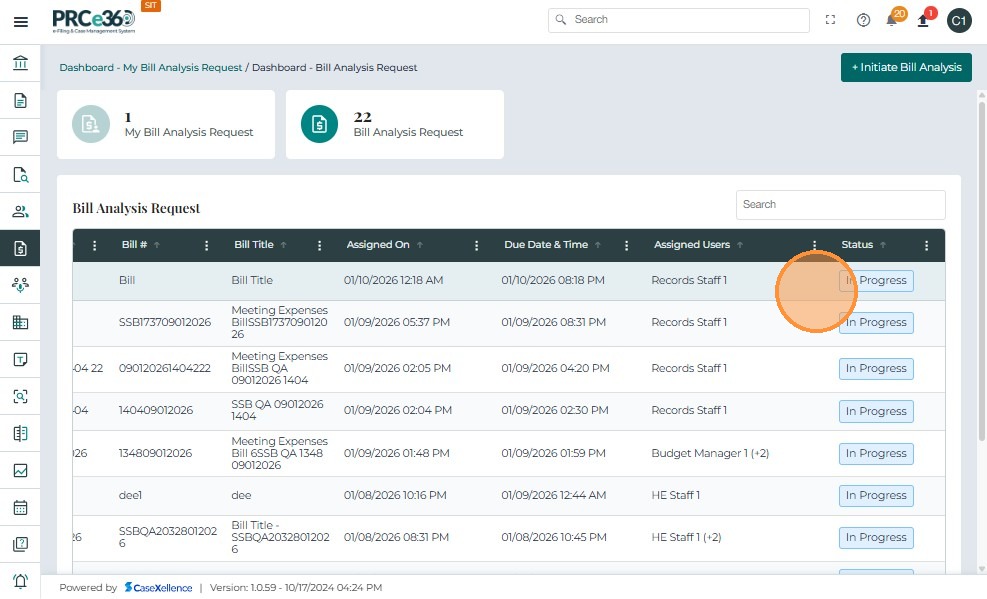
Each request record displays:
- Assigned On – Date and time the request was created.
- Due Date & Time – Automatically calculated deadline (editable by COS Supervisor).
- Assigned Users – List of team members assigned to the analysis.
- Status – Current progress (e.g., In Progress, Completed).
Additional behavior:
- COS Supervisors and COS Staff can click on a Request # to open its details.
- The Bill Analysis Request queue is visible only to COS Supervisors and COS Staff.
- All users assigned to a request can view it in My Bill Analysis Request.
- New requests begin with the status In Progress.
- The status updates automatically as the request progresses.
- Reminders are automatically triggered 2 hours before the due date to all assigned users.
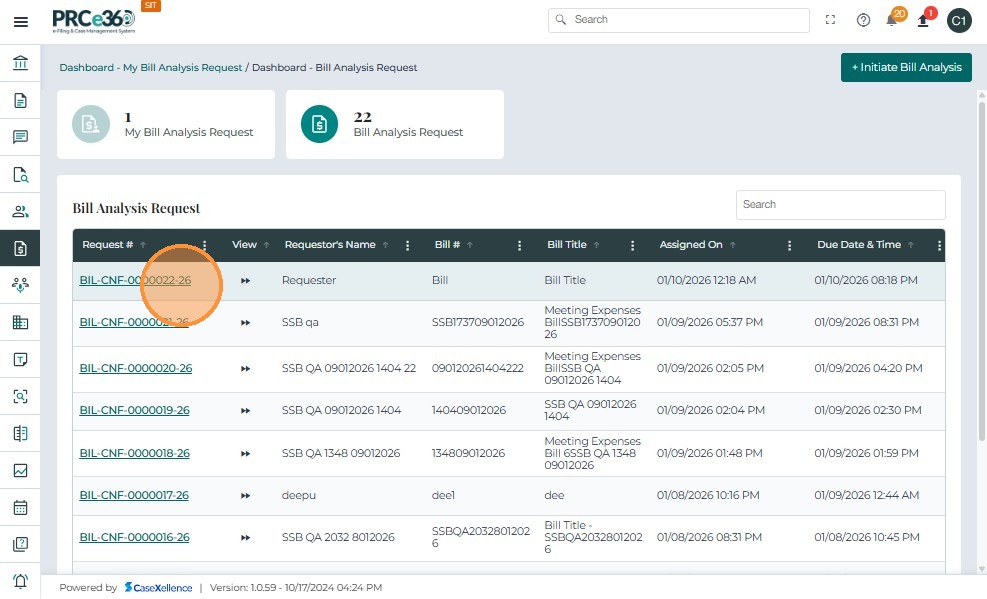
From the Bill Analysis Request queue:
- Click the Request # (e.g.,
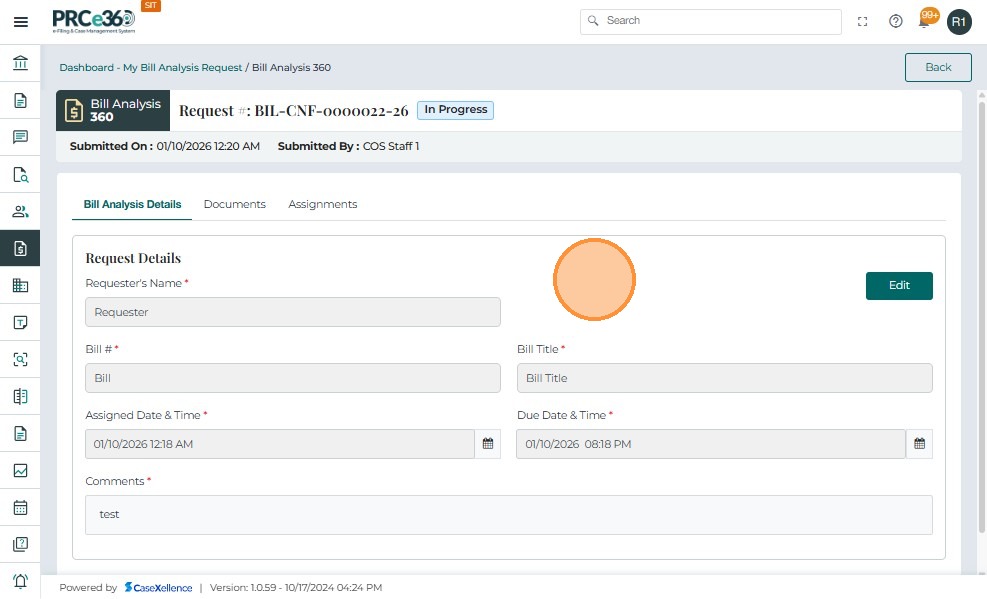
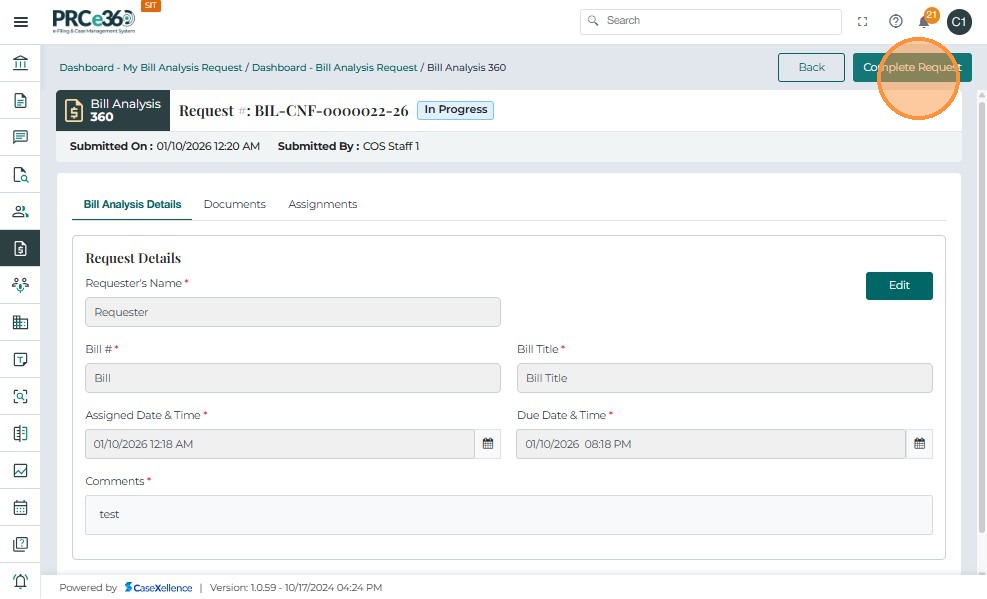
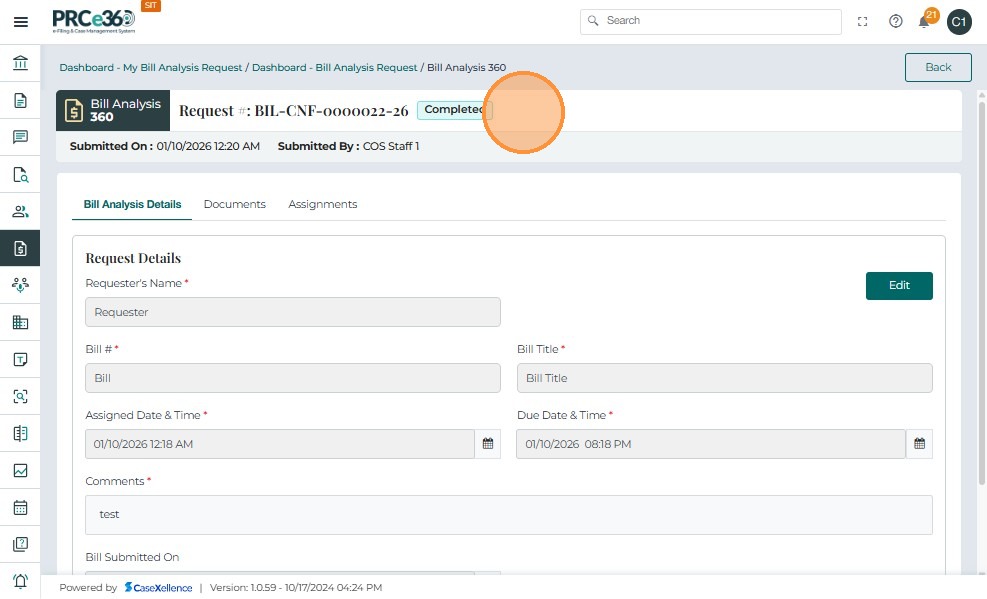
BIL-CNF-0000001-25). - This opens the Bill Analysis 360 view, where all form data is displayed.
- The current Request Status (e.g., In Progress) is displayed at the top.
- The Bill Analysis Details tab shows original request data in read-only mode, including:
- Requester’s Name
- Bill #
- Bill Title
- Assigned Date & Time
- Comments
These values reflect the information entered when the request was created.
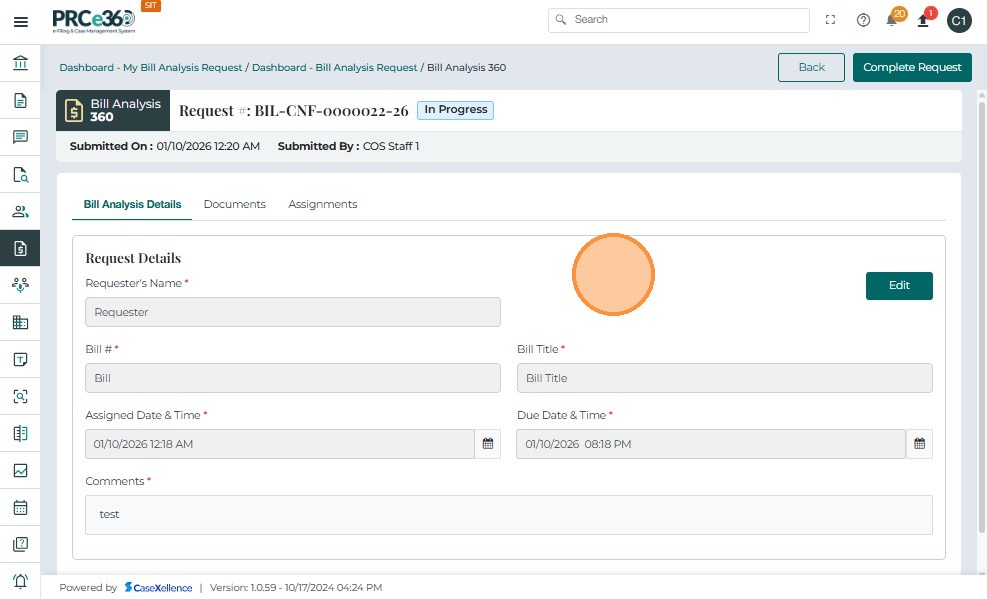
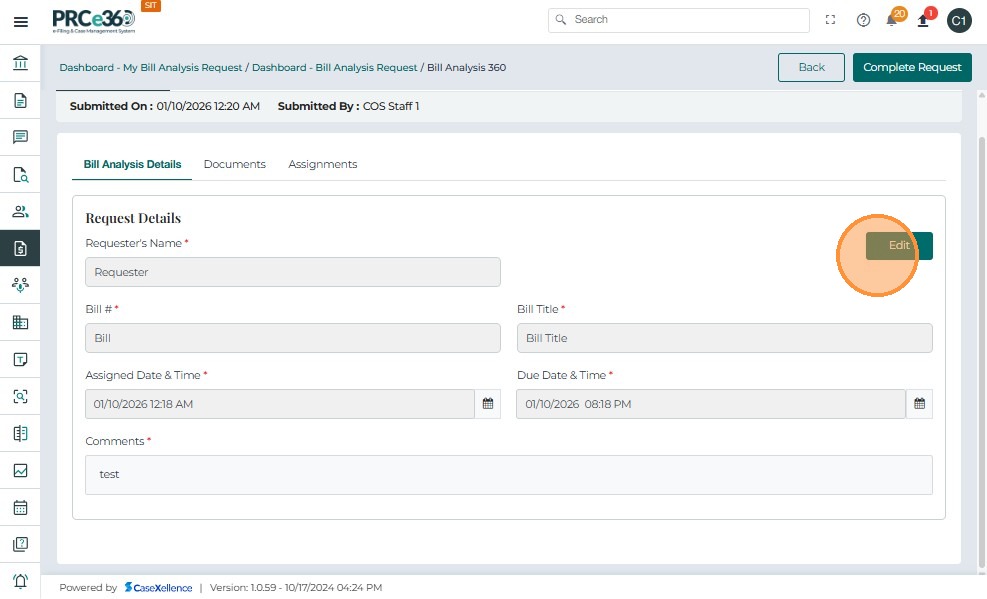
COS Supervisors can modify the Due Date & Time:
- Click the Edit button beside the Due Date & Time field.
- Update the date and/or time as needed.
- Click Save to confirm the change.
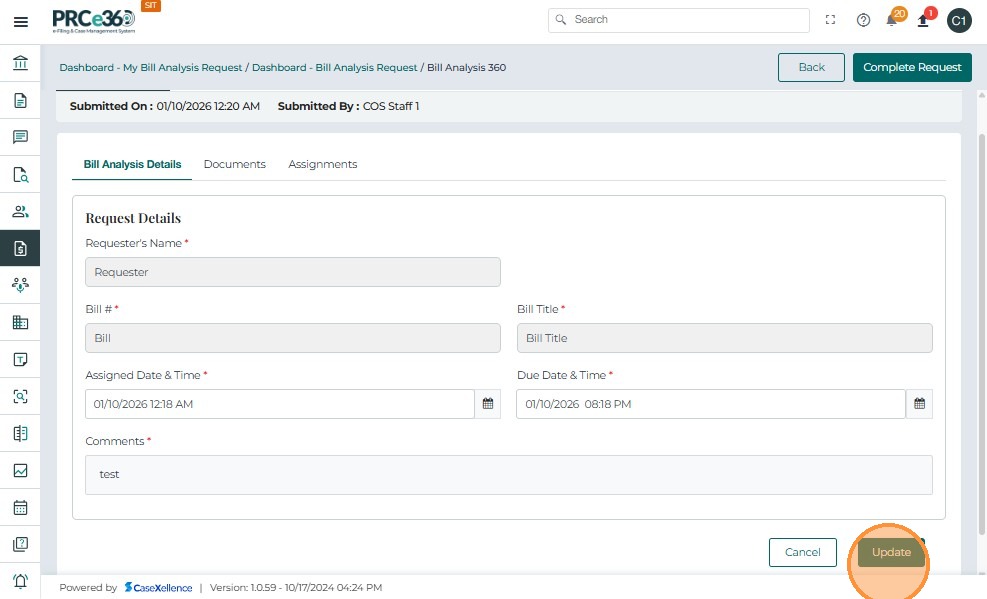
-After Updating the details the COS Users can acess to the documents tab and see the uploaded documents.
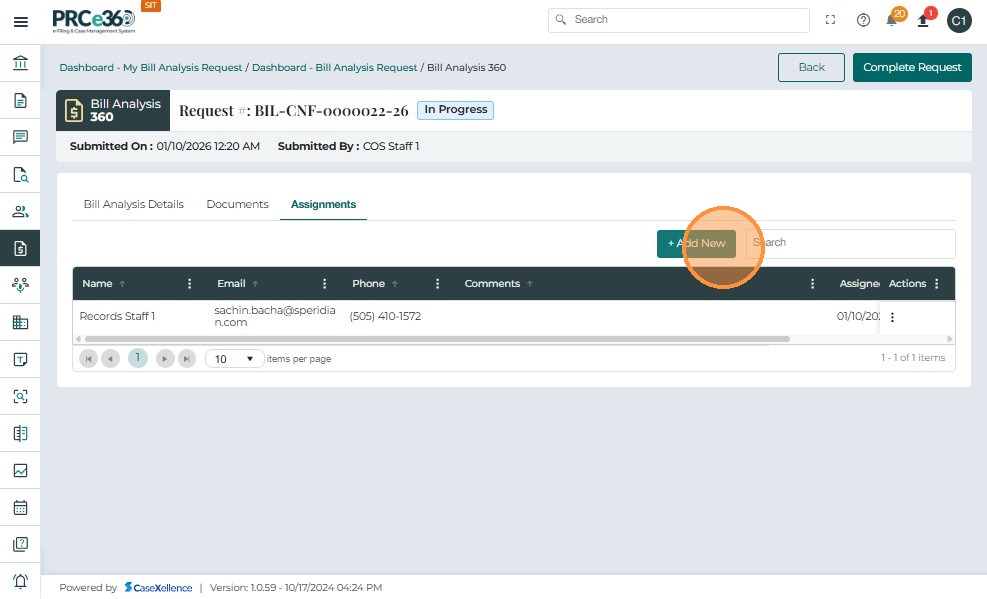
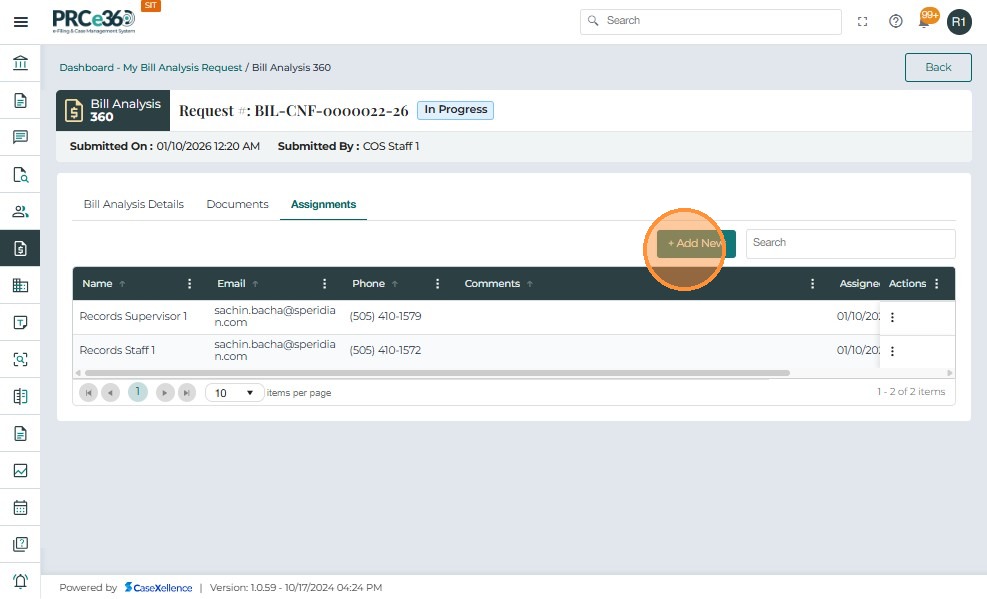
Once a Bill Analysis Request is created, the COS Supervisor can add more PRC members to collaborate on the request:
- Navigate to the Assignments tab within the Bill Analysis 360 screen.
- The tab lists all current assignees with their Name, Email, Phone, and Comments.
- Click + Add New to open the Add Assignee window.
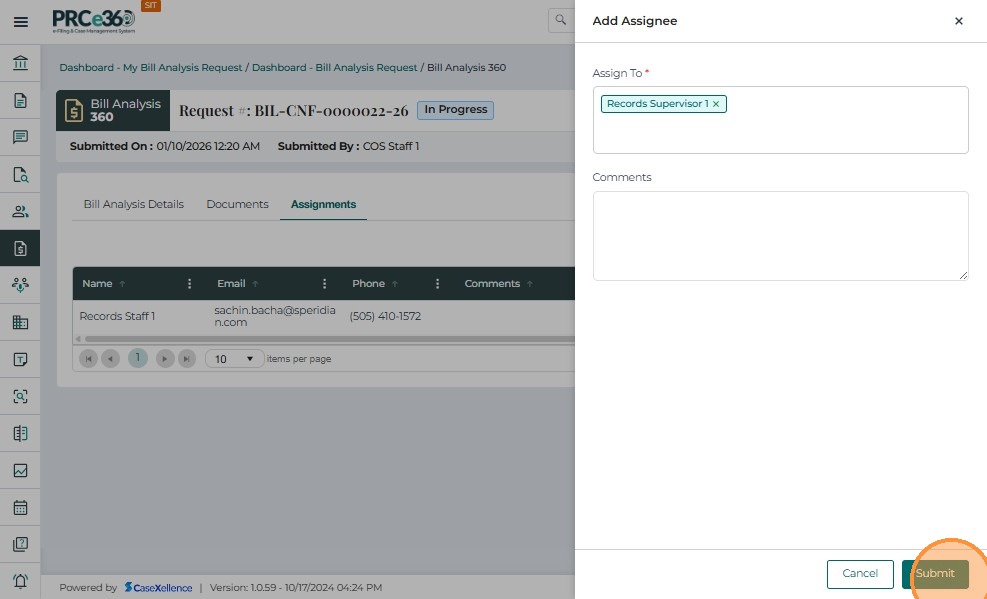
- In the Assign To field, search for and select one or multiple users from the dropdown list.
- You can assign the request to any internal PRC member.
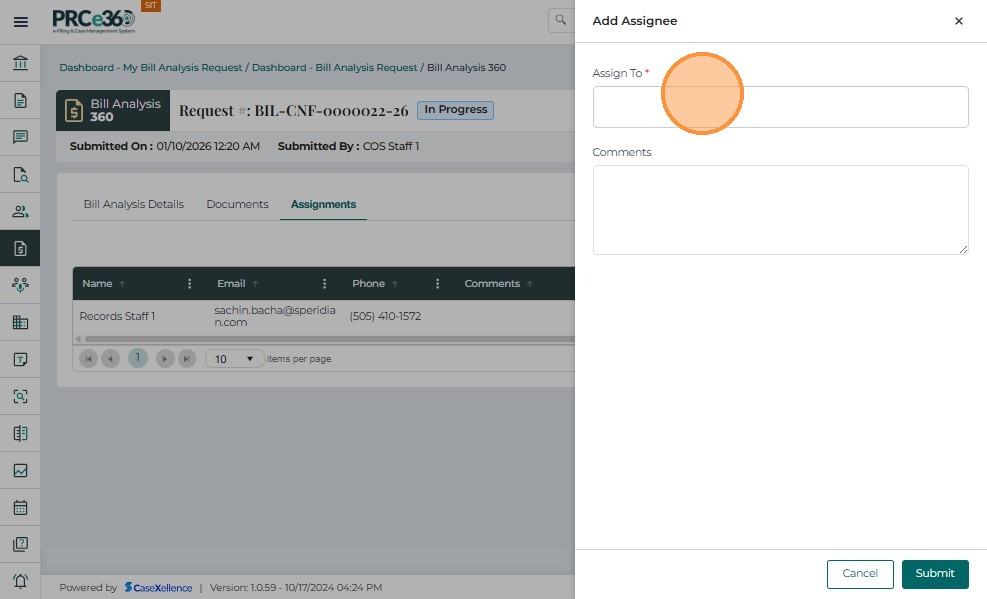
- Optionally, enter a Comment.
- Click Submit to finalize the assignment.
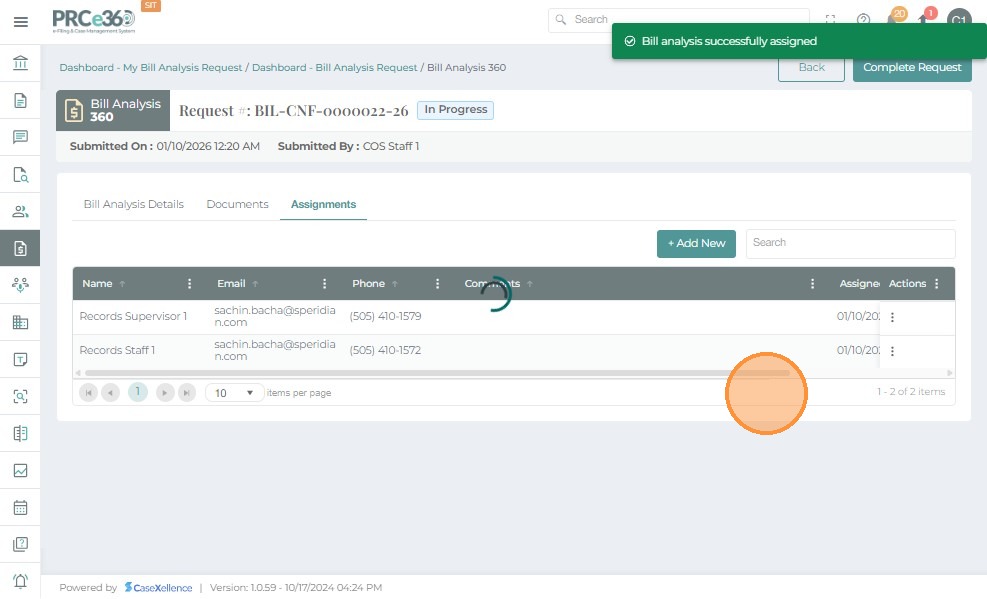
After submission:
- The system displays a confirmation message:
“Bill analysis successfully assigned.” - The newly assigned user appears in the Assignments list.
- The new assignee automatically receives:
- An in-app notification indicating their assignment.
- An email notification with request details (Bill Number, Due Date, etc.).
Access and Work on Assigned Bill Analysis Requests
Once a Bill Analysis Request is assigned to a PRC member, the assigned user can log in to the Case Management System, view their assigned requests, and upload completed analysis documents.
1. Log in and Open the Bill Analysis Dashboard
- Go to the CMS Login page.
- Enter your Username or Email and Password.
- Click Sign In to access your dashboard.

- Once logged in, expand the left-side menu.
- Click Bill Analysis in the navigation panel.
- This opens your Bill Analysis Dashboard.
Assigned users can view detailed information about each request, including bill details, requester information, assigned/due dates, comments, and attachments.
- Go to the My Bill Analysis Request tab.
- Locate your assigned request in the queue.
- Click the Request Number (e.g.,
BIL-CNF-0000001-25) to open it.

- The system opens the Bill Analysis 360 page.
- In the Bill Analysis Details tab, review key information:
- Requester’s Name – Who initiated the request.
- Bill # – The bill identification number.
- Bill Title – Title or subject of the bill.
- Assigned Date & Time – When the request was assigned to you.
- Comments – Additional notes or instructions.
- Due Date & Time – Deadline for completing your analysis.
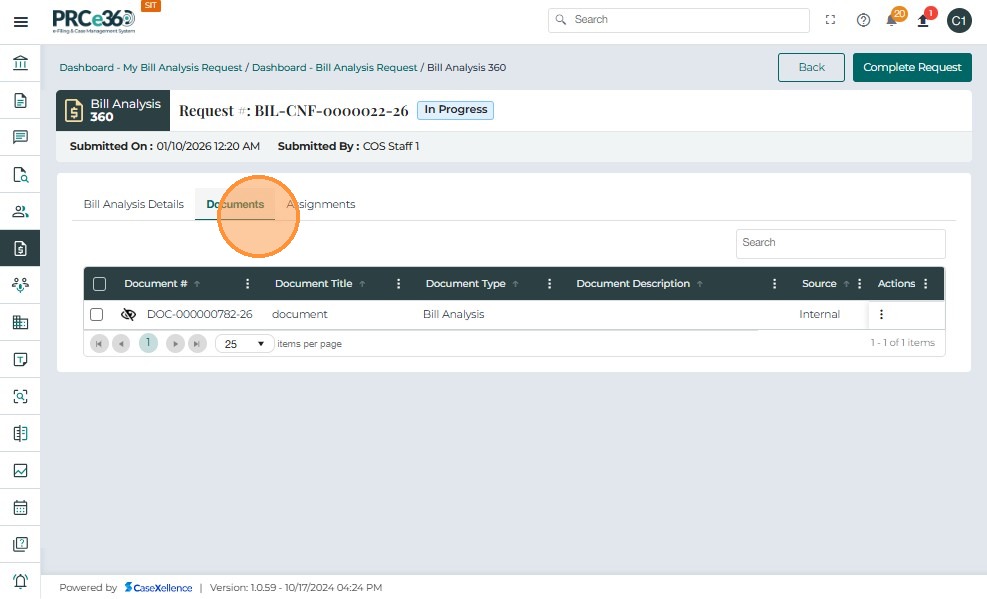
2. Upload Bill Analysis Documents
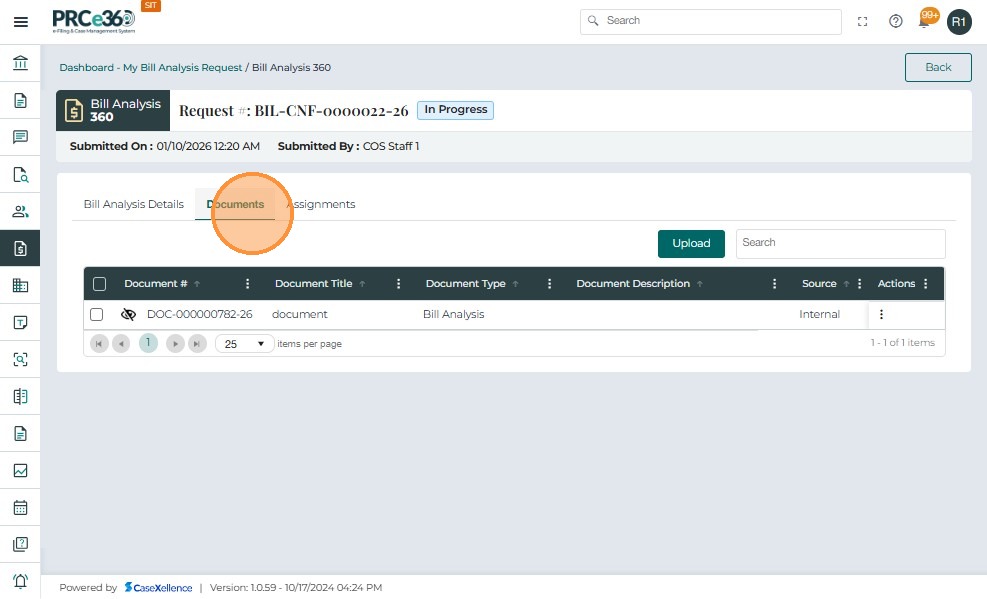
- Click the Documents tab to view or manage analysis-related documents.
- The following users can upload documents:
- Assigned user(s)
- COS Supervisors and COS Staff
- Click Upload and complete the Document Title and Description fields.
- The Document Type is automatically set to Bill Analysis and cannot be changed.
- Select the file to upload and click Save.
Uploaded documents are visible to:
-
The user who uploaded them.
-
All users assigned to that Bill Analysis request.
-
COS Supervisors and COS Staff.
-
The uploaded document appears in the documents table.
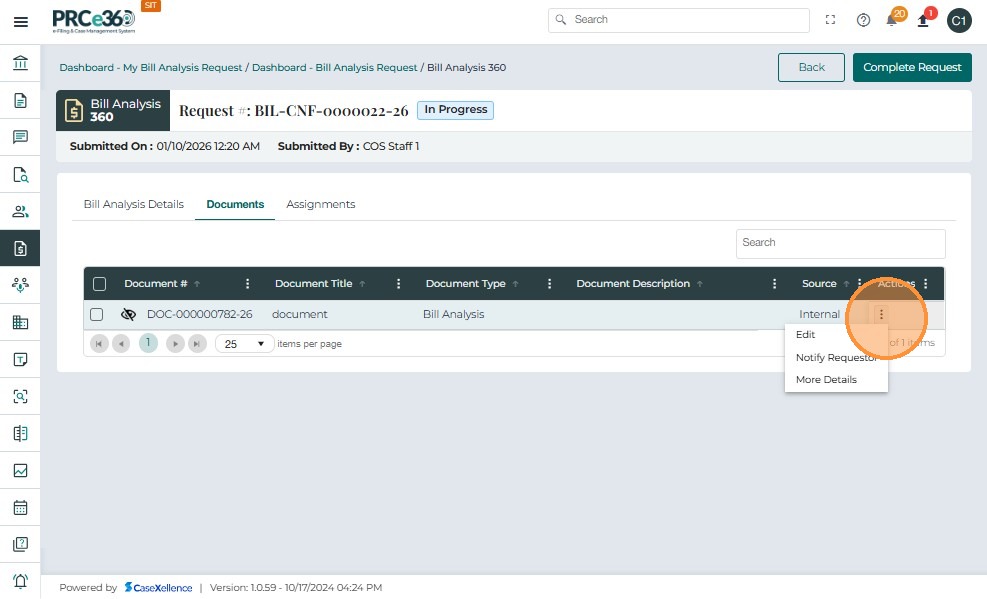
-
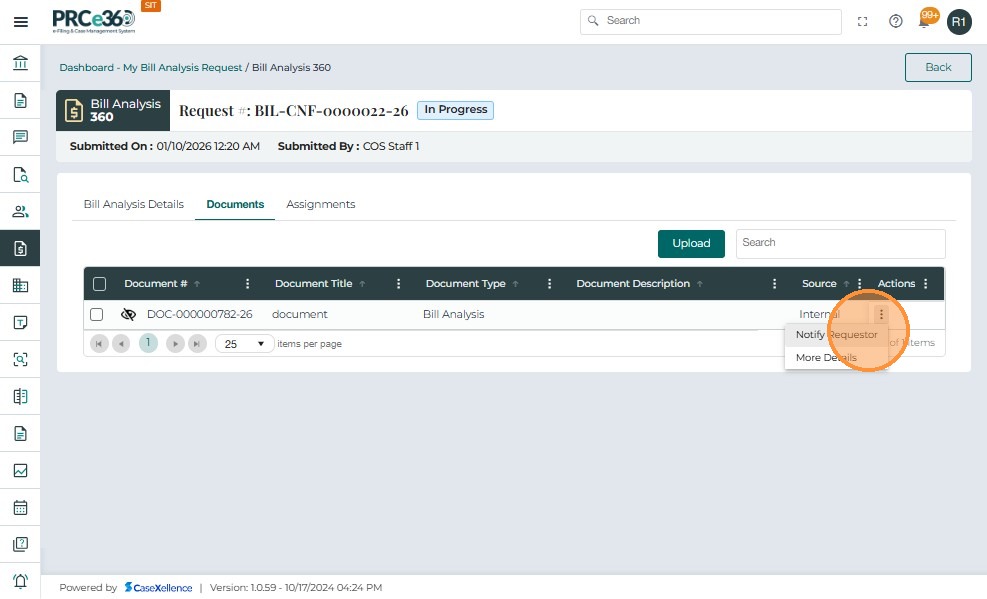
Once the completed Bill Analysis document is uploaded, click the three-dot icon under the Actions column.
-
Select Notify Requestor from the dropdown.
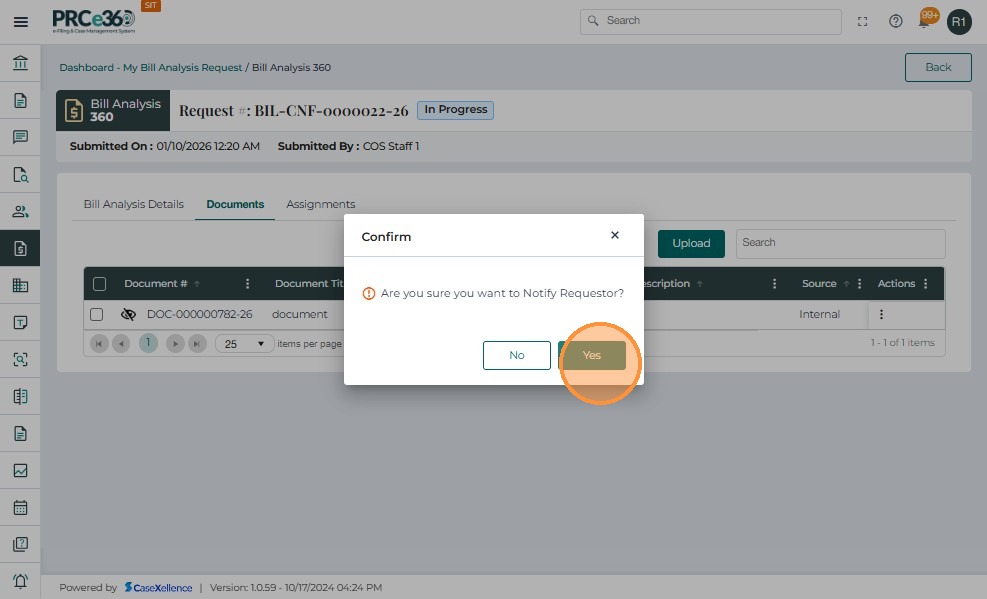
- A confirmation message appears:
“Are you sure you want to Notify Requestor?” - Click Yes to proceed.
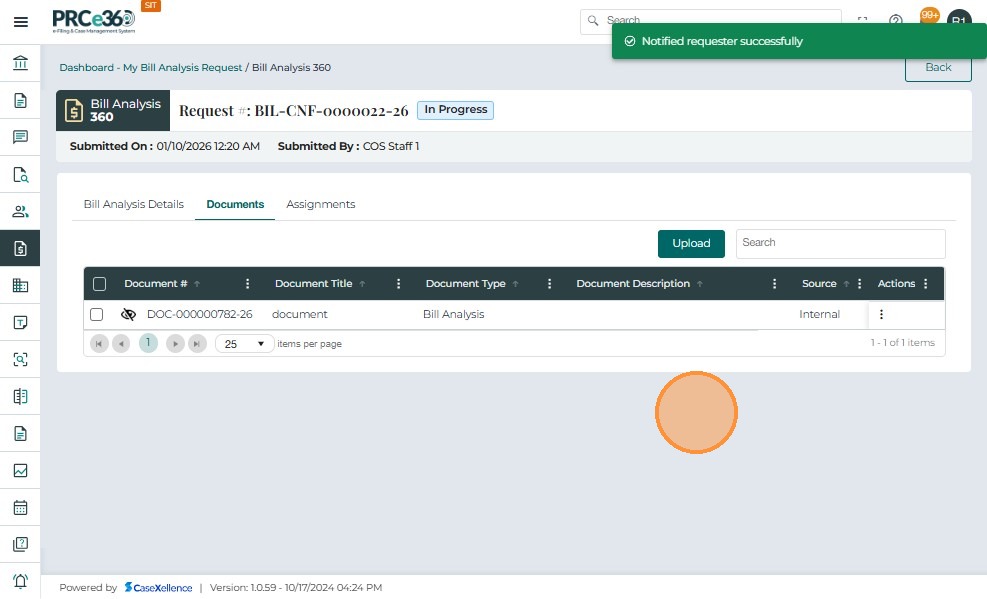
- The system sends an in-app notification to all COS Supervisors and COS Staff.
- The Notify Requestor action can be used once per uploaded document.
- There is no document audience control (Private / Internal / Public) in Bill Analysis.
- Filing actions such as File Now or Request Public Filing do not apply to Bill Analysis documents.
3. View Document Details
Users can review details of any uploaded Bill Analysis document, including metadata such as upload date, file type, and uploader.
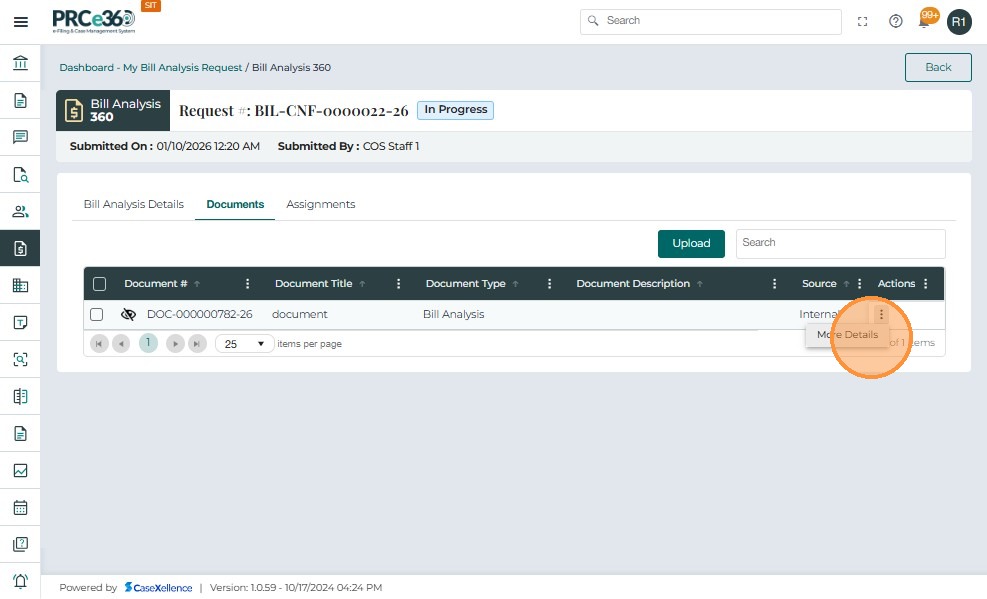
- In the Documents tab, click the Actions column for the desired document.
- Select More Details.
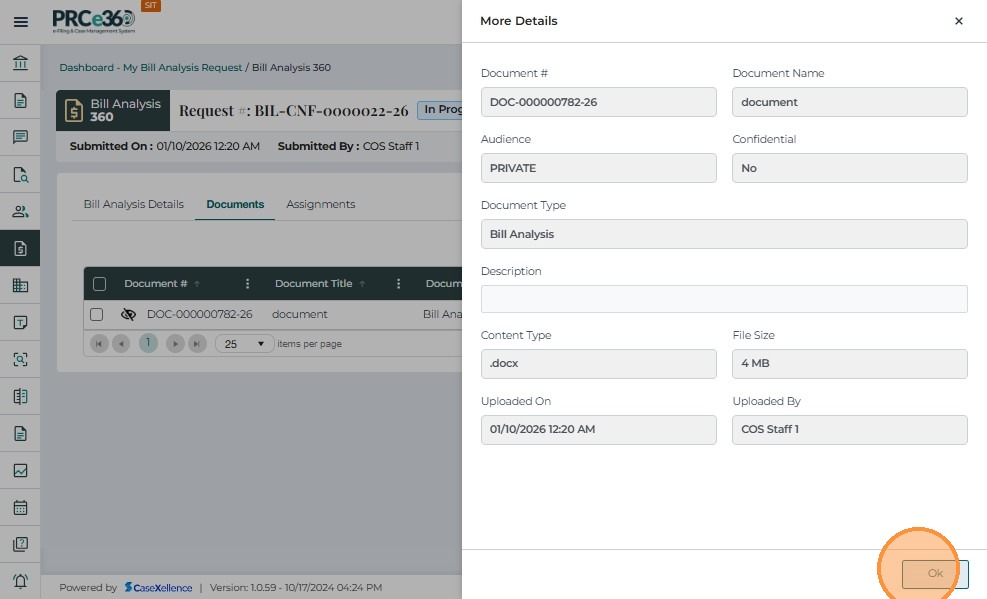
A panel opens showing document information, including:
-
Document # – Unique system-generated identifier (e.g.,
DOC-000000020-25). -
Document Title – Name/title entered during upload.
-
Audience – Visibility; defaults to Private for Bill Analysis documents.
-
Confidential – Indicates whether the document contains sensitive information (Yes/No).
-
Document Type – Automatically set to Bill Analysis and cannot be edited.
-
Description – Additional context about the document.
-
File Type and Size – Format (e.g.,
.docx,.pdf) and file size. -
Uploaded On – Exact date and time of upload.
-
Uploaded By – Name of the user who uploaded the document.
-
Click OK to close the details panel.
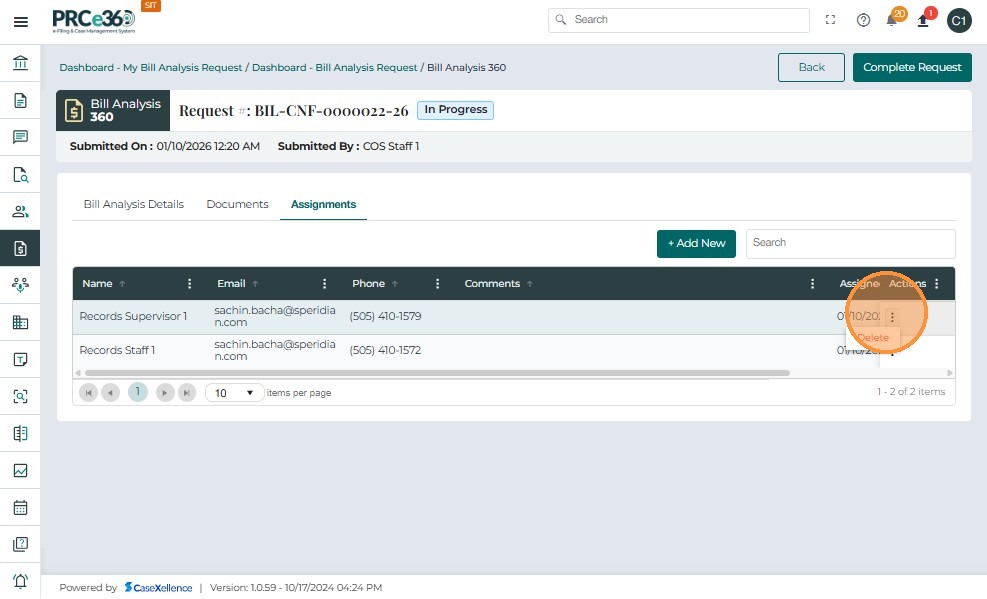
4. Remove an Assignee
Authorized users can remove assignees from an active Bill Analysis request to manage workload and team composition.
To remove an assigned user:
- In the Assignments tab, click the three-dot menu under the Actions column beside the user's name.
- Select Delete.
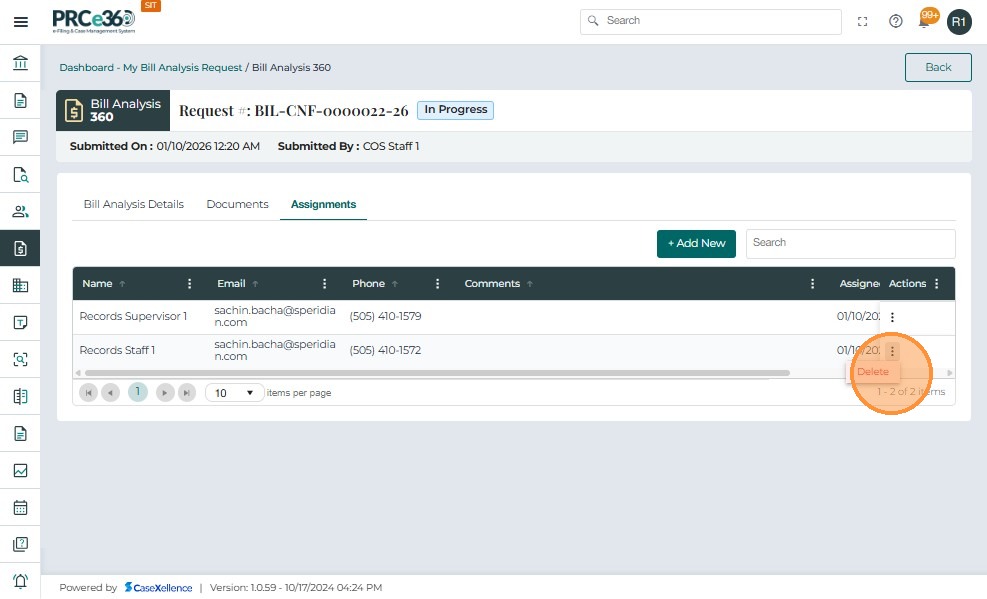
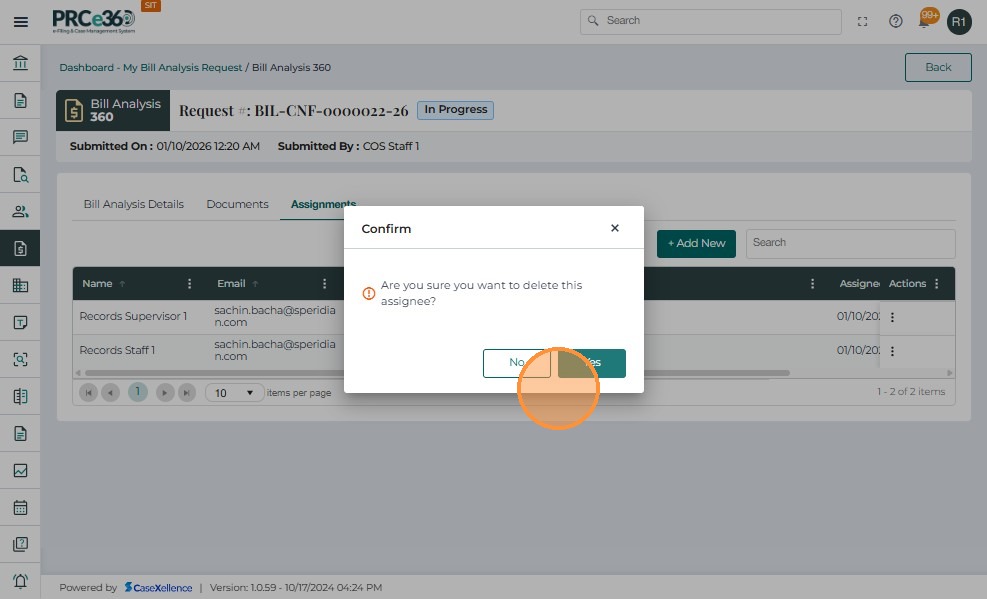
- A confirmation pop-up appears:
“Are you sure you want to delete this assignee?” - Click Yes to confirm.
- The user is removed from the assignment list.
- The change is logged in the system with a timestamp and user ID.
- The system automatically sends an in-app notification to the removed user.
5. Add Additional Assignees (by Assigned Users)
Assigned users (not just COS staff) can also add more members to collaborate on a Bill Analysis request, where permitted by system configuration.
- Click the Assignments tab to view the current list of assigned users.
- Click + Add New to open the assignment panel.
In the Add Assignee panel, enter:
- Assign To* – Select one or multiple users from the dropdown list.
- The list includes all PRC users.
- Multiple selections are supported.
- Comments – Optionally, enter notes or instructions.
- Required fields are marked with an asterisk (*).
- Click Submit to save the new assignment.
- The new assignee(s) are added to the Assignments table.
- The system sends:
- An in-app notification with request details and due date.
- An email notification (template-based) to each assignee.
- Assigned users can continue to assign the request to additional staff if needed.

Close a Bill Analysis Request
Once the assigned staff has completed the bill analysis and the final document has been reviewed, the COS Supervisor or COS Staff can close the request to mark it as completed in the system.
1. Open the Request to Be Closed
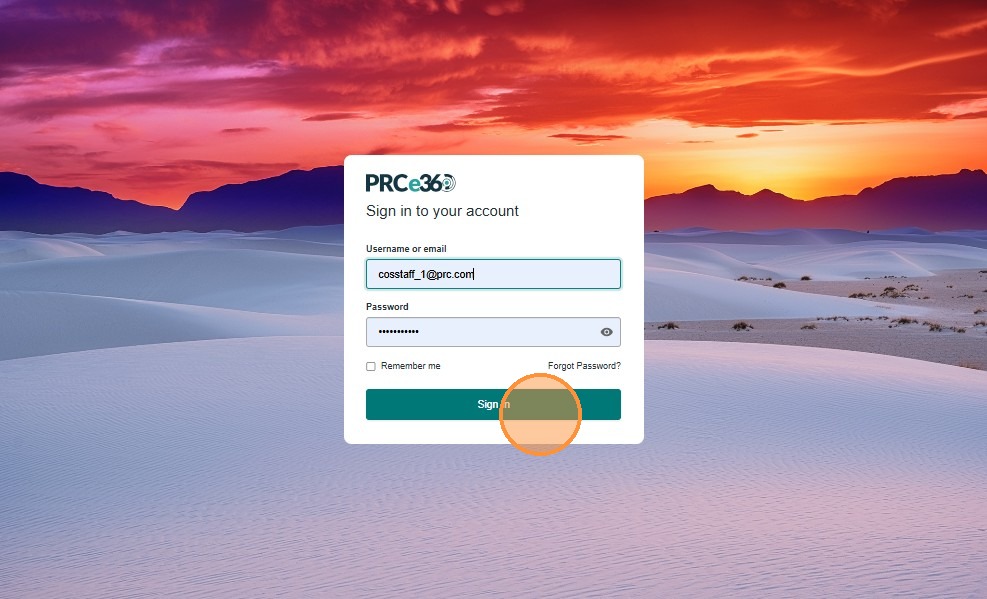
- Log in using your registered Username or Email (e.g.,
cosstaff_1@prc.com) and Password. - Click Sign In.
- From the left-hand navigation panel, click Bill Analysis.
- The Bill Analysis Dashboard displays:
- My Bill Analysis Request – Requests assigned to you.
- Bill Analysis Request – All requests created and managed by the COS Division.
- Click the Bill Analysis Request section to view all active and completed requests.
- From the Bill Analysis Dashboard, click the Request # (e.g.,
BIL-CNF-0000001-25) you want to close.
- This opens the Bill Analysis 360 screen with all request information.
- On the Bill Analysis 360 page, click the Close Request button at the top-right of the screen.
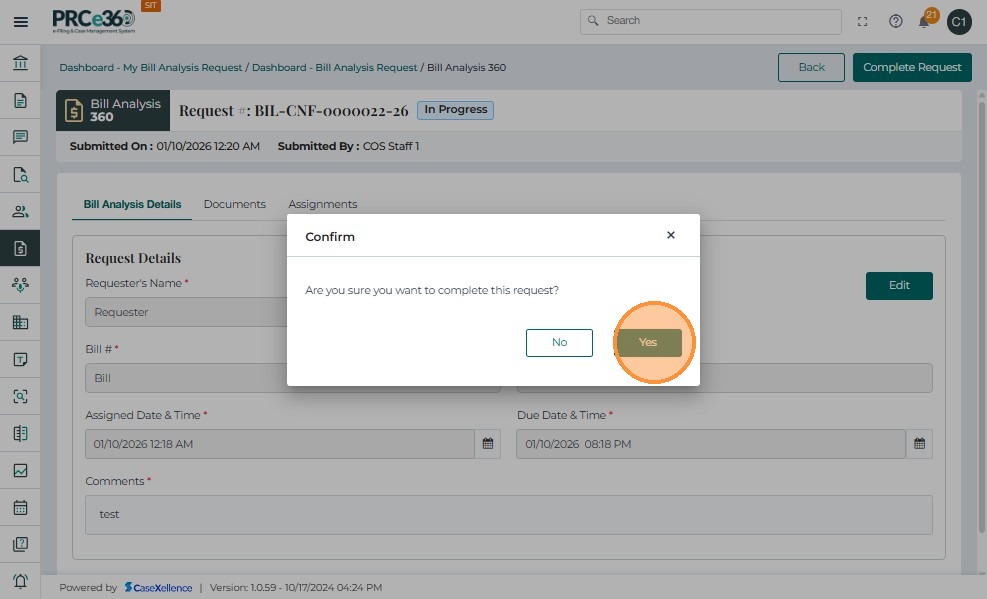
2. Confirm Closure
- A confirmation popup appears:
“Are you sure you want to close this request?” - Click Yes to confirm and finalize the closure.
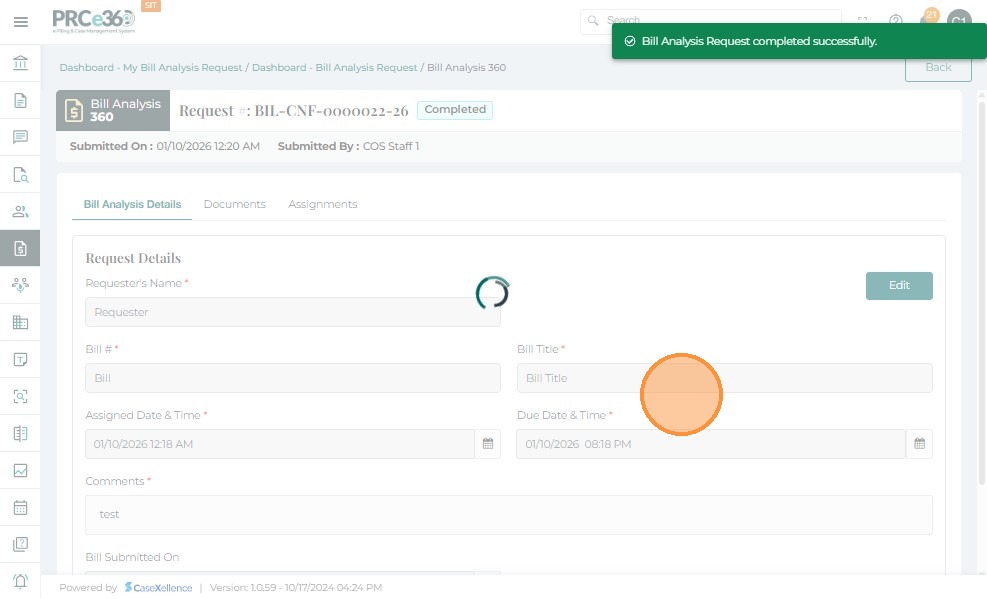
After closure:
- The request status changes from In Progress to Closed.
- Once closed, no further edits or document uploads are allowed for that request.
- Only COS Supervisors and COS Staff can close a Bill Analysis request.
Closing a request confirms that all reviews and activities have been completed, documents are securely stored, and no further changes can be made.
This ensures transparency, accountability, and accuracy in the bill review process.