Create Meeting Agenda Item
The Meeting Agenda Item feature allows authorized users to create and manage agenda items associated with cases.
This feature is available only to select users within specific divisions.
Roles and Permissions
| Division | Roles with Permission | Functionality |
|---|---|---|
| OGC Division | OGC Supervisor, OGC Staff, OGC Paralegal | Can create agenda items against a case and edit the agenda item, including adding annotations, applying redactions, and applying stamps to documents. |
| Chief of Staff Division | COS Staff, COS Supervisor, COS PIO | Can create agenda items, edit agenda items, add annotations, apply redactions, apply stamps, and change the status of agenda item requests. |
Create an Agenda Item
For OGC or COS Division Users
1. Sign In
- Open the application.
- Enter your user credentials to log in.
- Click Sign In.


2. Navigate to the Meeting Agenda Dashboard
- Use the left-hand navigation (side menu) to open the Meeting Agenda dashboard.
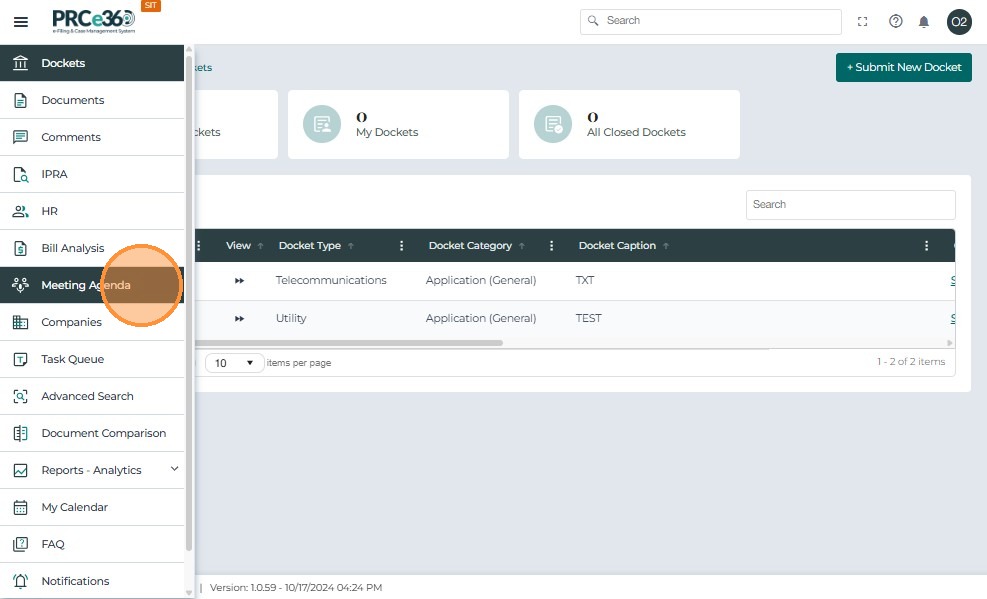
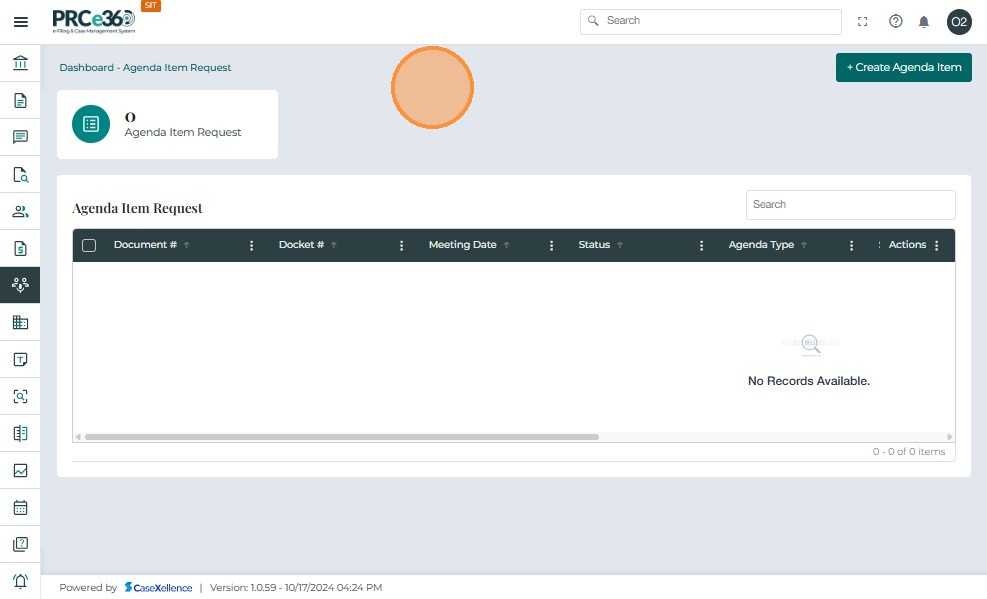
- On the Meeting Agenda Dashboard, you will see:
- Agenda Item Request queue
- All Closed Agenda Items queue
- Users in the OGC Division and Chief of Staff Division have the ability to create new agenda items.
3. Start Creating an Agenda Item
- Click the Create Agenda Item button at the top-right of the Meeting Agenda Dashboard.
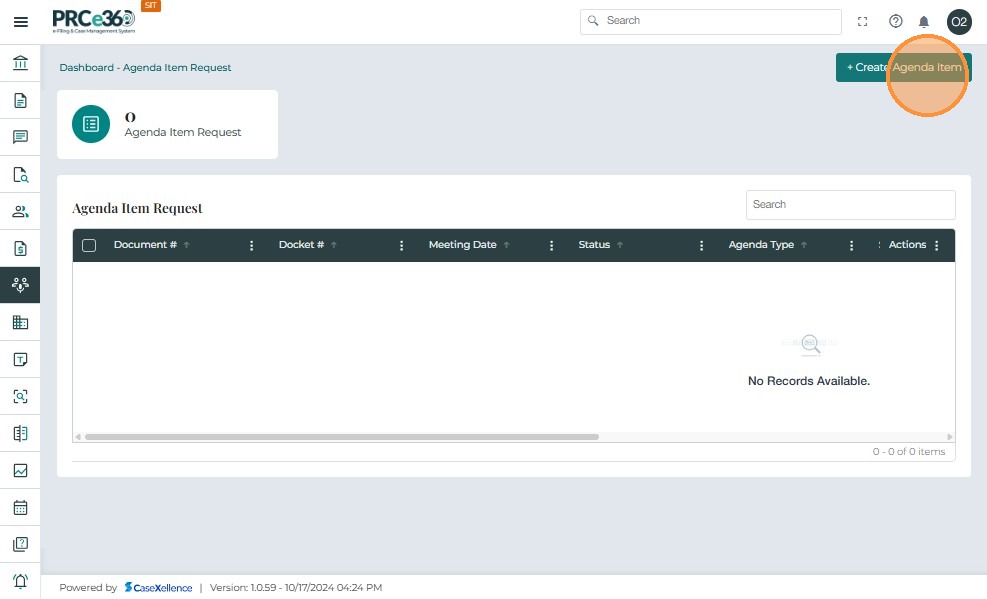
- You will be directed to the Create Agenda Item form.
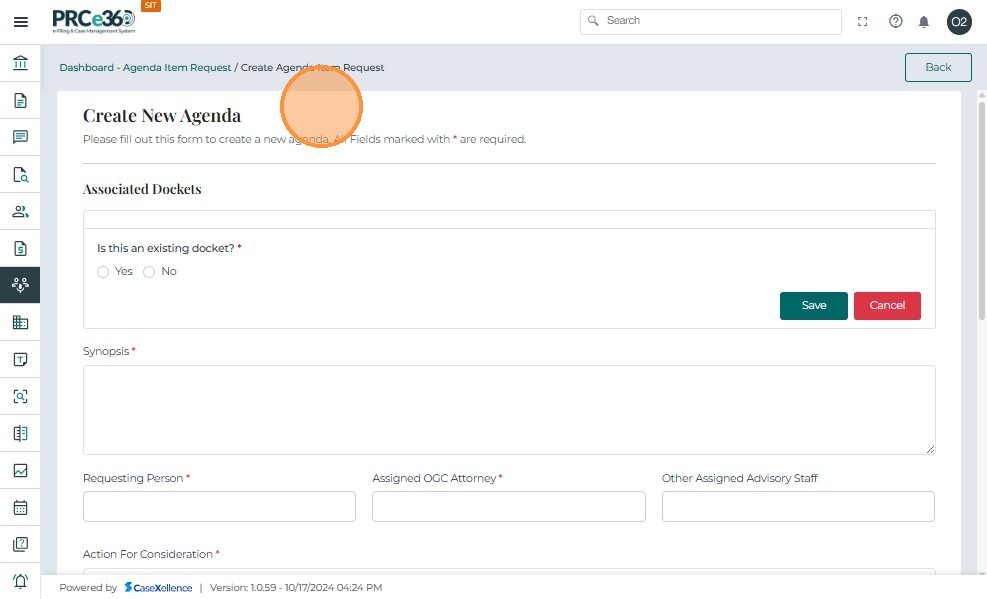
4. Associate the Agenda Item with a Case
You can create an agenda item with or without linking it to an existing case.
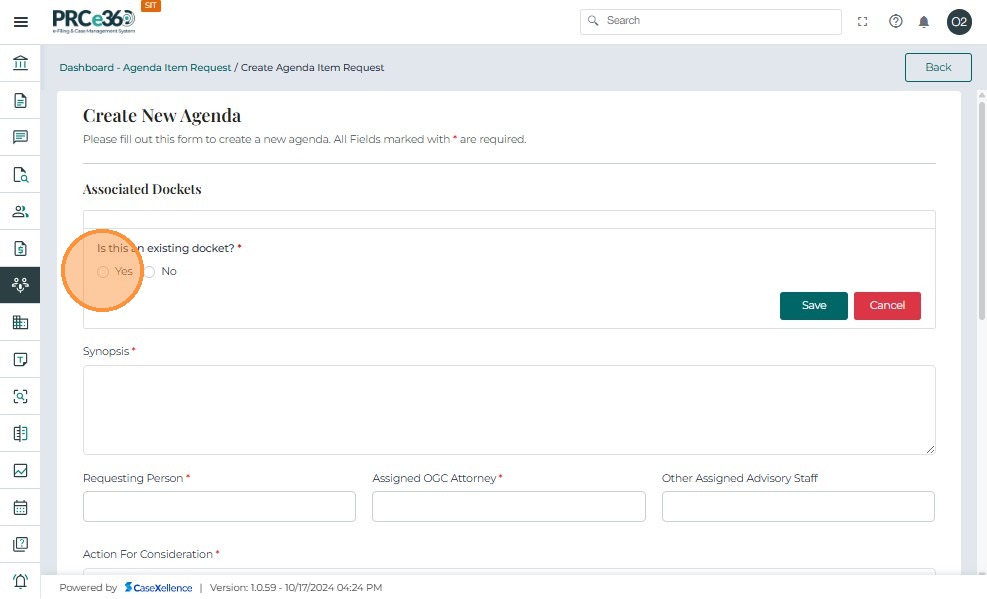
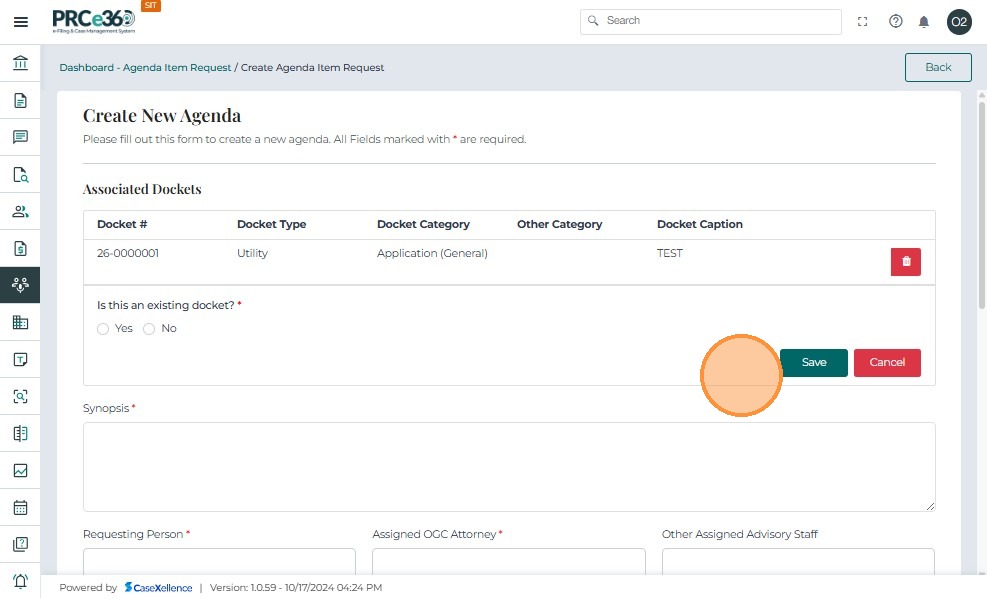
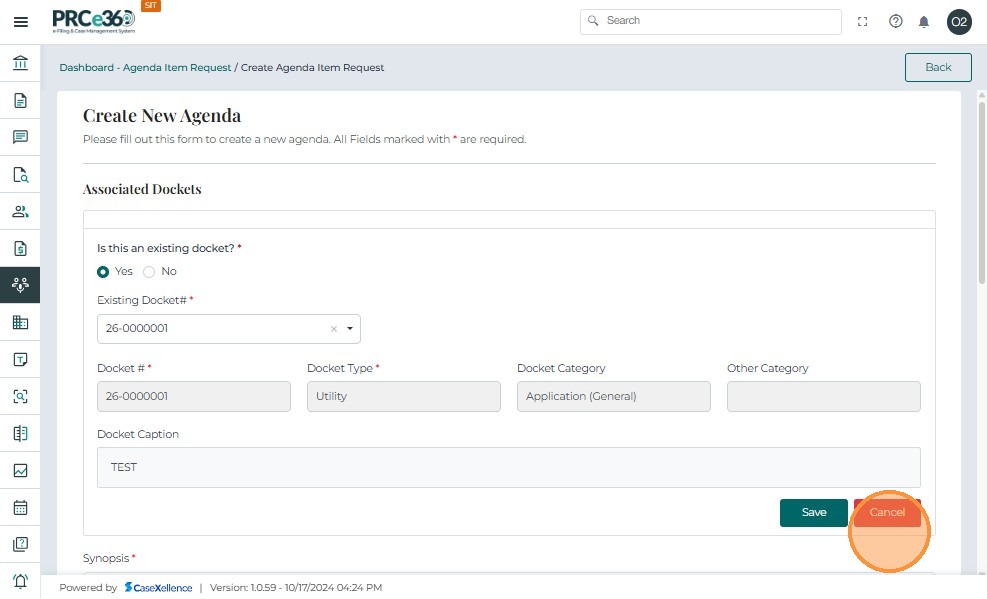
4.1 Agenda Item Associated with an Existing Case
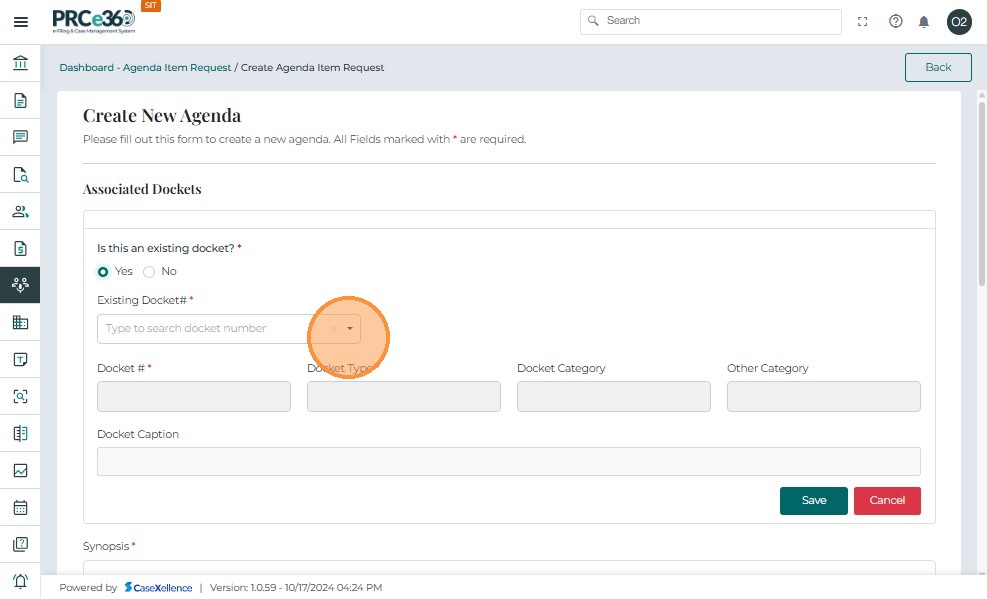
- If the agenda item is associated with an existing case, select Yes for the case association question.
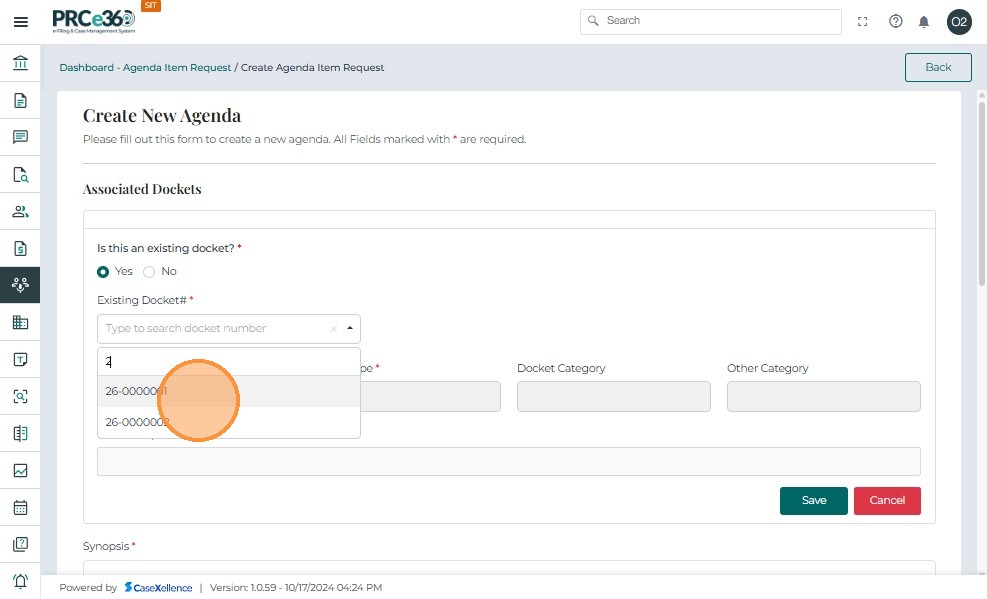
- Click in the Search field and type the existing case number.
- Select the desired case from the search results.
- The following details will be auto-filled based on the selected case:
- Case Number
- Case Type
- Case Category
- Case Caption
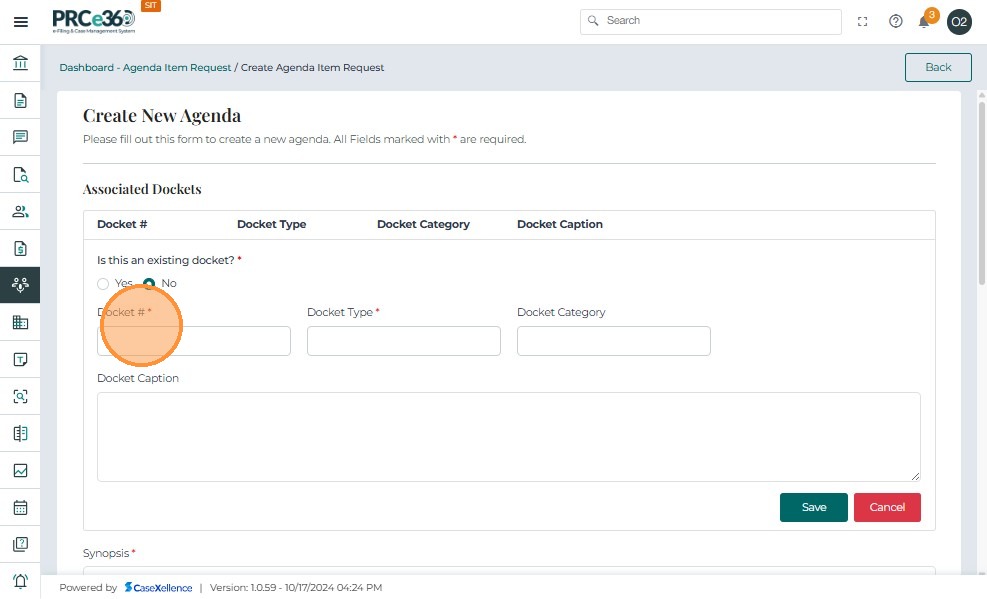
4.2 Agenda Item Not Associated with an Existing Case
- If the agenda item is not associated with an existing case, select No.
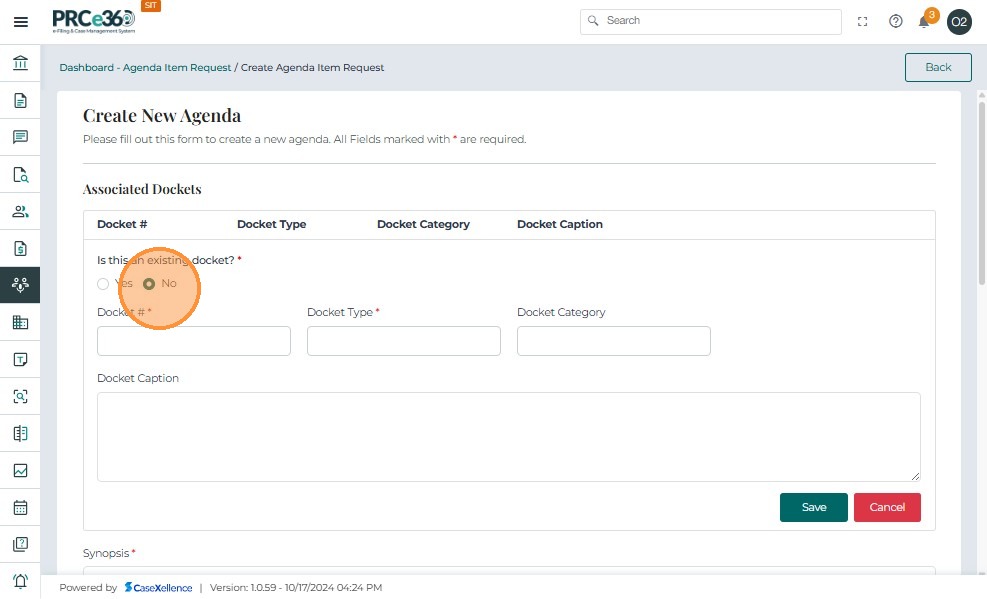
- Manually enter:
- Case Number
- Case Type
- Case Category
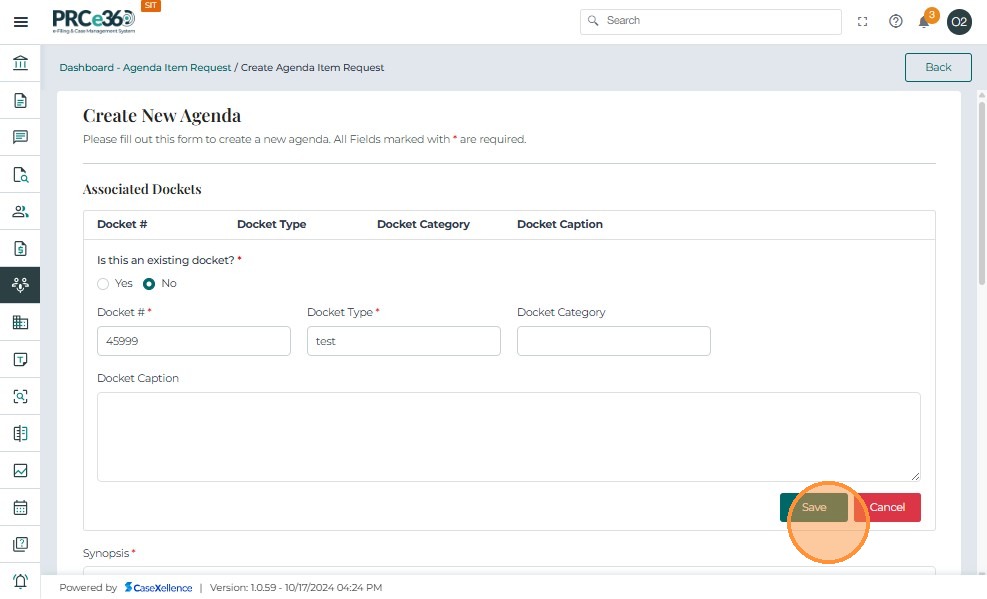
- Case Caption
- Click Save or Cancel to save or delete the entry.

5. Add Additional Cases (Optional)
- If there are multiple cases associated with the agenda item, click Add Case.
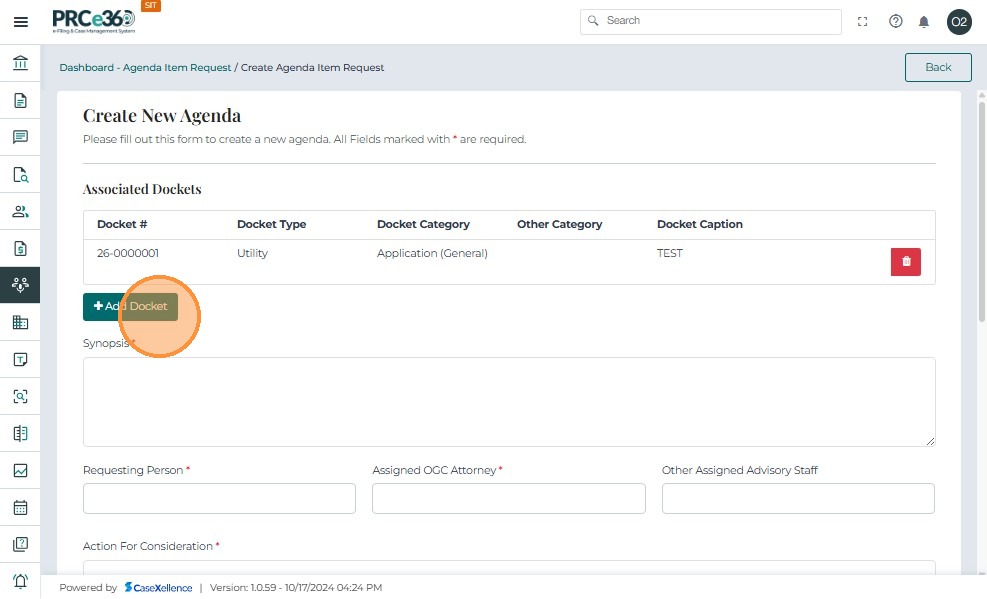
- Enter the same case details (Case Number, Case Type, Case Category, Case Caption) for each additional case.
- To discard the current entry before saving, click Cancel.
- Click Save once all case details have been entered.
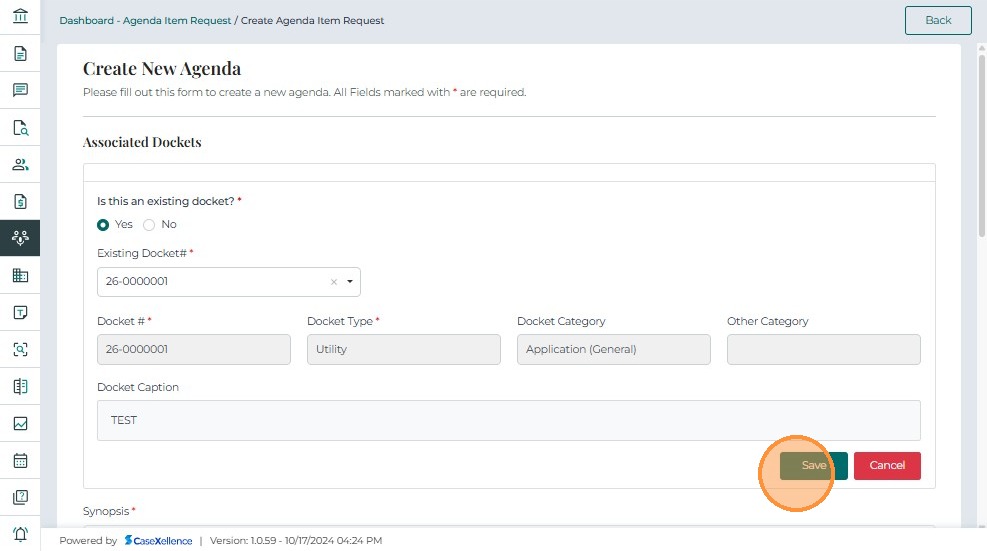
-
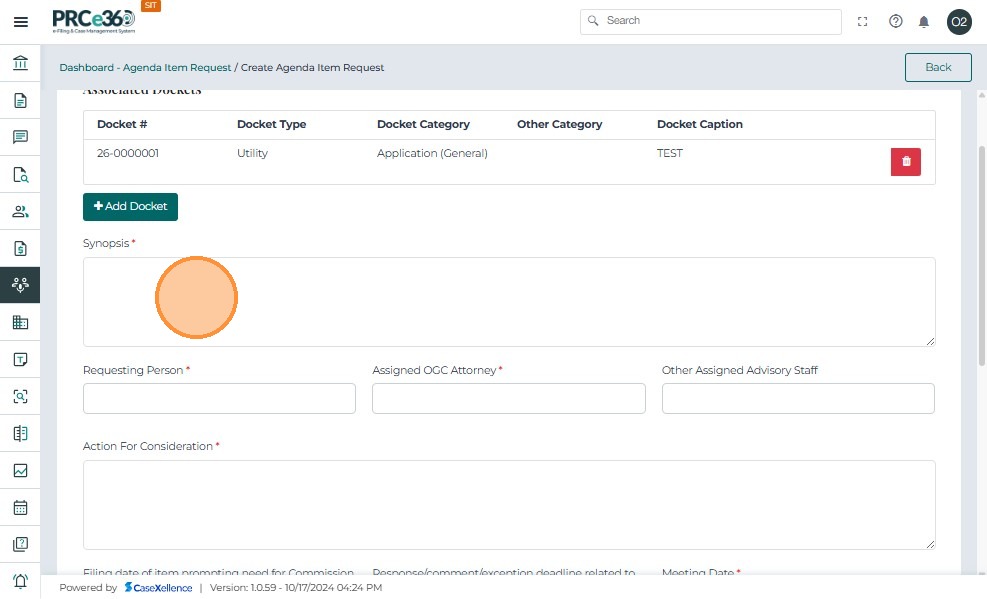
Once saved, the case details appear in the grid below the form.
-
To delete a case row, click the Delete button in the grid.
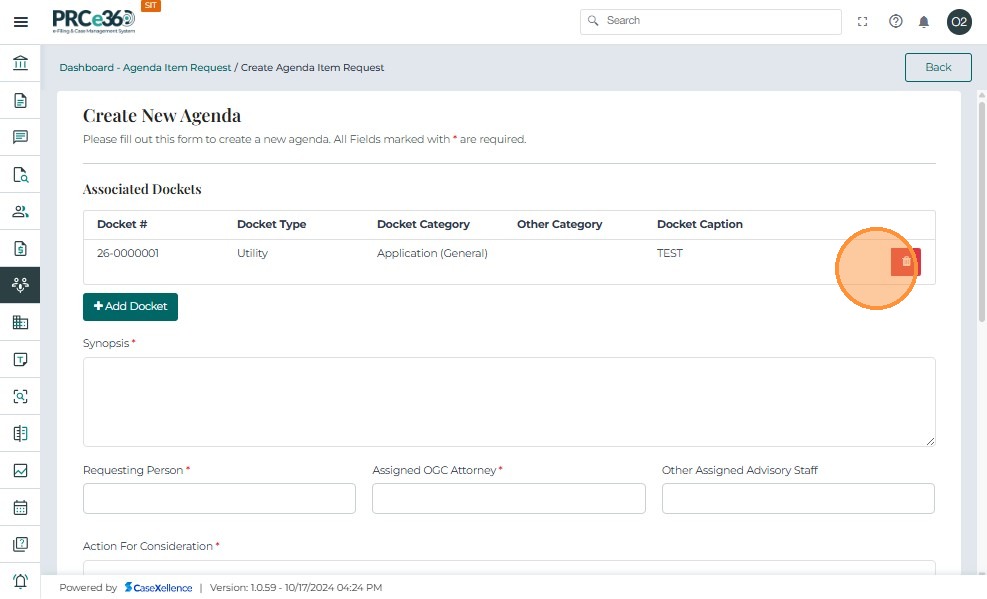
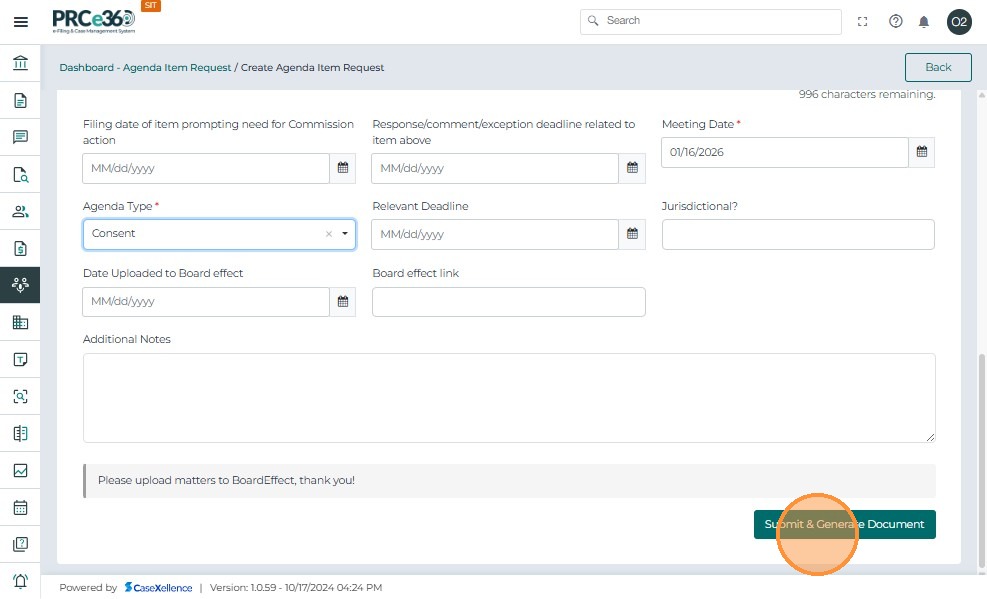
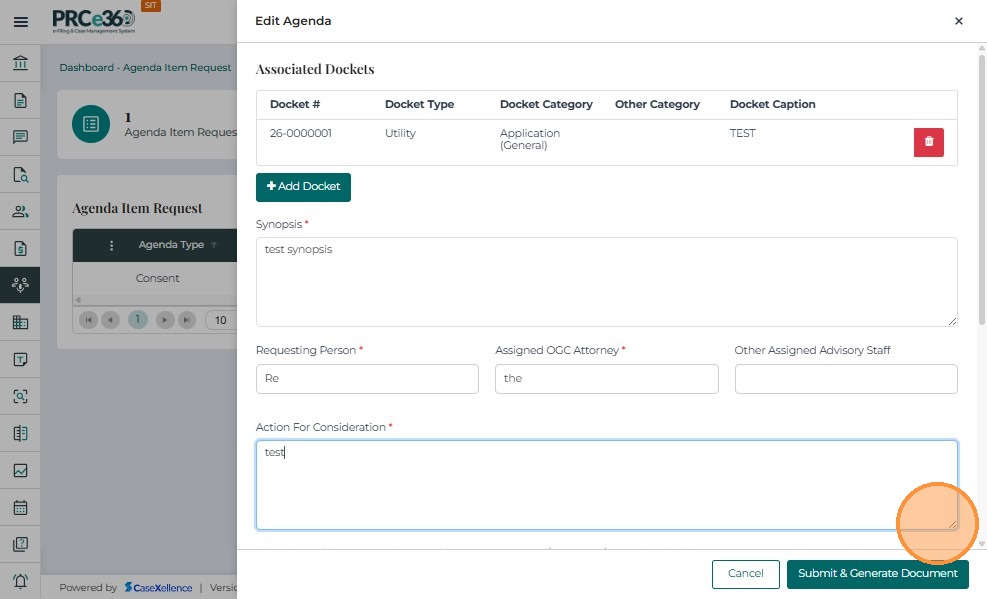
6. Enter Synopsis and Additional Details
- In the Synopsis section, enter key details such as:
- Requesting Person
- OGC Attorney
- Action for Consideration
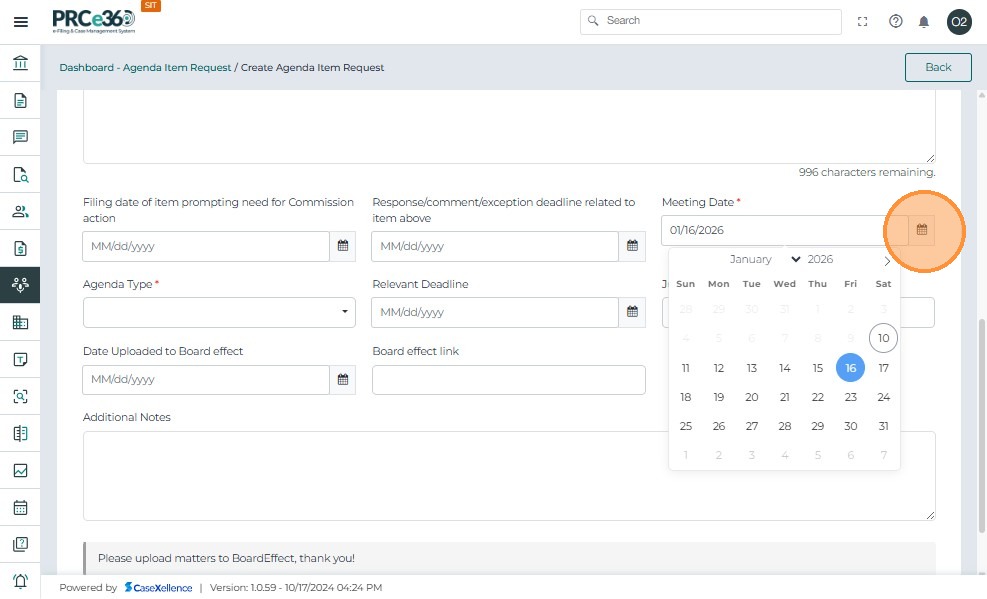
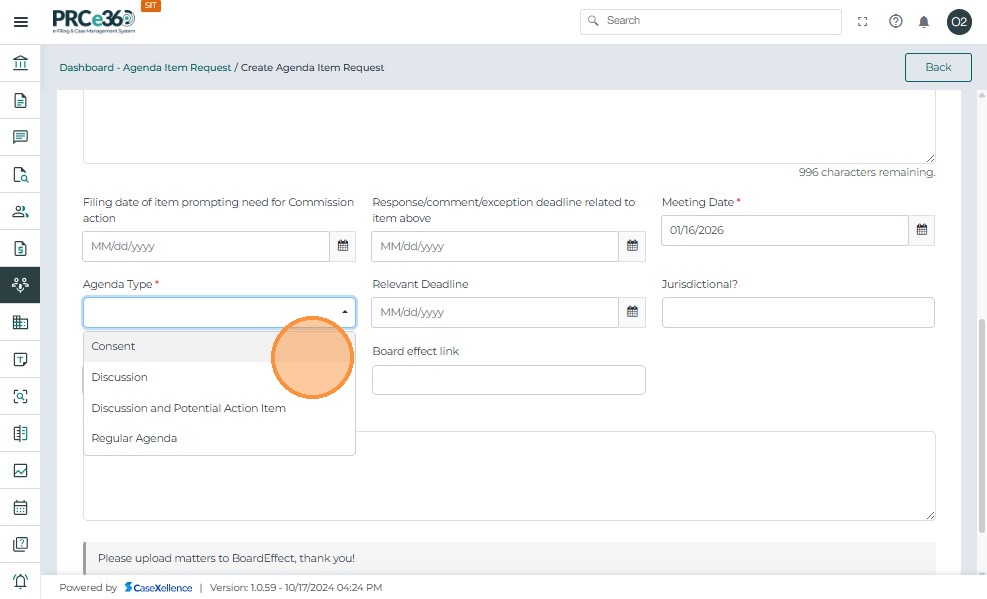
- Meeting Date
- Other relevant information
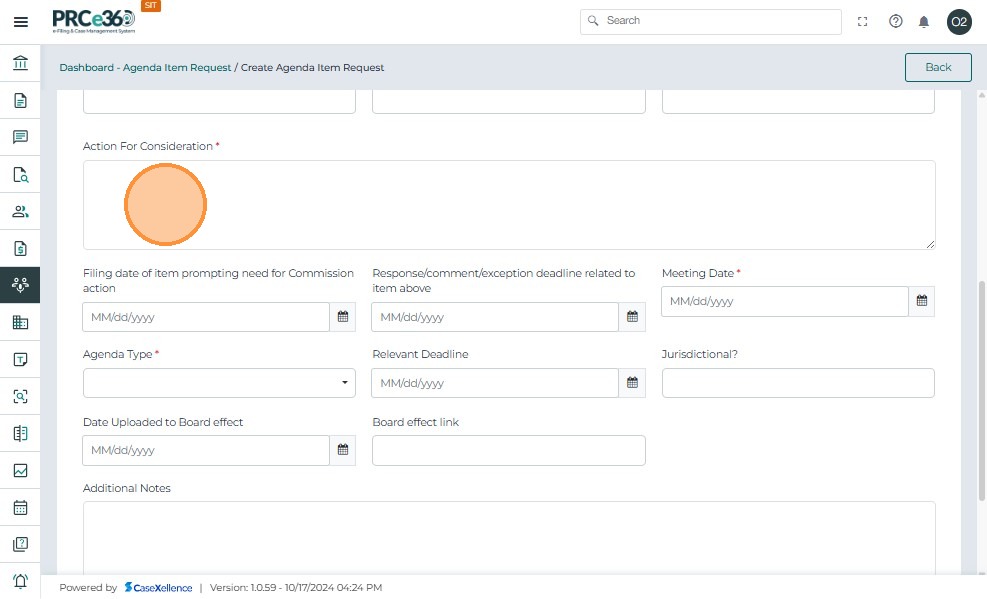
- Enter any Additional Notes that provide context or instructions for the agenda item.
- When all required fields are complete, click Submit to create the agenda item.
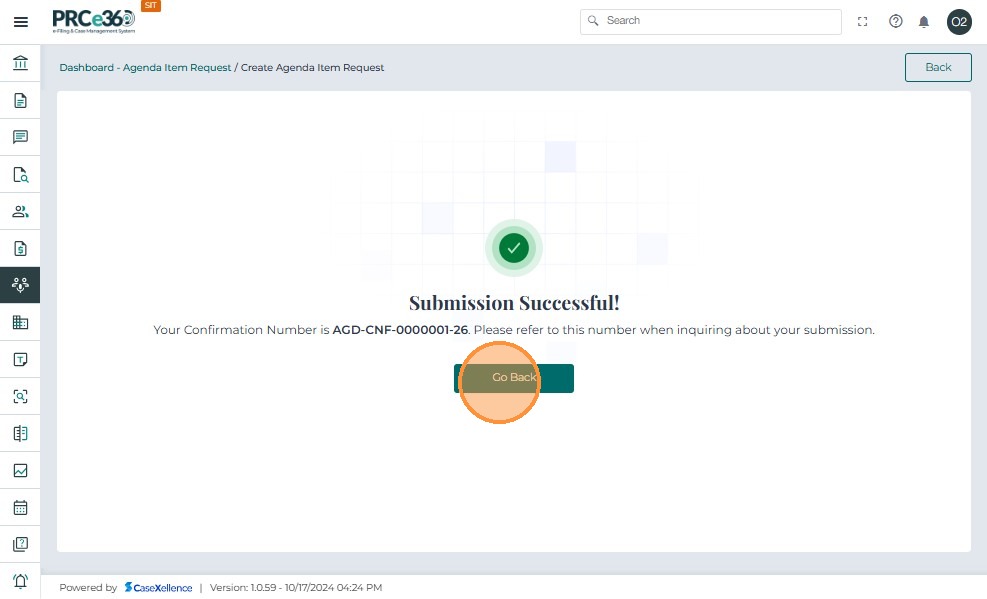
7. Submission Confirmation
- After submission, a success page appears with a confirmation number for the agenda item.
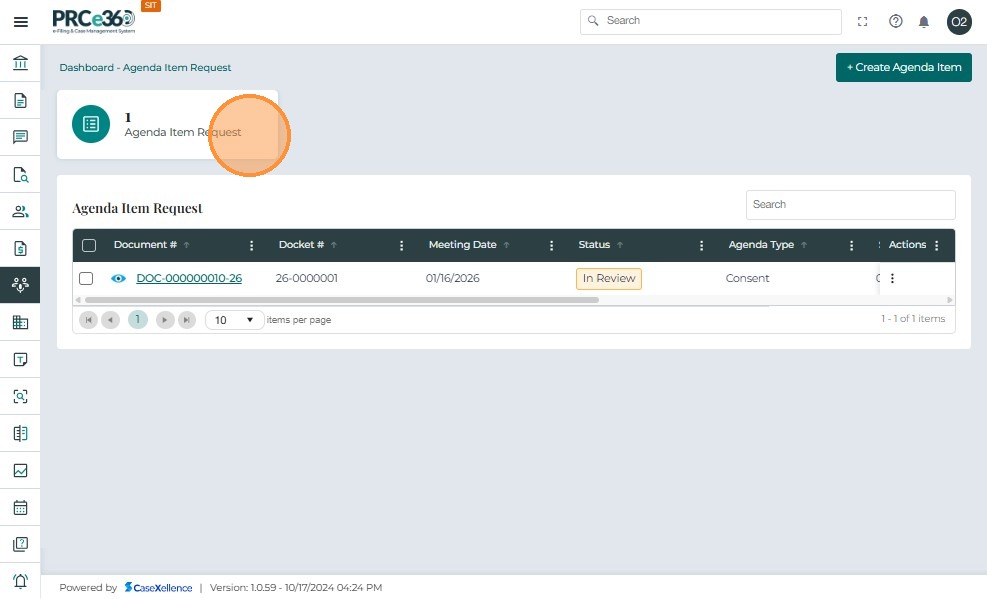
- Click Go Back to return to the Meeting Agenda dashboard.
- The Agenda Item Request queue lists all agenda item requests created in the system.
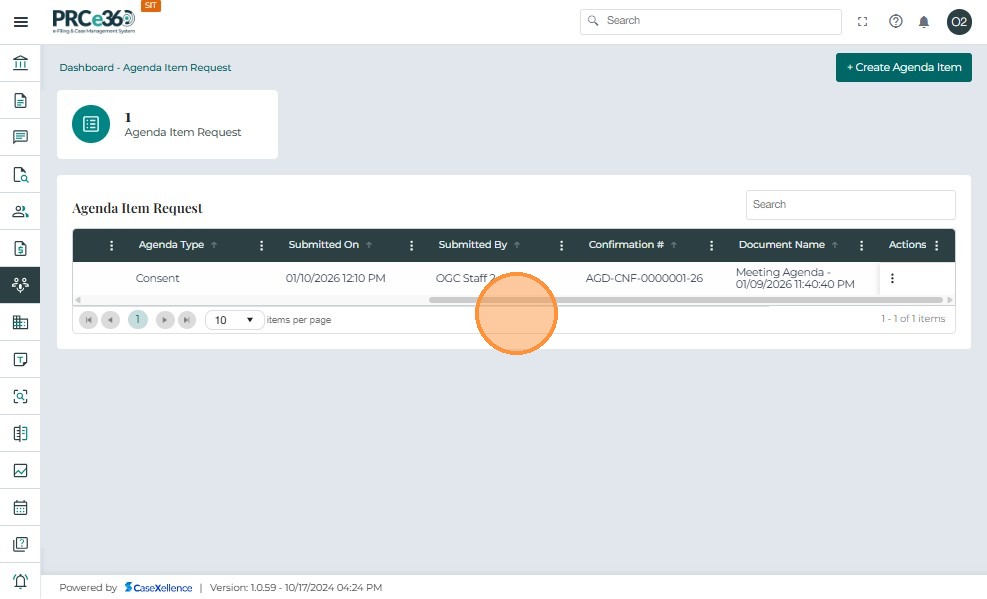
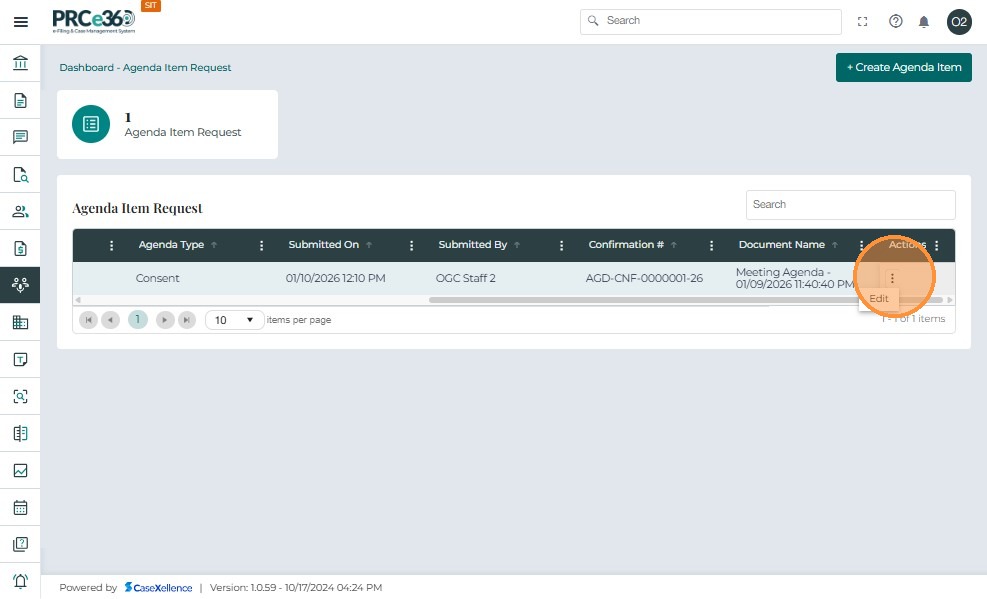
8. Edit an Existing Agenda Item
- In the Agenda Item Request queue, click the three-dot (Actions) menu for a specific item.
- Select Edit to update the details of the agenda item.
- The user can now modify any editable fields for the agenda item.
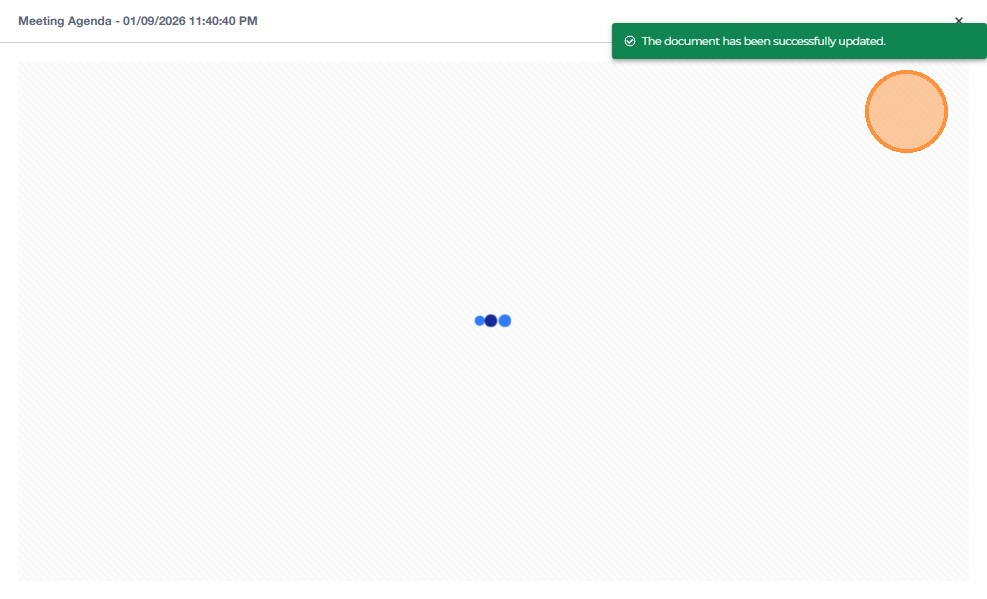
- After updating the information, click Submit to save the changes.
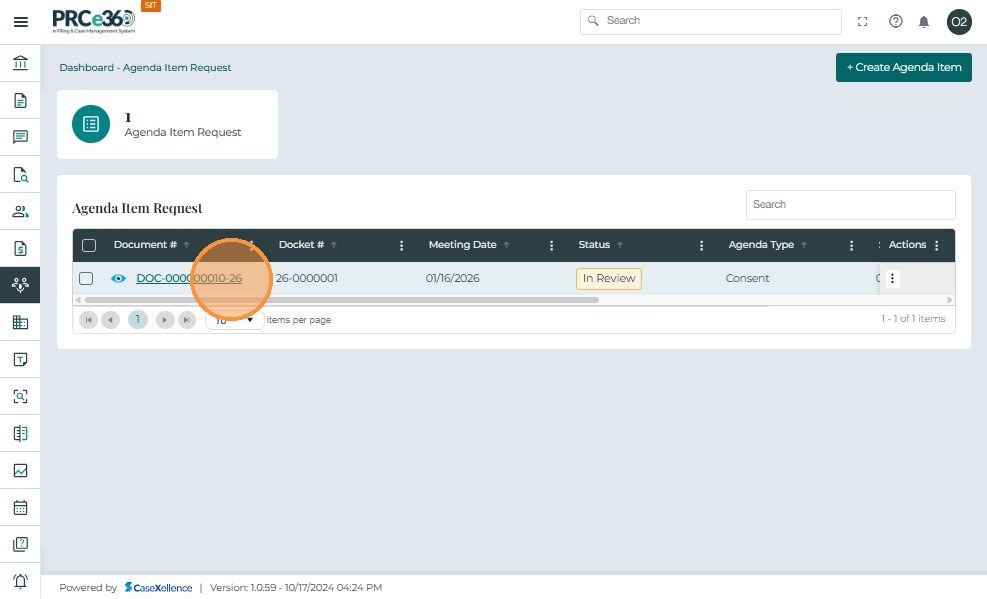
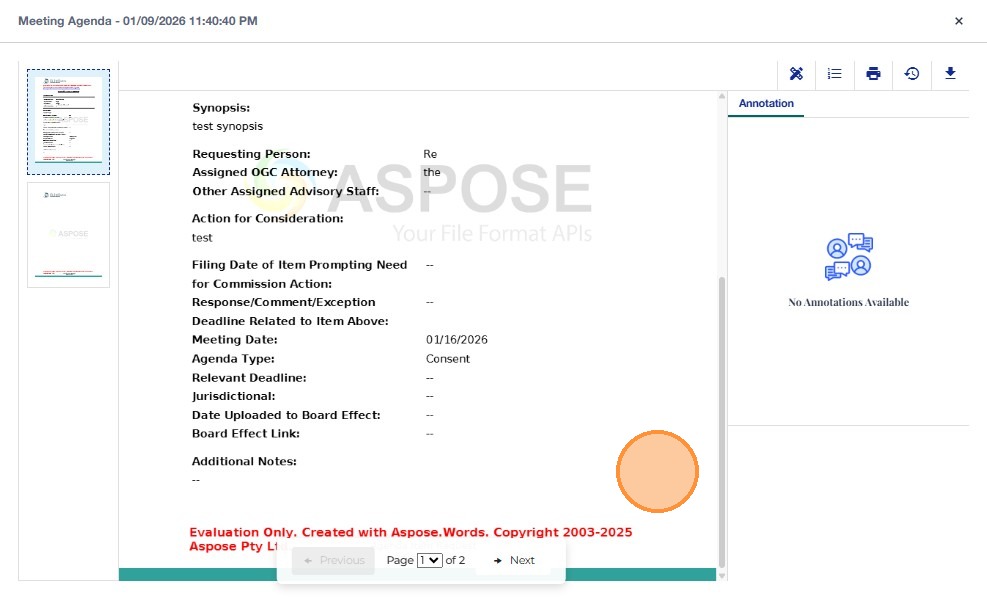
9. View the Meeting Agenda Request Template
- In the Agenda Item Request queue, click the Document Number to view the meeting agenda request template.
- The Meeting Agenda Request Item Template will be displayed.

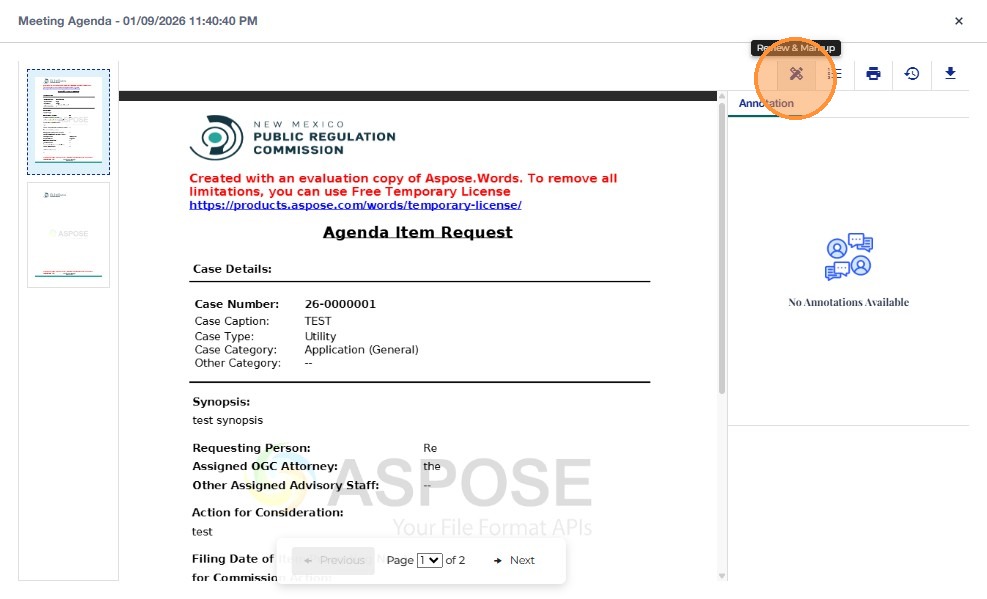
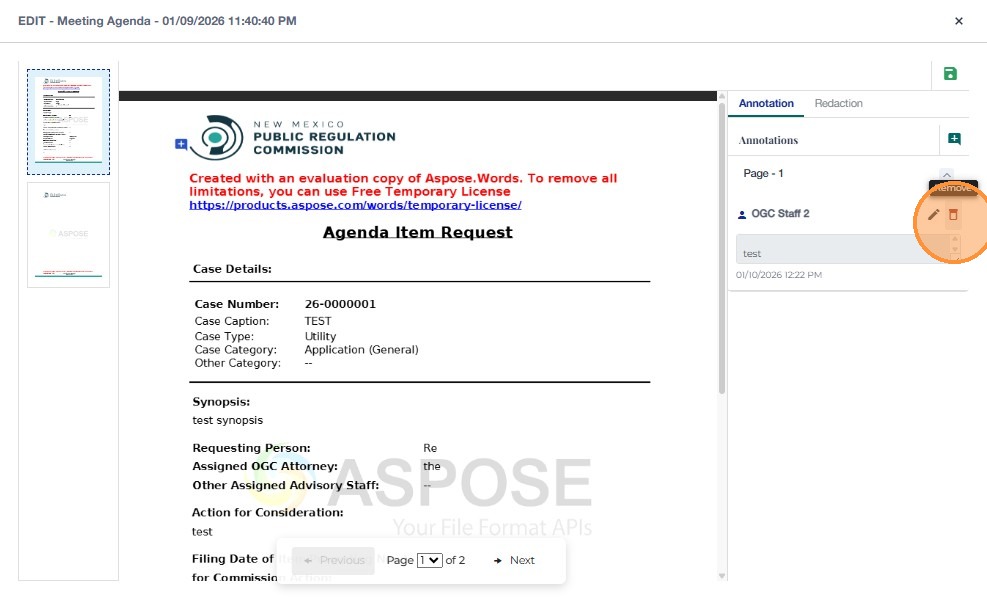
10. Add Annotations and Comments
- Click Review and Markup to add Annotation.
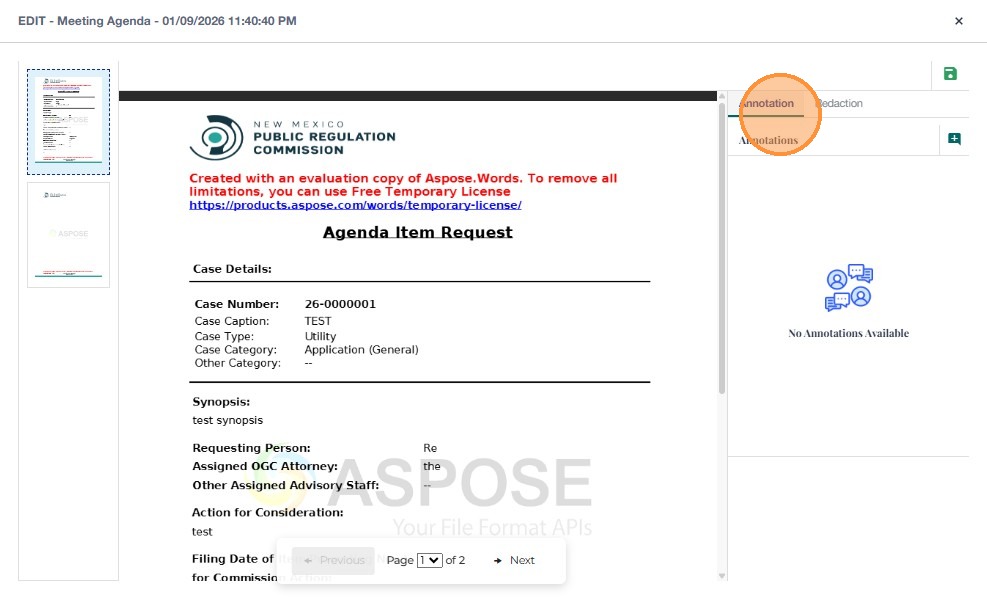
- Click Annotation to add annotations to the document.
- Click Add Comment to insert a comment on the document.
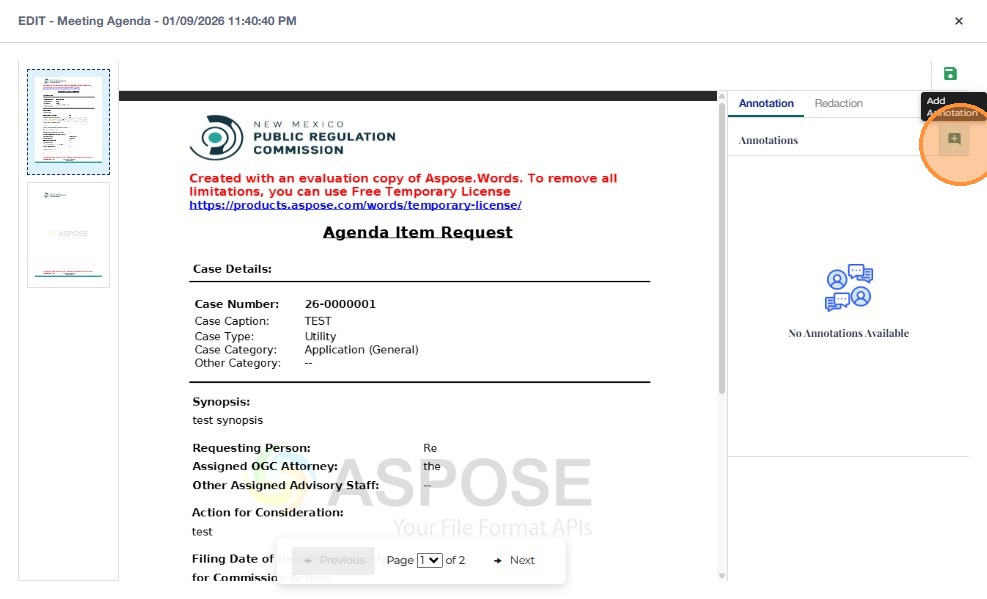
- Type the desired comment and click the Save icon to save the annotation.
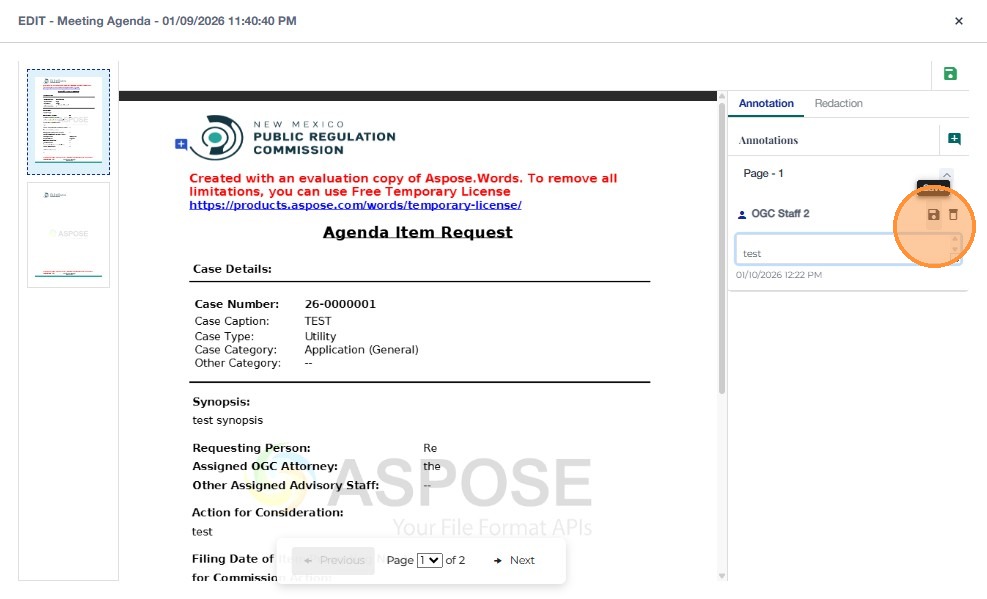
- To remove a comment, click the Delete icon for that annotation.
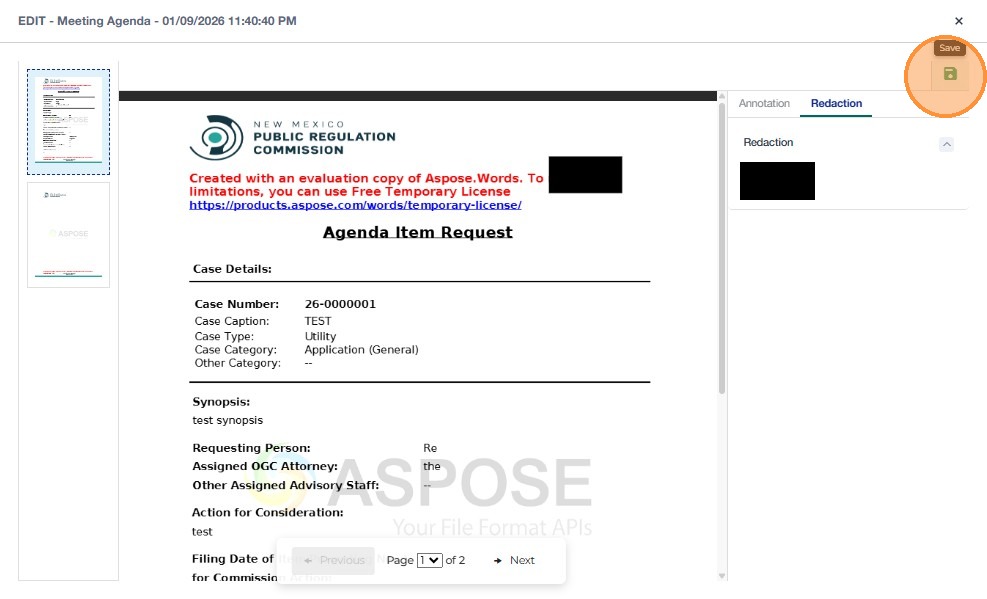
11. Apply Redactions
- Click the Redaction tab to redact sensitive portions of the document.
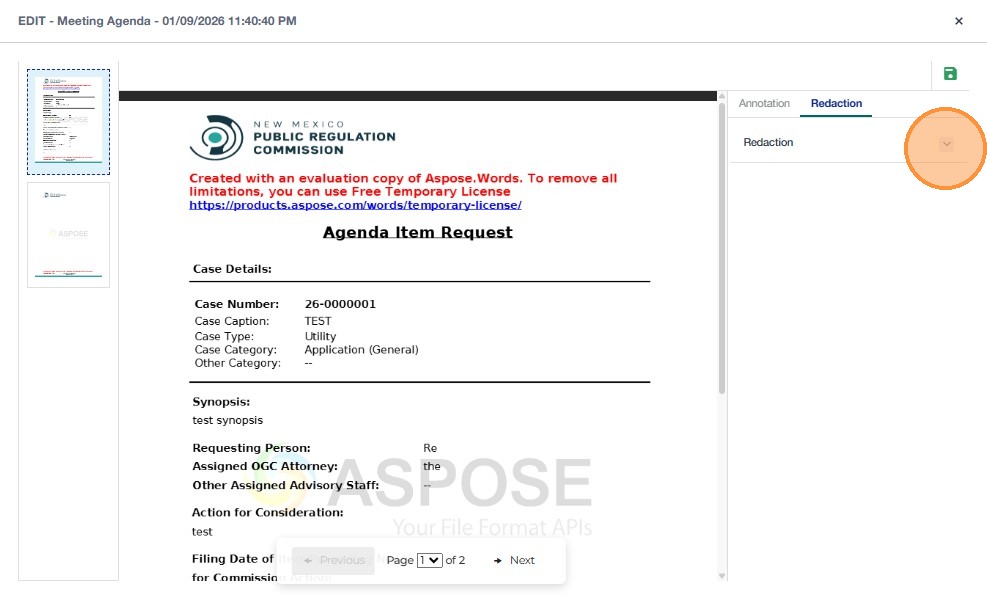
- Click the redaction selection icon to draw a redaction rectangle.
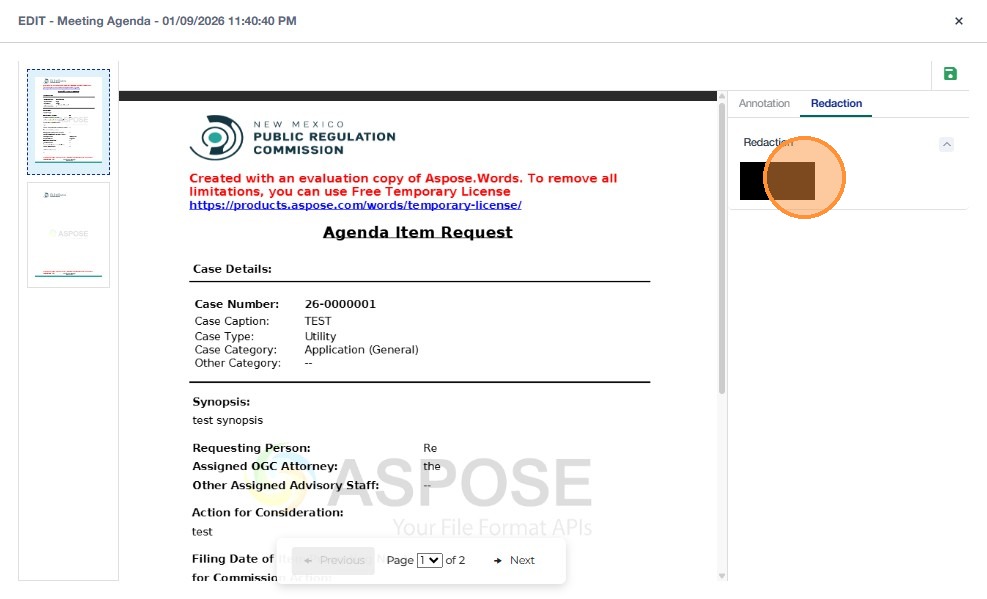
- Resize and drag the rectangle to cover the text or section that needs to be redacted.

Update Status of an Agenda Item
COS Division
Users in the COS Division can:
- Create agenda items.
- Edit agenda item details.
- Update the status of agenda item requests.
- Apply annotations, stamping, and redactions as described above.

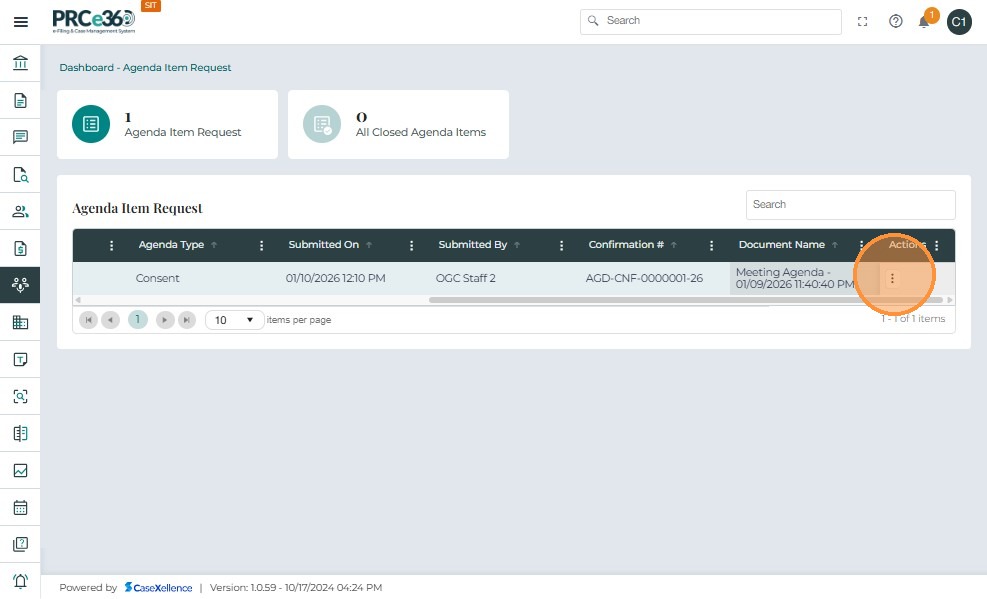
1. View Agenda Item Requests
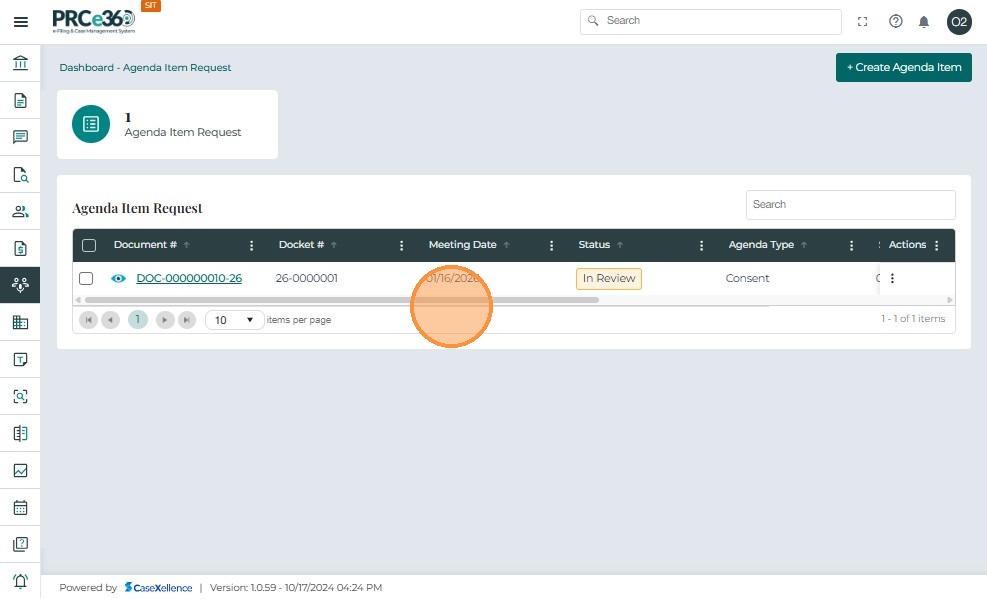
- In the Agenda Item Request queue, all active agenda item requests are listed.
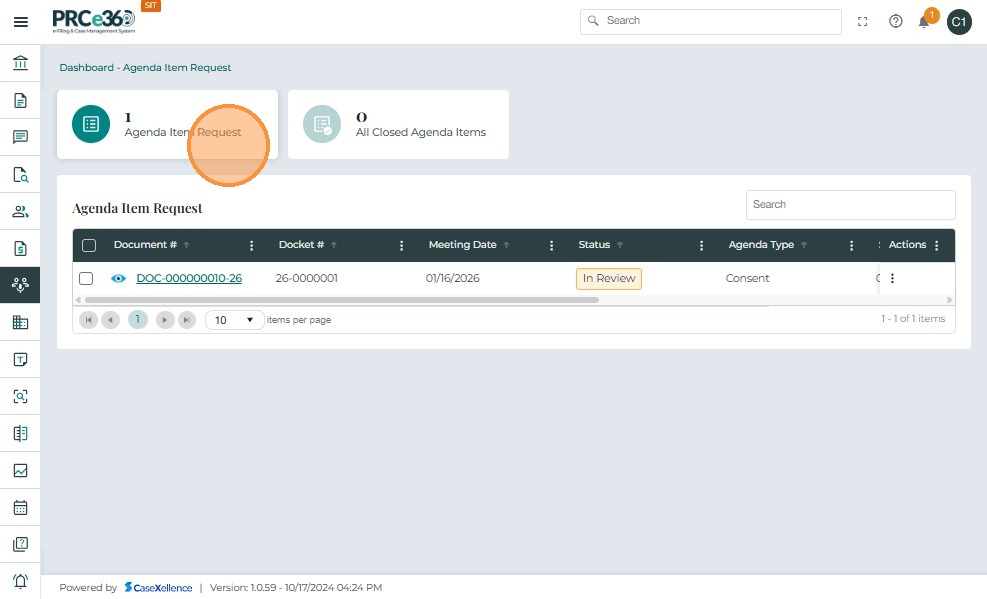
- The current Status of each agenda item (e.g., In Review) is displayed in the queue.
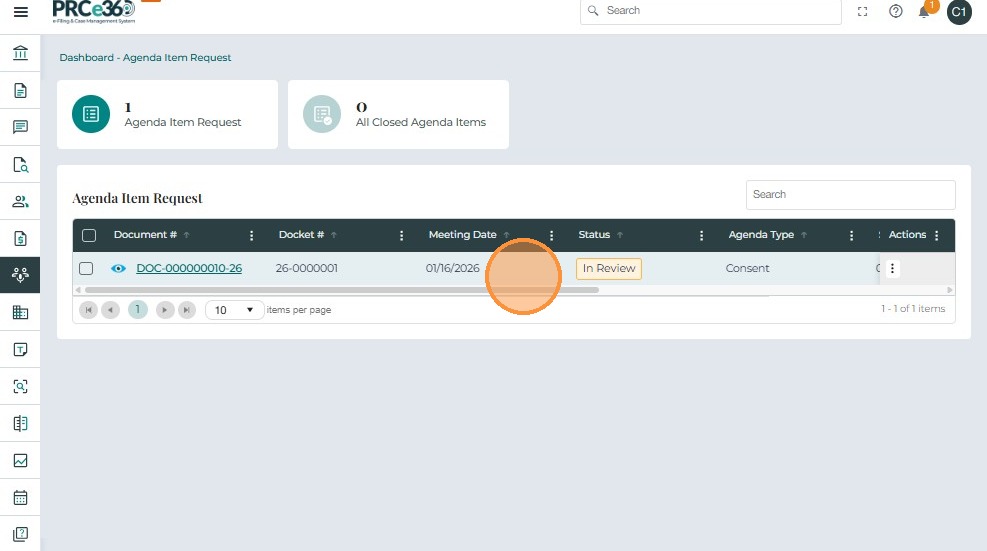
2. Change the Status of a Request
- Click the Actions (three dots) menu for the selected agenda item.
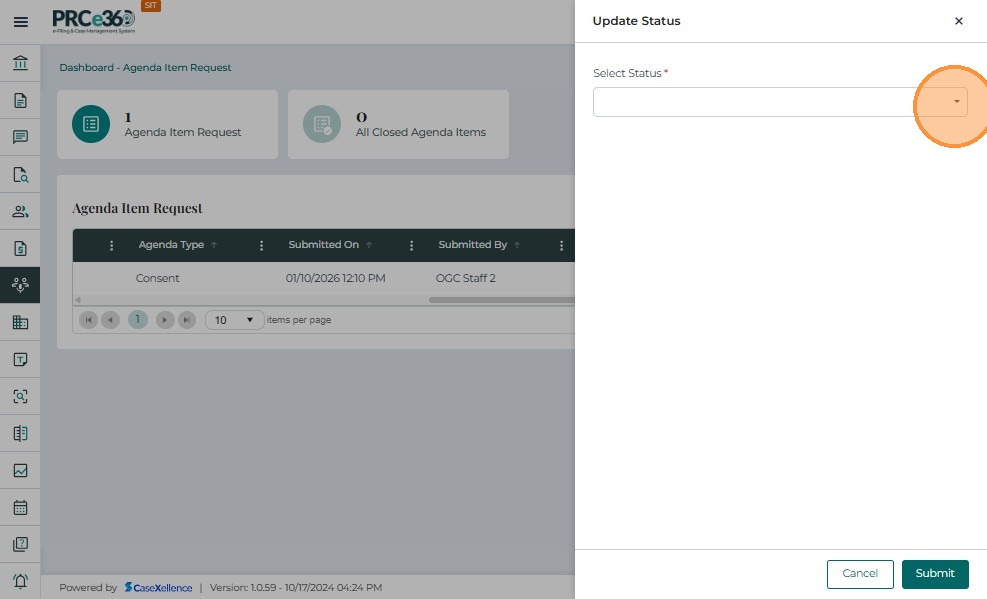
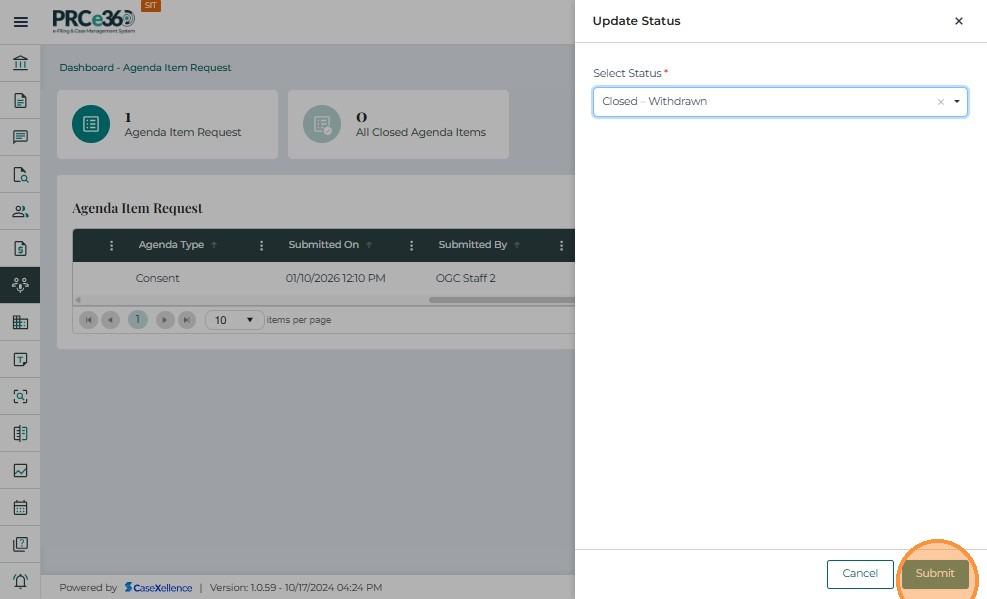
- Click Update Status.
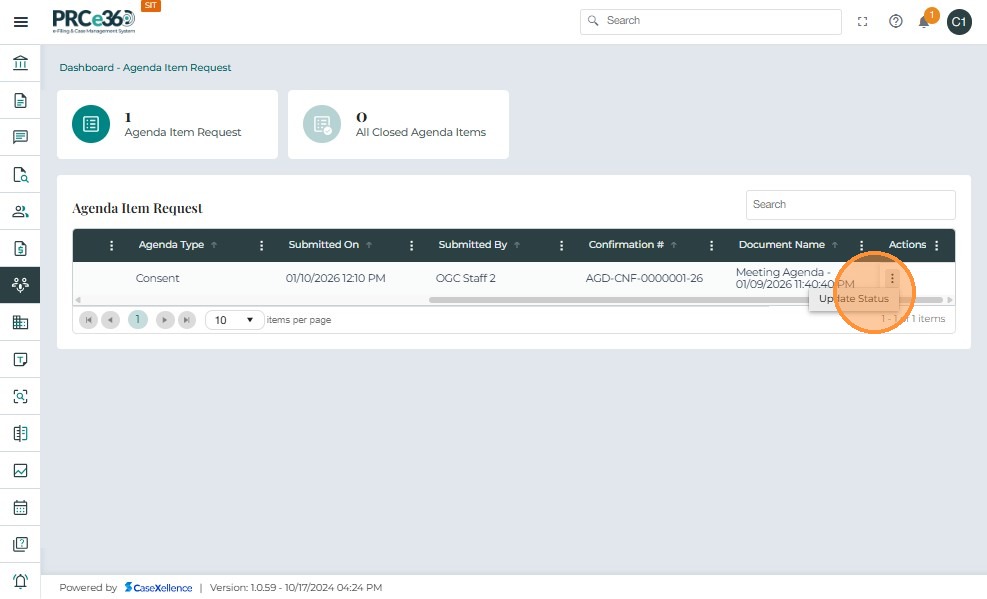
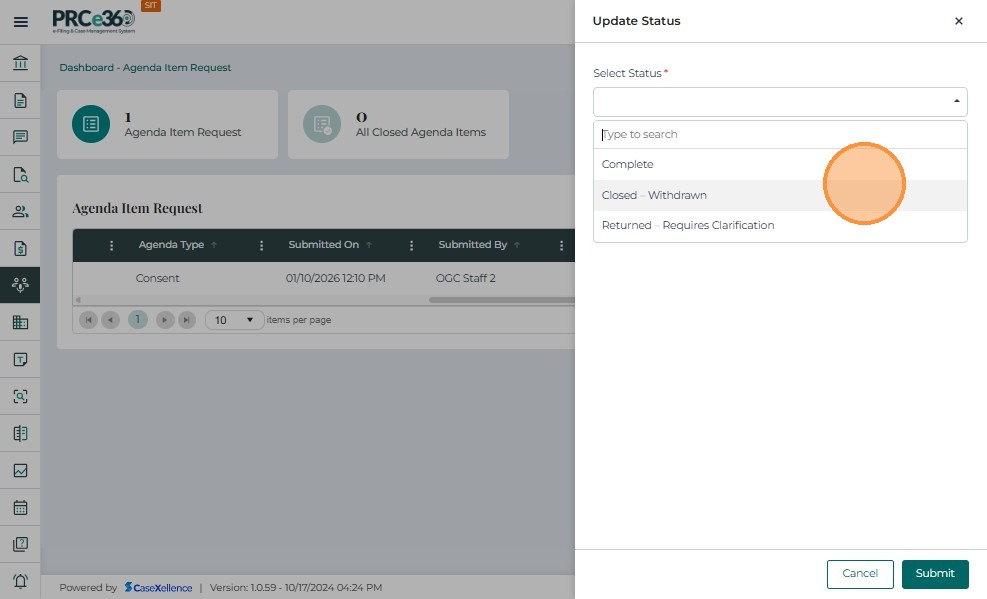
- A status selection window appears, allowing you to choose the new status for the agenda item.
Status Options and Outcomes
| Status | Action |
|---|---|
| Complete | Status changes to Complete. The document is removed from the Agenda Item Request queue and moved to the All Closed Agenda Items queue. |
| Not Applicable | Status changes to Not Applicable. The document is removed from the Agenda Item Request queue and moved to the All Closed Agenda Items queue. |
| Closed - Withdrawn | Status changes to Closed - Withdrawn. The document is removed from the Agenda Item Request queue and moved to the All Closed Agenda Items queue. |
| Returned - Requires Clarification | Status changes to Returned - Requires Clarification. The document remains in the Agenda Item Request queue for further updates. |
- Select the appropriate status and click Submit.
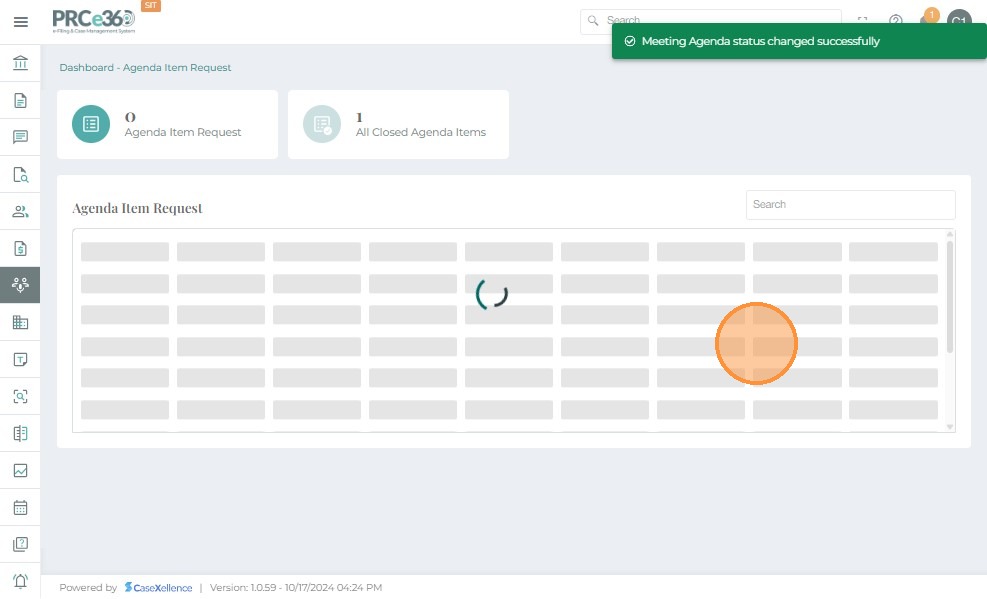
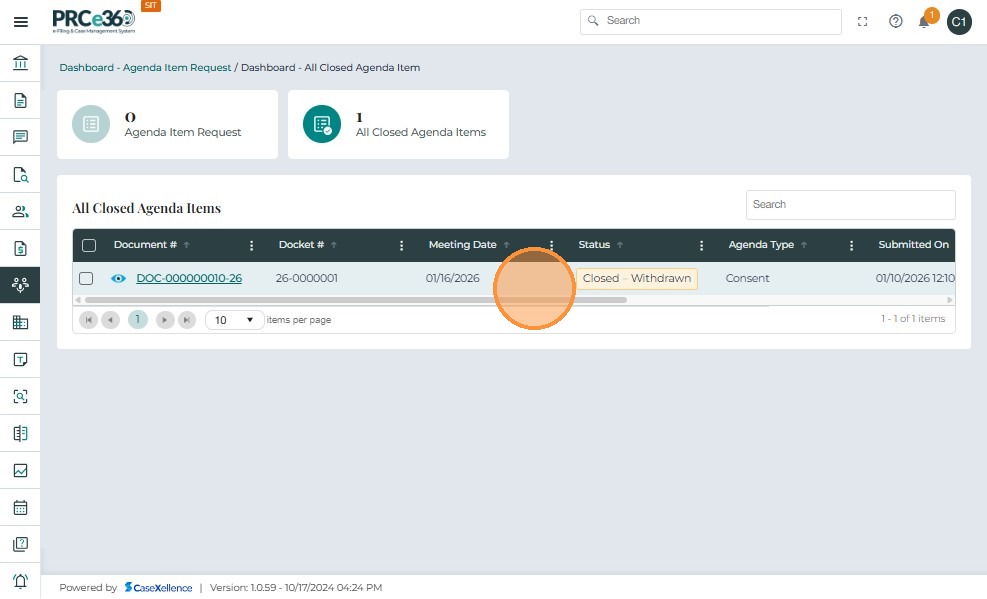
3. View Closed Agenda Items
- If the status is set to Complete, Not Applicable, or Closed - Withdrawn, the request is moved to the All Closed Agenda Items queue.
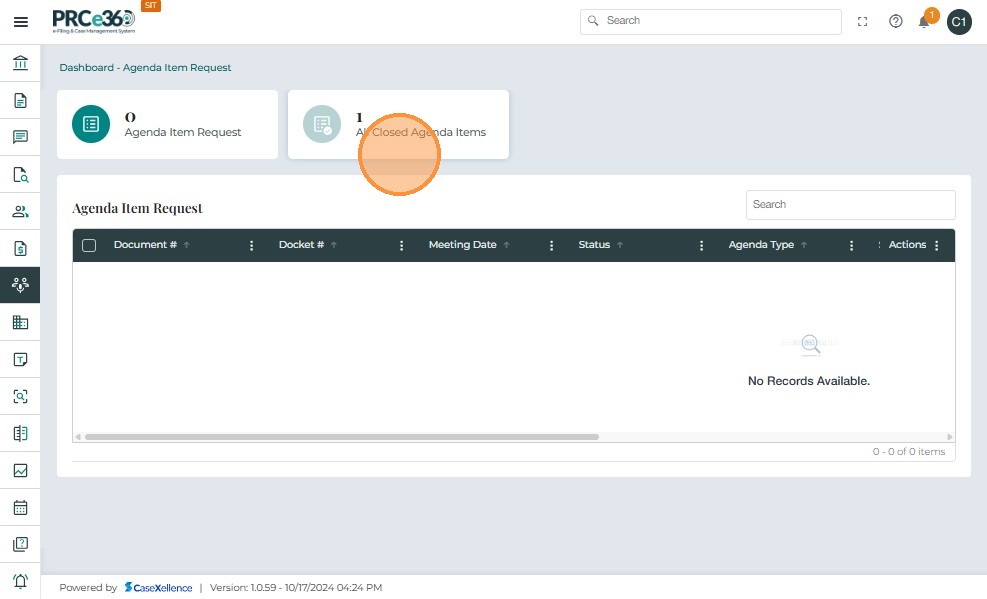
- The Status column in the All Closed Agenda Items queue reflects the final status selected by the user (e.g., Complete, Not Applicable, Closed - Withdrawn, or Returned - Requires Clarification).