Applicants Identified for Interview Form
The Applicants Identified for Interview Form is used by the HR Division and Hiring Managers to record applicant interview decisions, applicant details, and internal HR information required for the recruitment process. This form helps ensure that all interview-related information is documented, validated, and routed for review and archival.
The form supports:
- Recording hiring manager and requisition details
- Adding and managing applicant interview entries
- Completing HR information
- Assigning tasks to other HR users for collaborative completion
- Saving progress and returning later
- Submitting the form to generate an official PDF document
Users Involved
| User Role | Functionalities |
|---|---|
| HR Manager | Can create, edit, assign tasks, save, submit, and view all pending/completed forms. |
| HR Staff | Can create, edit, assign tasks, save, submit, and view all pending/completed forms. |
| Hiring Manager | Can create or edit the form only when creator/assignee, add applicants, save, and view only their own assigned/created forms. |
Steps to Submit the Form
1. Sign In to the System
Enter the username or email and password, then click Sign In to access the HR Dashboard.
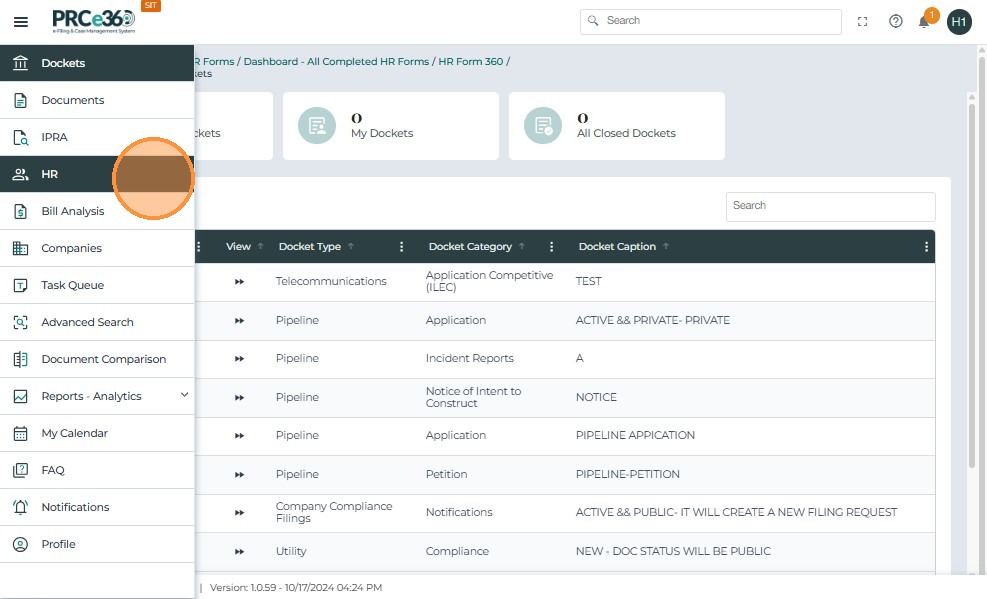
2. Access the HR Forms Section
From the left navigation menu, click HR to access the HR forms section.
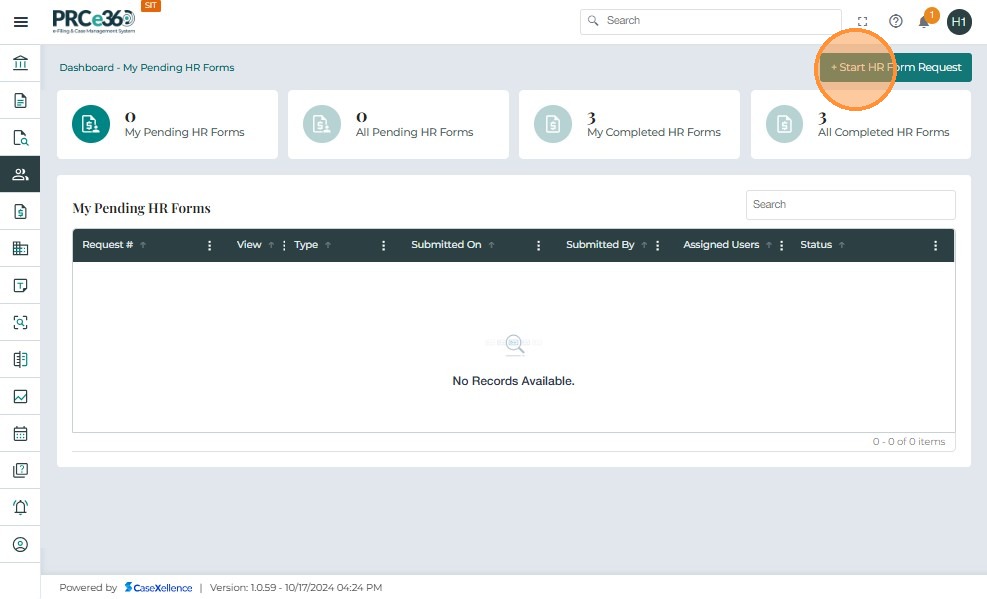
3. Start HR Form Request
On the top-right corner of the Dashboard, click Start HR Form Request. This opens a popup listing all HR forms available based on your role.
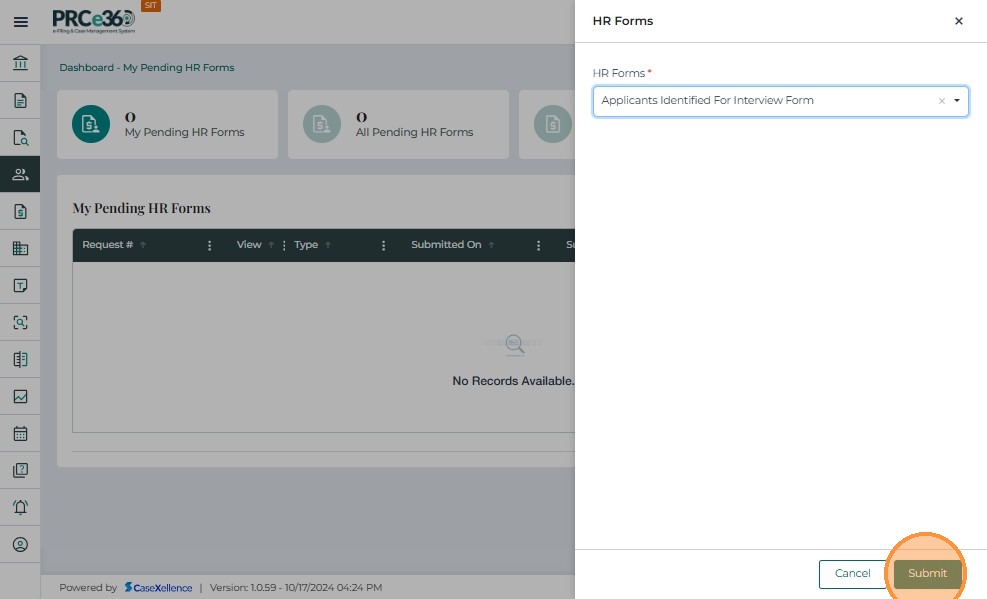
4. Select Applicants Identified Form
In the HR Forms dropdown list, scroll and select Applicants Identified Form.


5. Submit Form Selection
After selecting the form, click Submit to proceed to the form layout.
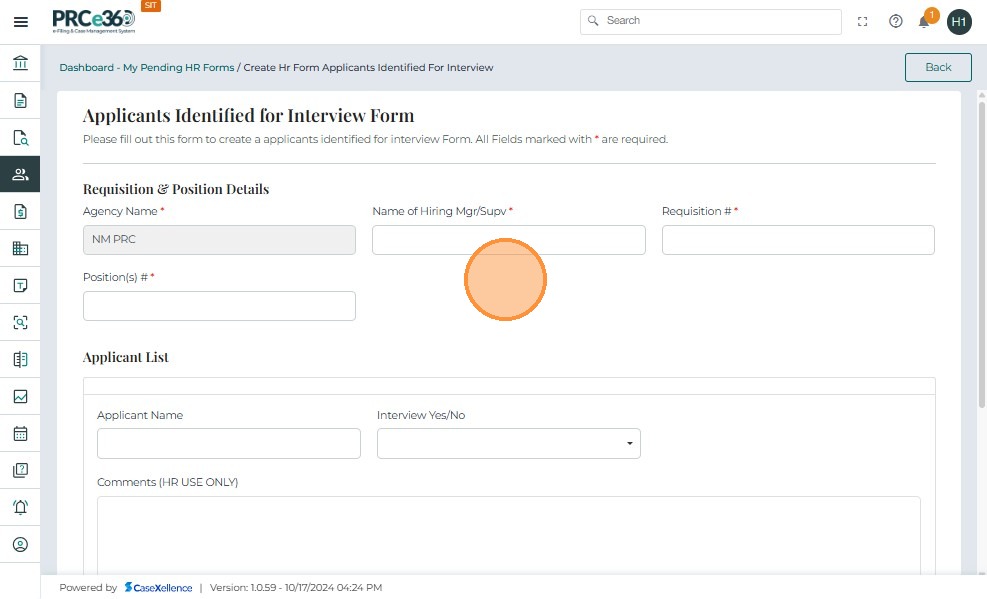
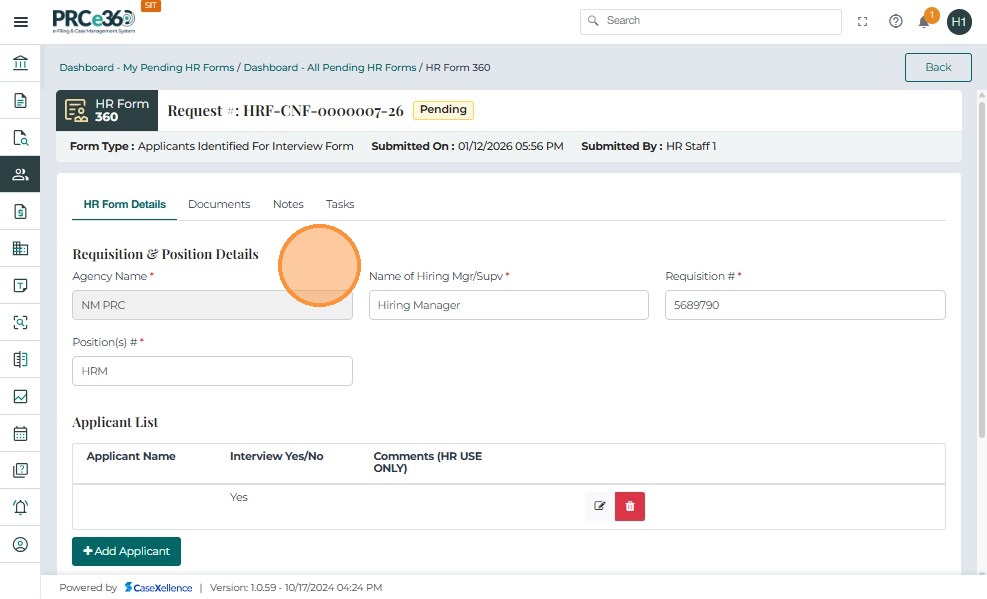
6. Complete Requisition & Position Details
When the form loads, you must complete the required fields in the Requisition & Position Details section.
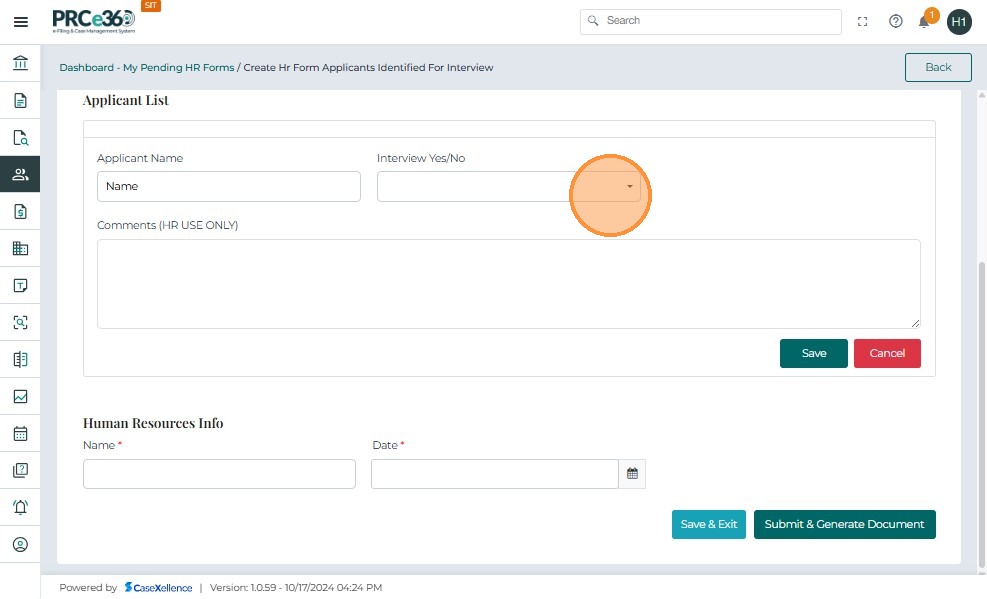
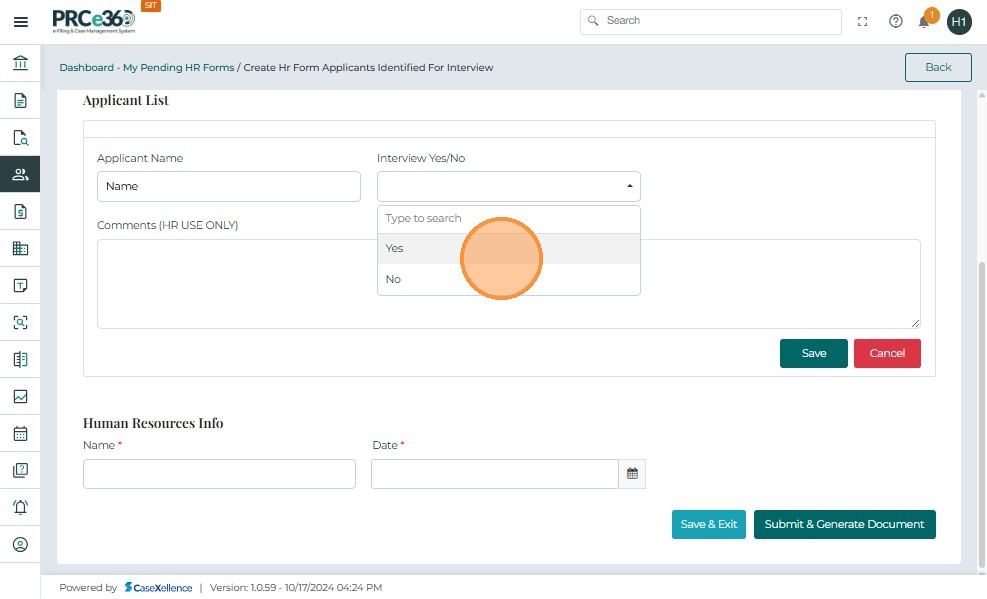
7. Add Applicant Information
This section allows you to add one or more applicants who were considered for interviews. Each applicant row includes the following required fields:
- Applicant Name
- Interview – Yes/No
- Options – Required when candidate was not interviewed
- Comments (HR Use Only) – Optional
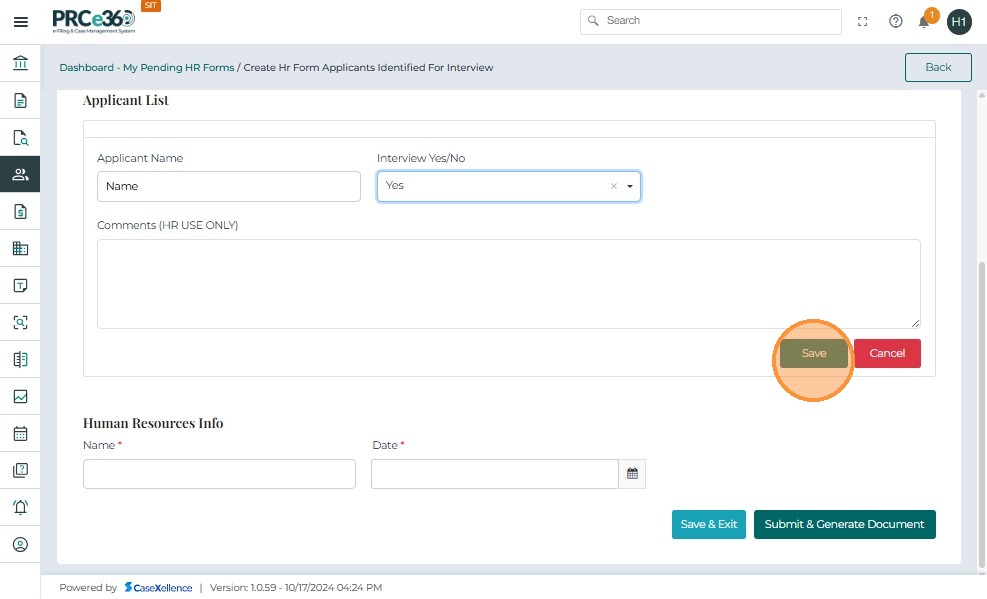
8. Save Applicant Entry
After filling all required fields, click Save to add the applicant to the list.
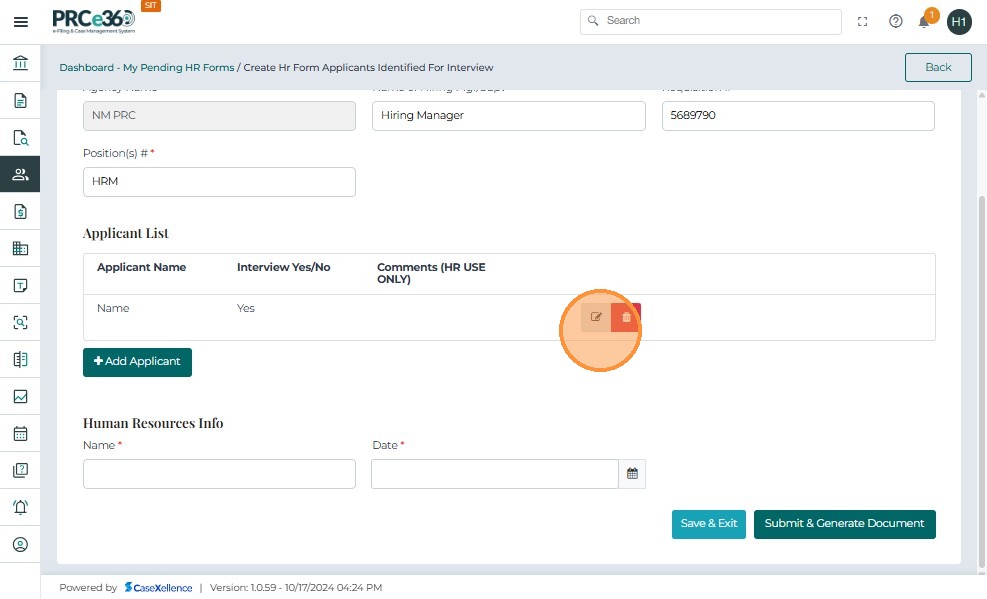
9. Manage Applicant List
Once saved, the applicant appears as a new row in the Applicant List table. You can:
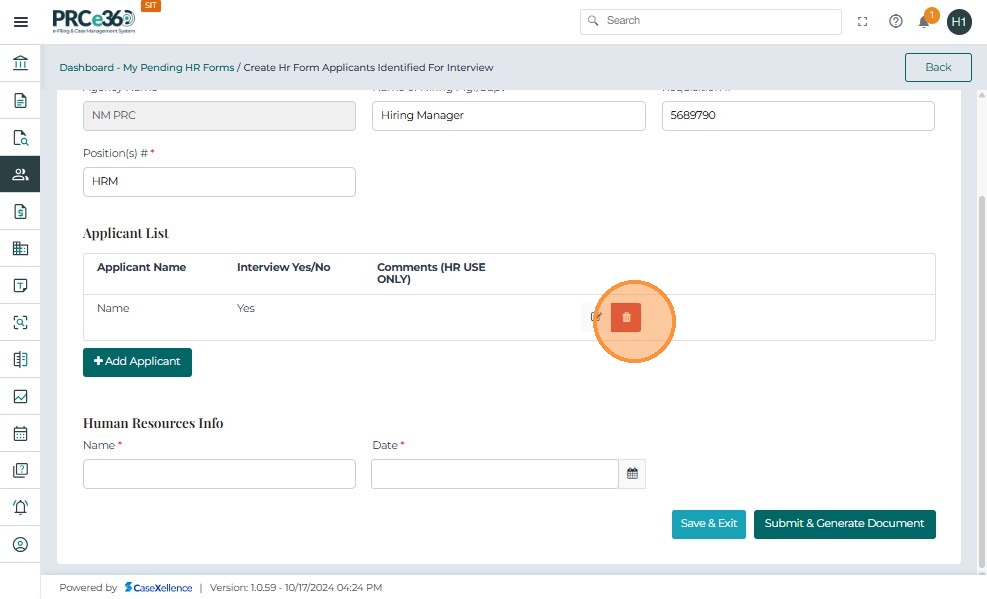
- Edit the entry
- Delete the entry
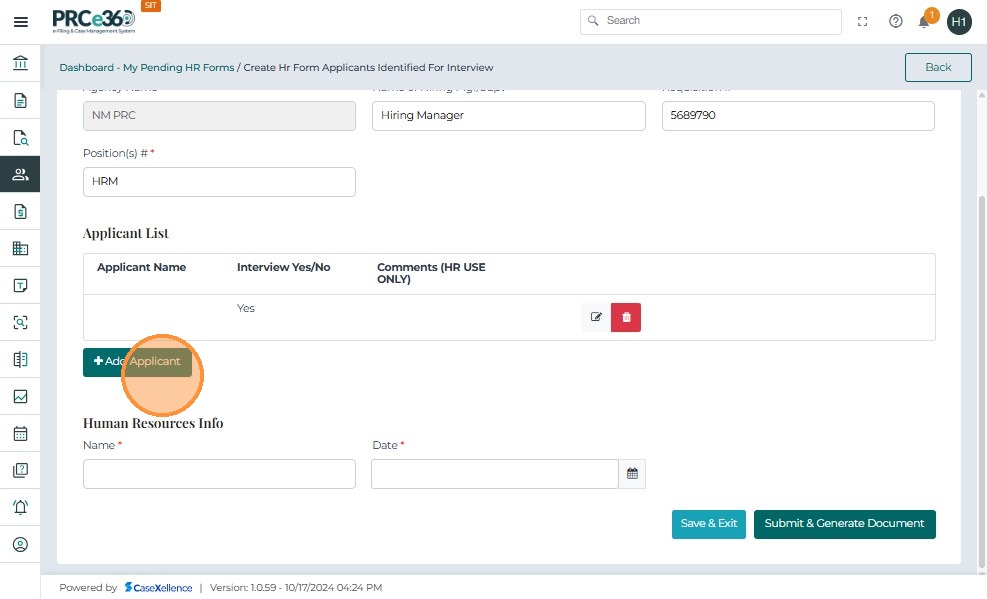
- Add Applicant
You may add multiple applicants to the form as needed. Click + Add Applicant to enter a new applicant record.
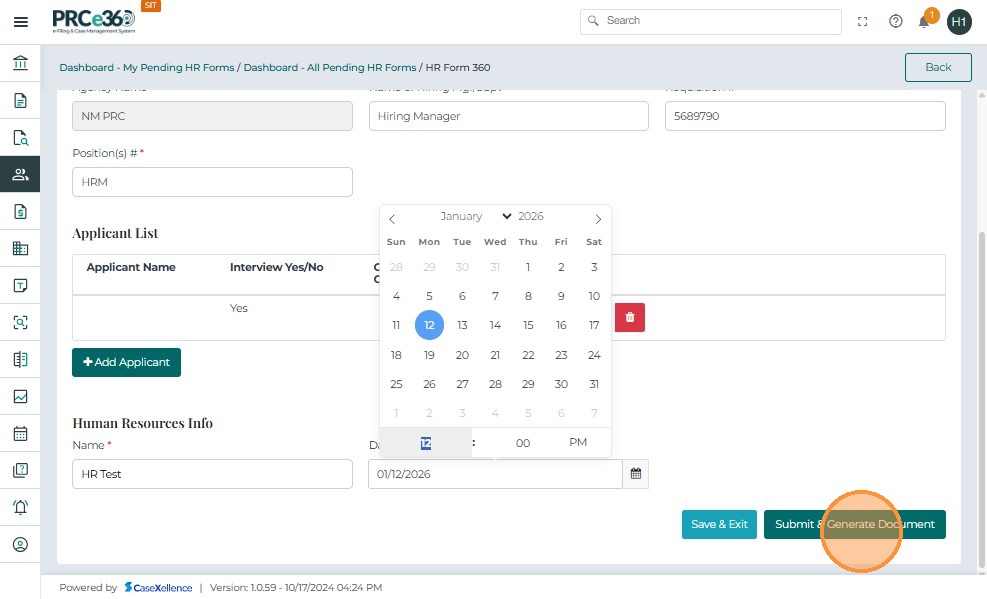
10. Complete HR Information
This section must be completed before submitting the form. Enter the Name and Date.
11. Save and Exit (Optional)
Click Save & Exit to save progress and return to the form later. The form will move to My Pending HR Forms.

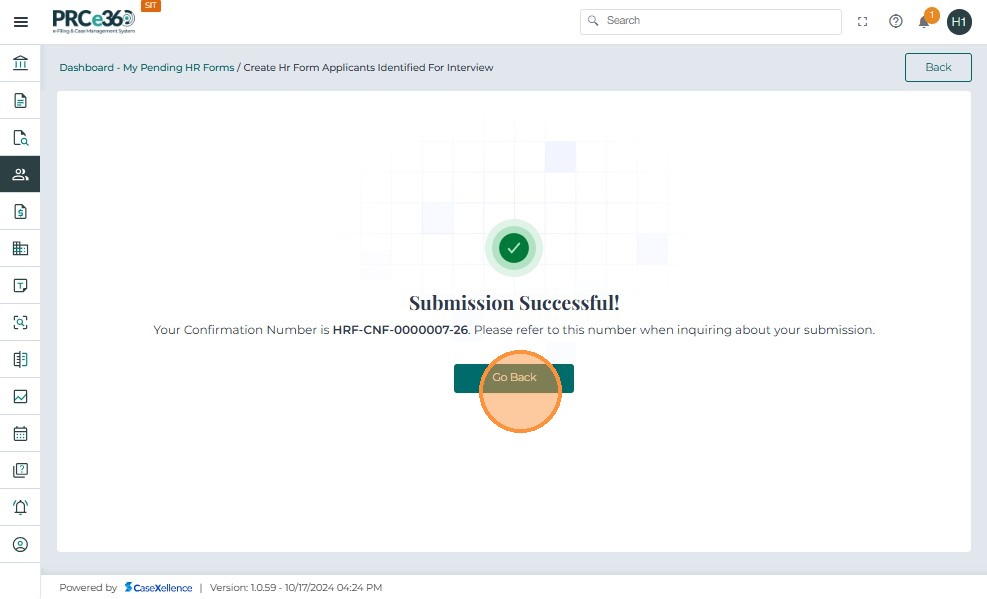
12. Submit the Form
After clicking Submit, and once all validations have passed, the system generates a confirmation screen indicating that the form has been successfully completed. Click Go Back to return to the HR Dashboard or continue with other actions.
Resume a Pending Form
When a user selects Save & Exit, the form is stored as Pending and moves to the My Pending HR Forms or All Pending HR Forms list.
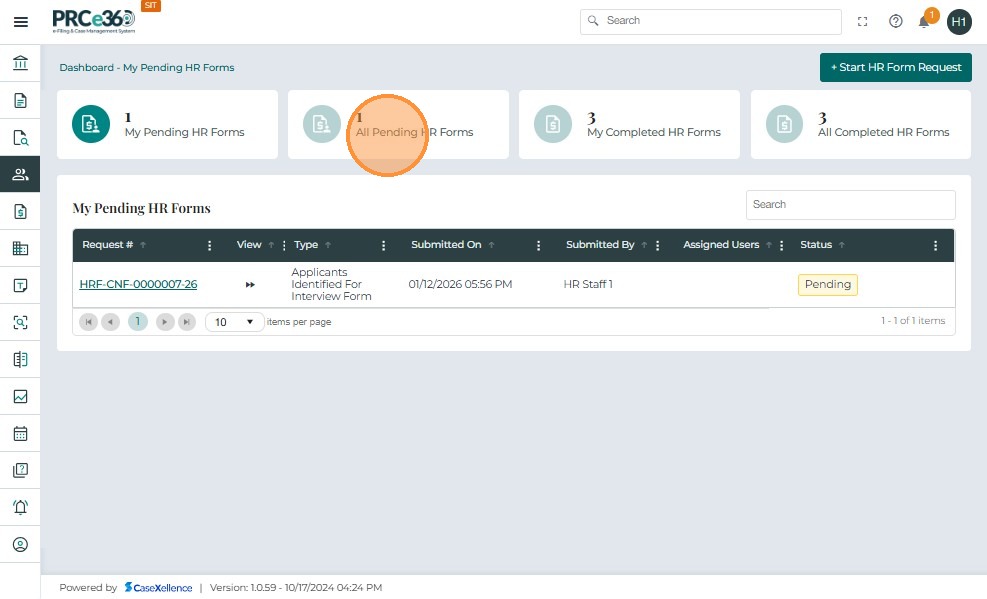
Access a Saved Form
From My Pending HR Forms or All Pending HR Forms, click the Request # of the saved form.
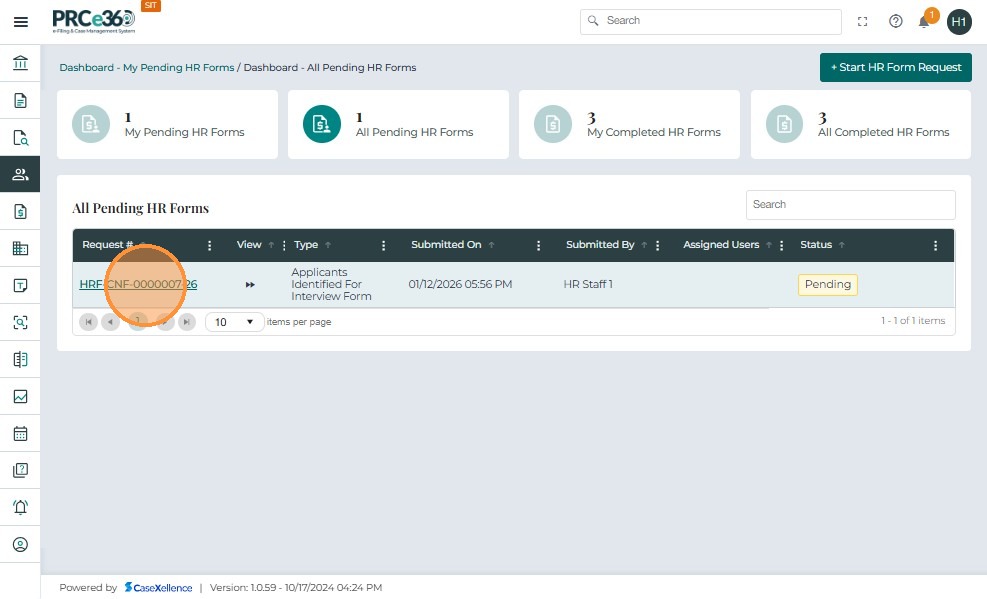
This will open the HR 360 View.
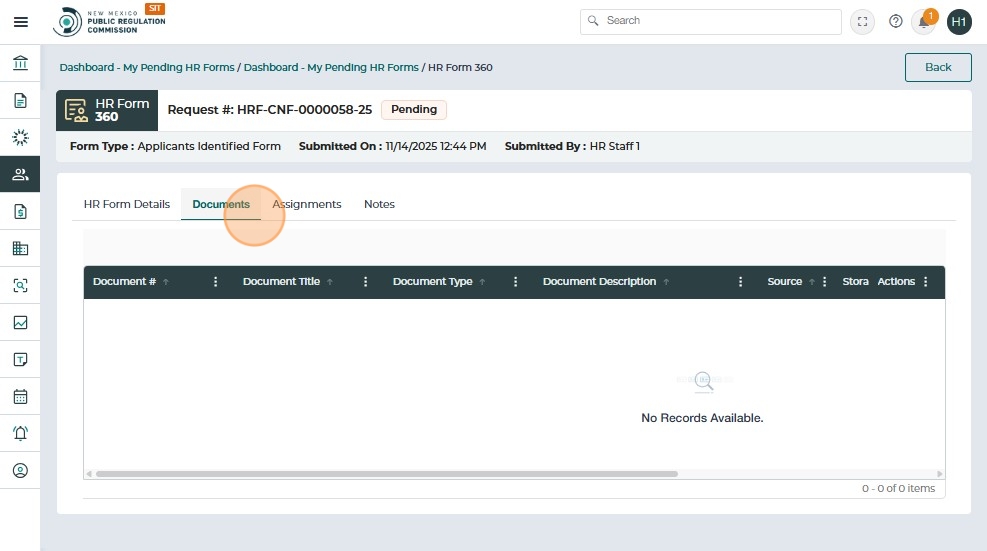
Documents Tab - Pending Status
When the form is still pending, the Documents tab will show: "No Records Available". This is because the system only generates a PDF after submission, not during Save & Exit.
Complete and Submit the Form
Return to the HR Form Details tab. Add missing applicants or HR information as needed. Once you finish editing, click Submit.
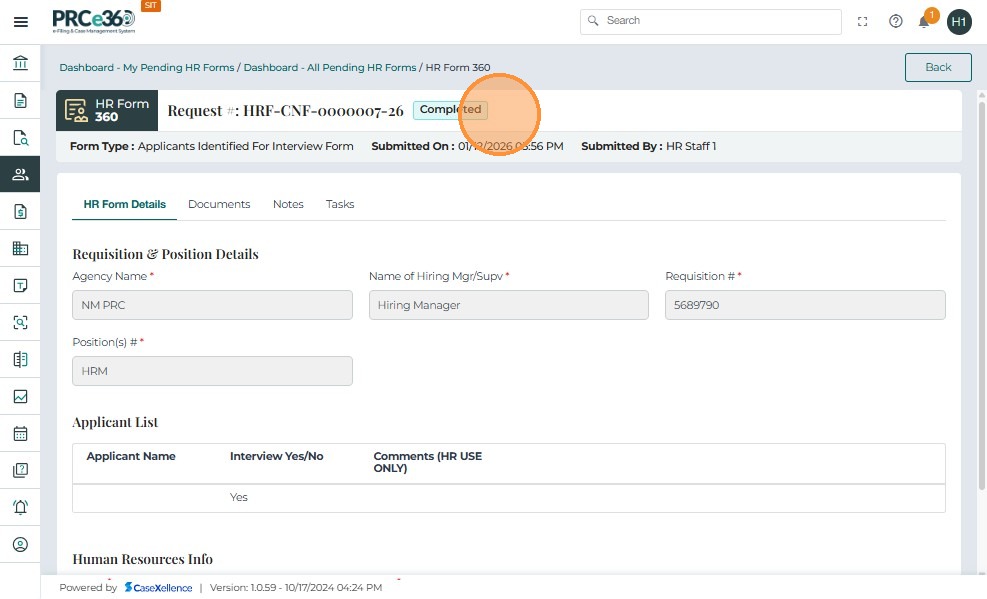
View Completed Form and Generated PDF
Once the form is submitted successfully:
- The status changes to Completed
- A PDF document is automatically generated
- The document appears under the Documents tab
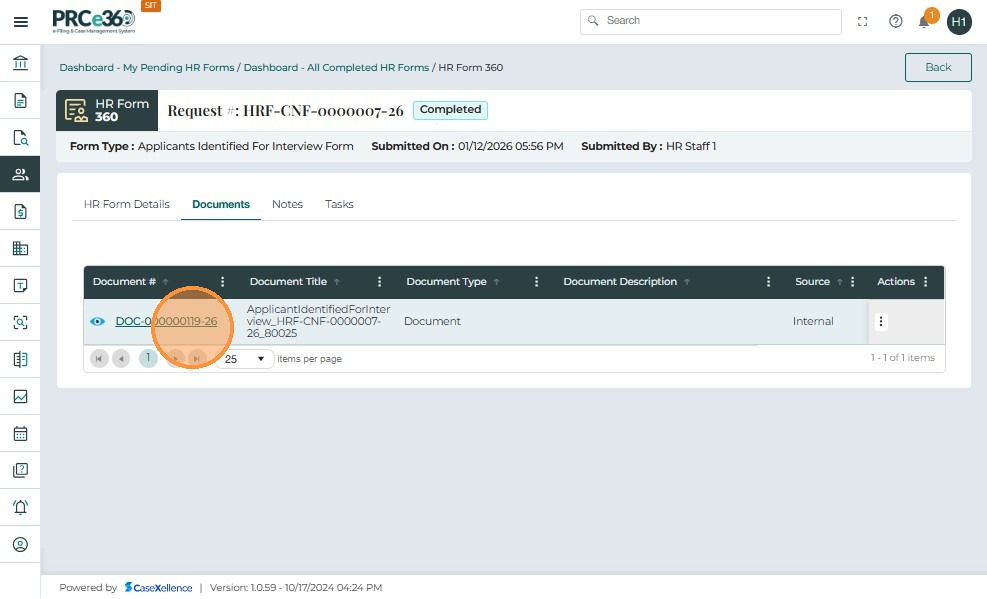
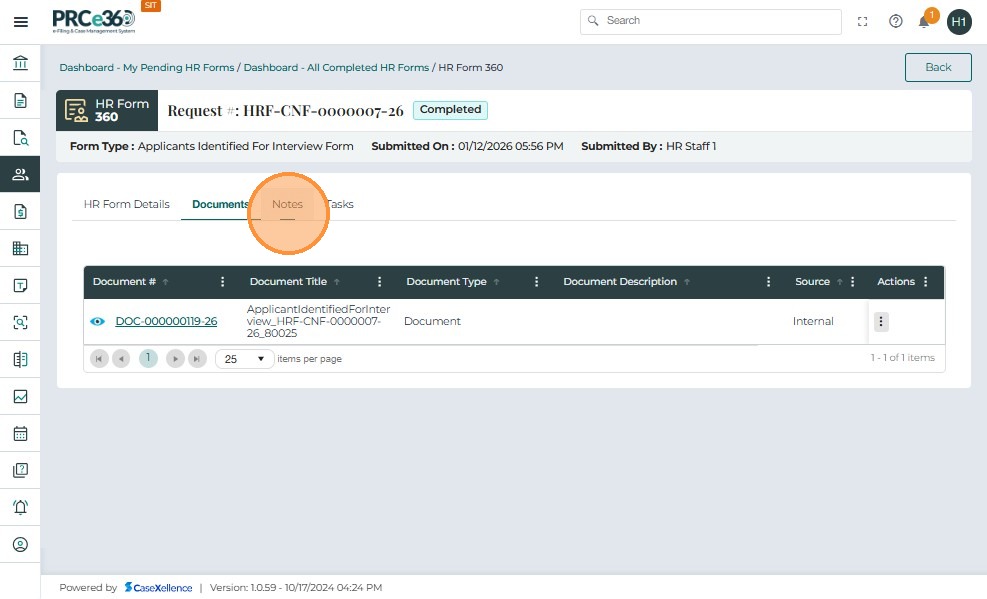
Access the Generated Document
The previously empty Documents tab now displays a generated PDF.
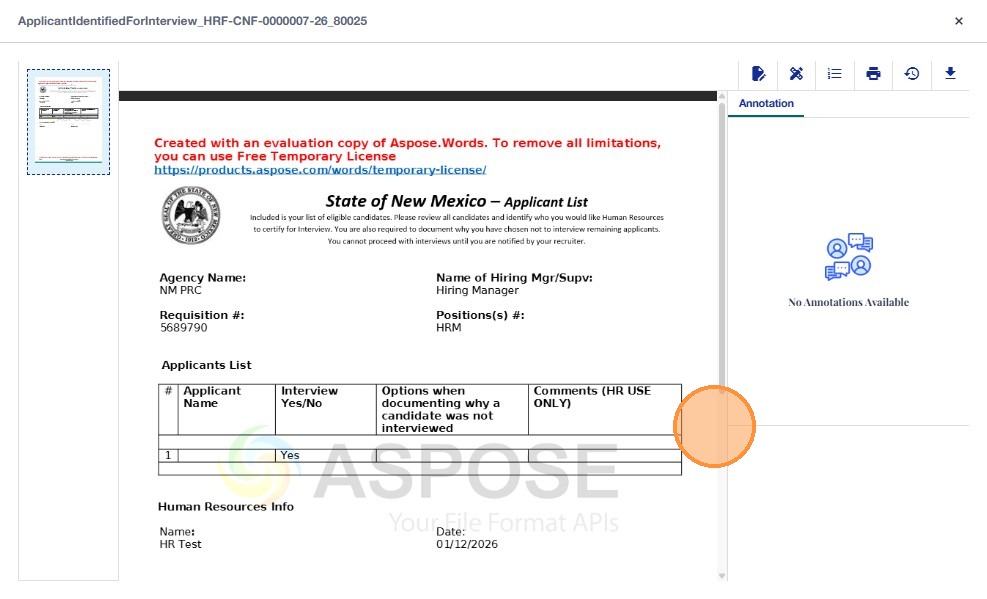
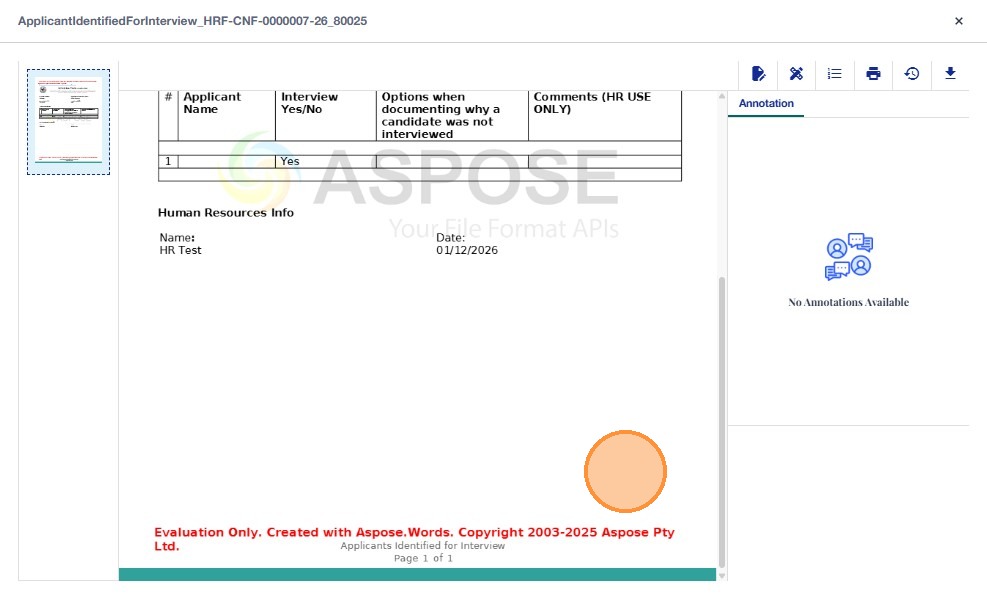
View PDF Document
When you click the Document # link, the PDF opens showing:
- Full applicant list
- Hiring manager details
- HR information
- Page numbering
- Official layout
You can:
- Download
- Zoom
- Close the viewer

Assign the Form to Another User
The Task tab allows HR Staff, HR Manager, or Hiring Manager (if creator/assignee) to assign the form to another eligible user for completion or review. Assignments can be added only while the form is in Pending status.
Access the Task Tab
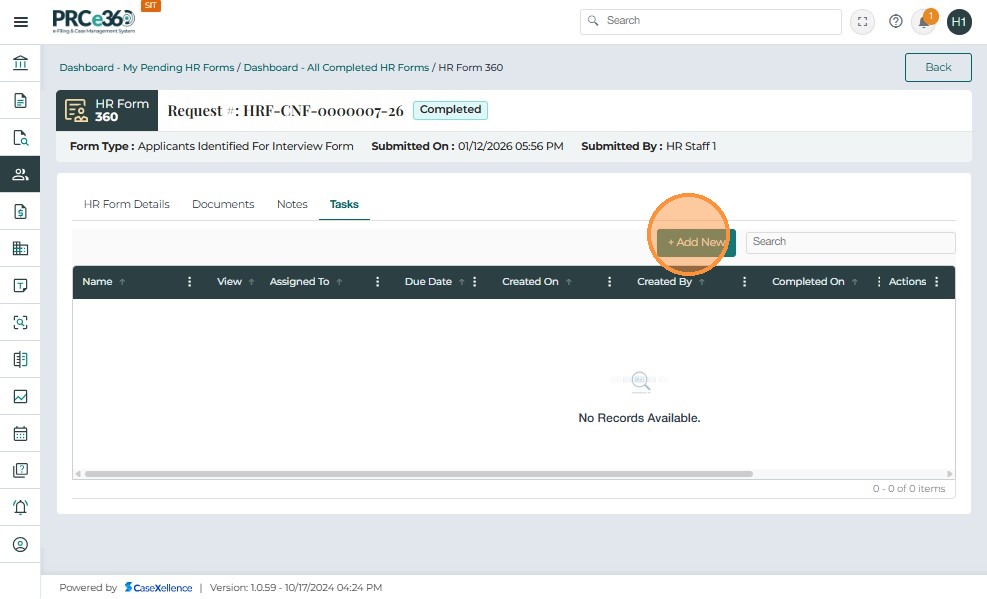
Once inside the form (HR Form 360 view), navigate to the Task tab.

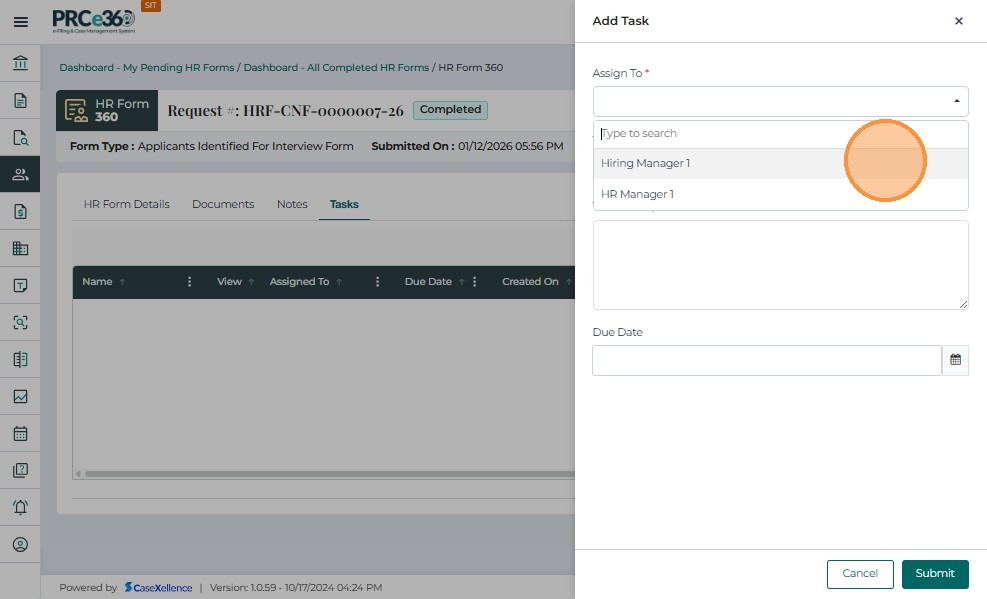
Add a New Assignment
Click + Add New. This opens the assignment popup to select a user.
Select Assignee Role
In the Assign To dropdown, select one of the allowed roles:
- HR Manager
- HR Staff
- Hiring Manager
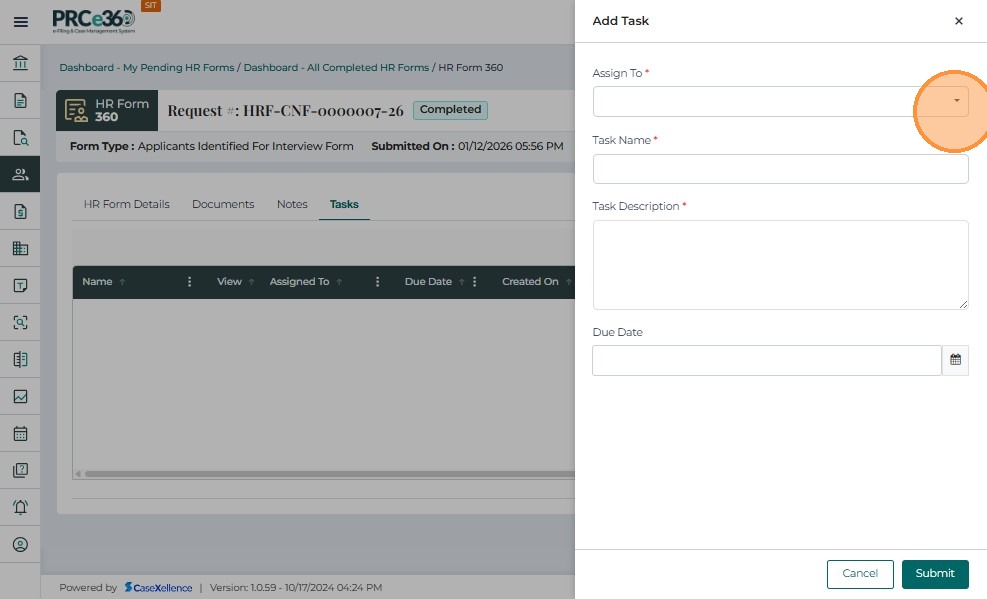
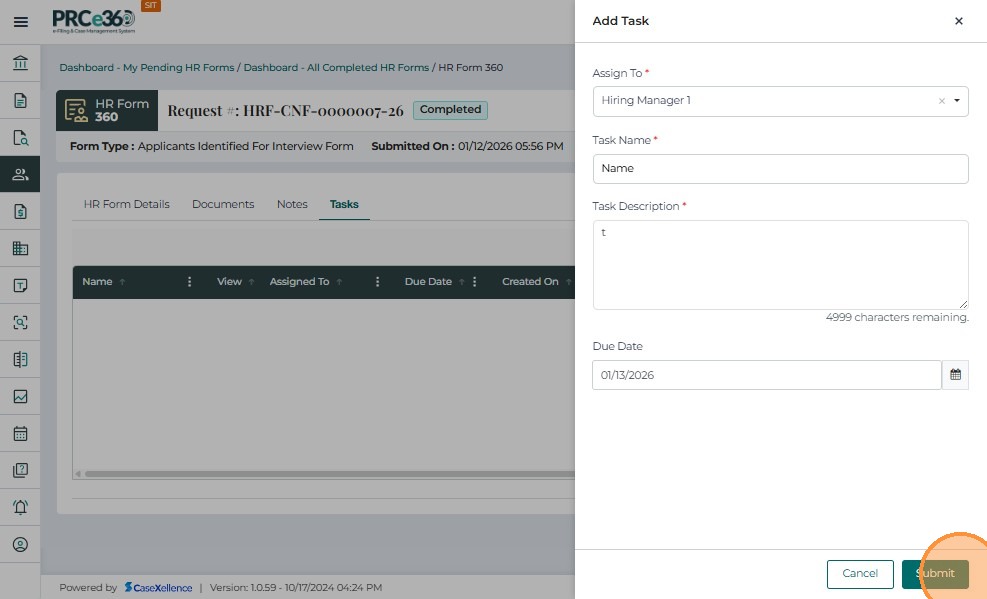
Submit Assignment
After selecting the assignee, click Submit.
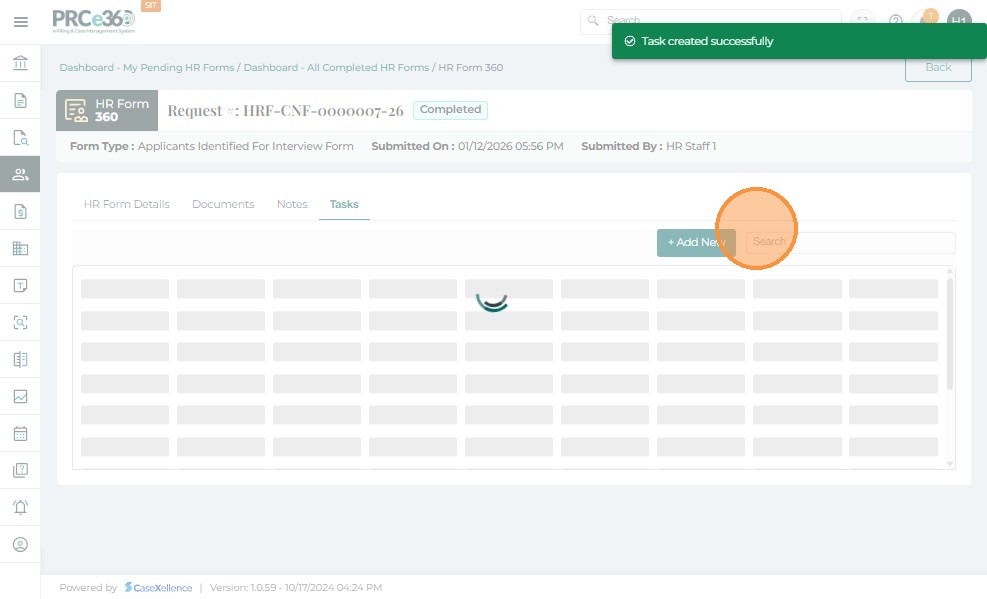
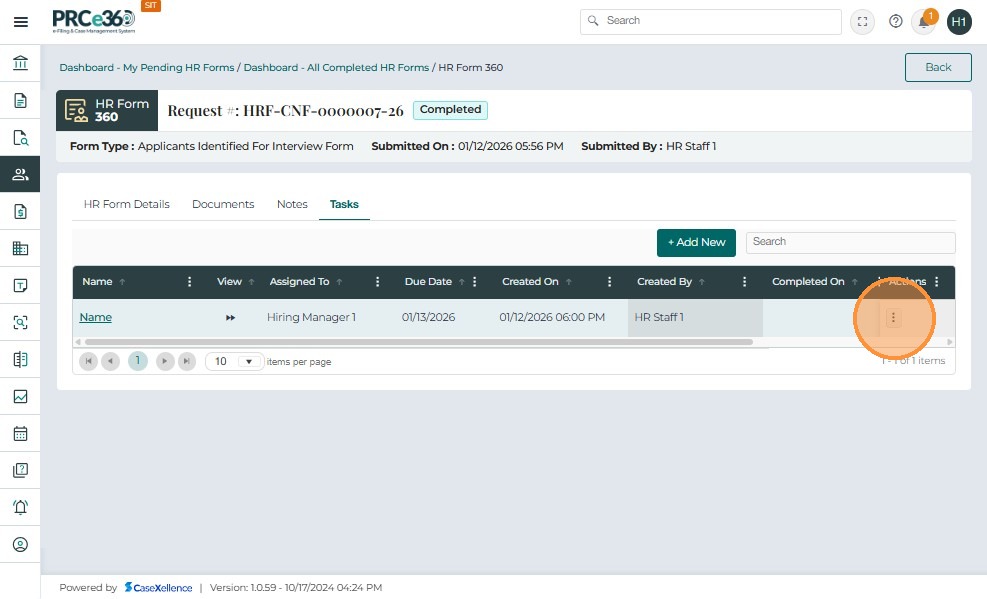
Assignment Confirmation
A success message appears: "HR Form successfully assigned". The assignment now appears in the list with:
- Name
- Phone
- Assigned On
- Assigned By
- Actions
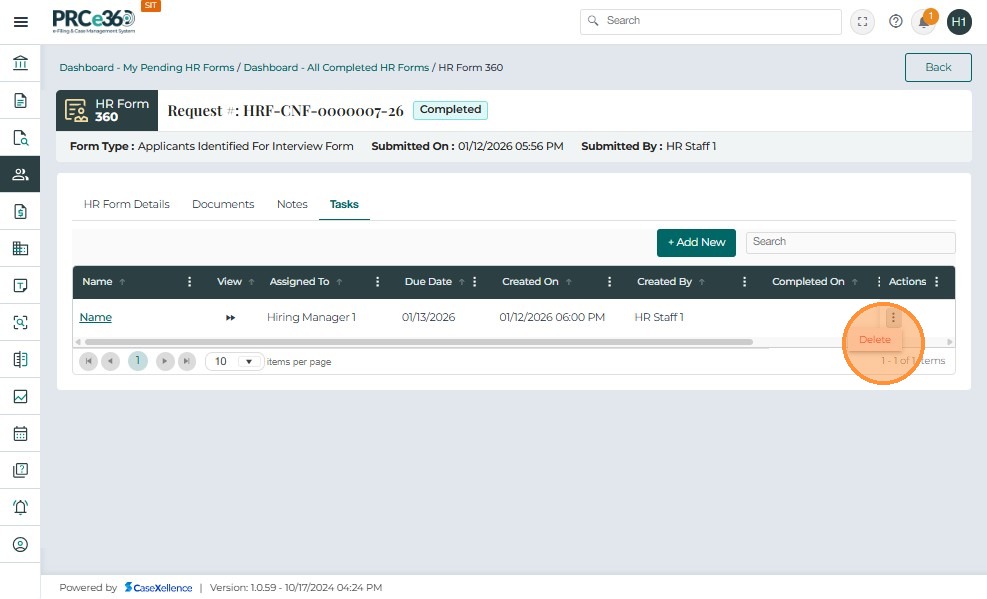
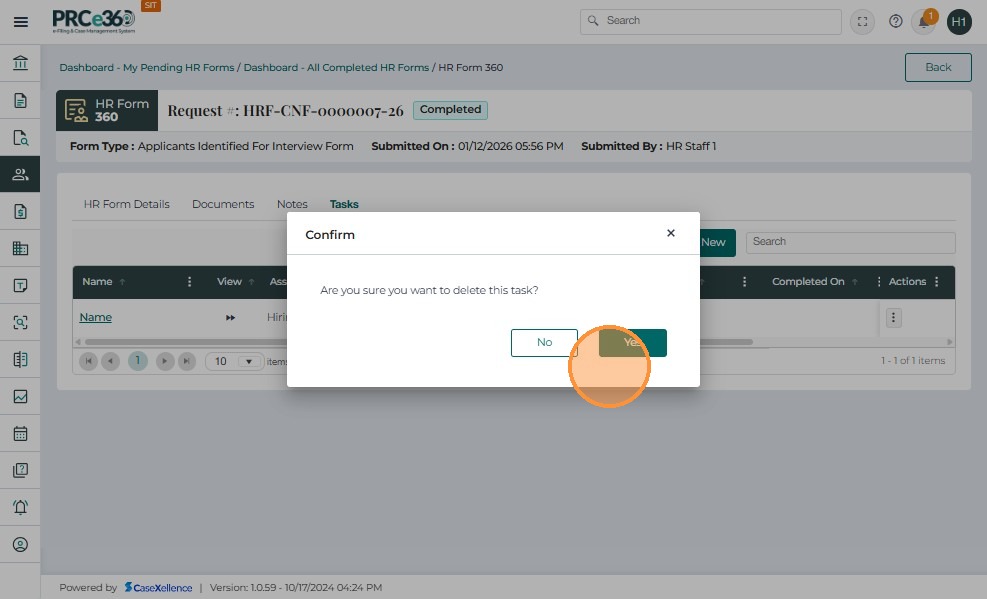
Delete an Assignment
If needed, you can remove an assignment before the form is submitted. Click the three-dot menu under Actions and select Delete.
Add Notes to the Form
The Notes tab allows users to add internal remarks or clarifications related to the Applicants Identified for Interview Form. Notes are helpful for tracking additional comments that are not part of the main form fields. Notes can be added only while the form is in Pending status.
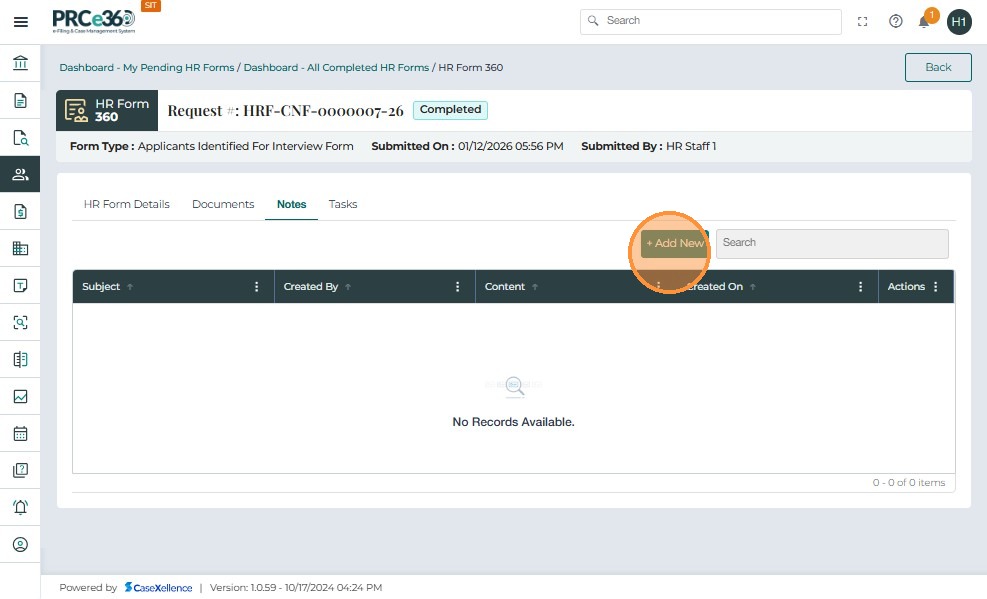
Access the Notes Tab
Inside the HR Form 360 view, click the Notes tab.
Create a New Note
Click + Add New. This opens the Note creation popup.
Enter Note Details
Two fields must be completed:
- Title (required)
- Notes content (required, supports rich text formatting)
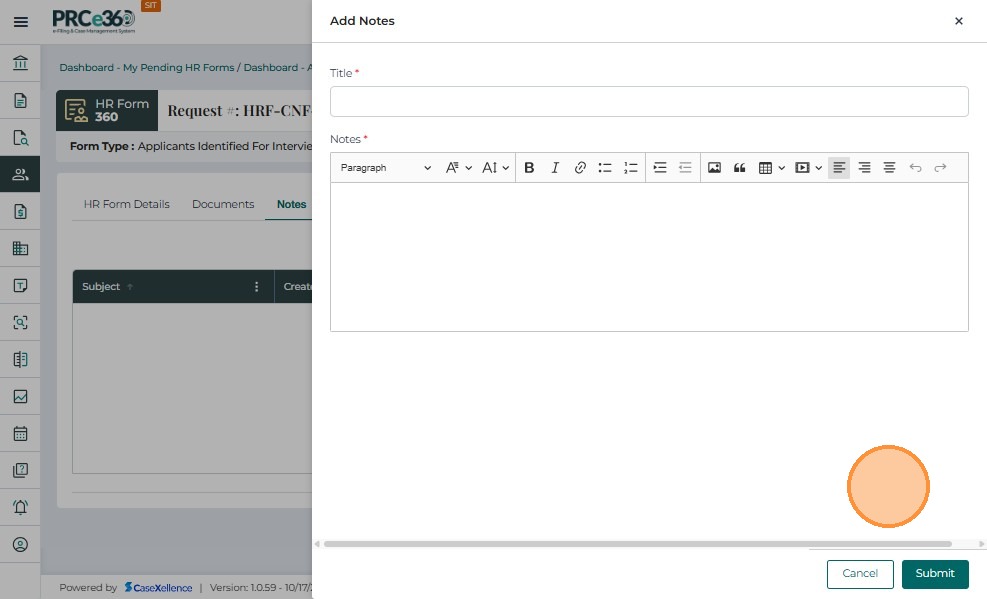
Submit the Note
Click Submit to save the note.
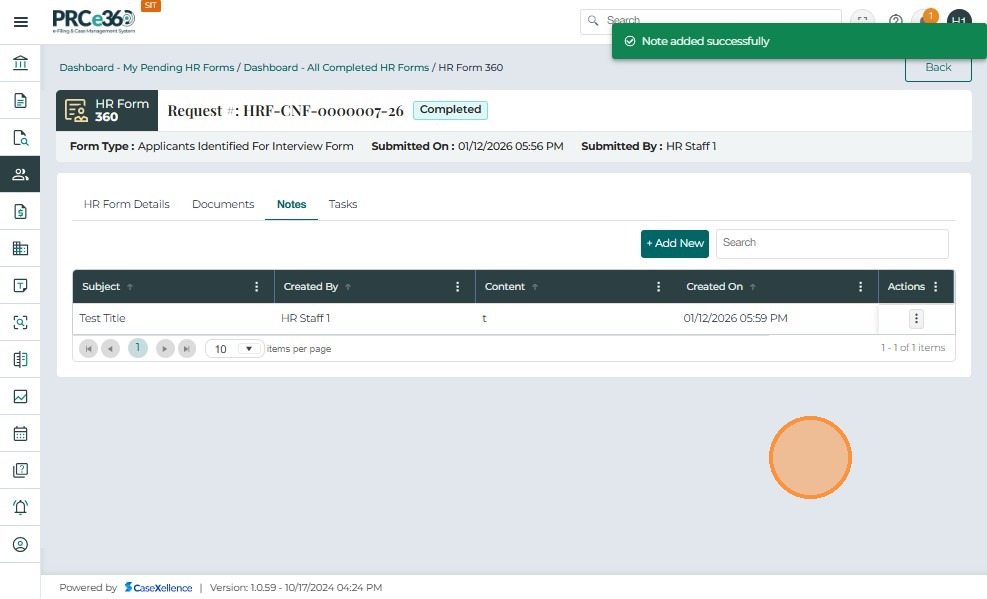
Note Confirmation
A message appears confirming: "Note added successfully". The note is now visible in the Notes table with:
- Subject
- Created By
- Content
- Created On
- Actions
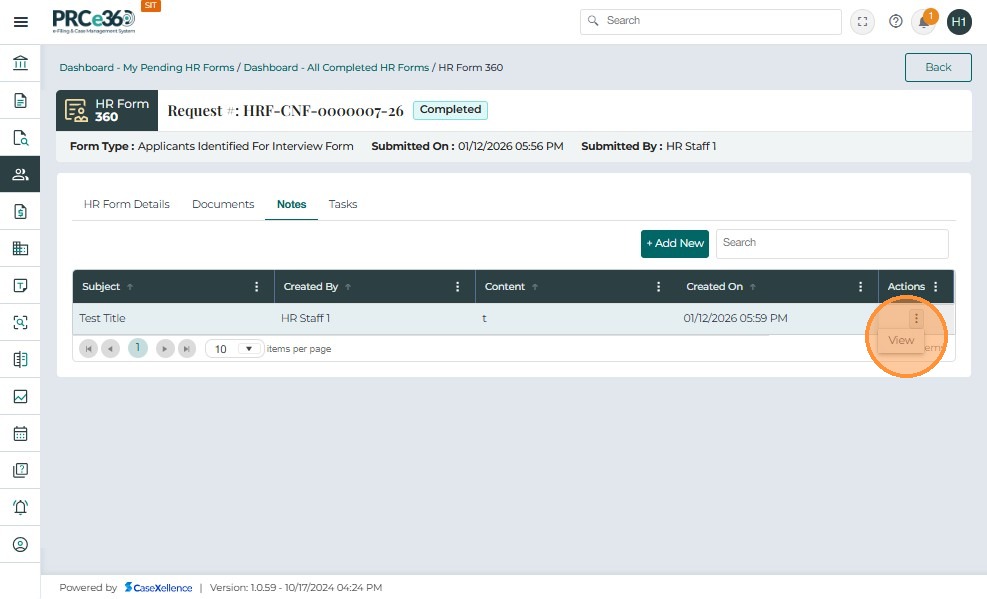
View Note Details
To view details of a note, click the Actions menu and select View.
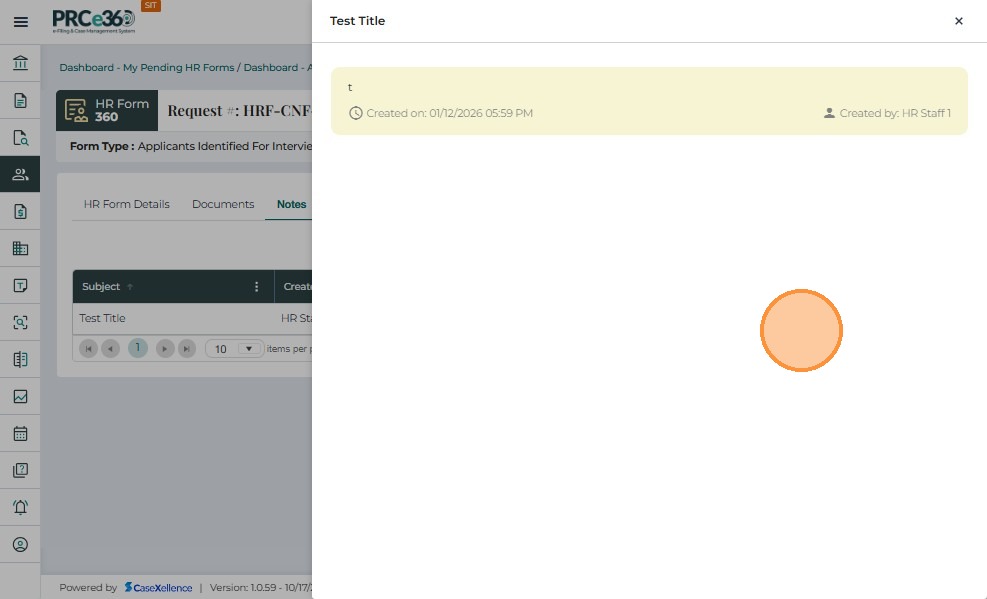
The full note opens in a popup displaying:
- Title
- Content
- Created On timestamp
- Created By
Note: Notes cannot be edited or deleted.
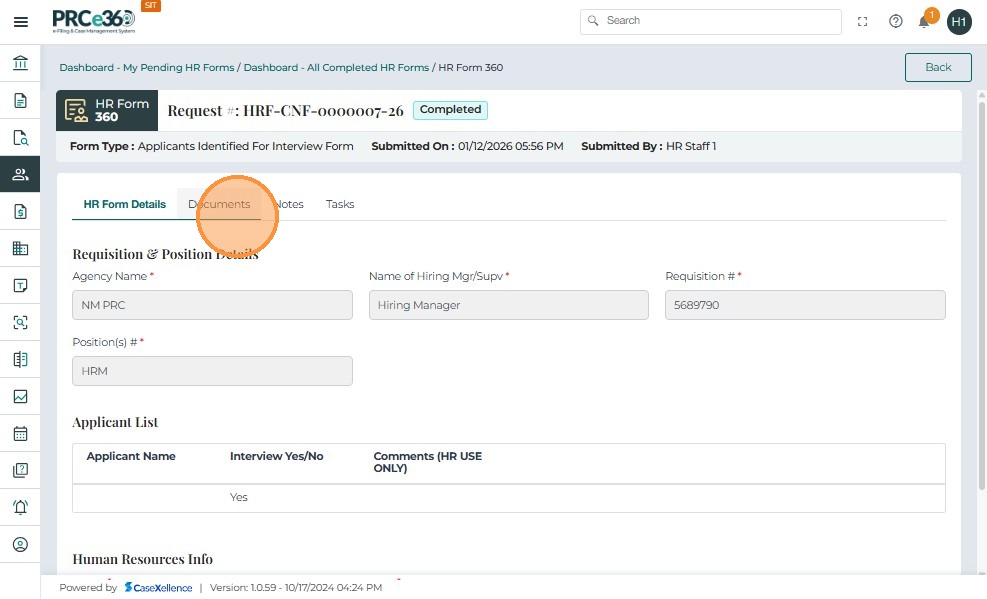
Form Status - Completed
After the form is successfully submitted, the system updates its status from Pending to Completed.
When you open the form from All HR Forms Completed or All Pending HR Forms, the status at the top right will display: Completed.
All form fields under HR Form Details become read-only once the form is completed.
