Audit Logging & Monitoring
The Audit Logging & Monitoring module provides a centralized and secure way to view all system-generated communications and activity logs. It ensures transparency, accountability, and compliance by recording key system events such as emails and in-app notifications.
In addition, each process within the CMS includes its own Audit tab inside the Case 360, where users can view detailed field-level changes made to that specific record.
The Audit Log helps authorized users:
- Verify actions taken within the system
- Track communication delivery
- Review record-level updates for accuracy
- Maintain compliance and accountability across all workflows
- All audit entries cannot be edited or deleted
Users Involved
| User Role | Audit Log Access |
|---|---|
| IT Administrator | Full access to the main Audit Log (Email & Notifications) and all Object-level Audit tabs across all processes |
| IPRA Legal Counsel | Access to the main Audit Log (Email & Notifications) and the Audit tab inside IPRA Case 360 |
| Records Supervisor | Access to the main Audit Log (Email & Notifications) and the Audit tab inside IPRA Case 360 |
Functionalities
The Audit Logging & Monitoring module provides the following key functions:
- Centralized Audit Log Page: View all Email History and In-App Notification History in one place.
- Audit Tabs in Each Process (Case 360): View field-level changes for individual records, including old value, new value, change type, user, and timestamp.
- Search and Filters: Apply filters such as date range, subject/title, recipient, status, user, or operation type to quickly find specific audit entries.
- Detailed Audit Records: Access clear and complete information for each event, including activity details, communication content, and delivery status.
- Read-Only, Secure Logs: All audit records are immutable, ensuring accuracy, compliance, and full traceability.
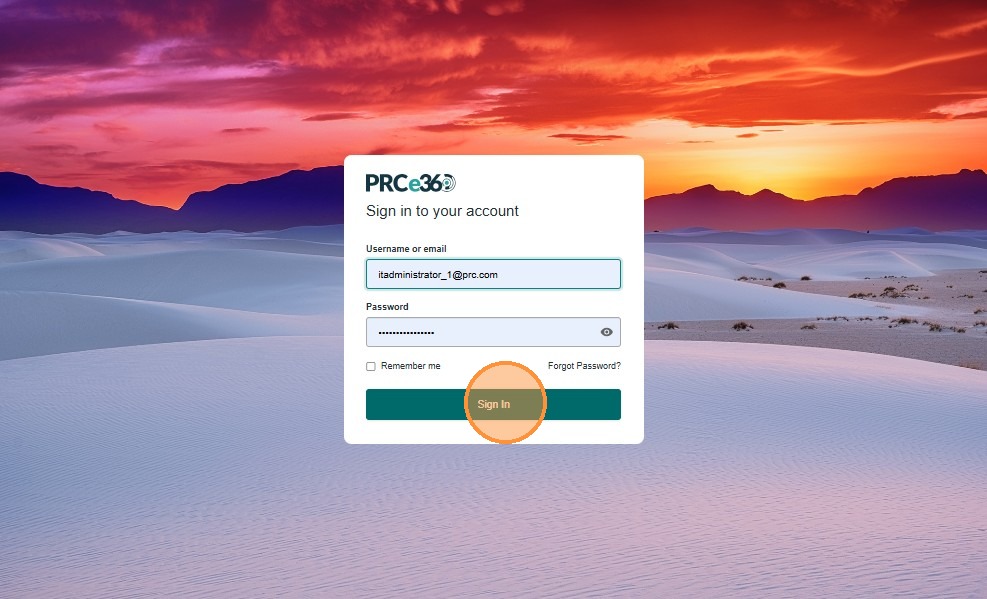
Login to the CMS Internal Portal
To access the Audit Log, the user must log in with IT Administrator credentials.
Open the CMS Internal Portal login page, enter your Username or Email and Password, then click Sign In.
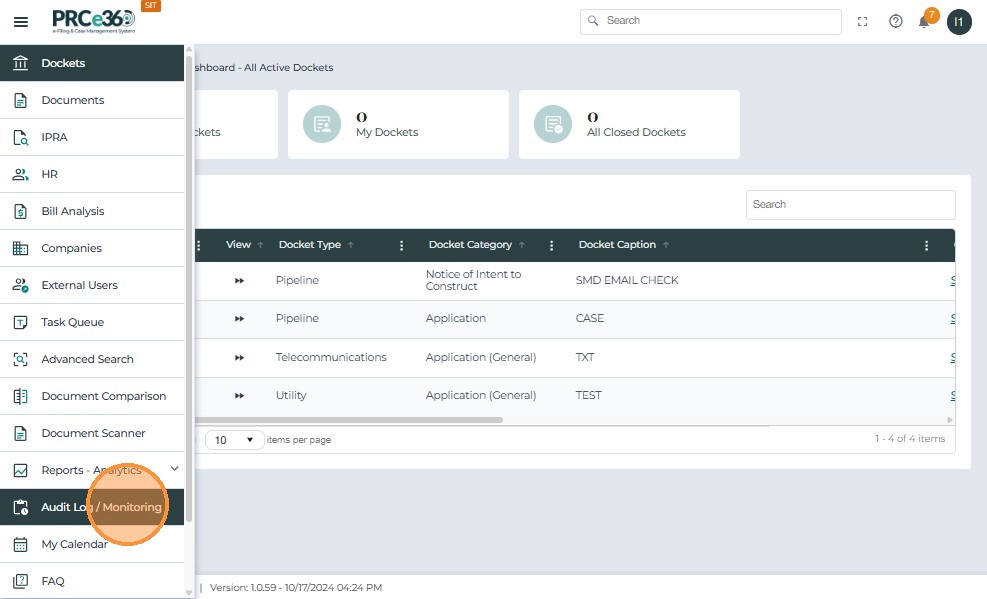
Navigate to the Audit Log
After logging in, the IT Administrator can access the Audit Logging module through the left-hand navigation panel. From the main menu, click Audit Log.
View and Filter Audit Logs
The Audit Log interface displays two categorized tabs — each dedicated to a specific type of system activity.
- Email History: Displays all system-generated emails. Users can filter by date, subject, recipient, or status and view full email details through the preview option.
- In-App Notification History: Shows all system-generated in-app notifications. Users can filter by date, notification title, recipient, or status and review the notification content and recipients.
To View Audit Records:
- Select the relevant tab
- Use available filters
- Click Search to view the filtered results
- Use Reset to clear all filters and start a new search
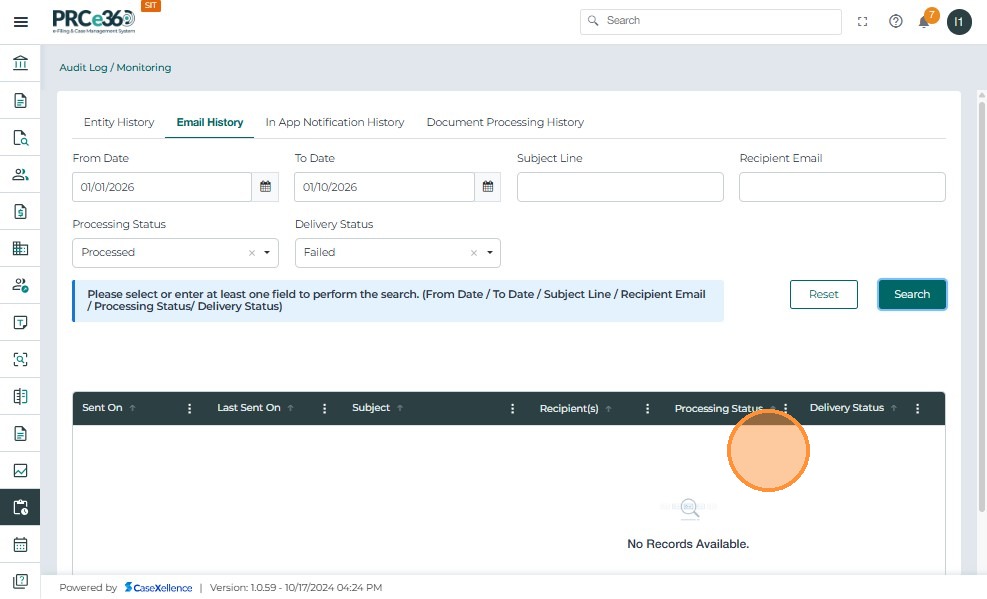
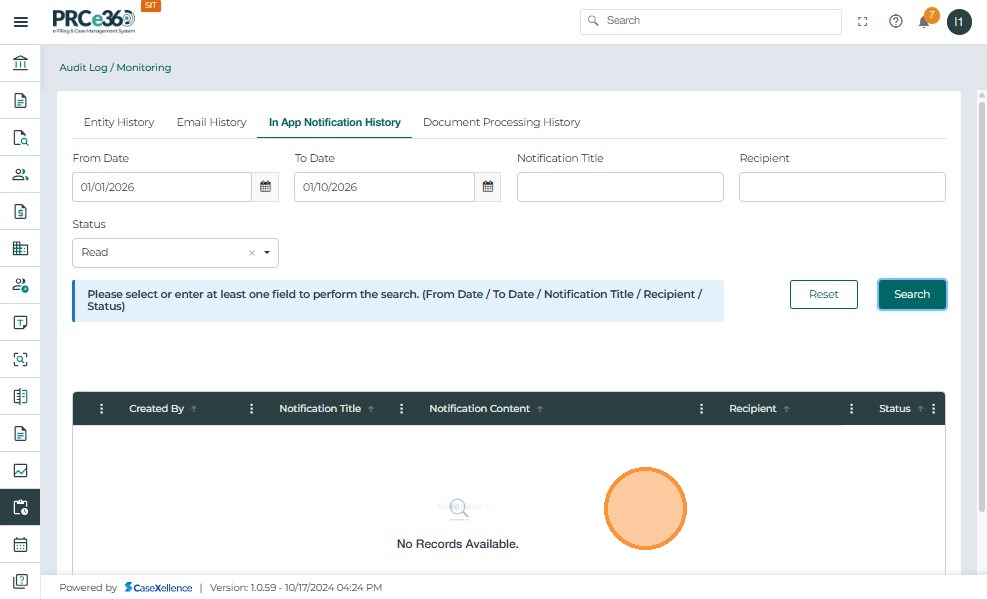
Note: If no records are available, the system will display "No Records Available."

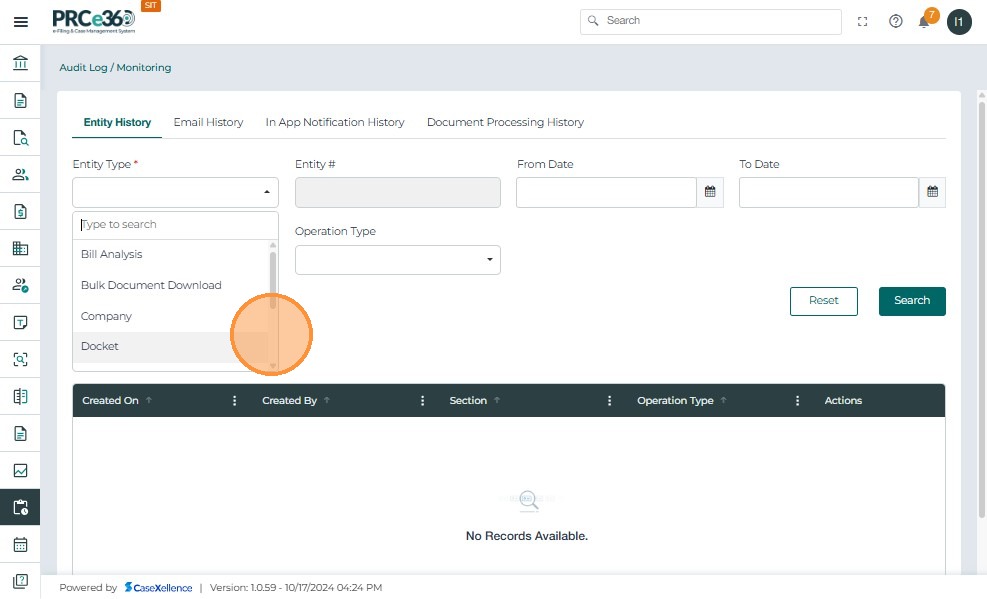
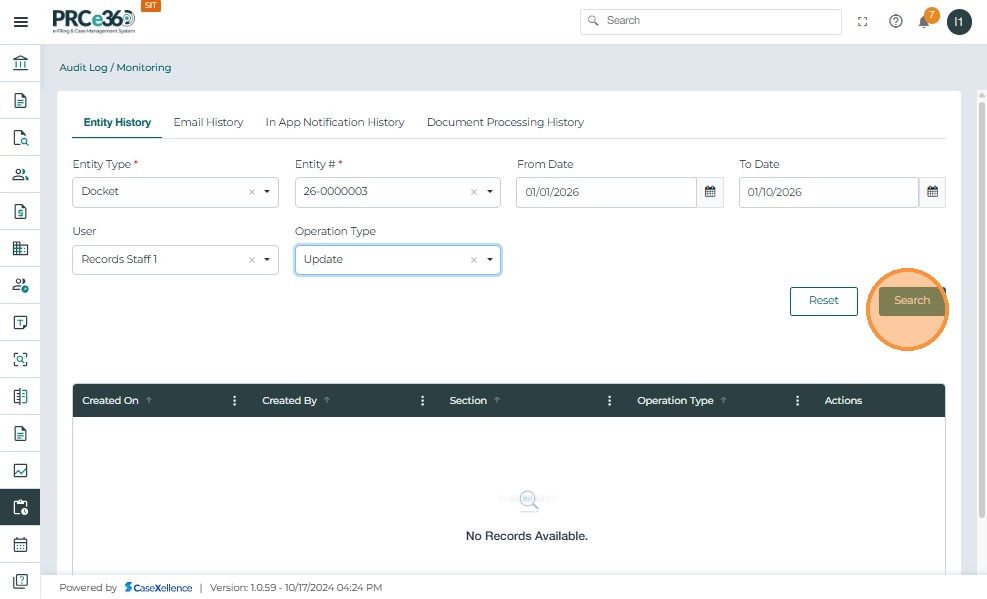
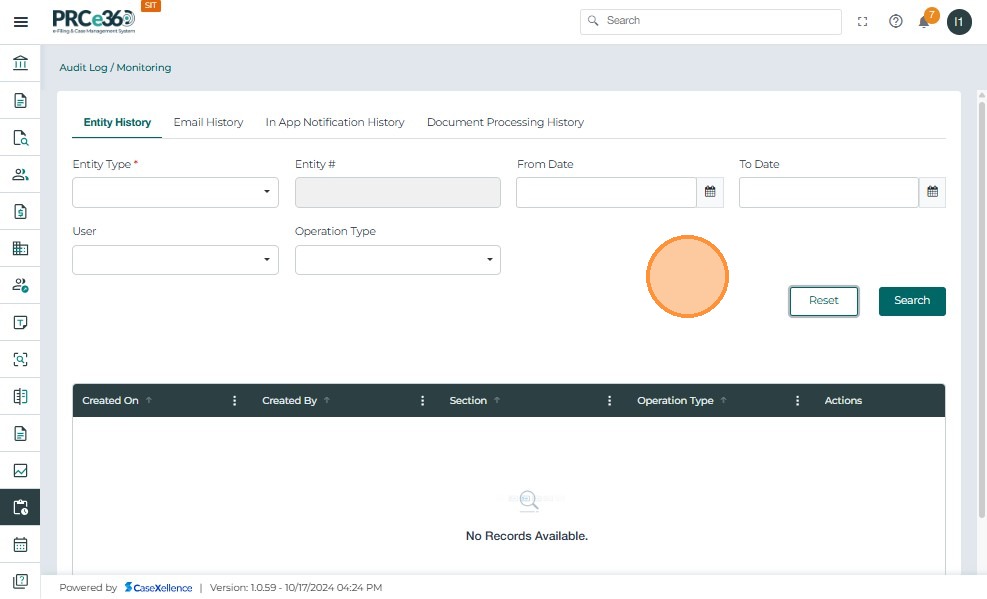
Entity History Tab
- Select an Entity Type to view audit details for a specific record type.
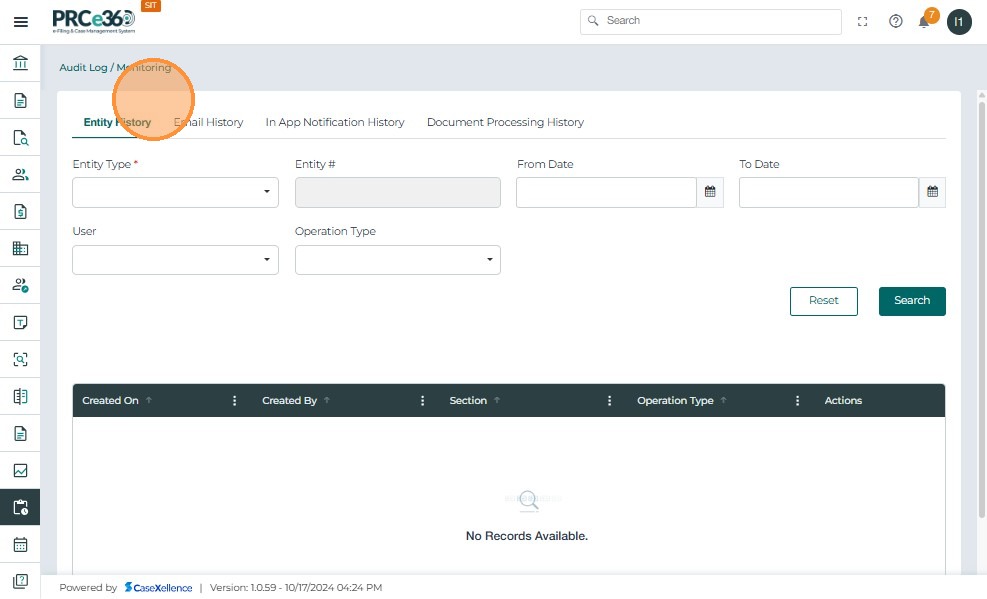
- Available entity types are displayed for selection.
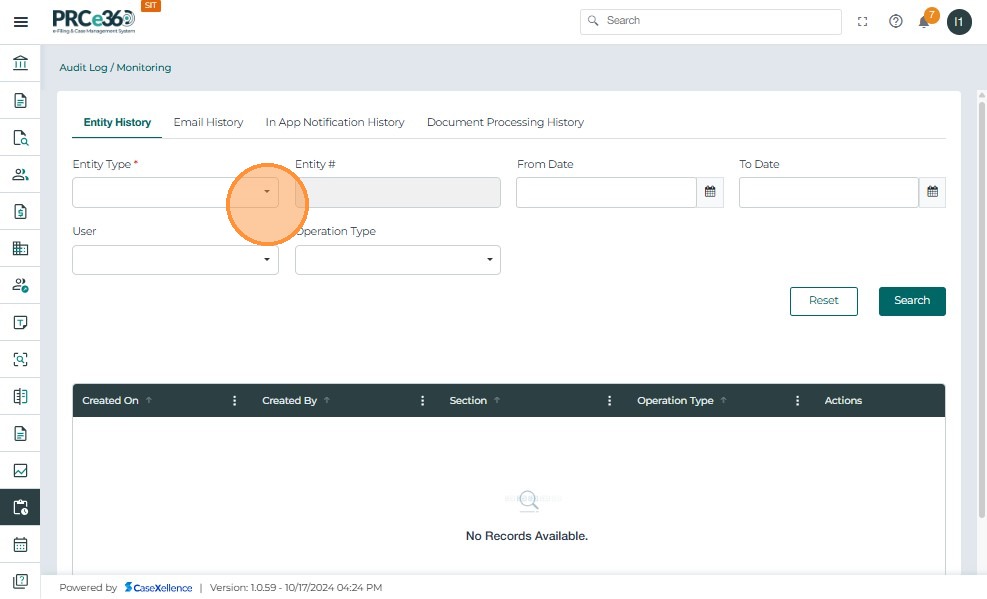
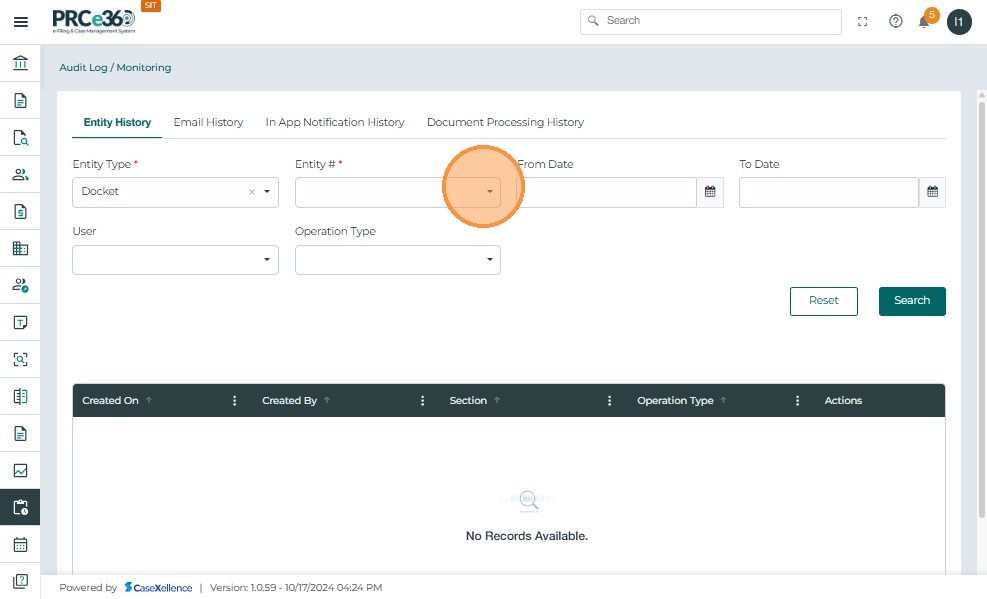
- Select “Docket” as the Entity Type.
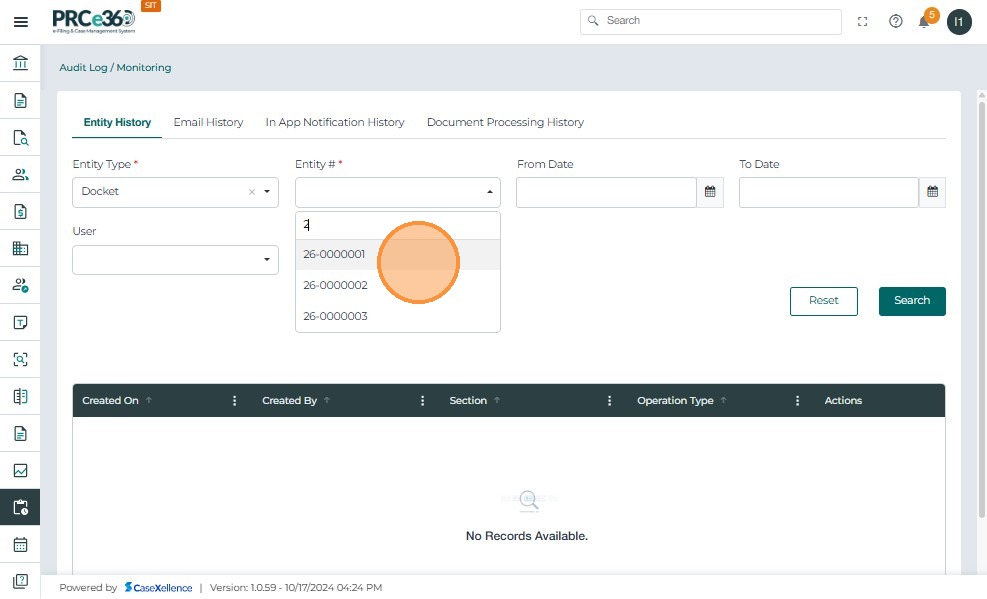
- Choose the required Entity ID from the list.
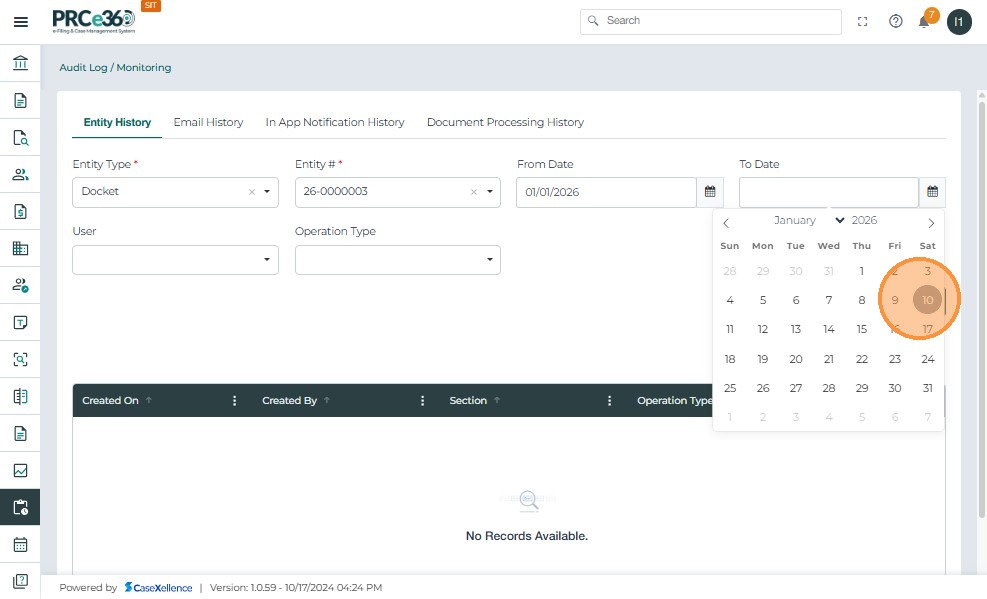
- Select the From Date to filter audit records by start date.
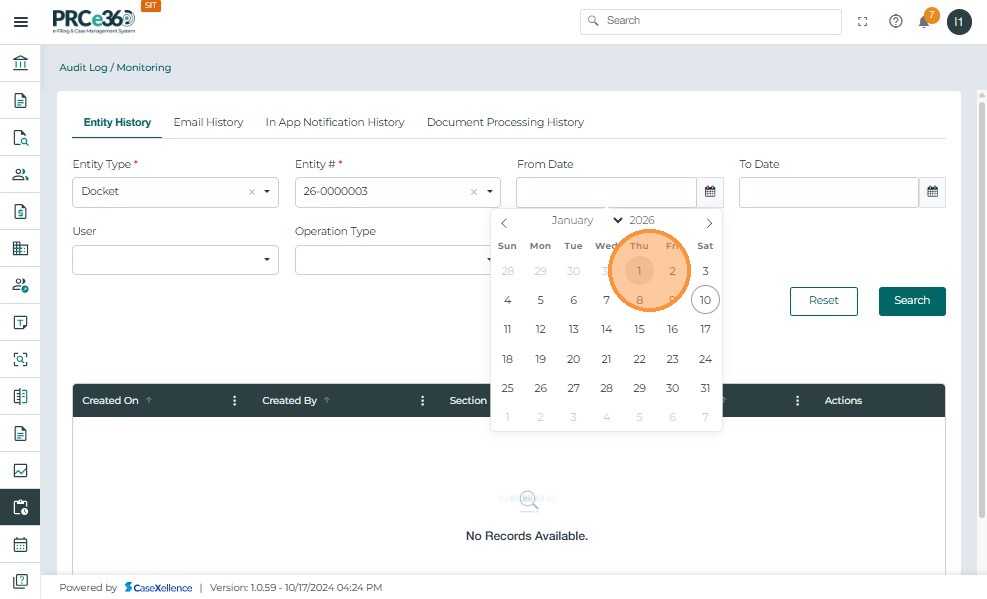
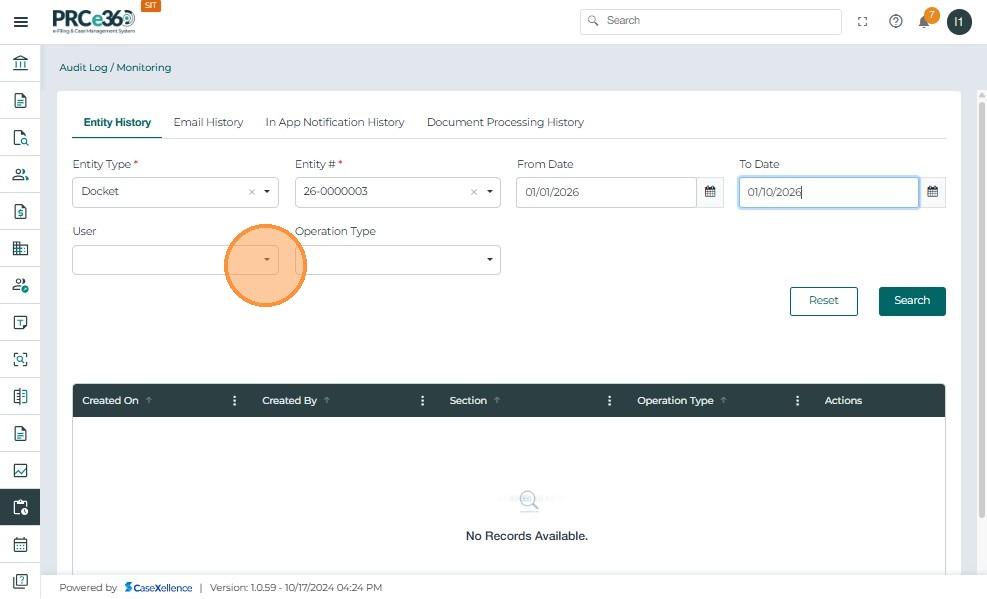
- Select the To Date to define the end of the date range.
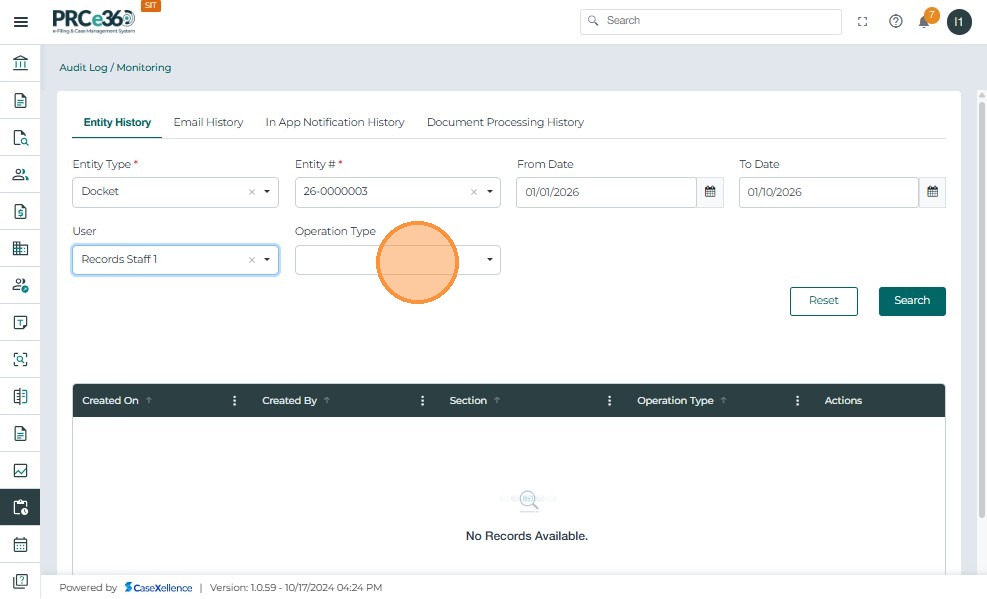
- Choose a User to view actions performed by a specific user.

- Select an Operation Type to filter actions such as Create or Update.
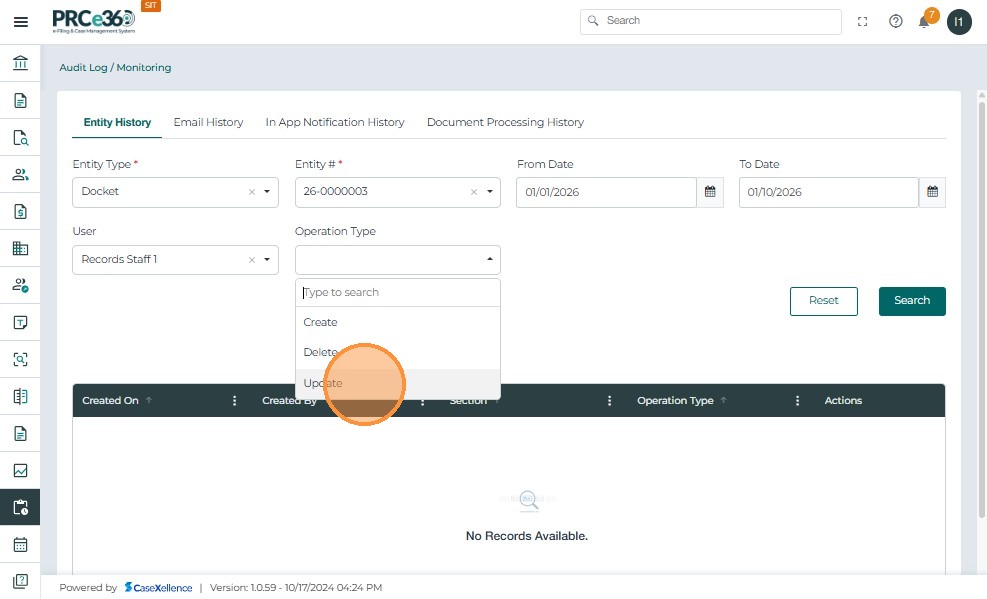
- Click Search to display the filtered audit log records.
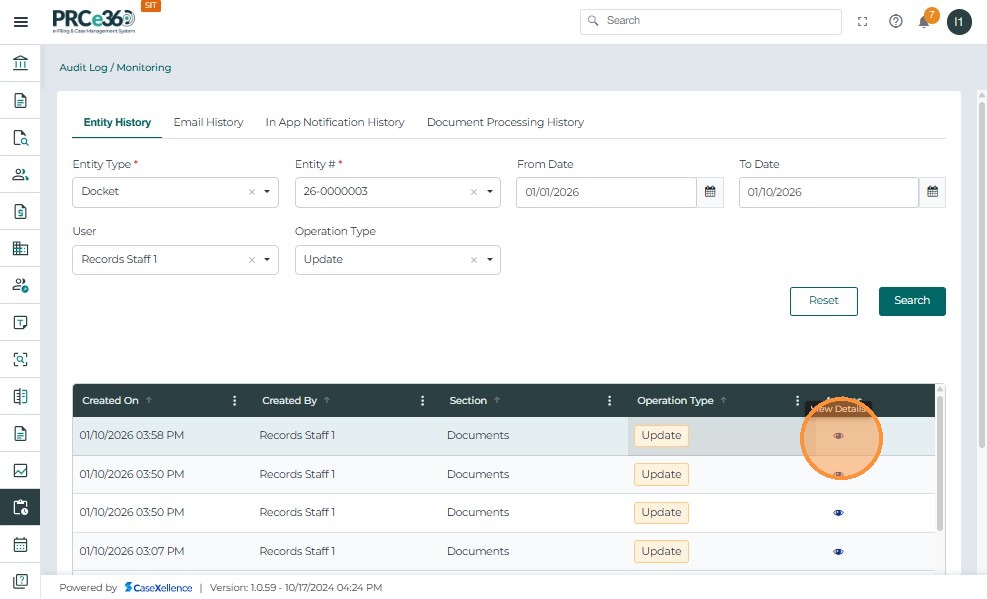
- Filtered Entity History results are displayed.
- Displays audit records for the selected Docket, date range, user, and operation type.

- The View icon allows users to open detailed information for the selected audit record.
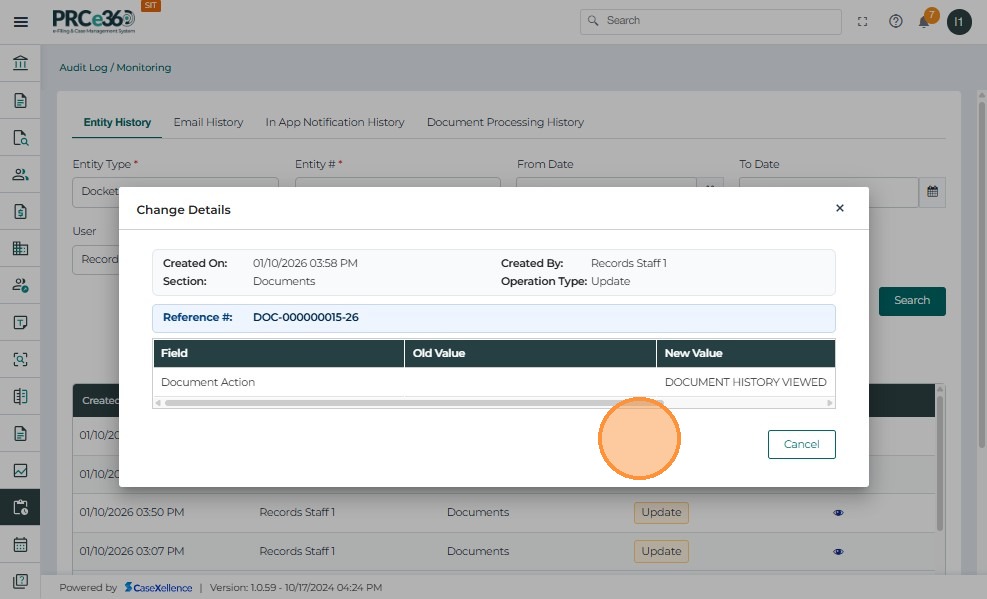
- Once clicked on the view icon it displays detailed audit information including section, operation type, reference ID, and field-level changes.
- The Reset action Clears all applied filters and resets the Entity History search criteria.
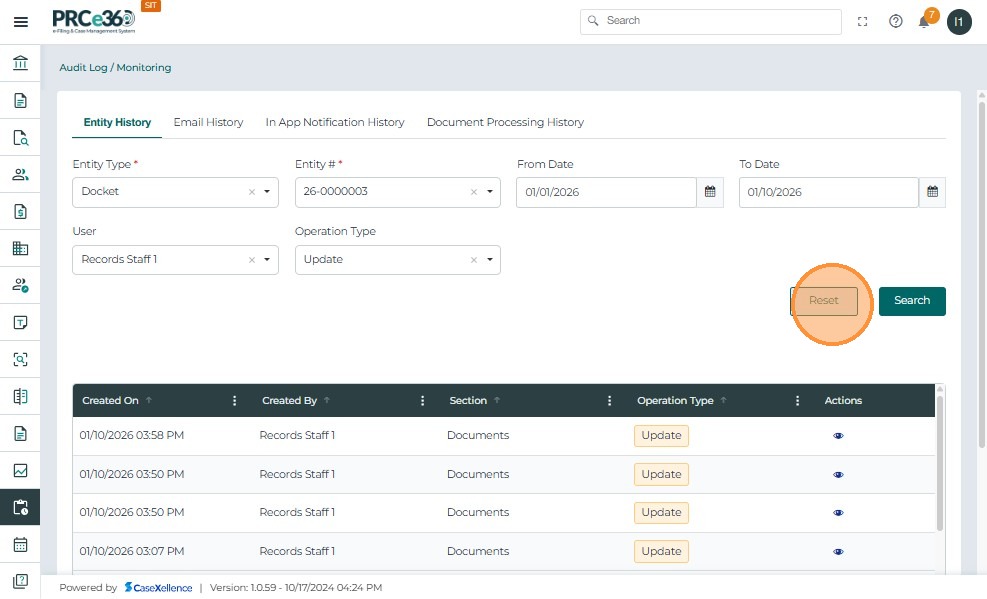 .
.
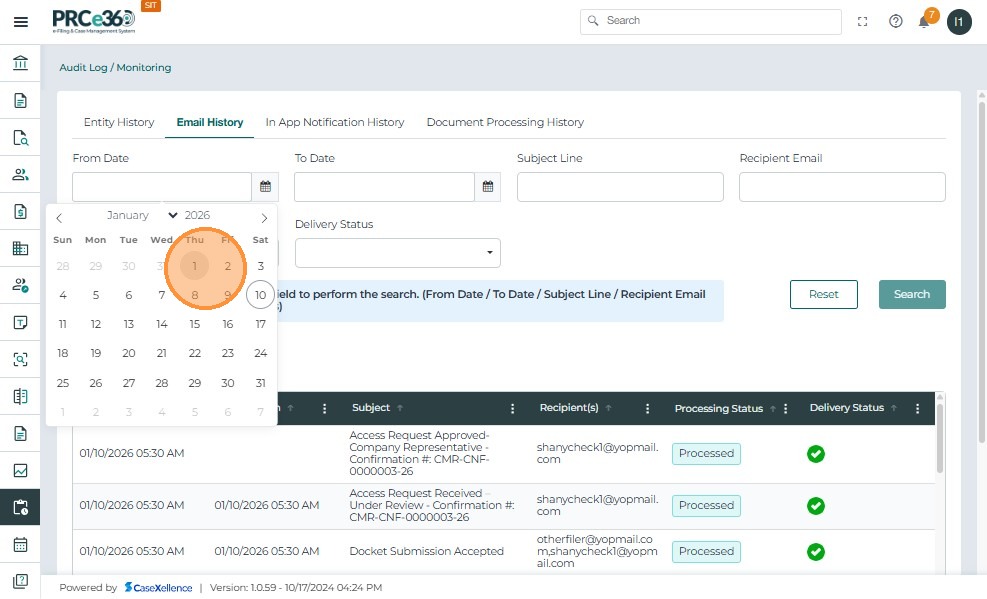
Email History Tab
The Email History tab displays a complete record of all system-generated emails, allowing IT Administrators to monitor outgoing communications for transparency, compliance, and troubleshooting.

1. From Date / To Date
Select a date range to view emails sent within a specific period. Use the calendar icon to choose start and end dates.
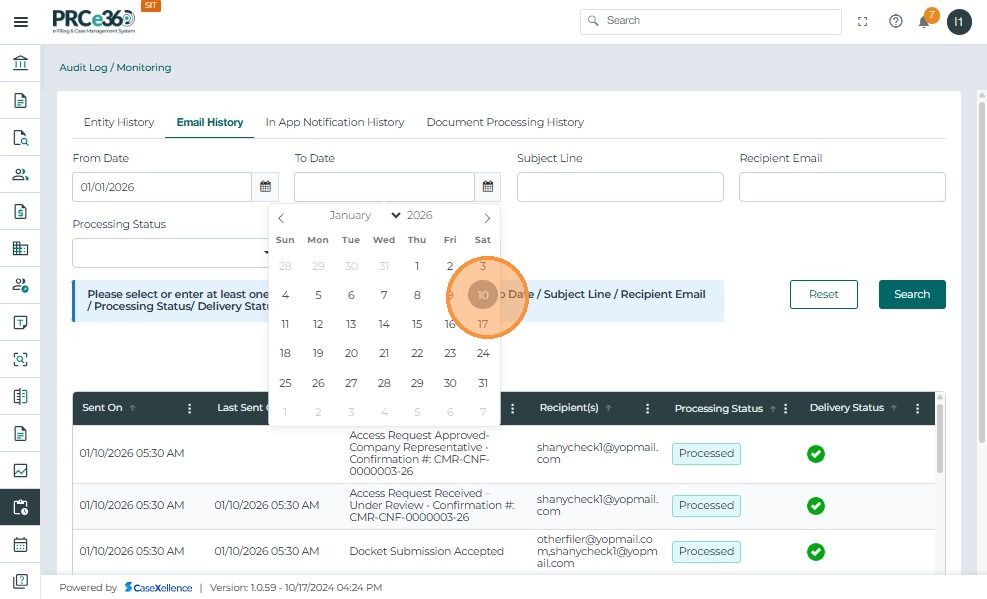
2. Subject Line & Recipient Email
- Filter by a keyword or phrase in the email subject to locate specific communications.
- Enter a recipient's email address to view all messages sent to that user.
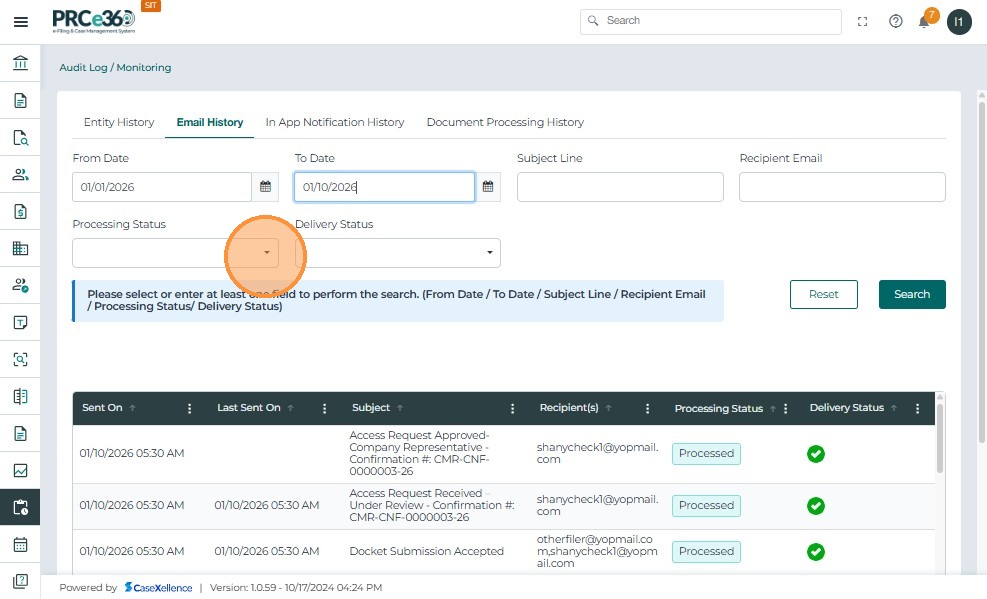
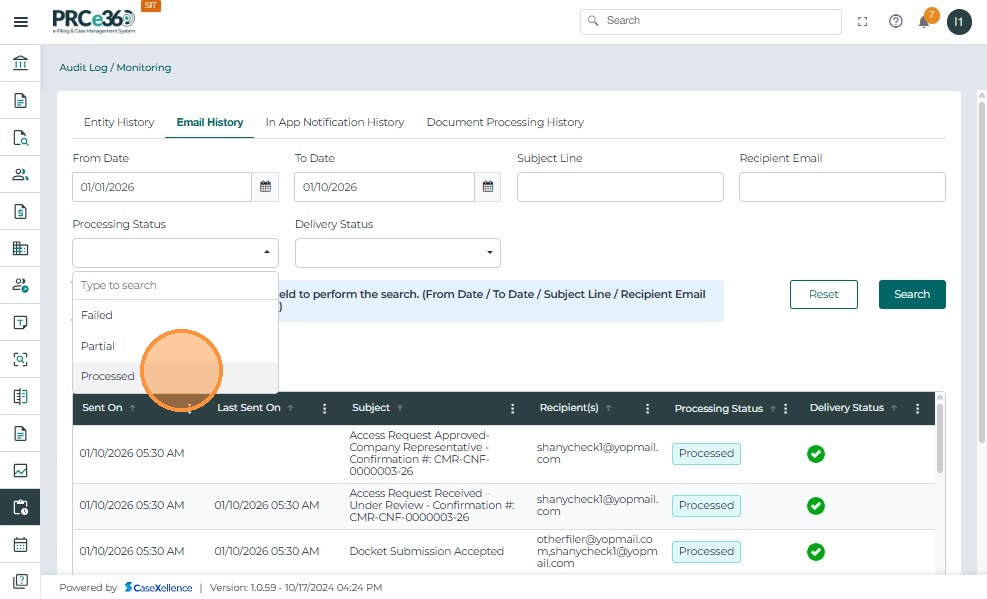
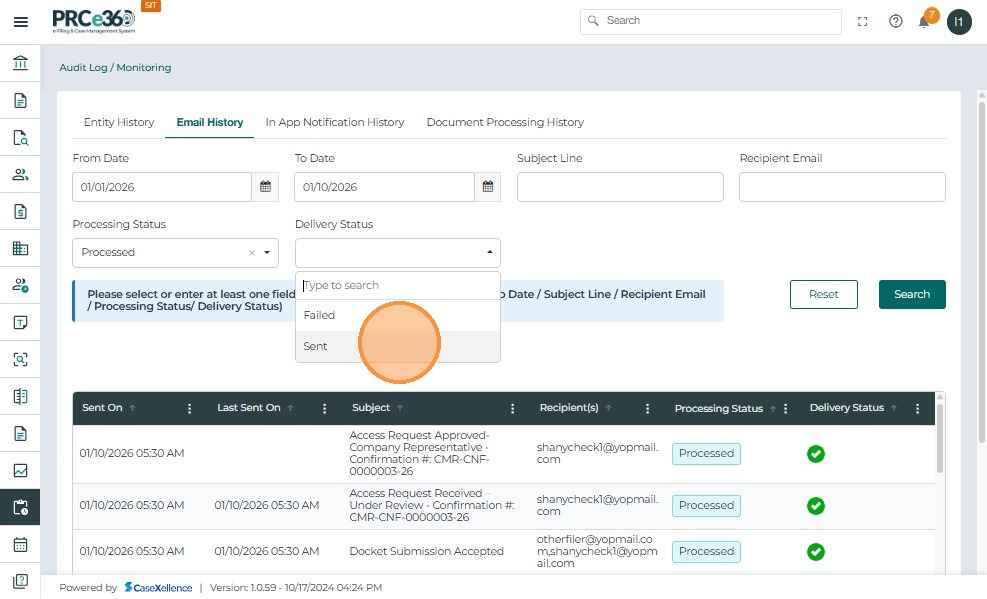
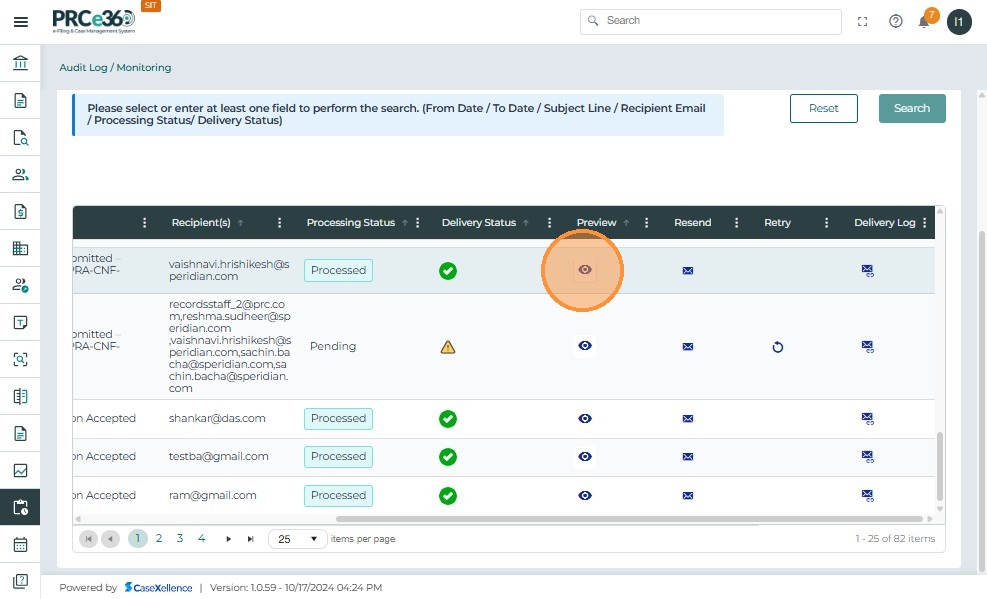
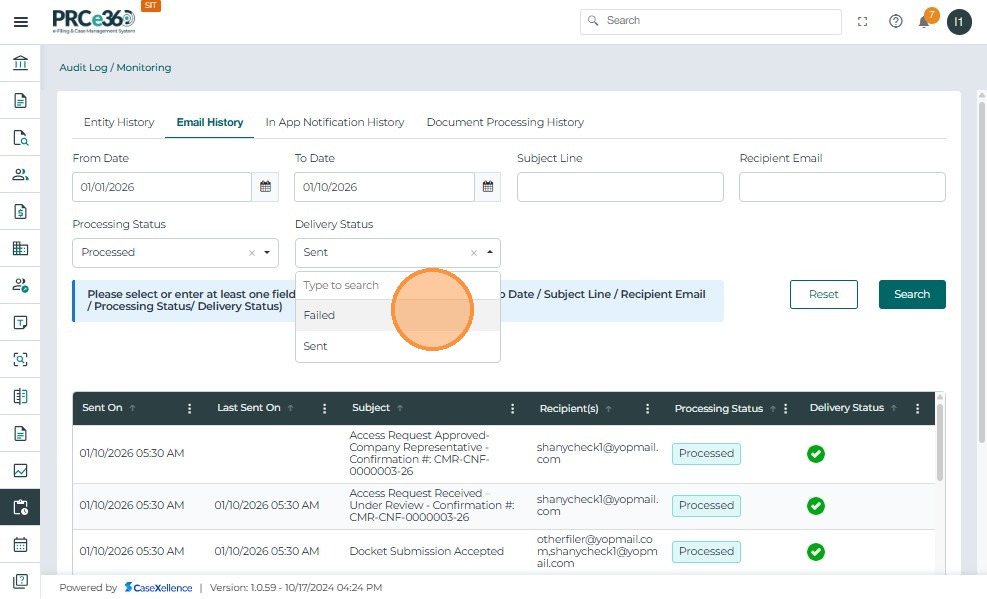
3. Status
There are two types of status to be filtered
- rocessing Status
- Delivery Status.
Choose the Status of the email to narrow results:
- Sent – Successfully delivered emails
- Failed – Emails that encountered errors during delivery
- Pending – Emails still queued for sending
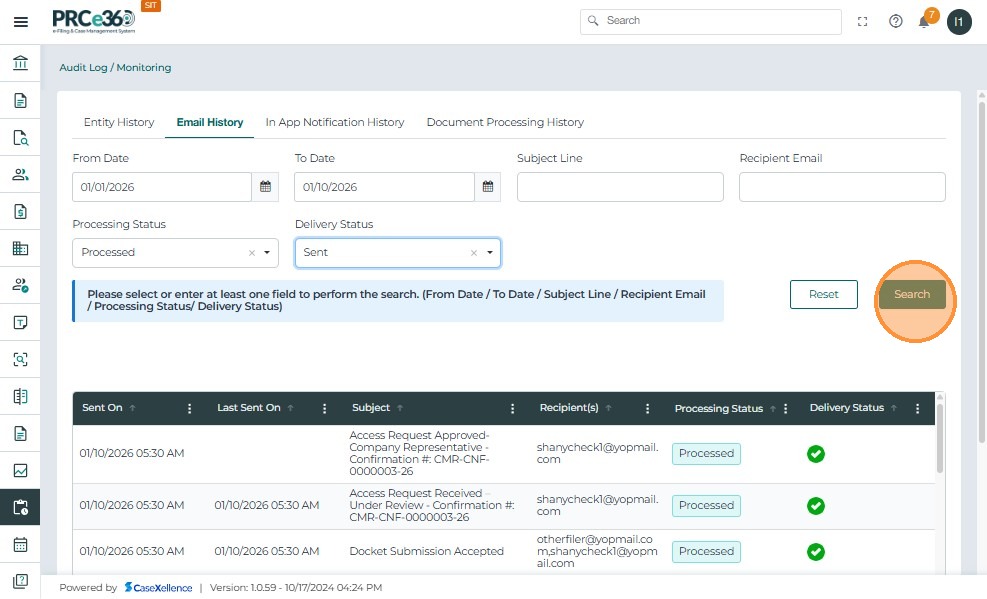
Click Search to execute the query based on selected filters. Click Reset to clear all filters and start a new search.
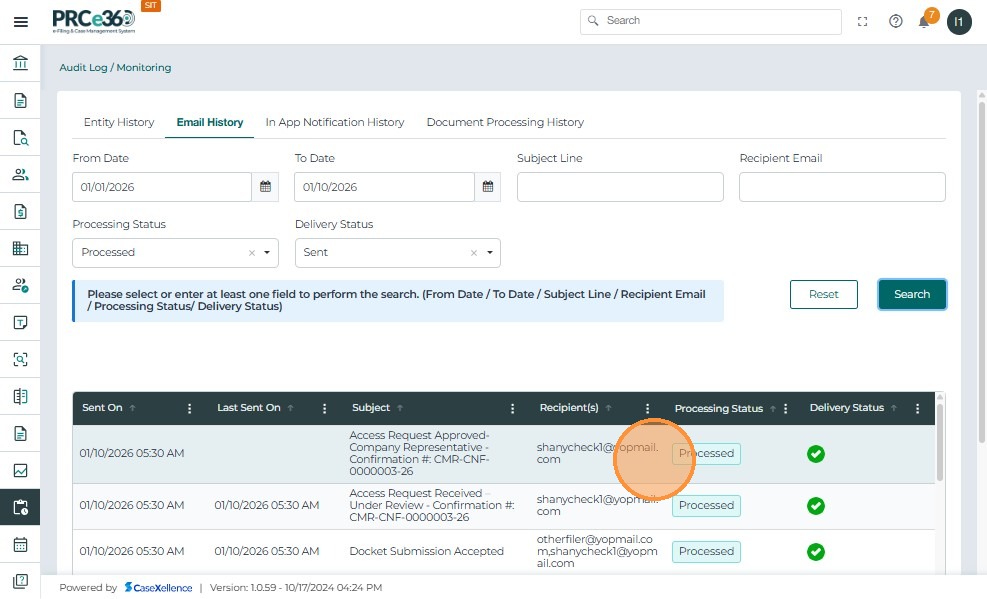
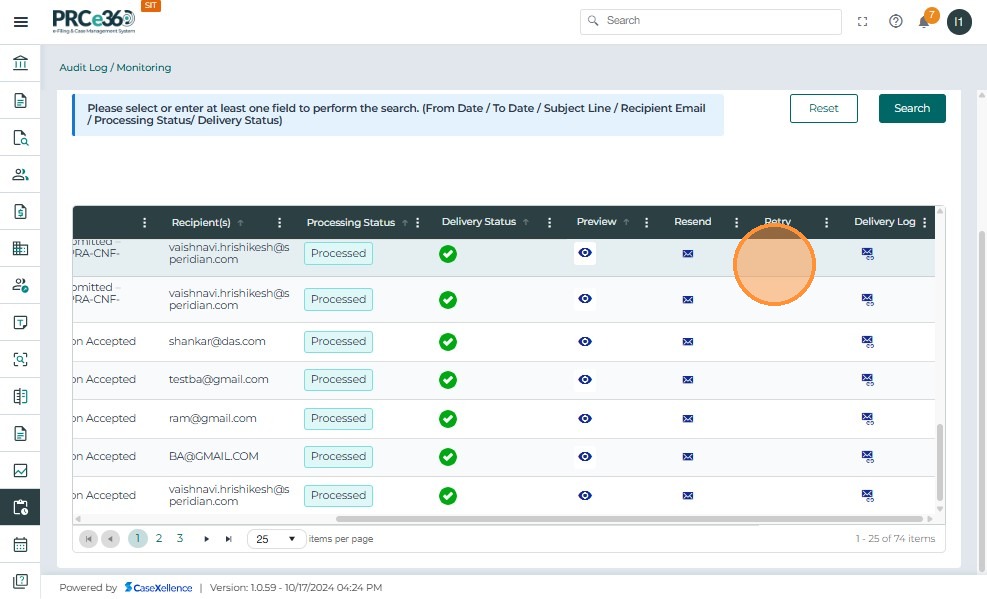
Email History Table
The table displays all captured email records with the following columns:
| Column | Description |
|---|---|
| Created On | Shows the exact date and time when the email was created or sent. |
| Created By | Indicates the user or system account that triggered the email. |
| Subject | Displays the subject line of the email for easy identification. |
| Recipient | Lists the email addresses of all recipients. |
| Status | Shows whether the email was Sent, Failed, or Pending. |
| Preview | Allows viewing of the full email content by clicking the eye icon. |
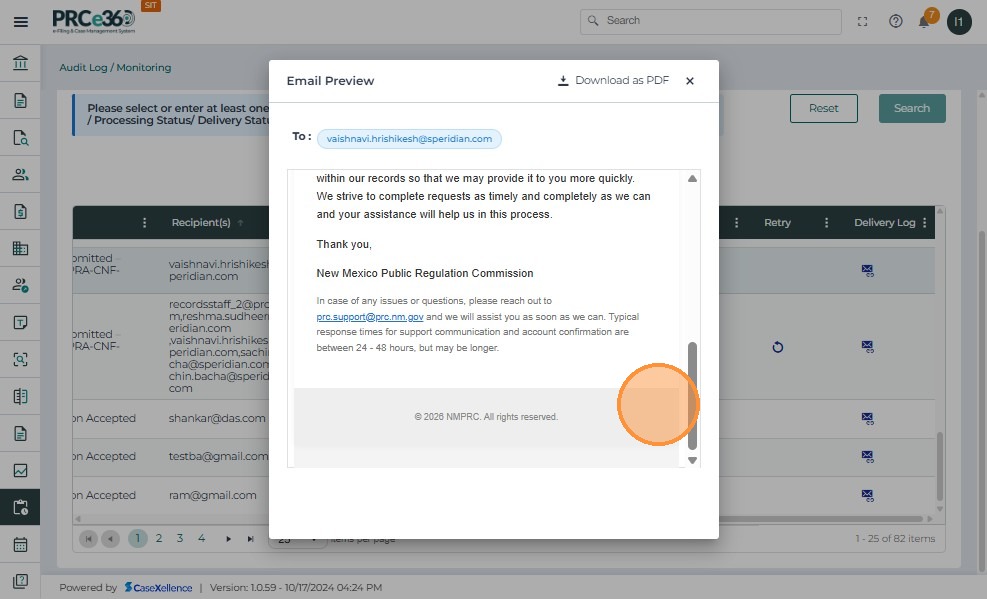
Preview Email Details
Click the eye icon under the Preview column. A popup window titled Email Preview appears, showing:
- Subject: Displays the email's subject line
- To: Shows the recipient's email address
- Email Body: Displays the full email message content, including the header and signature
Scroll down to view the entire message content. Click Close (X) to exit the preview and return to the Email History tab.

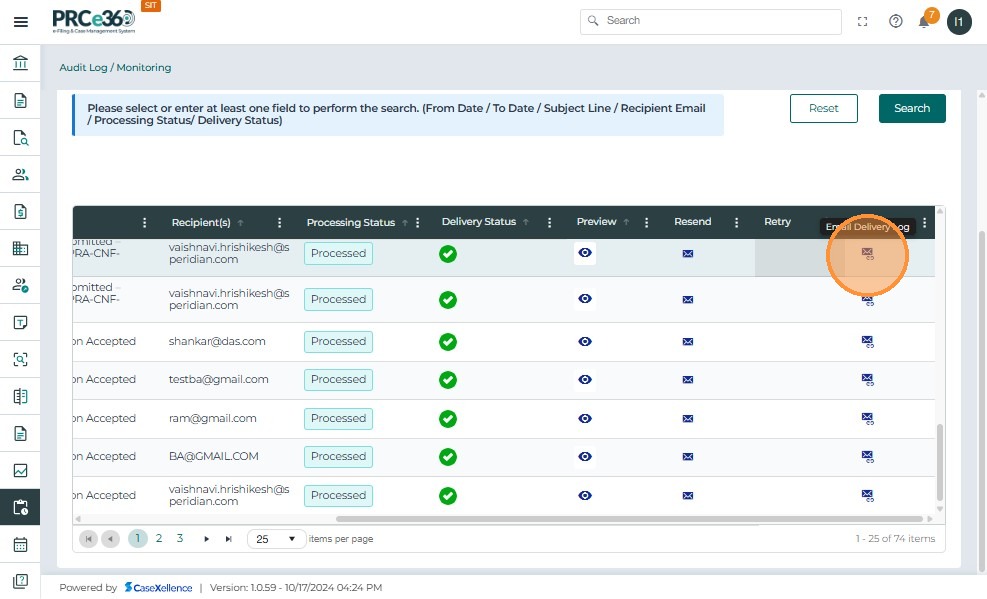
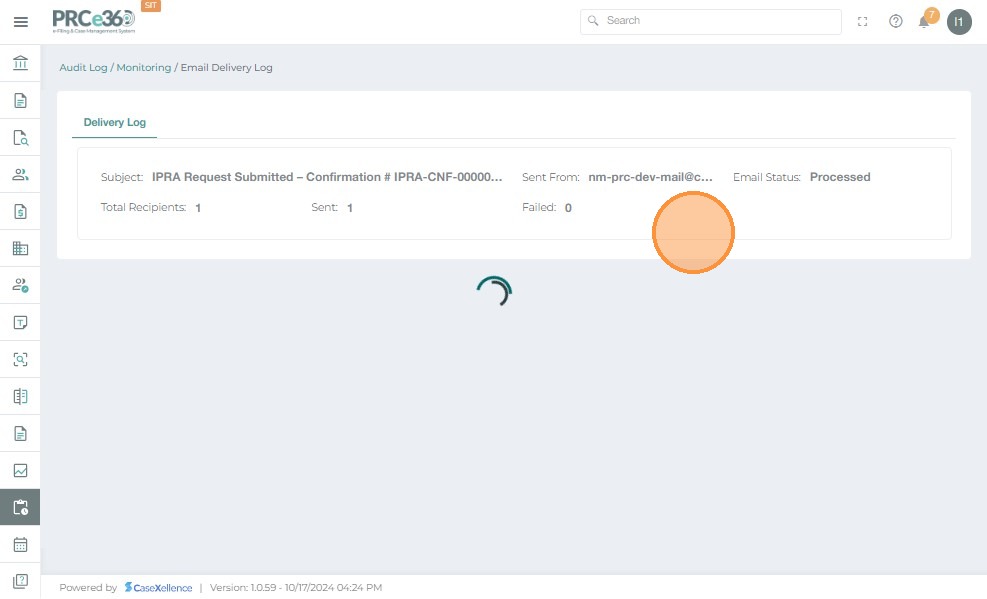
Email Delivery Log
- Displays the email subject, sender details, processing status, and delivery summary for all recipients.
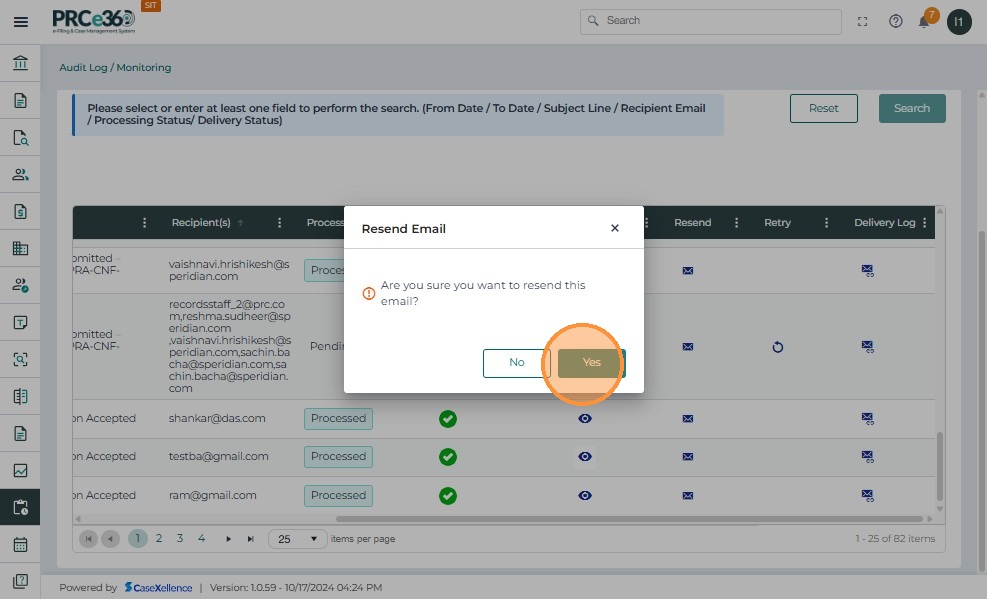
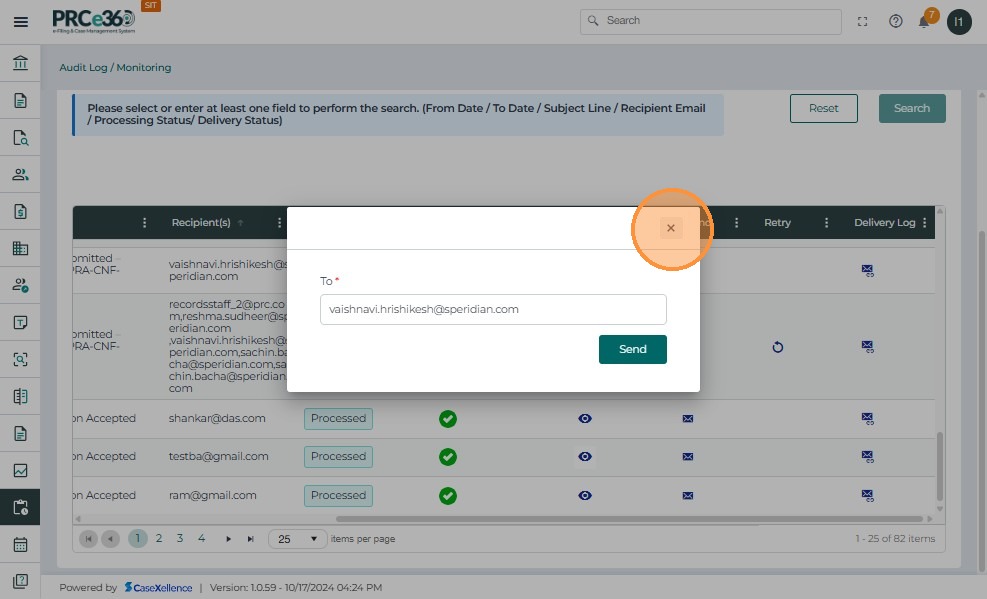
Resend Email
- Click the Resend icon to initiate resending the selected email.
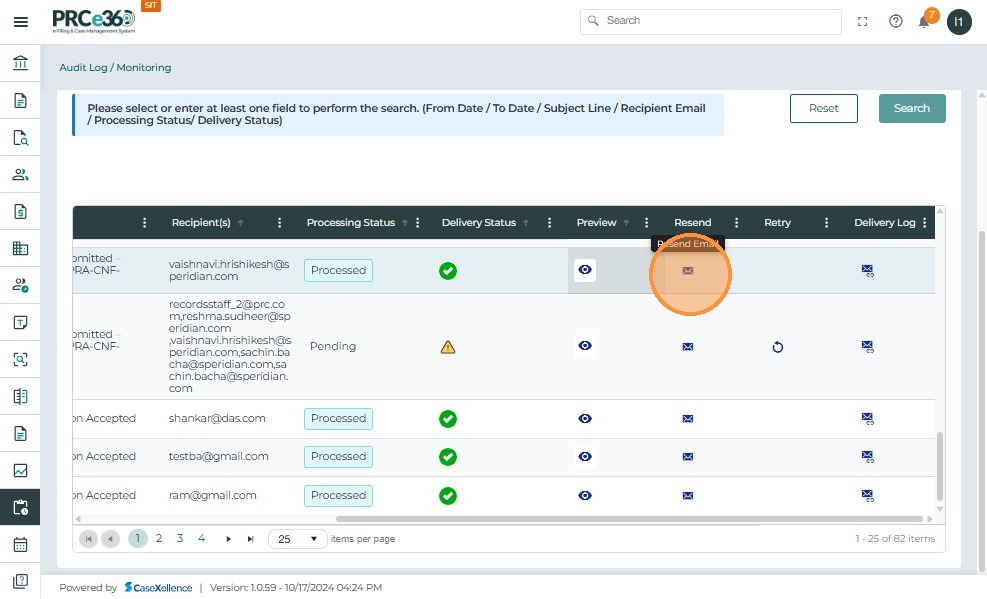
- Pop up to confirm the resend with appear.
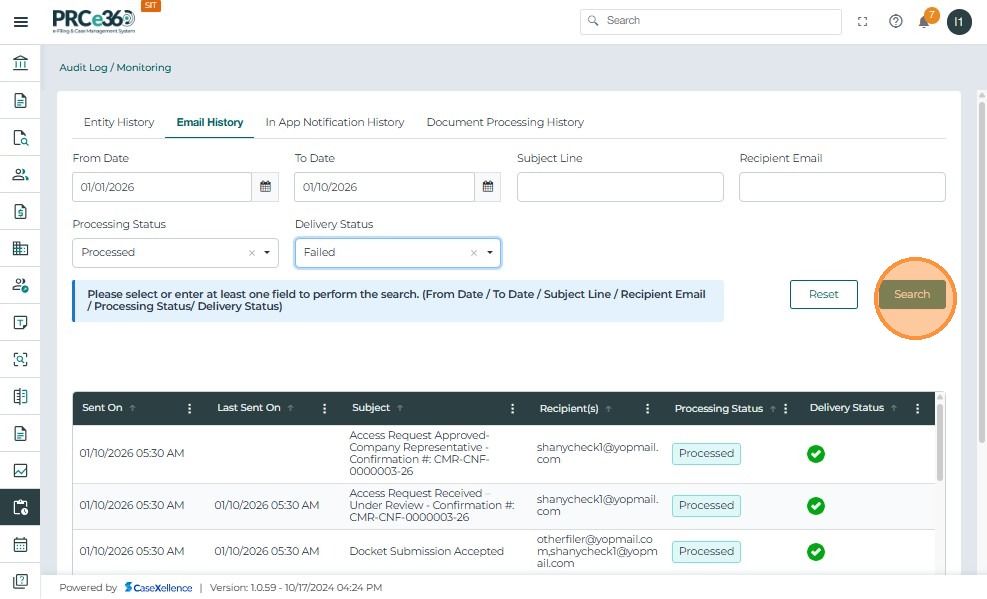
Filter by Email Status
In the Email History tab, you can filter emails by Status to view messages based on their delivery state. Select Failed Status from the dropdown.
Click Search.
The results table updates based on the selected "Pending" status.If no records are found the system displays "No Records Available."
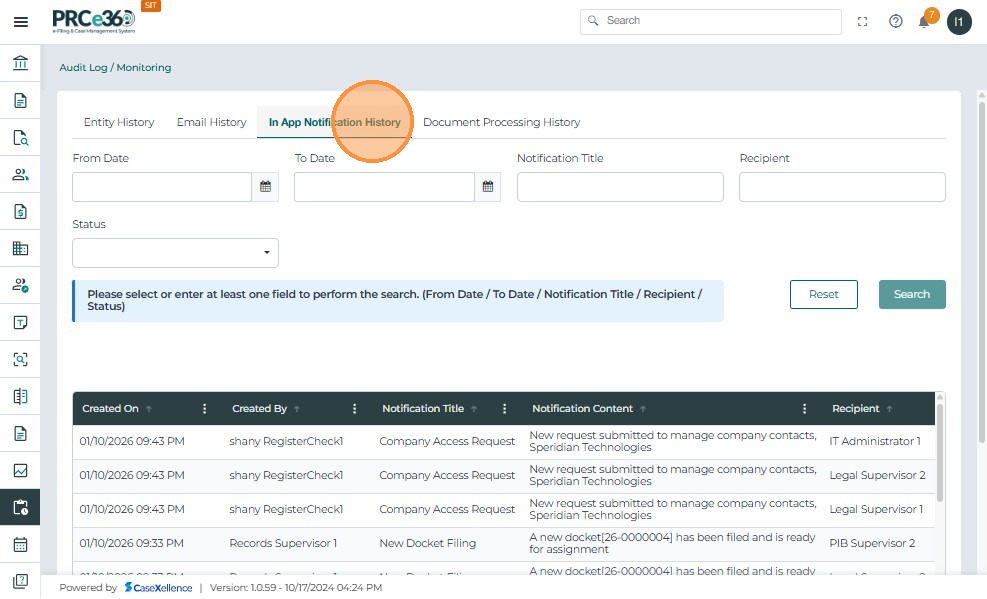
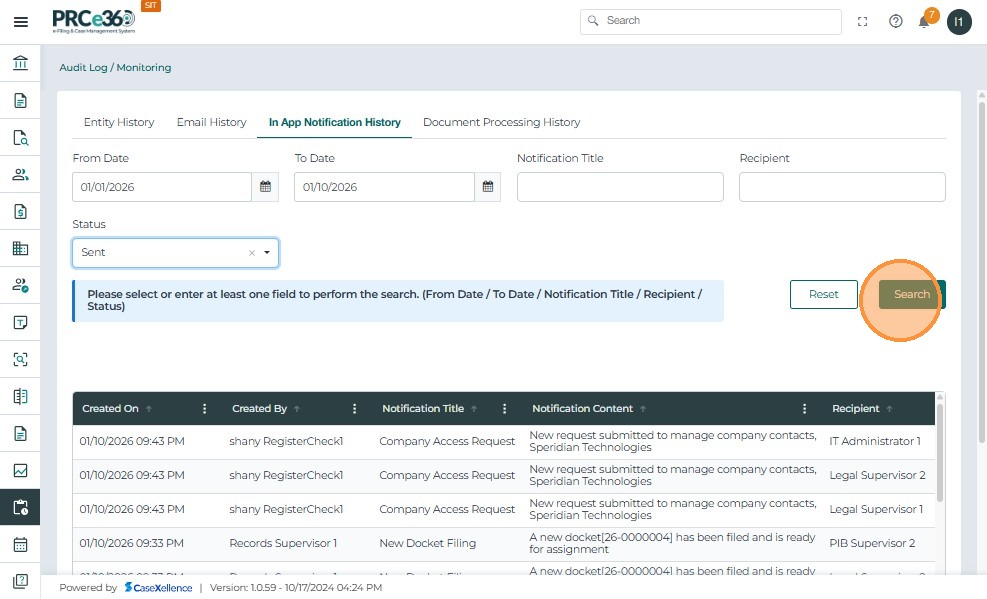
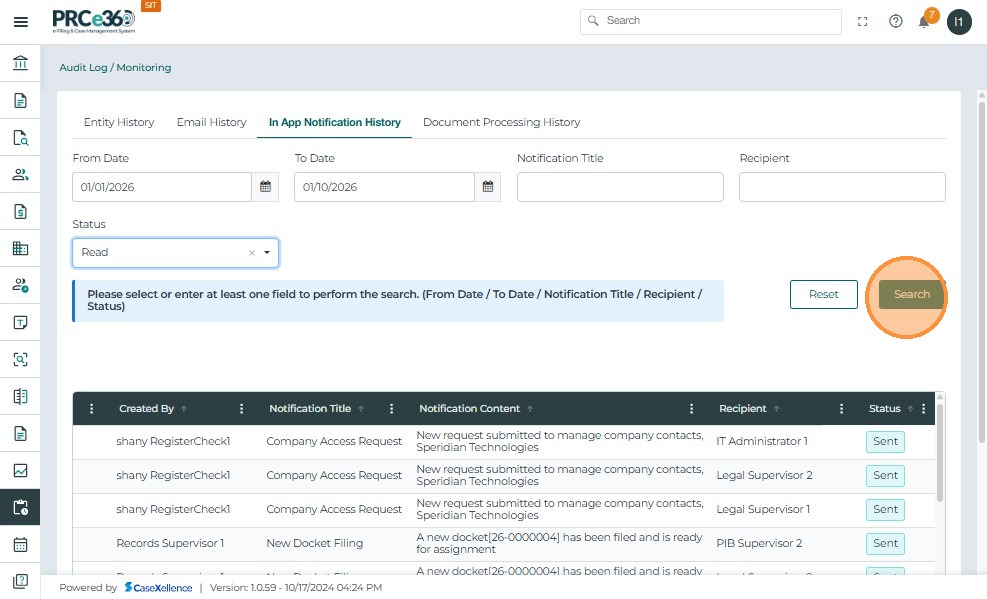
In-App Notification History Tab
The In-App Notification History tab records all system-generated notifications within the CMS. IT Administrators can use this section to track when and to whom notifications were sent, ensuring system transparency and accountability.
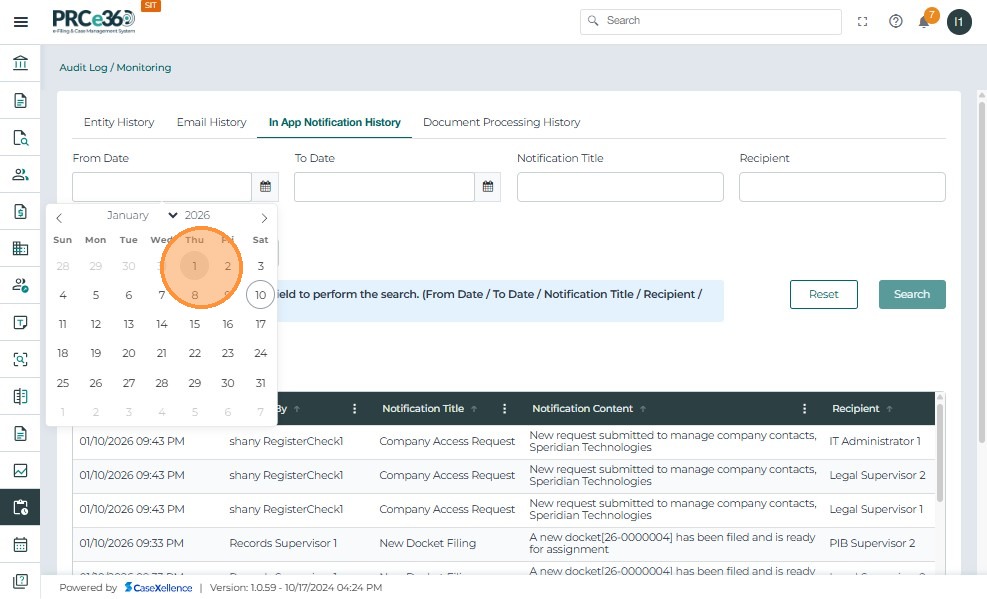
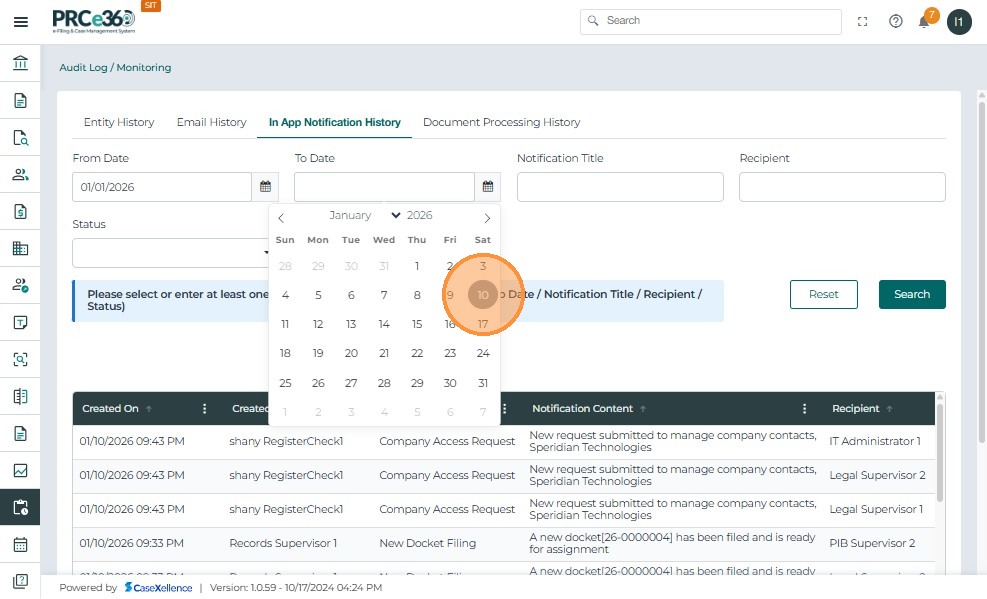
1. Select the Date Range
Click the From Date and To Date calendar icon and choose the start date.
2. Enter Notification Title & Enter Recipient
- Type part of the title (e.g., New Case Filing or New Comment Notification) to search for specific messages.
- Provide the recipient's username, role, or email address to locate notifications sent to that user.
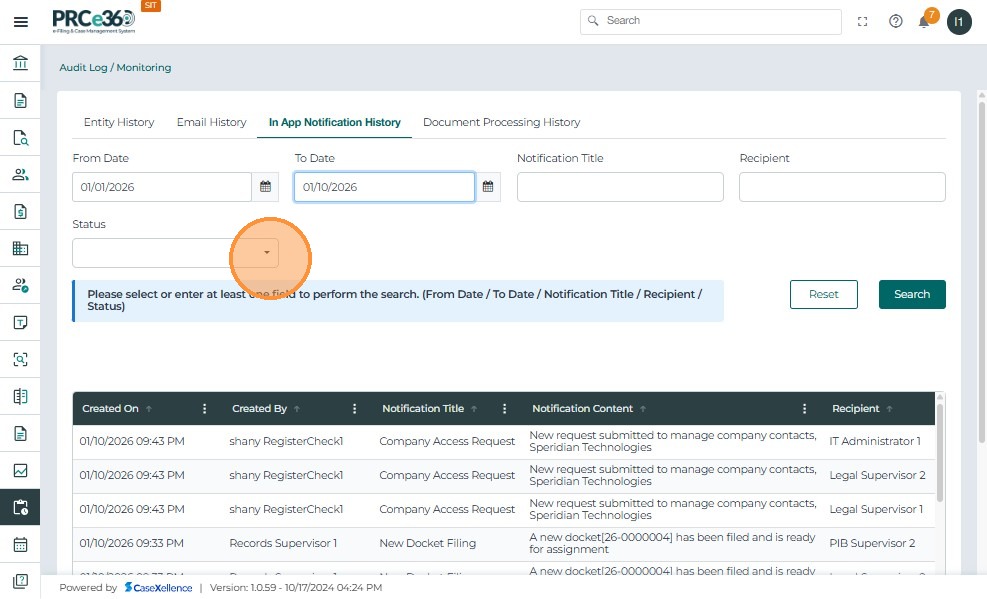
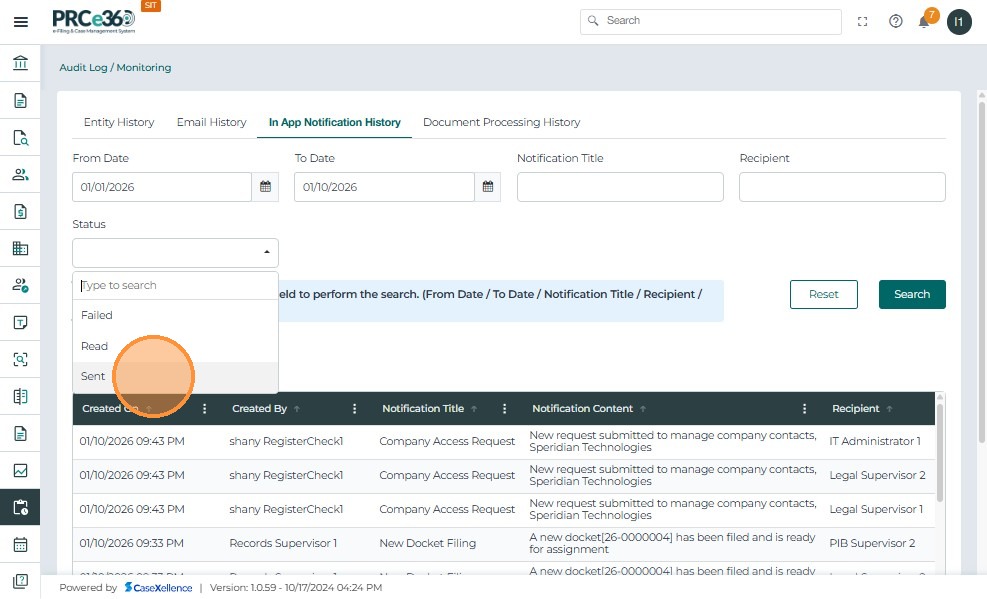
3. Select Status
Choose the status of the notification from the dropdown list:
- Pending – Notifications waiting to be delivered
- Sent – Successfully delivered notifications
- Failed – Notifications that failed to deliver due to an error
Click Search: The system retrieves all matching notifications based on the selected filters. The filtered results are displayed in the table below.
Click Reset: Clears all filter fields to start a new search.
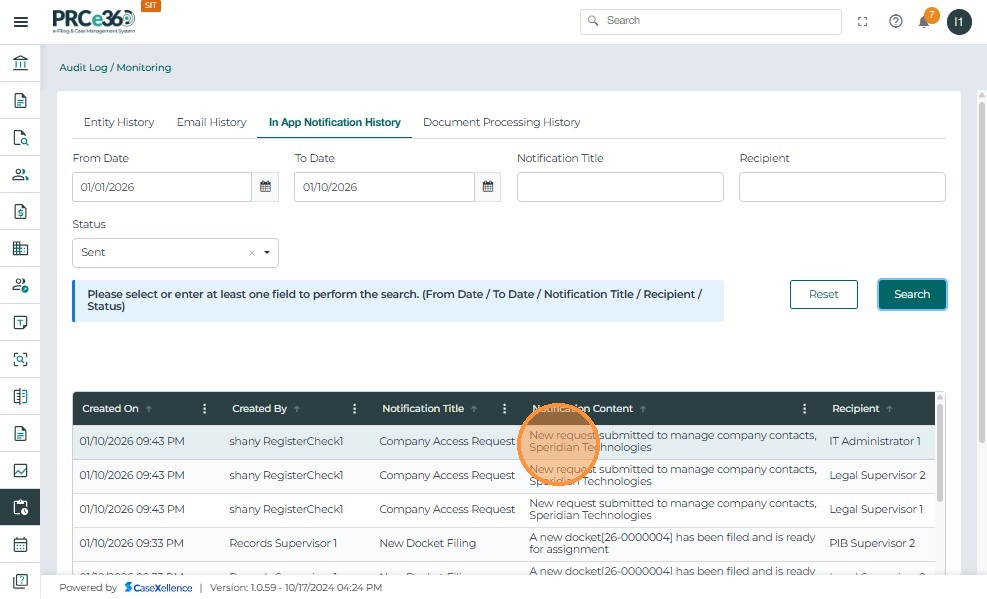
Notification History Table
Once you click Search, all notifications matching the selected filters (such as Date Range, Title, Recipient, or Status) are displayed in a table below.
The table description includes:
- Created On: Shows the exact date and time when the notification was created
- Created By: Displays the name of the user or system process that triggered the notification
- Notification Title: Displays the subject or title of the notification (e.g., New Case Filing, New Comment Notification)
- Notification Content: Shows the content or message body of the notification sent to users
- Recipient: Lists the usernames or email IDs of all recipients who received the notification
- Status: Indicates the delivery status of the notification (Sent, Pending, or Failed)
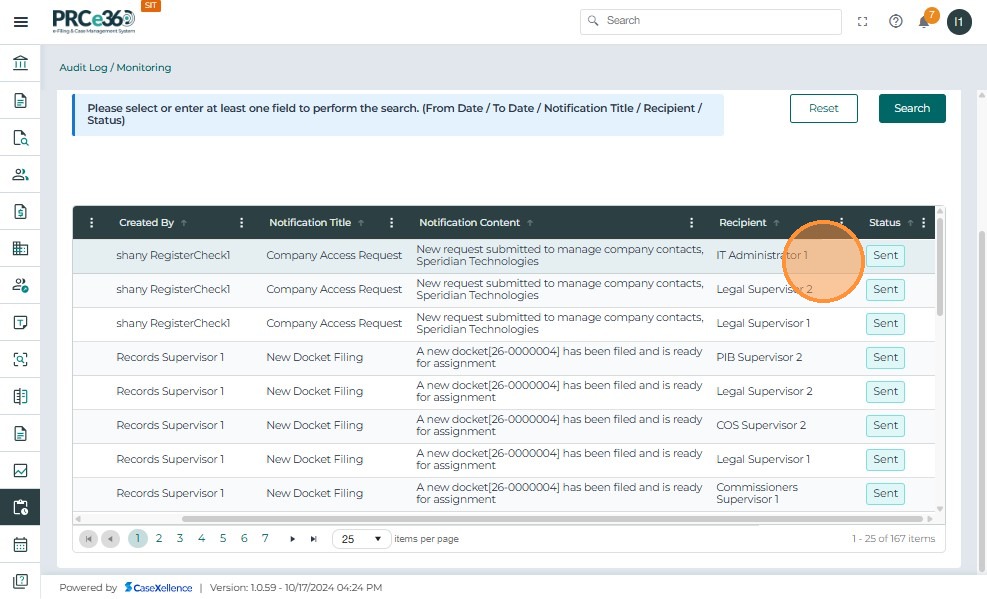
When multiple notifications are available, use the page controls at the bottom to view additional records.
Notifications marked Sent confirm successful delivery to users.
Filter by Read Status
Select the Read Status Option. Selecting Read will filter and show only notifications that have been viewed by recipients.
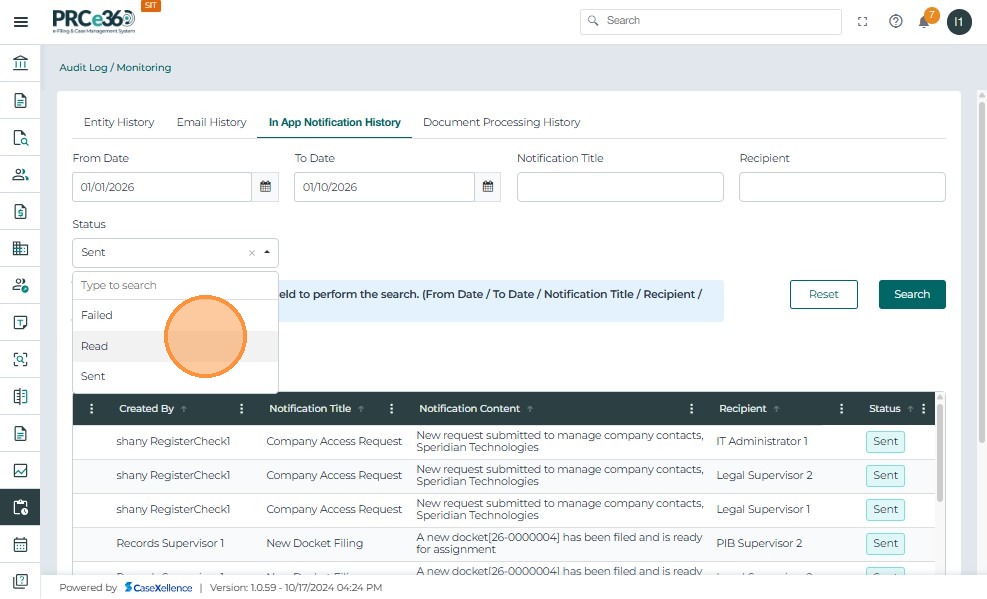
Click Search. The table will update and show results that match the selected status.
When Read is selected:
- The results table displays all notifications that have already been opened by the user
- The Status column shows "Read" in green
- All other notification details (Created By, Title, Content, Recipients) remain visible for review
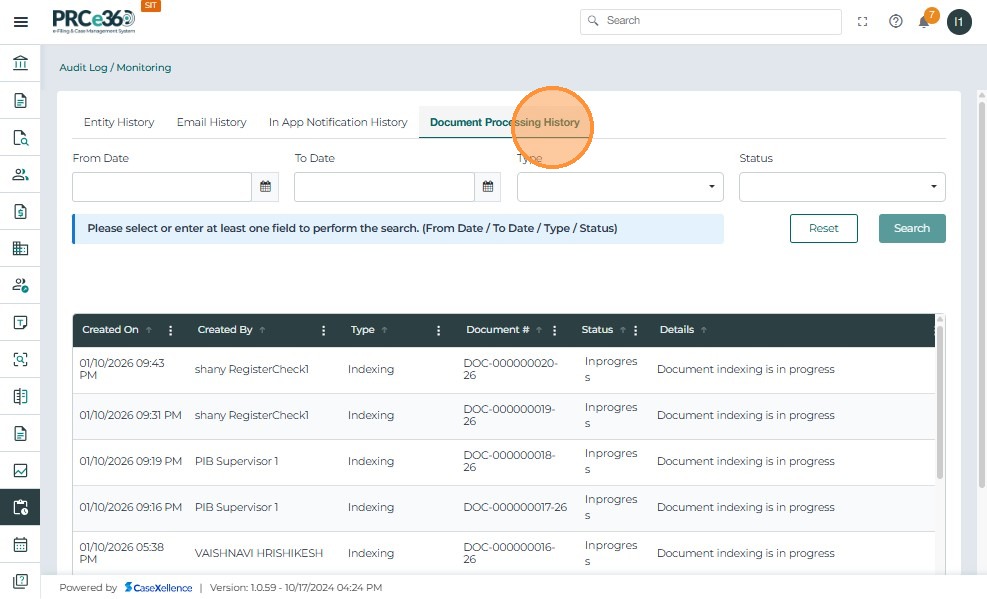
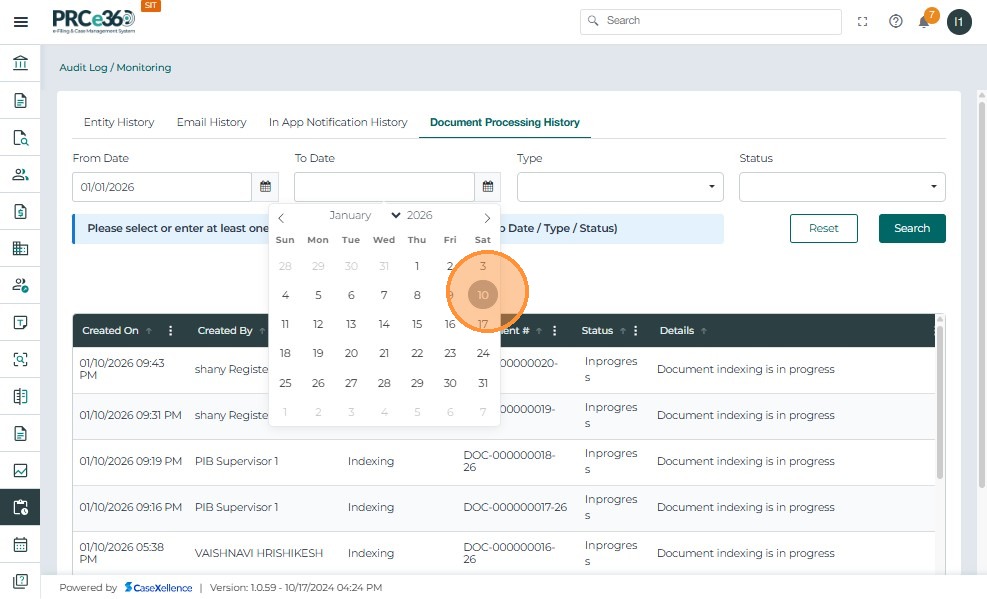
Document Processing History Tab
- Click the Document Processing History tab to view the processing status of system-handled documents.
- Click the From Date calendar icon and select the start date to filter document processing records.
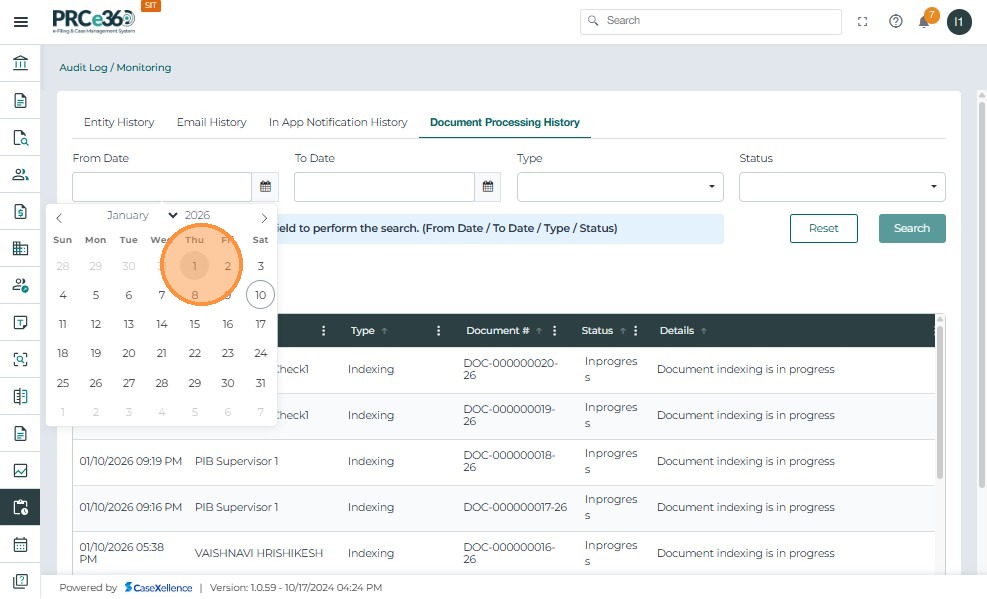
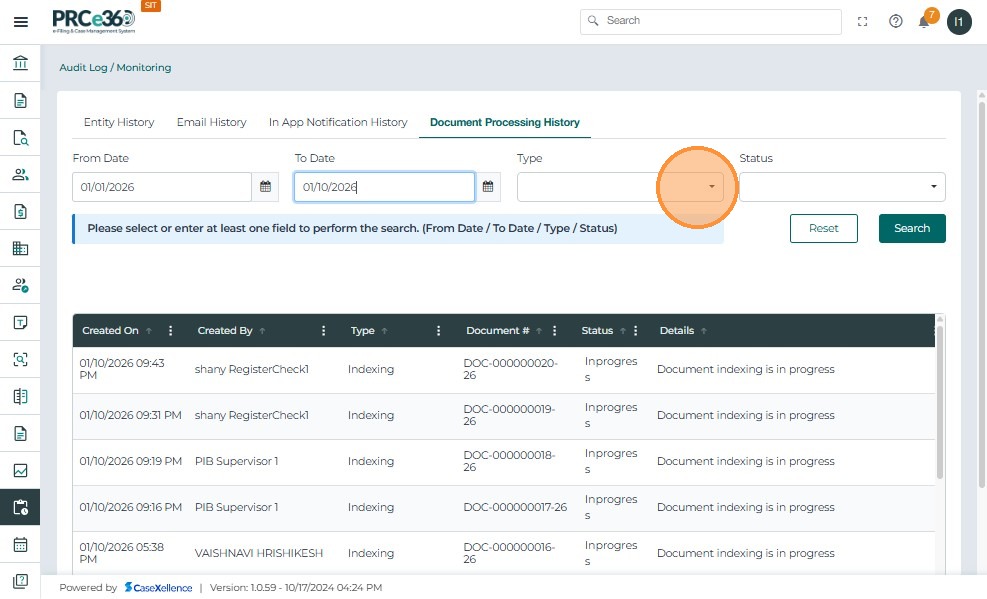
- Click the To Date calendar icon and select the end date for the required date range.
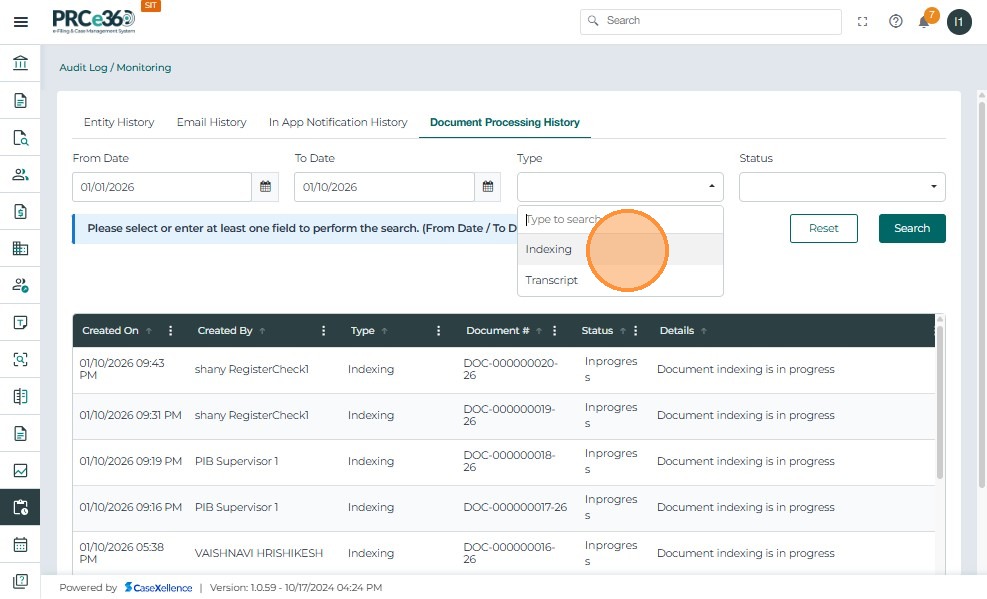
- Click the Type dropdown to view available document processing types.
- Select Indexing from the Type dropdown to filter indexing-related records.
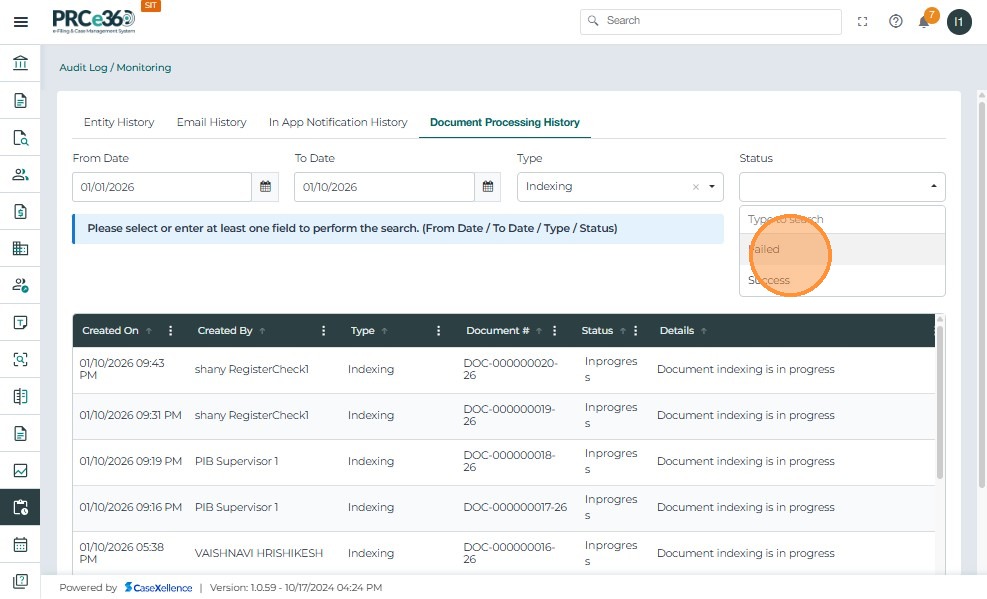
- Click the Status dropdown to filter records by processing result.
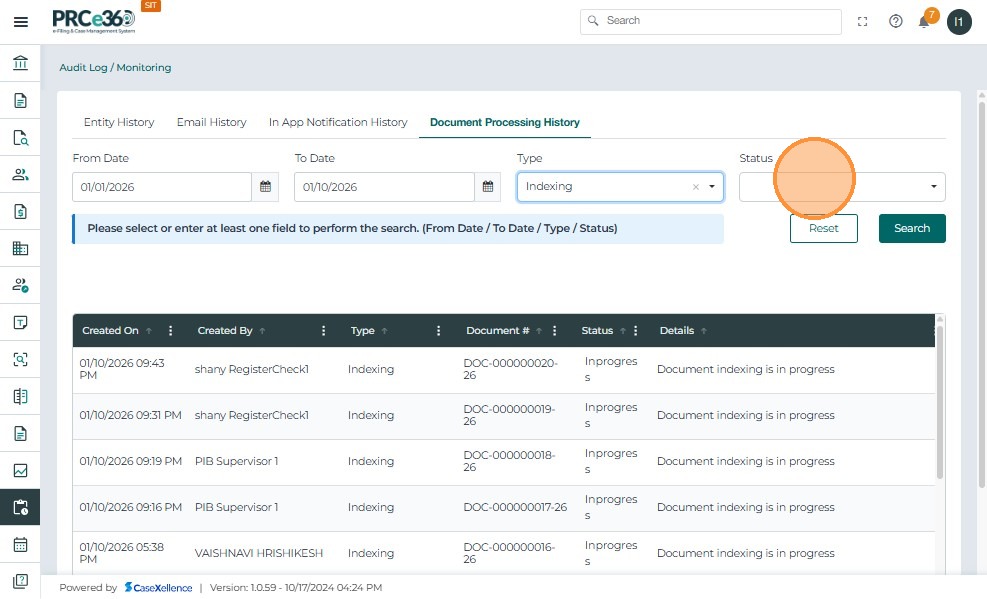
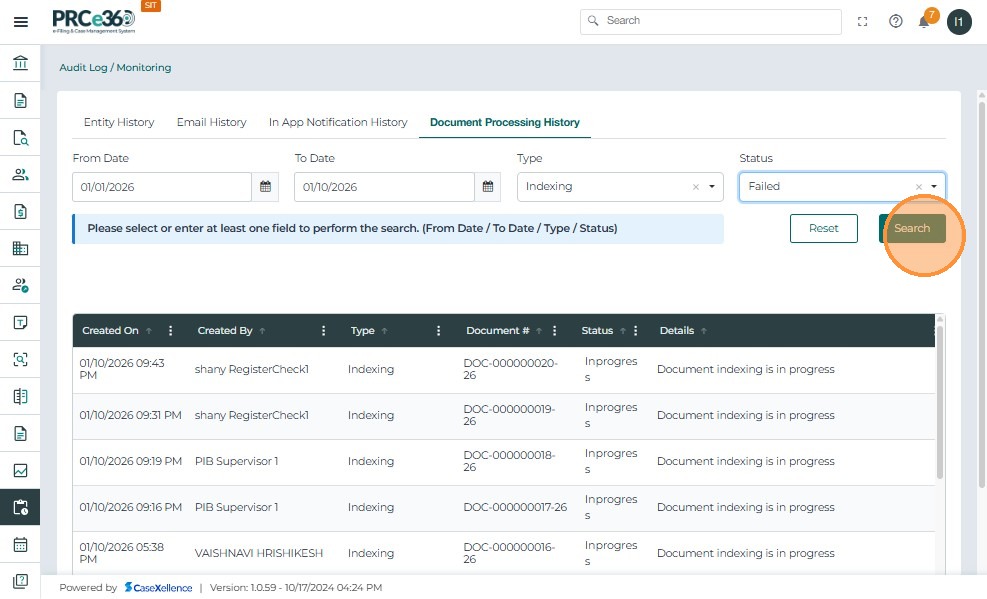
- Select Failed to view only documents where processing was unsuccessful.
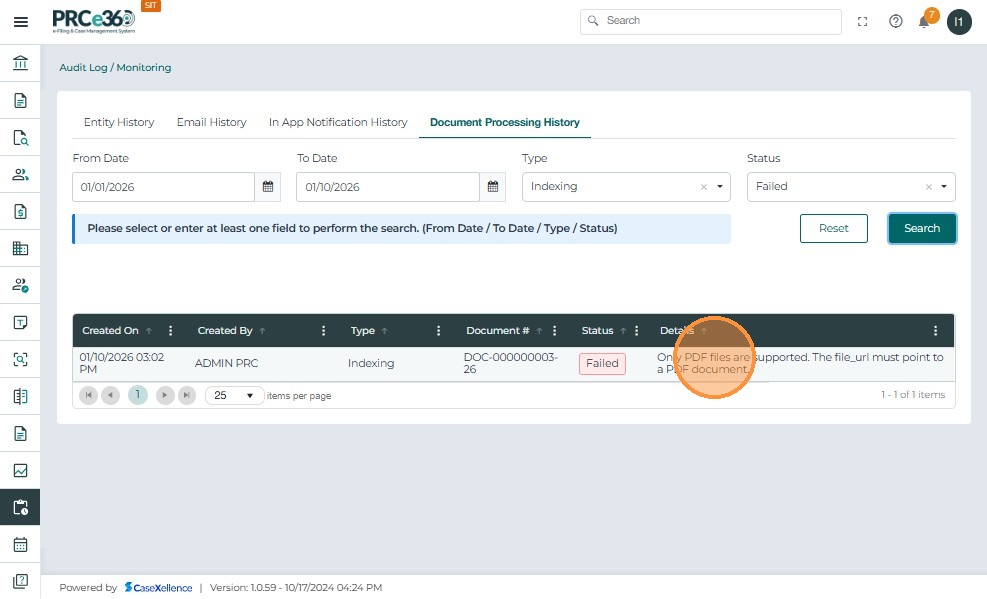
- Click Search to apply the selected filters and retrieve matching records.
- Review the filtered document processing records displayed in the results table.
Object-Level Audit Log
In addition to the main Audit Log page, each process in the system (Cases, Companies, Documents, IPRA, HR, etc.) includes its own Object-Level Audit Log. This section displays all field-level changes made within that specific record.
The Object Audit Log helps track:
- What field was changed
- Old value and new value
- The type of action (Create / Update)
- When the change occurred
- Who made the change
Viewing Audit Log in Case 360
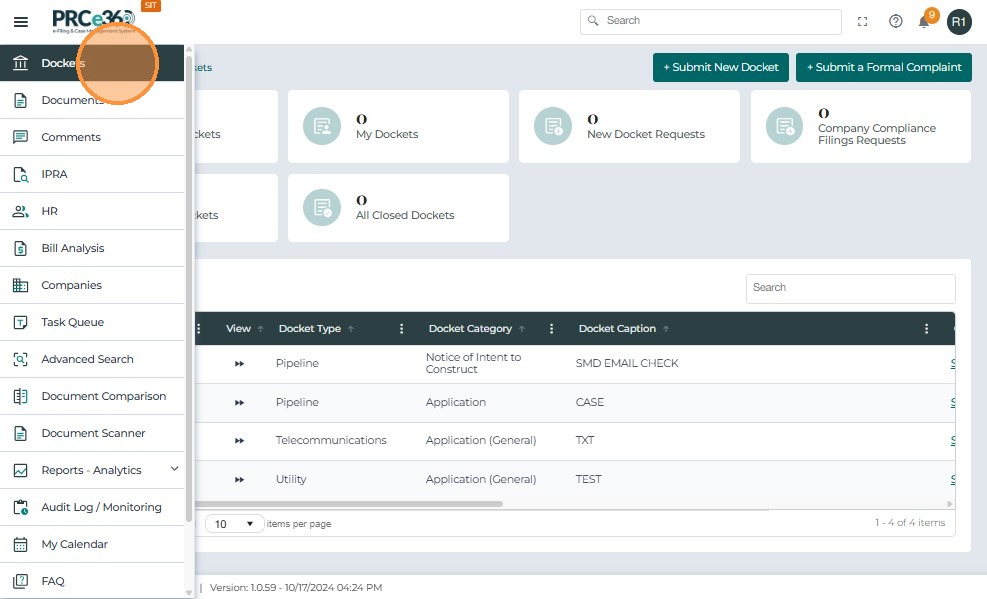
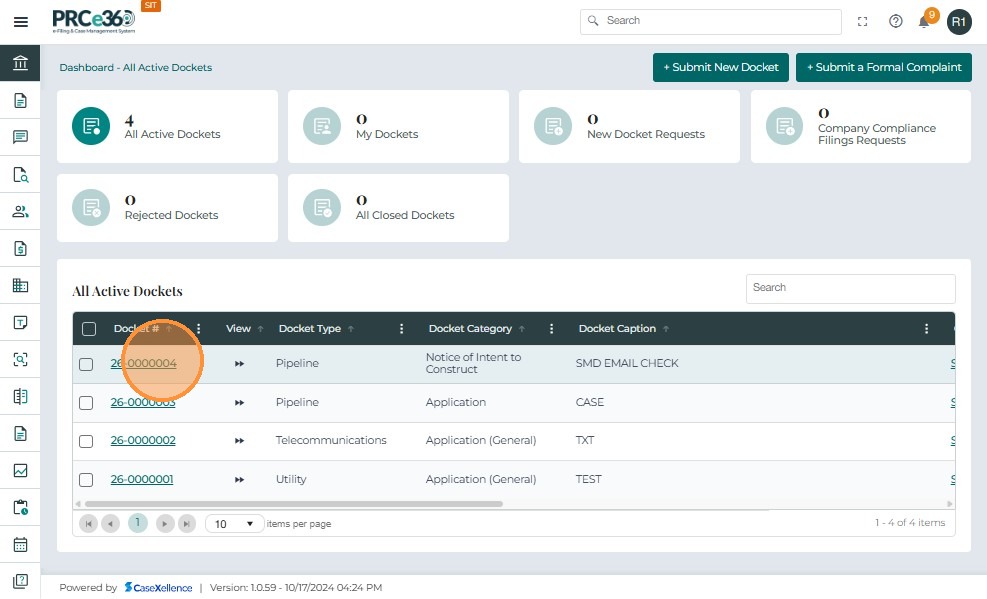
Click Dockets from the left menu to open the list of all active cases.
Select the required case by clicking the Docket #.
Inside the Case 360 view, go to the Audit Log tab in the top section.
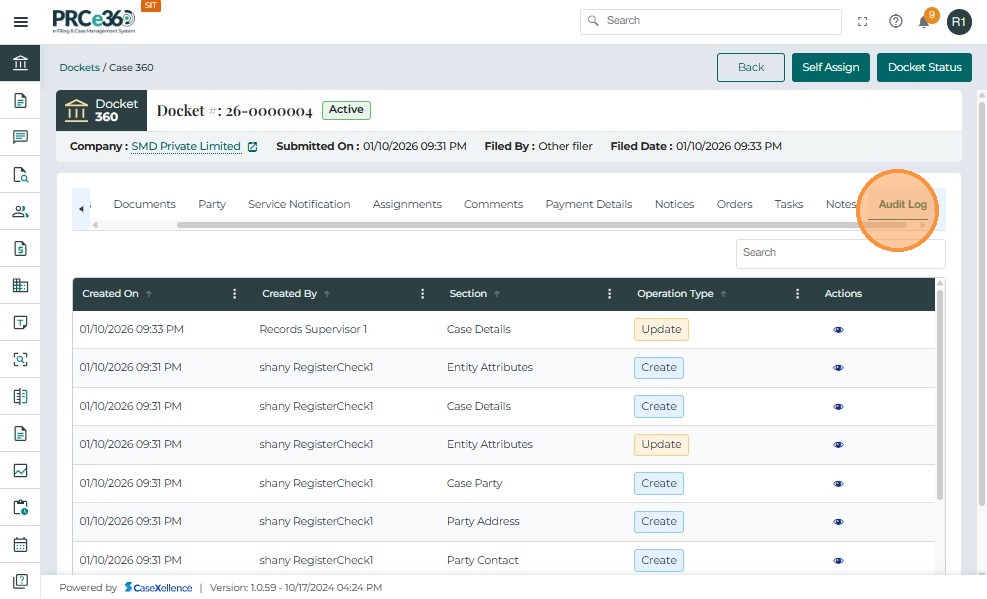
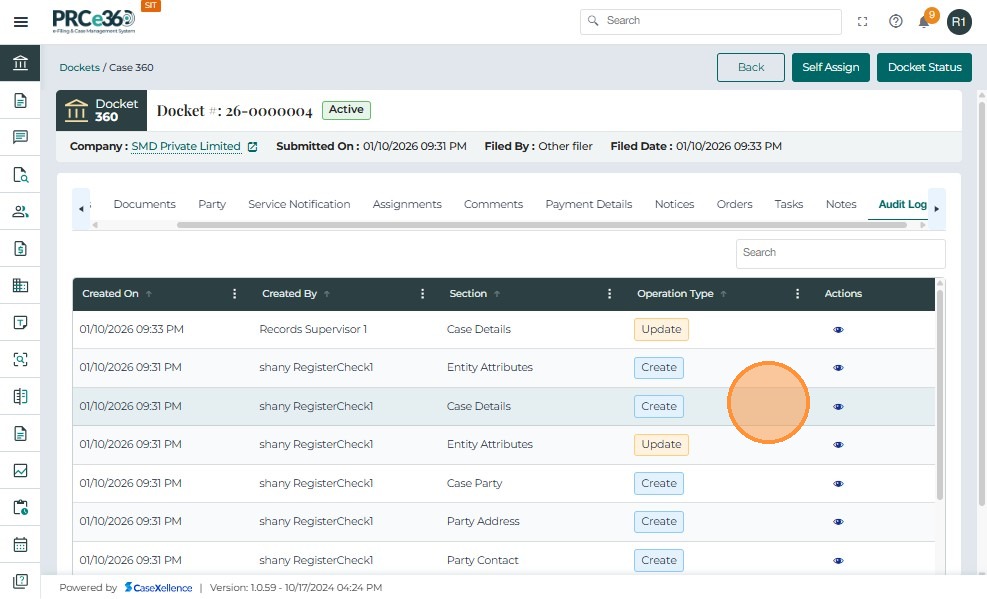
The system displays all updates related to the selected case record. Each row shows:
- Section (e.g., Case Details, Assignment)
- Field that was changed
- Old Value
- New Value
- Action (Create / Update)
- Modified On timestamp
- Modified By user
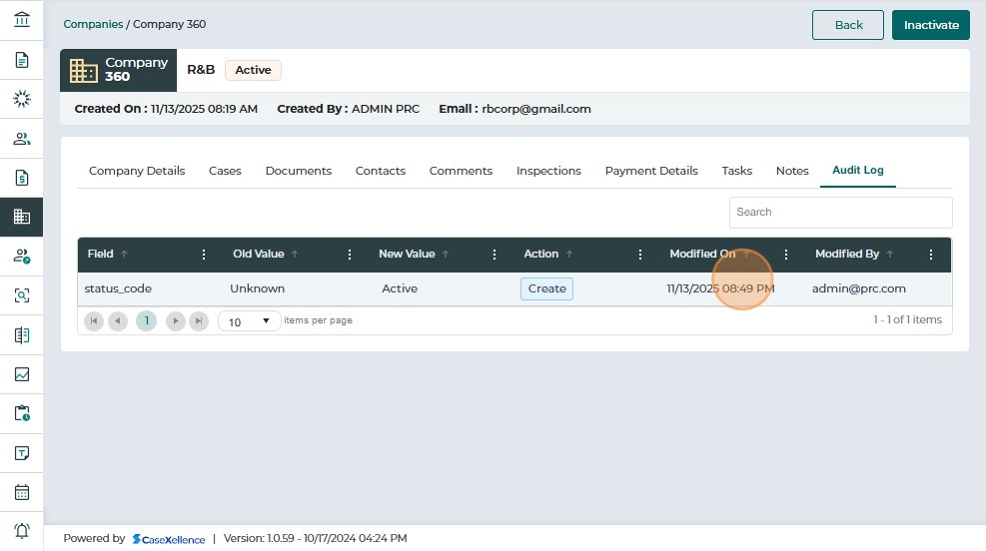
Viewing Audit Log in Company 360
Click Companies from the left menu to view all companies.

Select a company by clicking the Confirmation Number.

Inside the Company 360 view, select the Audit Log tab.

You will see field-level updates for the selected company, including:
- Field
- Old Value
- New Value
- Action
- Modified On
- Modified By
Note:
- The Audit Log tab is available in all processes (Cases, Companies, Documents, IPRA, HR, etc.).
- The procedure to view the Audit Log remains the same across every module.
- Users with permission (IT Admin, IPRA Legal Counsel, Records Supervisor) can access these logs.